This build diary deals with copper smelting and forging, so you’re liable to see pictures of hot metal and flame and other bright-and-shiny things. There are, in fact, so many pictures that your email client might choke on them. If it does, you can find the original post at http://jdanielsawyer.substack.com
A few weeks ago, I posted about my first ever blacksmithing commission. Someone in my life had noticed that I was starting to be able to do finish-quality work and decided to take advantage before I noticed and my prices went up.
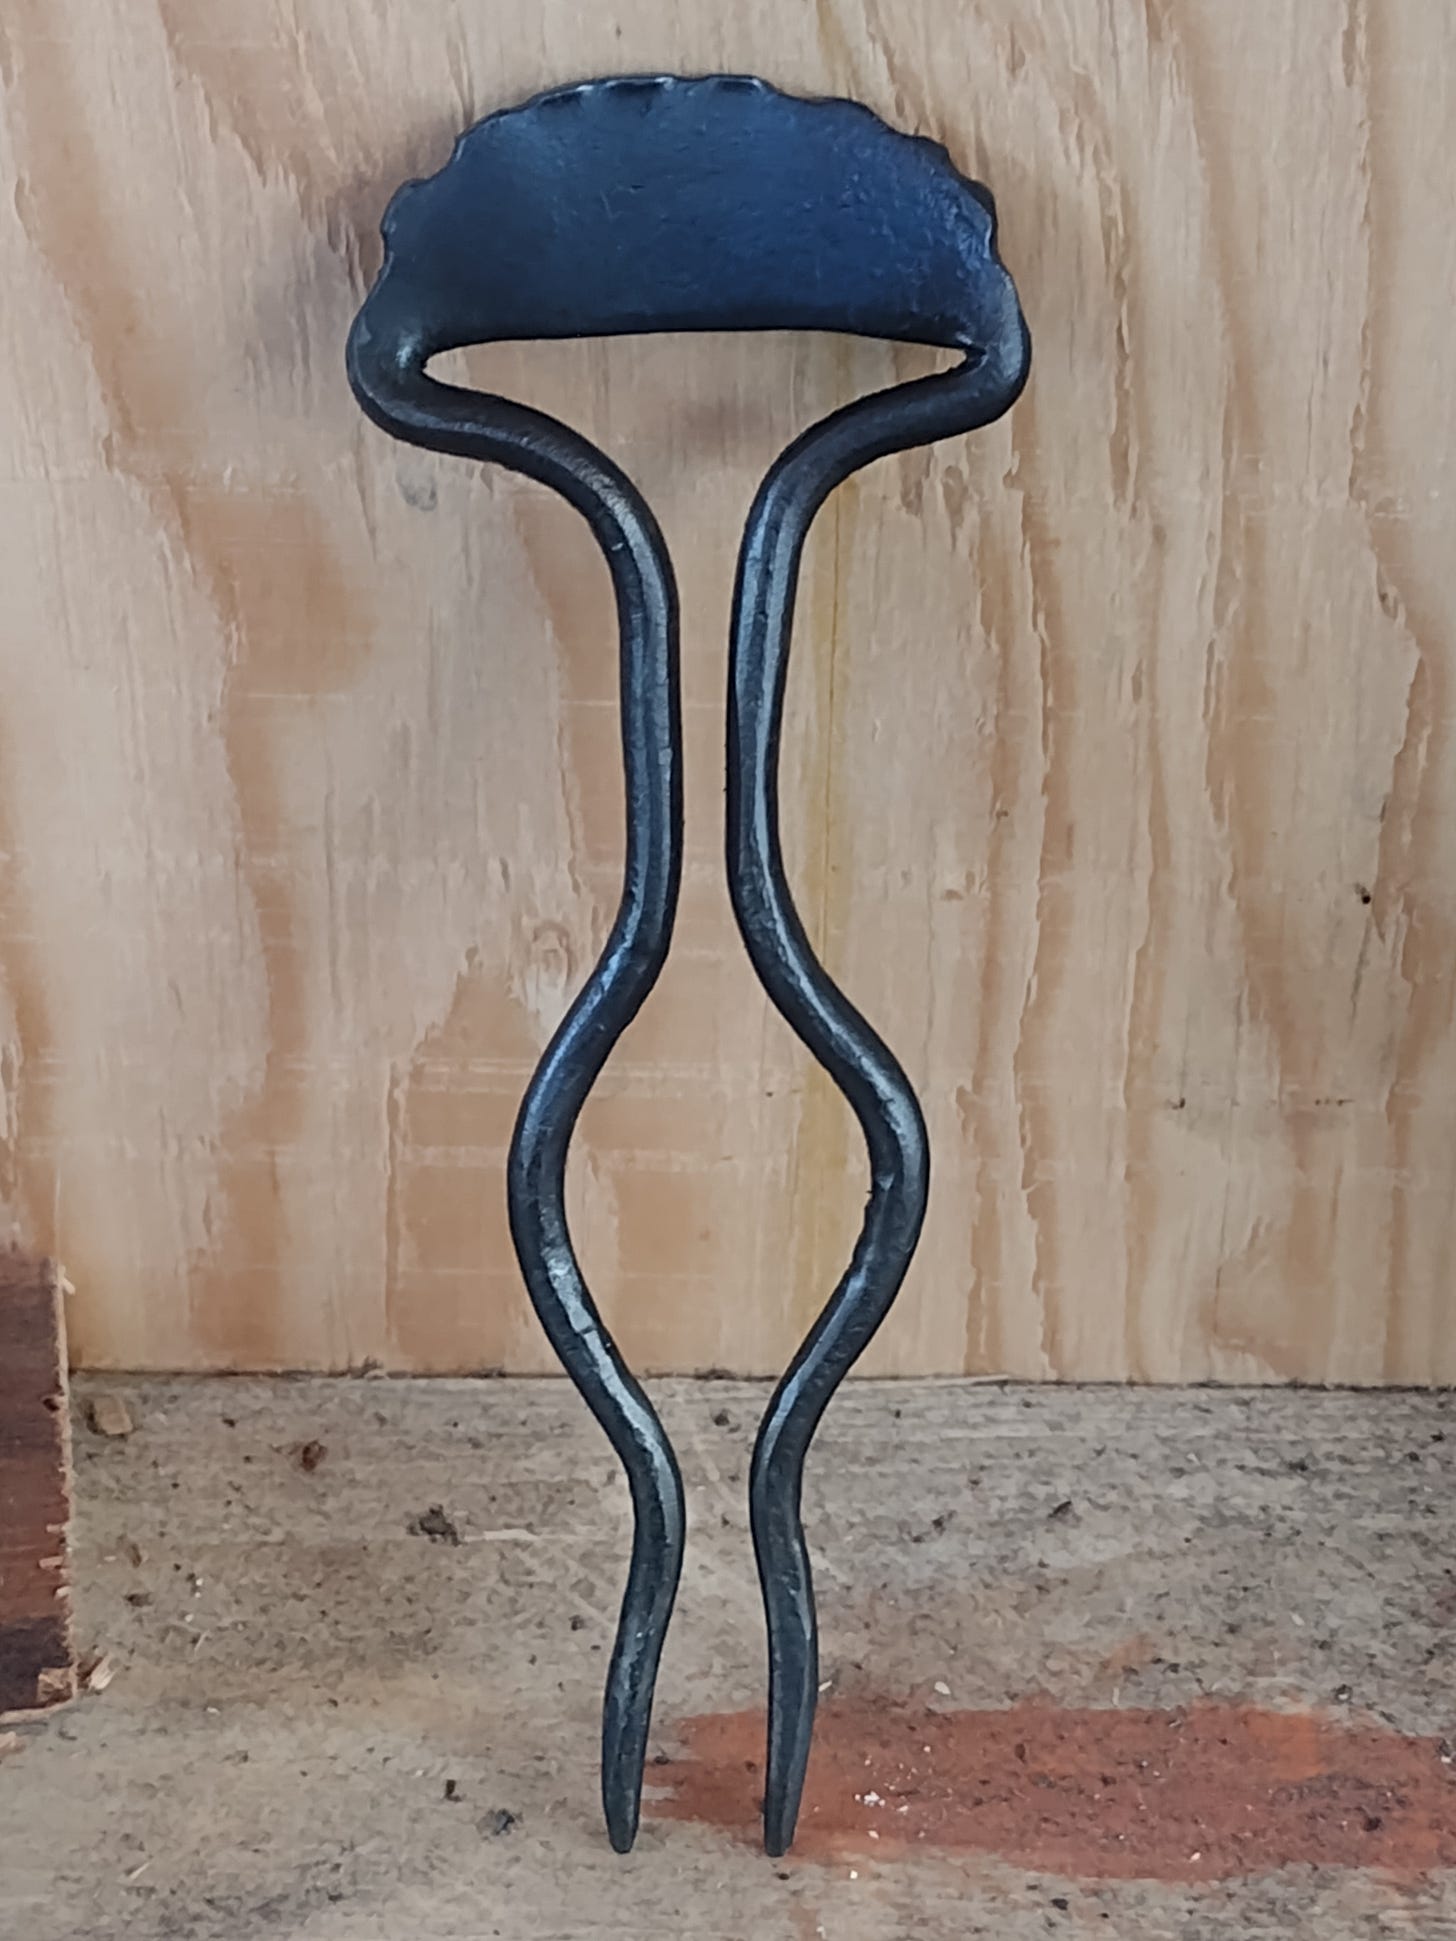
The result, made-to-order as a Christmas present, was a weird-looking, deep purple, scalloped two-tined hair pin. The client was happy—I was ecstatic, and posted a gallery of a number of my other pieces announcing I was available for hire for the Christmas season.
One of my wonderful readers noticed.
A note appeared in my email a couple days later asking if, perhaps, I could make a pair of hair pins—one with a squared-off swirl finial, the other with a leaf finial.
The catch?
They needed to be made out of copper.
Makeshift Materials
Up to this point, I’ve been a blacksmith. Oh, sure, I’ve been stockpiling copper, aluminum, and brass scrap for that magical day when I decide to delve into the mysteries of smelting and casting, but that day was, I assumed, quite a ways off. I didn’t have a foundry. I didn’t even have a crucible.
But I did have that pile of scrap copper, salvaged from a couple demolition sites where they were throwing old bits of pipe in the trash.
So, I figured, what the hell? How hard could it be?
A couple hair pins out of copper? Sure, I’d take the job. It’d give me a good excuse to make the tooling to properly sculpt a leaf, and I could use the proceeds to get myself some tools for melting down and casting my soft-metal scrap.
Tooling
I decided to start with what I understood: steel.
I’ve had difficulty in the past with that most basic of blacksmith projects, the humble leaf.
To make one, you take a square, tapered lump of steel, smush it down, and then—the part that always defeats me—you use punches of various sorts to carve veins into it.
Those punches are called “fullers,” and they’re a kind of rounded-end chisel. I only had sharp-ended chisels, so I tended to accidentally cut my leaves when I tried to forge them.
Since I now had a bona-fide customer who wanted something that looked like an actual natural leaf, I’d need some fullers.
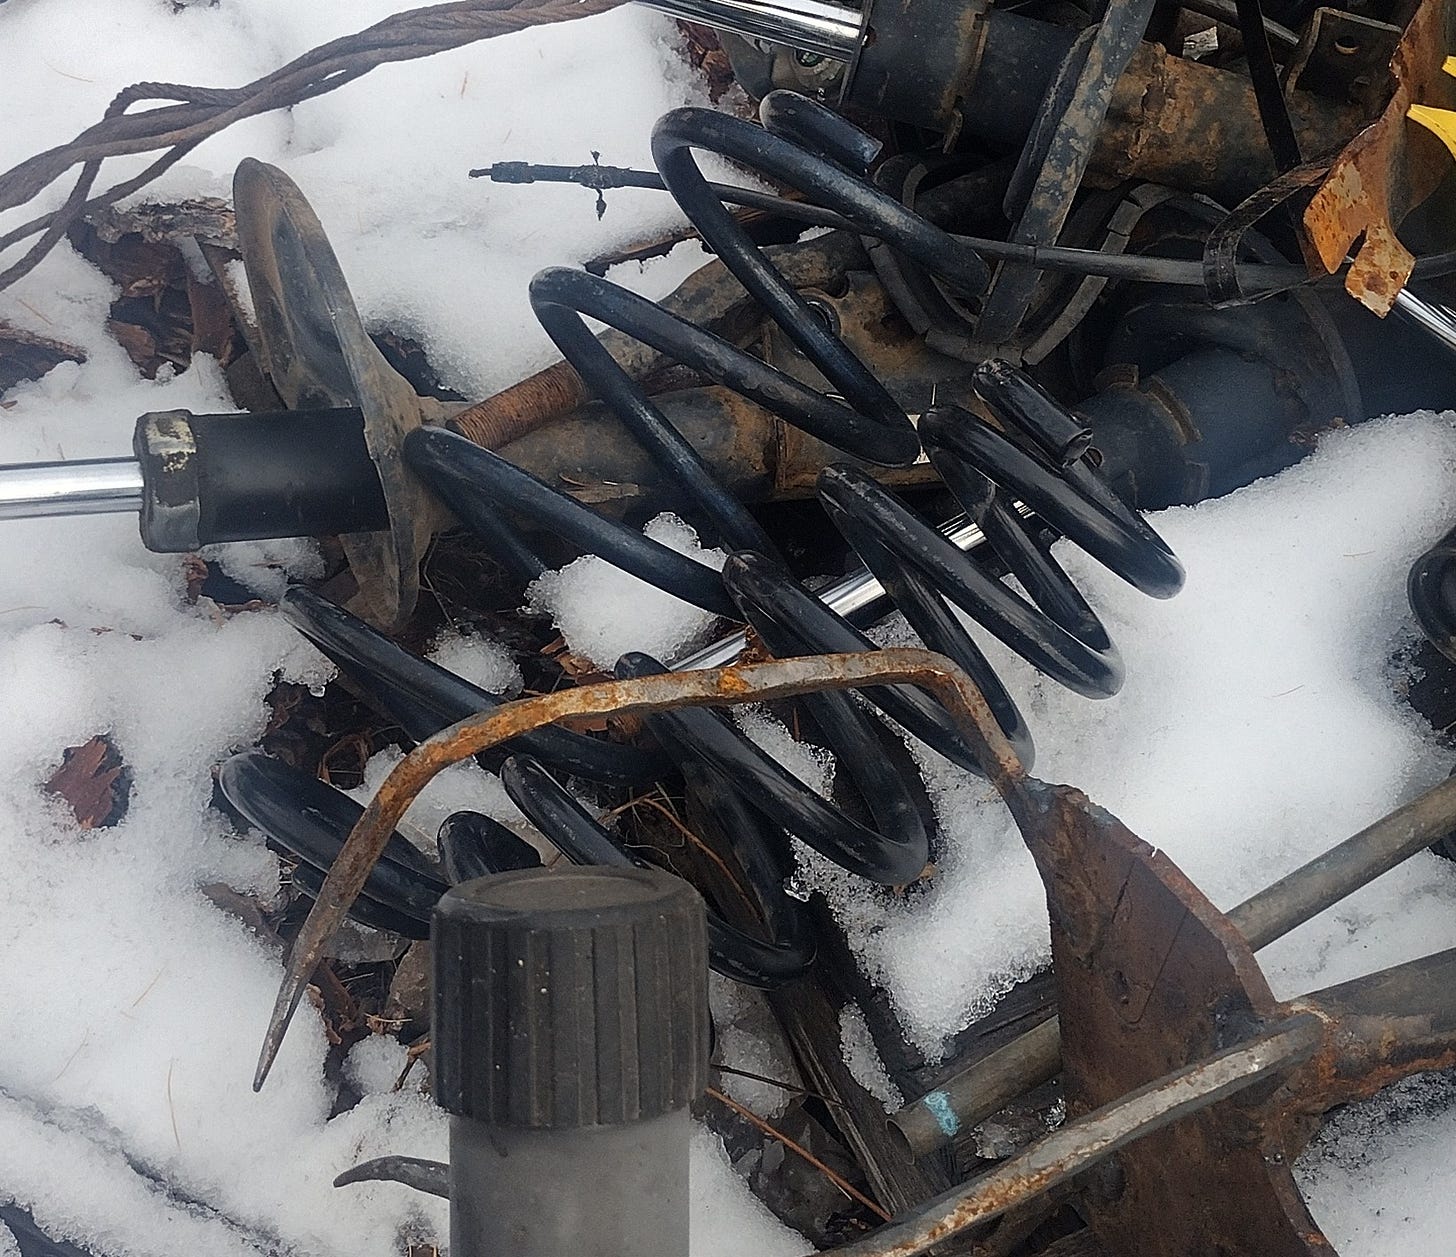
A trip to the scrap-pile was in order.
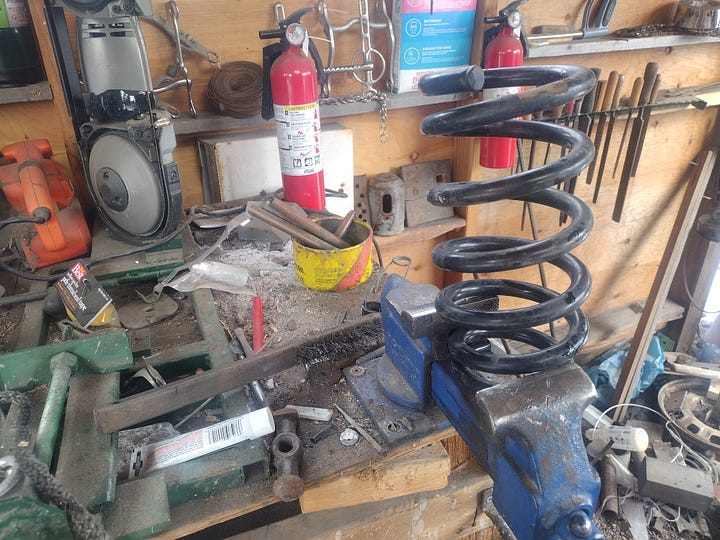
Those two coil springs came from a local mechanic’s trash heap—they’re worn out strut springs from a Subaru. Spring steel is the second best material to use for smithing tools—the best material is A7 air-hardening tool steel, and it’s the best because it hardens in air. Other steels will lose their hardness over time when working against hot metal, so they have to be periodically re-hardened.
A7, however, is expensive stuff, and I’m bootstrapping, so spring steel would have to do.
I grabbed a spring, stuck it in the vise, and cut a few pieces off. Into the forge they went!
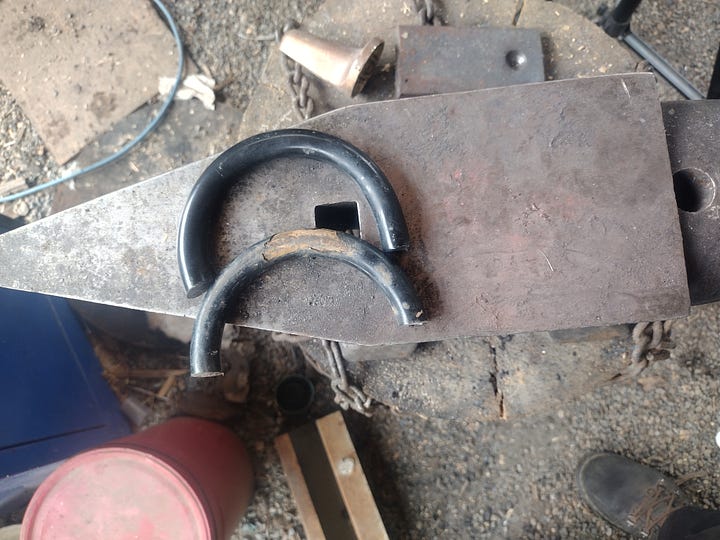
A problem presented itself, however: These springs are from a small car, so they’re pretty thin. Thinner than I really needed.
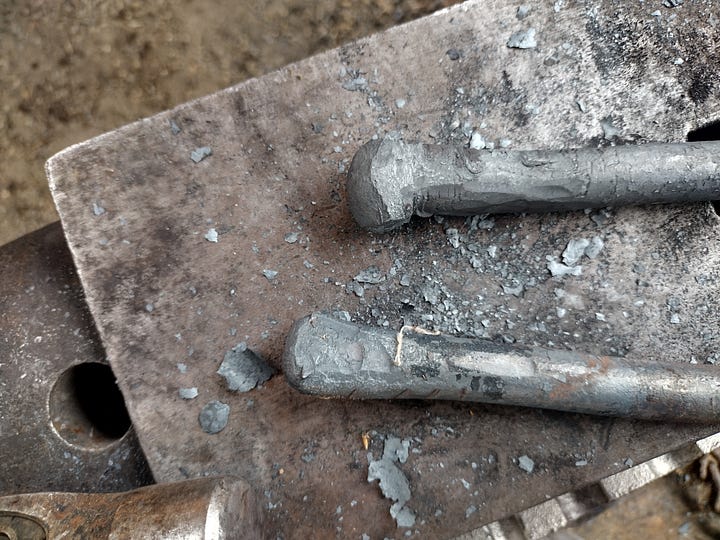
Fortunately, the same plastic properties that let you beat a thick piece of steel until it’s thin also allows you to selectively thicken up a thin piece of steel. The process is called “upsetting.” To do it, you warm only the part of the steel you want to thicken, and you drive the cold parts of the steel into the hot part. The red-hot plasticy steel collapses and mushrooms, giving you a thick spot in the metal.
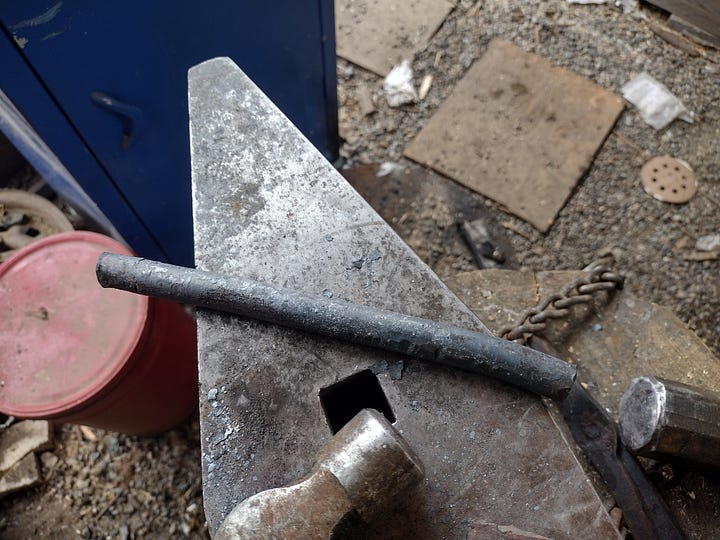
I straightened the spring-segments, then upset one end of each piece, then flattened them out and sanded the points into rounded curves, and heat-treated them. The result?
Two very serviceable fullers which I will use in projects until I die (or give up forging because I’ve grown too old and feeble).
Now that I’d avoided moving out of my comfort zone as long as I could, it was time to look the beast in the face.
You’re Not Gonna Get Me, Copper!
Copper melts at around the same temperature that steel gets soft enough to forge, which means that if you throw copper into a forge and leave it alone, you wind up with a big puddle on your forge floor.
Unless you use some kind of bowl to keep it in.
Since ancient times, people have used crucibles (which are basically really thick pots) for this purpose. So I ordered one…
…and found out it was way too big to fit in my forge. Despite my having been clever enough to measure my forge beforehand, I didn’t bank on the fact that the crucible sizing chart I have in an old mettalurgy book might have used a different sizing system. As a result, I wound up with a copper casting kit that had a crucible that was twice the size of my forge.
But it also shipped with an ingot mold, which, conveniently, was made of graphite and clay (the same stuff the crucible is made of), so it could, in a pinch, make an adequate crucible.
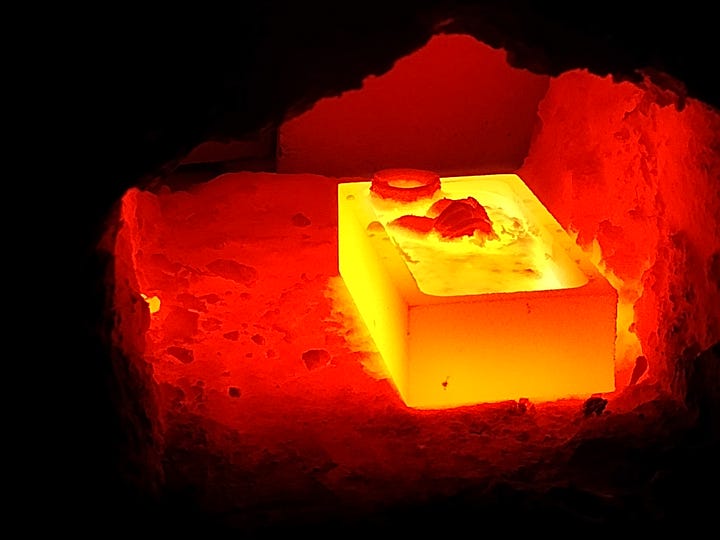
I packed it with plumbing parts, salted it with borax, and set it to cook.
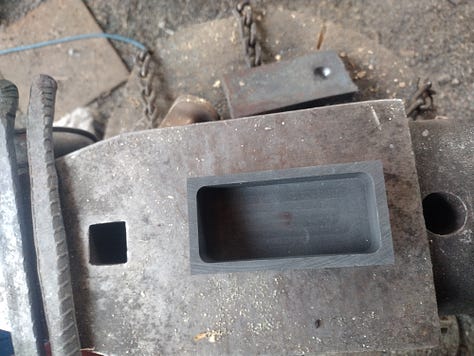

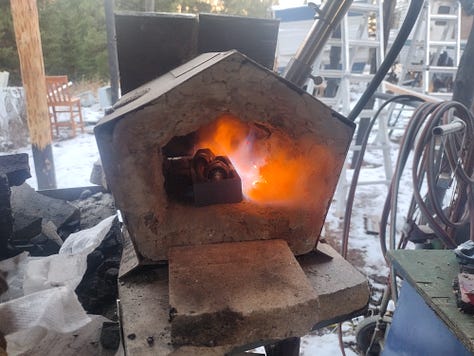
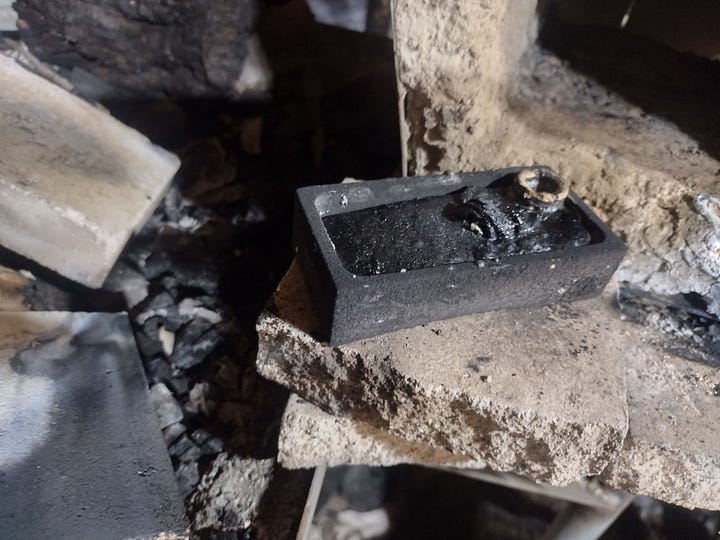
Borax—that same stuff you add to your laundry—is what’s called a “flux.” It’s an acid that binds to oxides and other impurities, helping them float to the top of the melted metal. In recycled copper, most of the impurities are things like solder, copper oxide, bits of teflon and pipe dope, stuff like that. Once the melting finishes and you pull your ingot, it has a layer of glass-like crap on it—this is your slag.
With copper, you can apparently tell if you have enough flux because without it the copper oxides burn off instead of being separated, which gives you a hell of a light show:
If you’ve ever wondered how they get green fireworks, now you know: they add shavings of copper oxide.
Anyway, back to the story.
After fixing the problem of the inadequate borax, I got the copper melted down nicely, producing an ingot many times bigger than I actually needed for the job at hand.
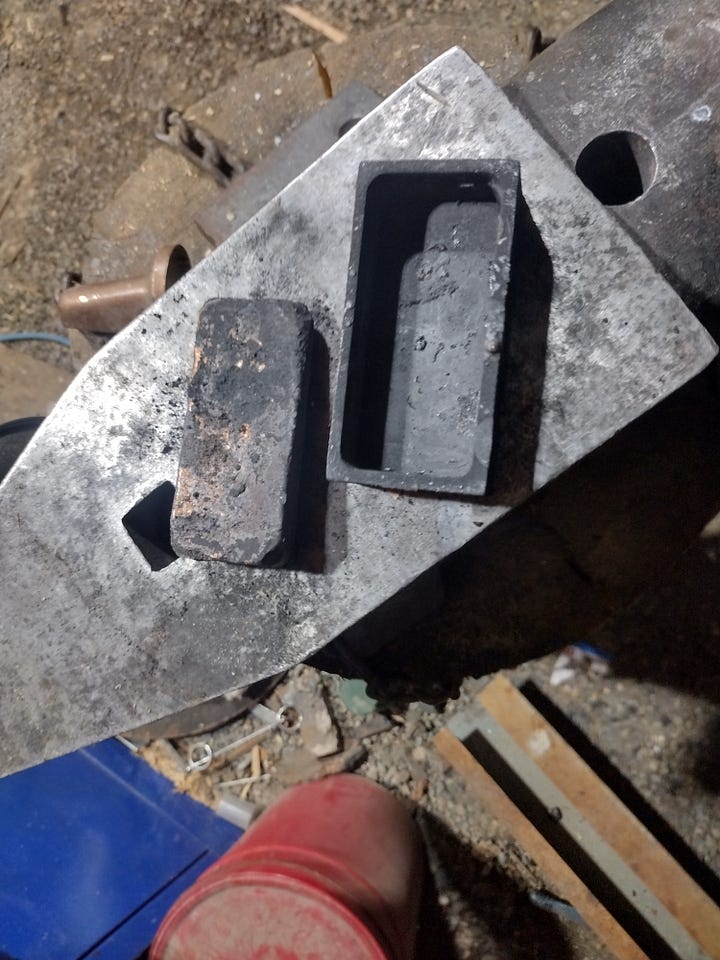
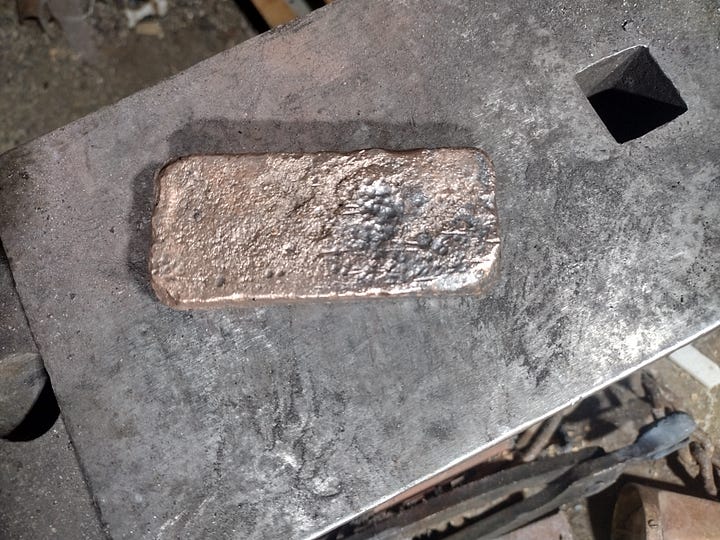
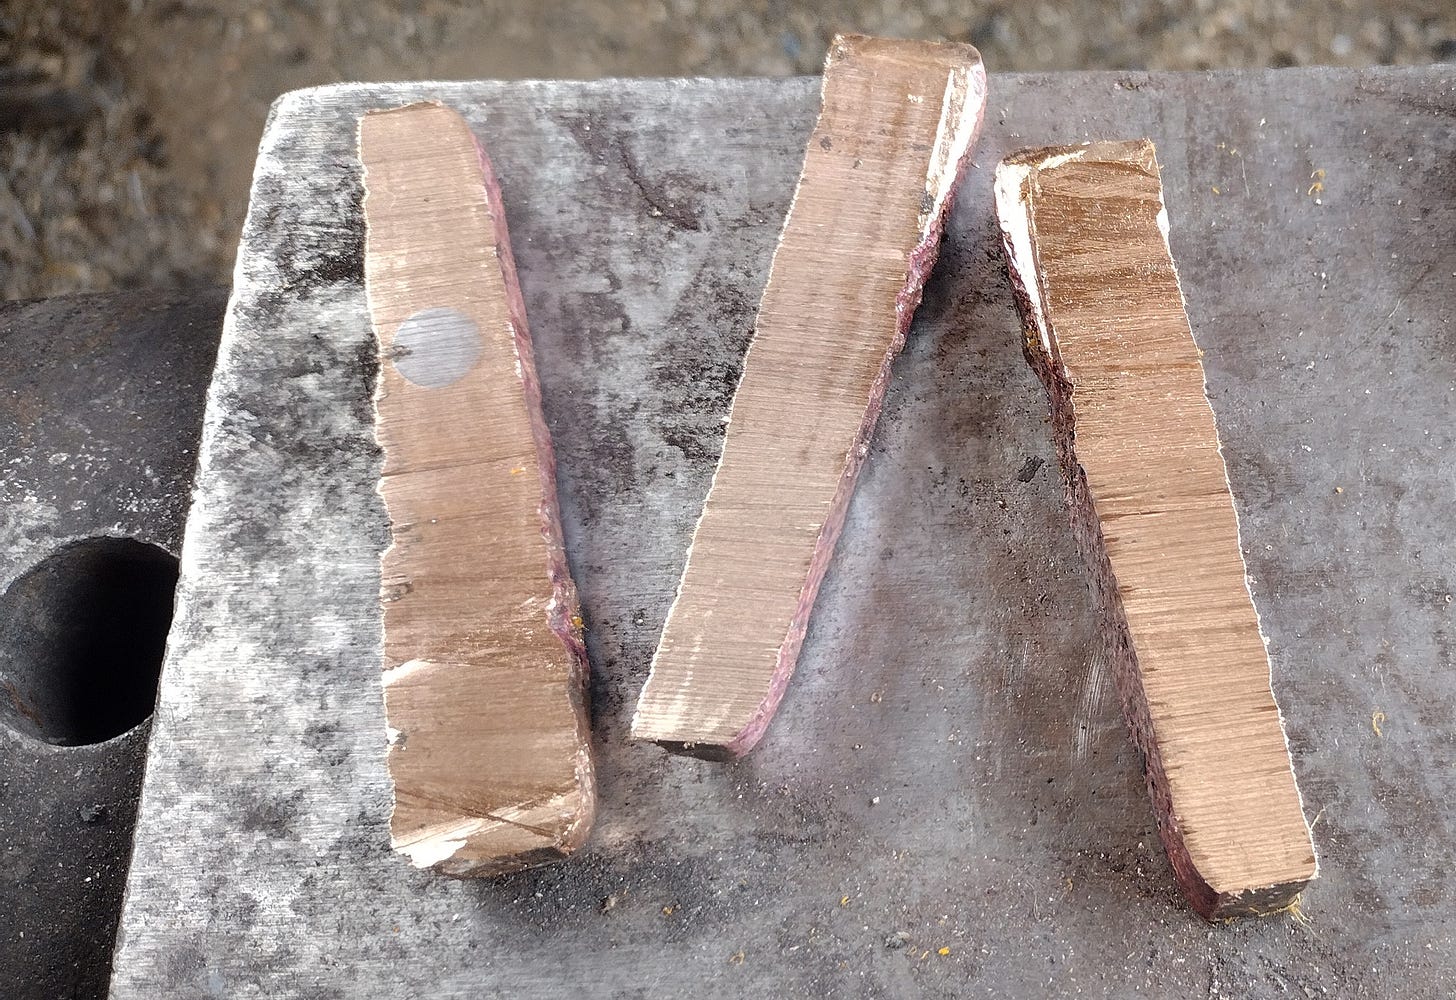
After that, it was a trip to the bandsaw to cut the bar into strips that I could then work down.
So far, so good, right? I took junk and turned it into treasure, and I’m about to turn that into something beautiful. I’ve forged a lot of hair pins and other similar things. This should be a walk in the park, right?
Well…not really.
Copper is really soft. You can work it cold without a problem. However, as you work it, it hardens, so you have to do a thermal process called “annealing” every few minutes in order to re-soften it.
I’d read about this, and even following the instructions, I got some pretty horrific results.
See all those cracks at the transition between the neck and the head?
Those aren’t just “hammer texture.” They’re actual fissures opening up in the metal, which, a couple hammer-blows later, caused the workpiece to crumble.
No matter what I did, I kept crumbling my copper. I went through that whole ingot—gradually improving, but totally destroying the copper at every turn.
In frustration I ordered some virgin copper rods from the mill. When I got to work on them, I got the same results.
But each time, the workpiece lasted a little longer. I was learning something, but I didn’t yet know what.
Eventually, as I was running out of copper bar and facing the possibility of having to re-melt everything and start from scratch, I got the bright idea to change my hammer for something about a quarter of the weight.
Suddenly, I could feel the copper. I could feel it hardening up. And I knew when to soften it up again.
And, just like that, I was flying.
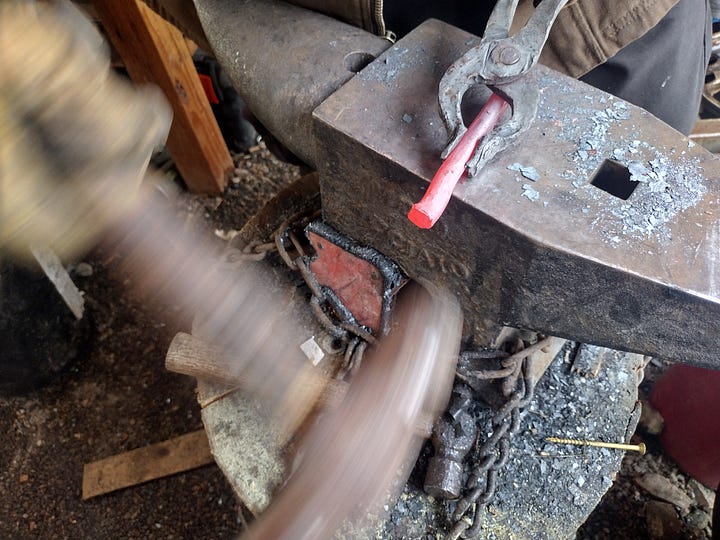
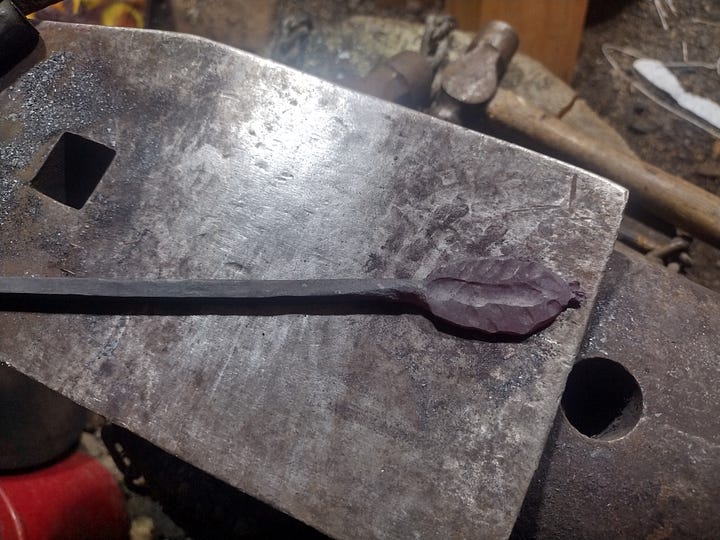
Over the course of a half hour, I got my first pin forged up. Over the course of the next hour, I forged out the second pin. This second one had the leaf finial, and I was so ecstatic I went a bit over-the-top, giving it a curved broadleaf design that looked like it might have dried on the twig of an oak tree.
I gave each pin a couple twists to help them grip the hair, then polished them up to give them the finishes the client asked for (brute-de-forge with wax for the leaf pin, burnished bare copper to oxidize naturally for the square-swirl pin) .
After that, it was just a matter of packing them up and sending them out. When they arrived, the client was thrilled with her commission, so much so she sent me some pictures of her wearing the pins.
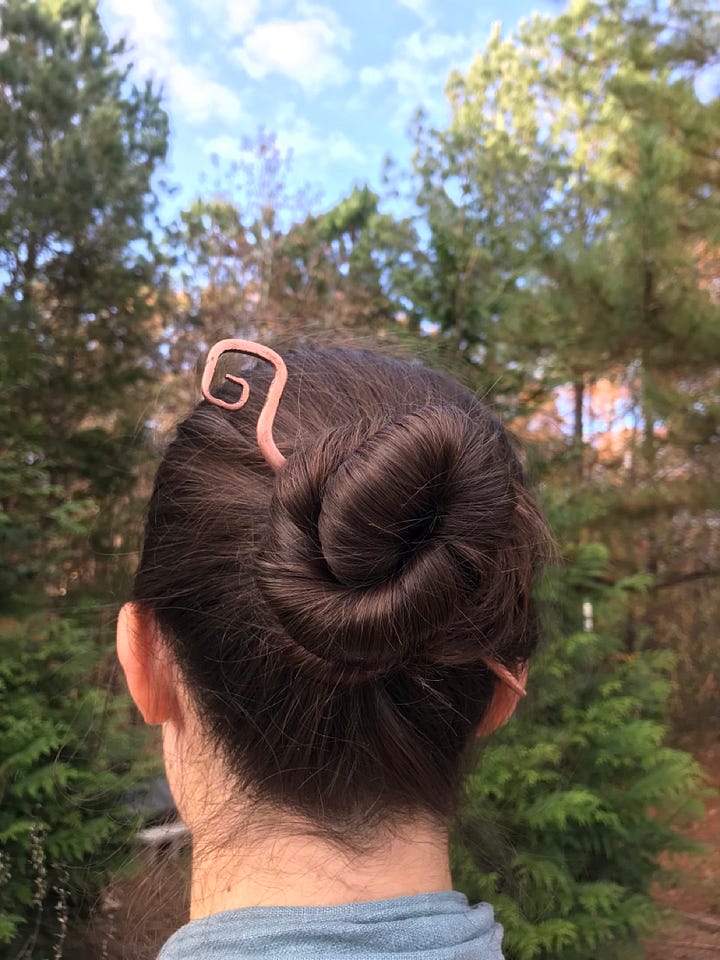

This makes the second official commission, and you know what? I could really get used to this. Anyone else want something from the forge? Hit me up in the comments below!
If you’re looking for fresh stories, you can find my novels, short stories, visions, and dreams (along with some how-to books and literary studies) by clicking here.
When not haunting your Substack client, I write novels, literary studies, and how-to books. If you’re feeling adventurous click here to find a ridiculous number of fiction and nonfiction podcasts for which I will eventually have to accept responsibility.
This column is a big part of how I make my living—bigger now due to recent exciting events which you can read about here. Because of this, I’m offering a 20% lifetime discount off the annual subscription rate. If you’re finding these articles valuable, I’d be honored to have you join the ranks of my supporters!






Best thing I've read all week - particularly the part about how you've learned through doing, observing very closely what was happening, and making changes as you went. It's surprising the amount of people that don't understand and acknowledge that this is such a big part of getting better at anything.
"I was learning something, but I didn’t yet know what." - I'm writing that down and sticking it on my wall.
This is the kind of company transparency I like: seeing the behind-the-scenes process for what I ordered. Such an interesting journey. Thanks for sharing, and creating my pins!