This post is long with many images. Your email client may choke on it. If it does, read the original at http://jdanielsawyer.substack.com
A writer’s gotta write.
Simple, right? But how do you do it right when the place you’ve got to write is on a weathered old mountain-top at the edge of nowhere and you spend half the year snowed in behind snow banks that can grow taller than you?
The Parable of the Shuffle-Plow
The afternoon before, the snow had been a foot deep on the spur road, and a lot of that had gotten mashed down by driving and walking—no real danger of getting stuck if you remembered your tire chains.
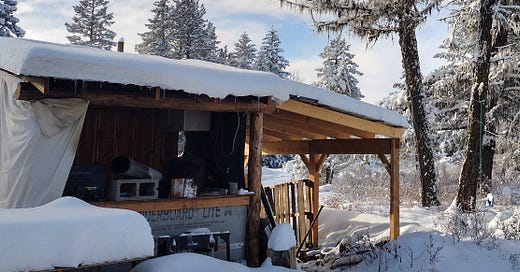
Well, you need a covered space. One that holds the heat. Me, I built myself a porch on the side of a shed that serves as an office. In the winter it gets double-layered canvas walls and double-paned glass doors (which all gets taken down in the spring to keep the breeze flowing well.
Basic shelter.
That worked for a couple years, especially as I was fighting a potentially terminal illness and was doing well to get any writing done at all.
This summer, though, as I was feeling out the limits of my newfound post-surgical vitality, I realized that something about the homestead was really starting to piss me off:
Literally everything was half-done. Finished to the point of basic functionality, but not beautiful, not intentional, not the kind of place that’s a fitting setting for the creation of art and beauty.
Something had to be done.
I started with adding some finished drawers to my forge’s drill station. Then, as the winter weather started closing in, I realized I was avoiding something that means almost more to me than life itself:
Fiction.
There’s a pile of half-finished novels on my hard drive—half-finished because the pain I was in the last few years kept me from coherently writing character arcs. This was a problem. Beginning with my early novels, such as Down From Ten, my fiction has turned on some fairly involved character motivations.
When I got out of the hospital, I started writing fiction again almost immediately. I was free! The pain was gone! I could do characterization again!
But the summer project season was quickly upon me, and then came the layoffs and the scramble, and I kept letting myself get distracted.
Then, not long ago, as the winter weather started creeping up my mountain, sending freezing rain and spitting snow down onto the foggy landscape, I walked into my office and looked at its sorry state and realized with a shock:
“I don’t want to work in an ugly space.”
Beauty and the Writer Beast
Before bugging out to the country, I’ve always worked in spaces made as beautiful as I could make them. I had paintings on the walls.
I was surrounded by books, and those books sat proudly on shelves I’d built.
Then, in the years I spent wandering to and fro in the land, and going up and down in it, I found myself writing on a picnic table on the beach, on a fold-up desk in a forest, and then in a carpentry, and then on the edge of a pond. These were places where making happened. Where beauty lived.
Now I was living in a half-finished perpetual construction site, and I just didn’t care about writing something beautiful when so much of my environment was stacked to the rafters with clutter and half-finished ugliness.
I walked onto my writing porch, realized I didn’t want to write in there, and decided I wasn’t going to take it anymore.
The Beginning
In the beginning (of the week) there was the porch, and the porch was for words, and the porch was resounding with two words only:
Functional, and ugly.
Ugly as the wart-covered ass of a half-decayed frog.
So I did the only thing I could do. I started tearing the wall out.
Okay, that’s a bit dramatic. I actually worked in stages so that I could maintain the space to do things like “correspondence” and “project tracking” and all that nifty crap you need in order to make your living from home.
Materials
Over the last few weeks, I’ve been hard at work putting in foundations for new pole-barn structures that I’m intending to work on over the winter. Where I live, the ground freezes hard. If I don’t dig the piling holes and sink the piles before it freezes, I’m either not going to build it this winter, or I’m going to be in for a miserable amount of work.
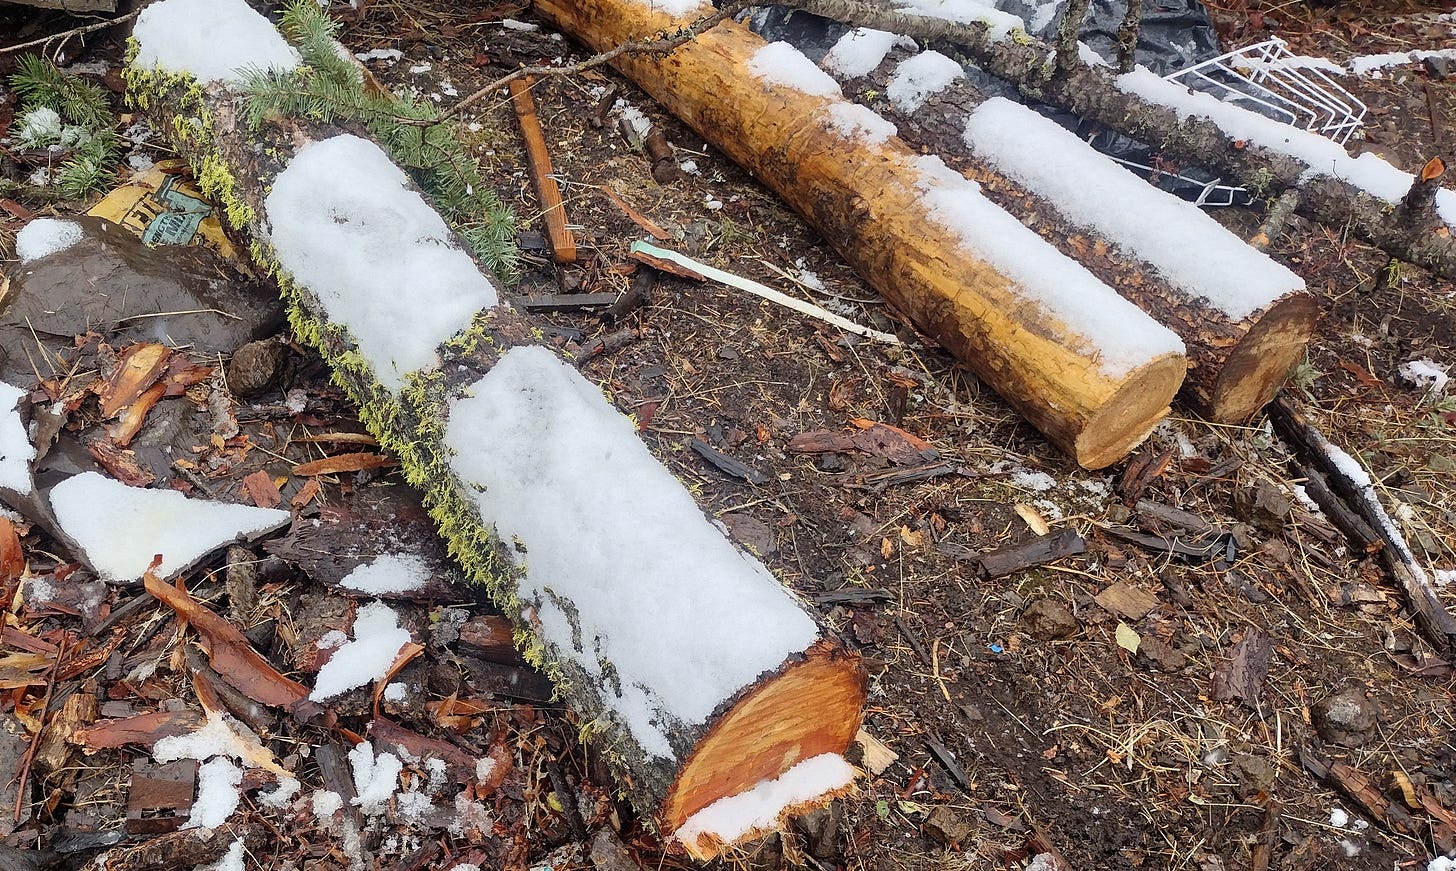
One of the byproducts of this work has been a nice little pile of log off-cuts, as I trim the piles to size.
They’re too short to make structural members for my pole-buildings, but they’re exactly the right size for making my office more…well…officey.
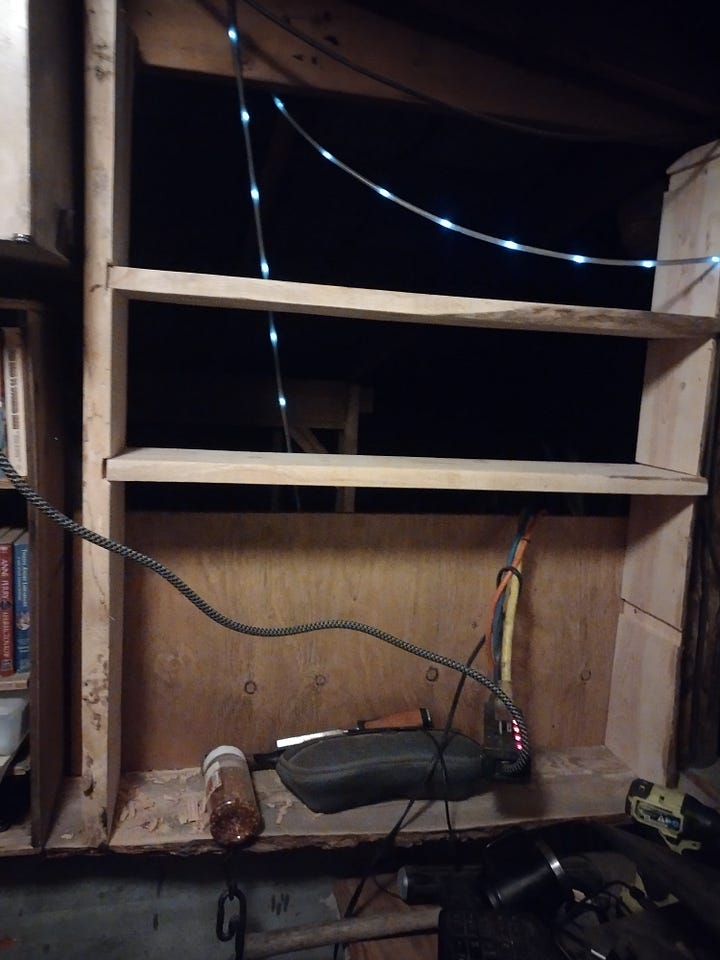
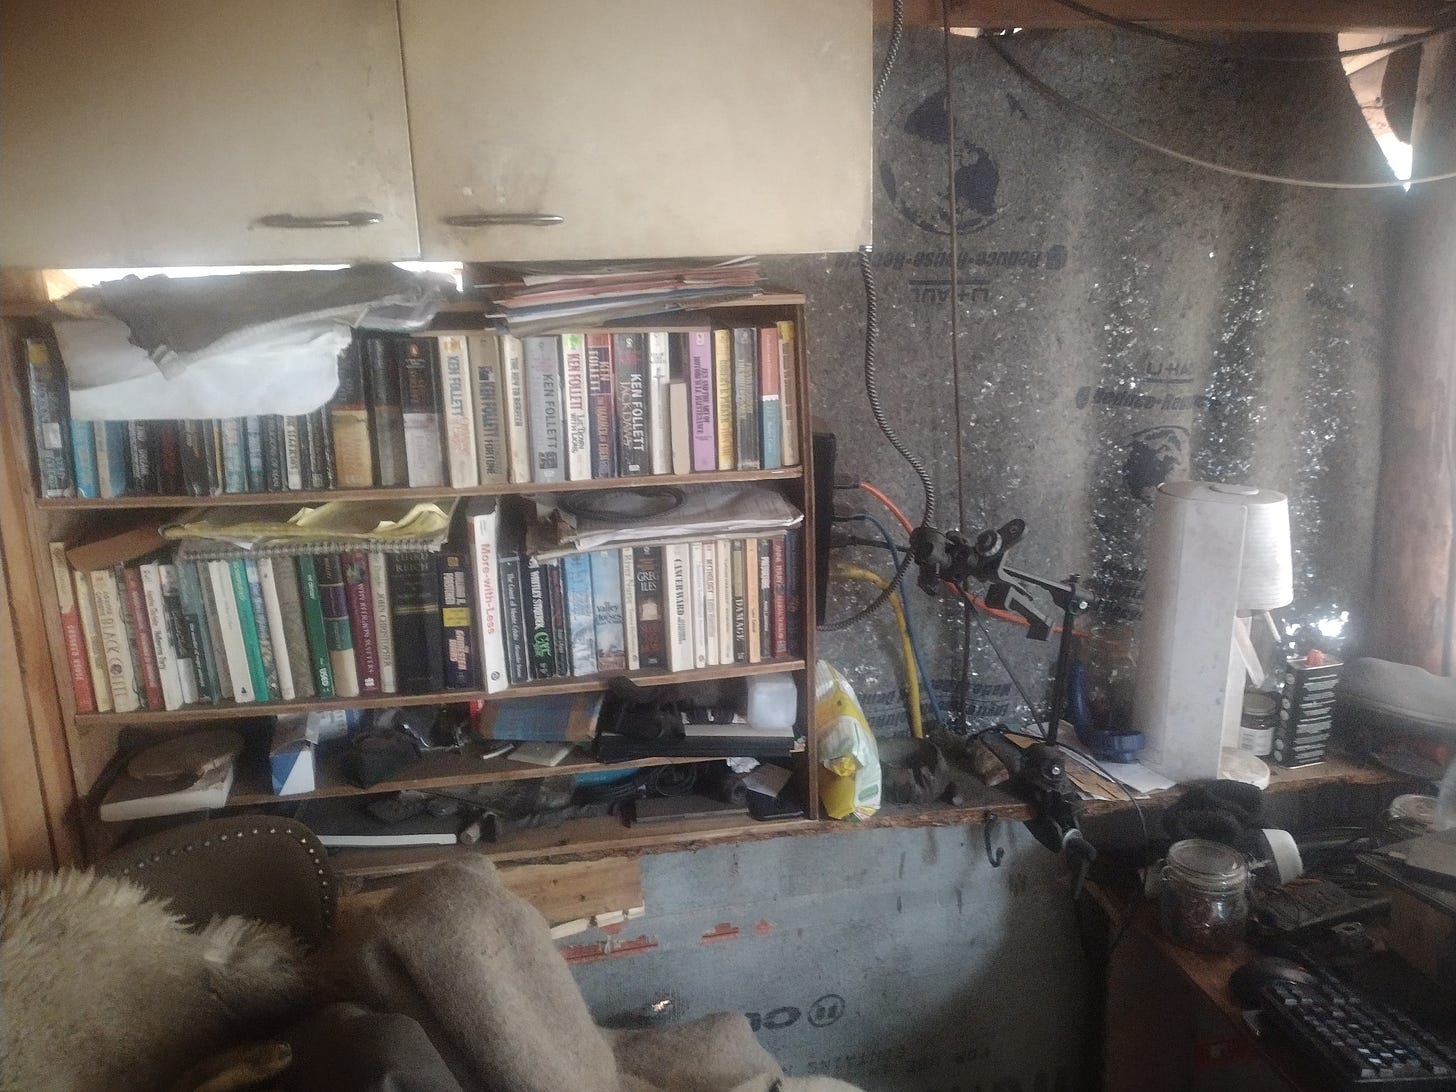
In my world, an office requires books. And, as you can see from the picture of the “before” on this project, I had previously knocked together a cheap plywood paperback shelf, but there’s no room in there for any of my own books, or any of the reference books I might want readily to hand, or, indeed, any hardbacks (which, for my money, are far more beautiful than the highly-functional paperback).
So these logs are going to become bookshelves of a sort I could never afford if I were to buy them.
A decent commercial bookshelf is usually made with 3/4” plywood finished in Baltic Birch or another beautiful veneer layer.
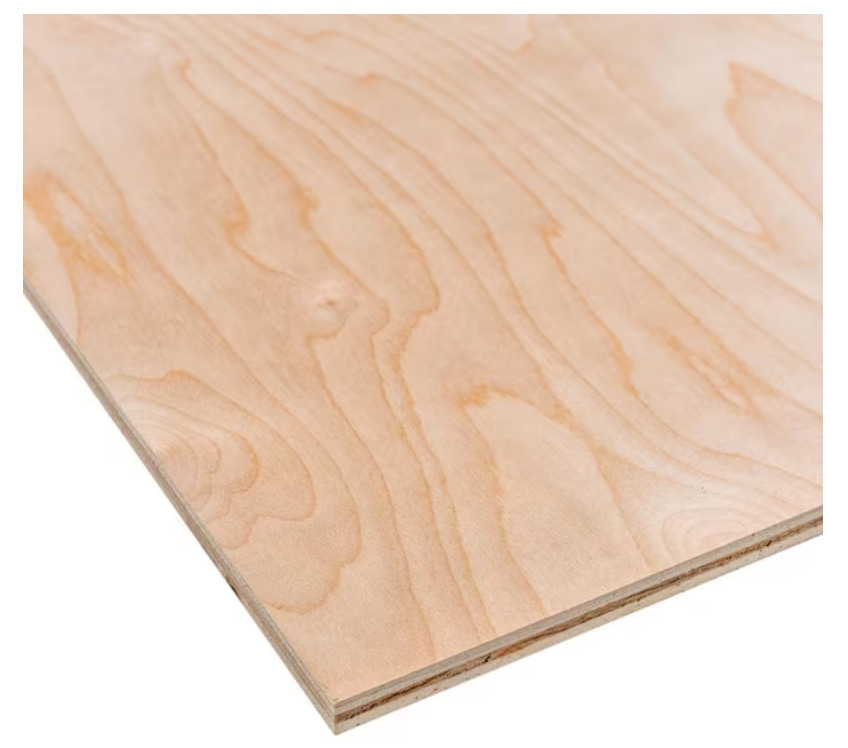
Such a bookshelf will usually be finished with nice crown moulding and edge trim made out of actual non-composite wood. A good single-bank model that’ll hold 100-200 books will set you back $400-500.
Why so much? Well, to start with, high quality plywood like that can easily set you back more than $80/sheet (and that’s for the cheap stuff). Cutting, fitting, and routing the trim is skilled work (or requires a very nice CNC machine). And the result is heavy—expensive to ship (a cost which you pay at the furniture store).
If you built with real wood, that would cost considerably more.
For this build, I’m using real wood, and only real wood. No plywood at all (except for the backing, for the winter, for reasons I will explain later). I’m talking solid wood planks, with live edges, assembled so as to show off the wood’s natural beauty. The kind of thing I think is appropriate for a writer’s office in the middle of a mountain forest.
The Build
Each of those logs is around five feet long, and they’re pretty fresh. I hoisted one on my shoulder and took it to the mill, then came back for seconds.
As the sun set, I started cutting them up into boards.
The mill likes fresh logs—wet wood is easier on the saw teeth, and the engine doesn’t have to work as hard.
Construction, on the other hand…doesn’t. Logs that come right out of the forest have a hell of a lot of water in them. I don’t have the figures ready to hand, but judging from experience I’d wager that fully 60-70% of a tree’s weight is water (if not more). Let’s put it this way I can easily shoulder an 8 foot log (6-inch diameter) that’s been drying for three years or more. A fresh 8 foot log, on the other hand, requires approximately three guys my size using rope slings to move by hand (I know because I’ve done it. See my article “The Human Tractor” for how I eventually solved the log-moving problem).
The wood you get at the local lumberyard has been dried in a gigantic oven. Even though it’s often still wet, it’s the goddamned Sahara next to what’s coming off my mill. A saner Dan than I would put the boards in a solar kiln for a few weeks, or stack-and-sticker the boards to dry over the winter.
I, as you may have noticed, am not particularly sane. I needed those shelves, and I needed them ASAP so that I didn’t waste another winter’s worth of writing feeling aesthetically bereft and unable to concentrate.
So I had to come up with a workaround…or, even better, a series of them.
Wet Work
I decided to work with 1-inch material (actually 1 inch, not the 3/4-inch stuff that gets marked as one-inch at the lumber yard), since that would give me enough stiffness to remain strong and dimensionally stable at the lengths I was working with (in other words: I needed something that wouldn’t bow under the load of books while it was drying).
So, I took the stack of boards into the shop.
It’s easy to see in this pic how wet these fresh-off-the-mill boards are. Harder to see is how rough they are. All wood must be sanded down in order to be usable in finish carpentry, but until you’ve been there it’s hard to appreciate how rough boards fresh off a mill really are. They’re not just rough, they’re actually furry (see below for pic).
My first attempt at sanding these things did not go well. Their wet, rough-cut shaggy surfaces gummed up my sand paper in a few seconds, leaving me to contemplate how invested I actually was in this project.
Until, I realized, I had a sensible, everyday tool that could dry out the surface enough to make it sandable.
A flamethrower.
I used this hellish armament to toast the surface of the boards, steaming off the moisture that soaked the first few millimetres of the wood.
By the way, notice the weird speckled texture of the burns? Those speckles are each wood fibers sticking out of the rough board, giving the wood a furry texture.
Once nicely toasted, the boards sanded down just as well as anything you might buy over-the-counter.
I sanded the boards (11 in all) down to a 400 grit, which isn’t exactly finish-fine, but because these boards need to dry, I’m leaving them unfinished for now. I just need them soft to the touch and ready for service.
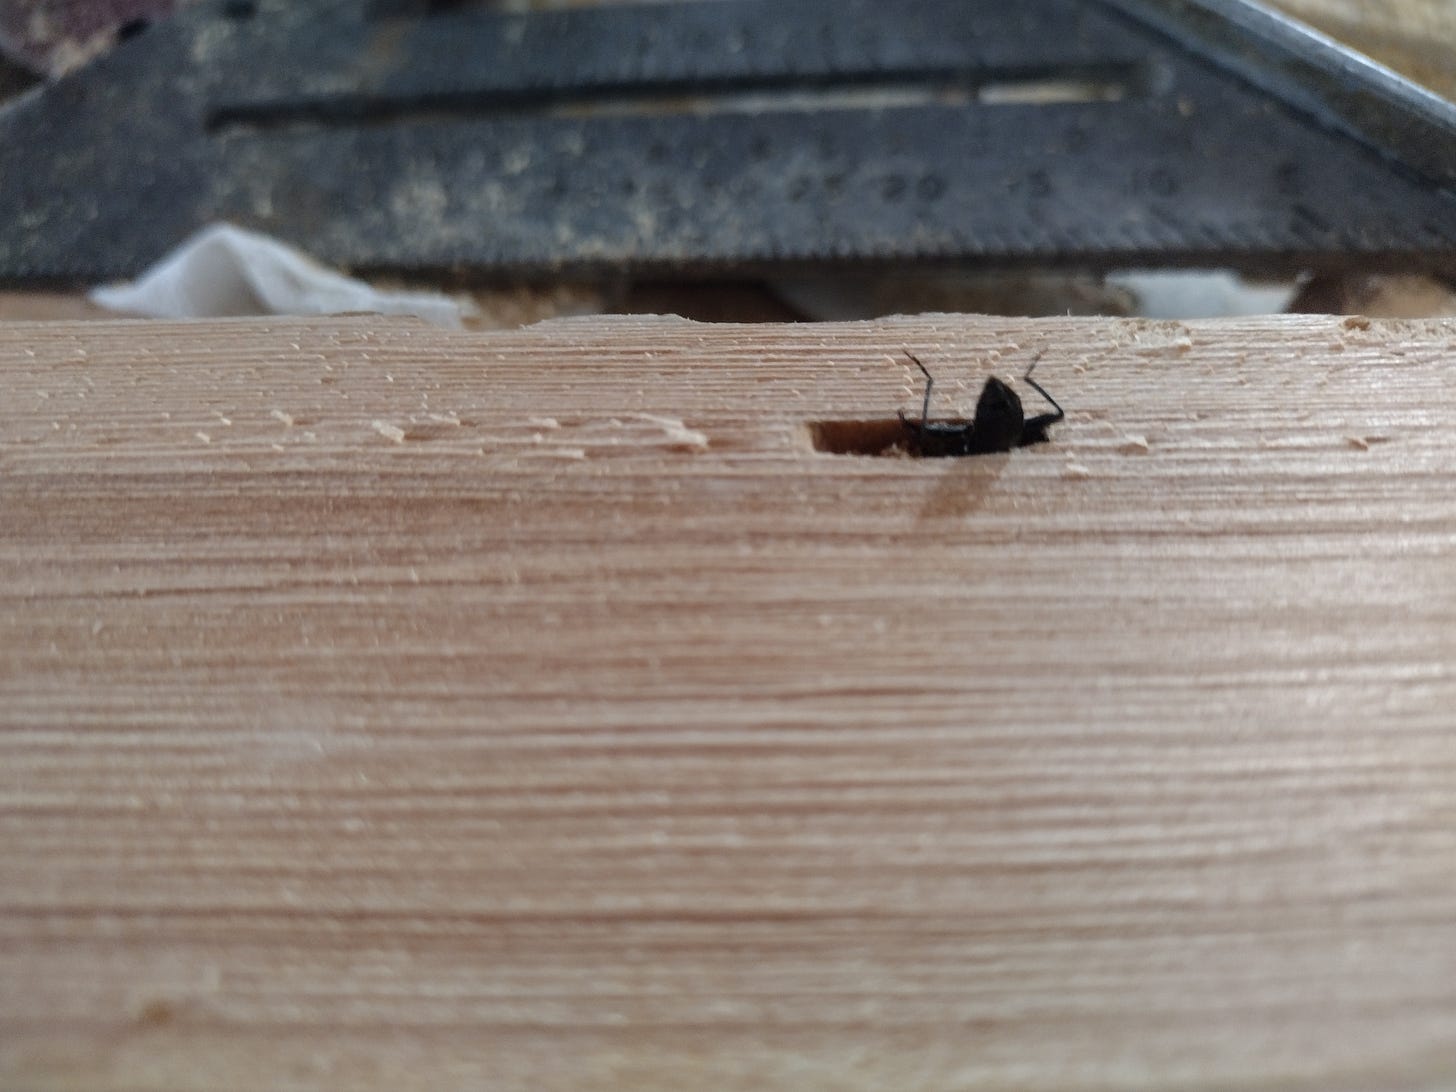
One of the fun parts of working with natural and fresh materials is that you make a lot of unexpected friends along the way, like this little guy…
…who crawled out of his hidey-hole when the board started vibrating.
Once sanded, I had to cut shelf-slots for the vertical structural members which would hold the boards. These I did in 1 1/2” width, so there’d be enough meat there for the rabbit joinery (i.e. slots).
Since I was lazy and didn’t want to use the palm router (which I’m not very good with, yet), and since the router table is currently buried under a workbench loaded down with hardware that’s being sorted, I decided to go old-school. I cut several grooves for each slot, and chiseled out the detritus.

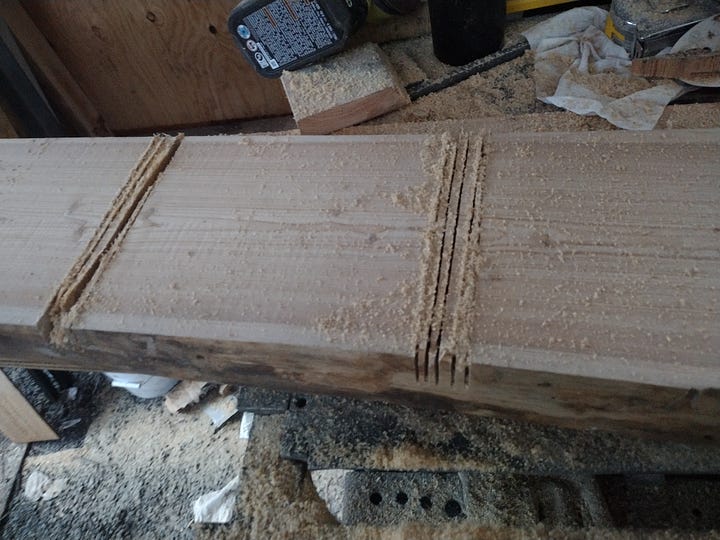

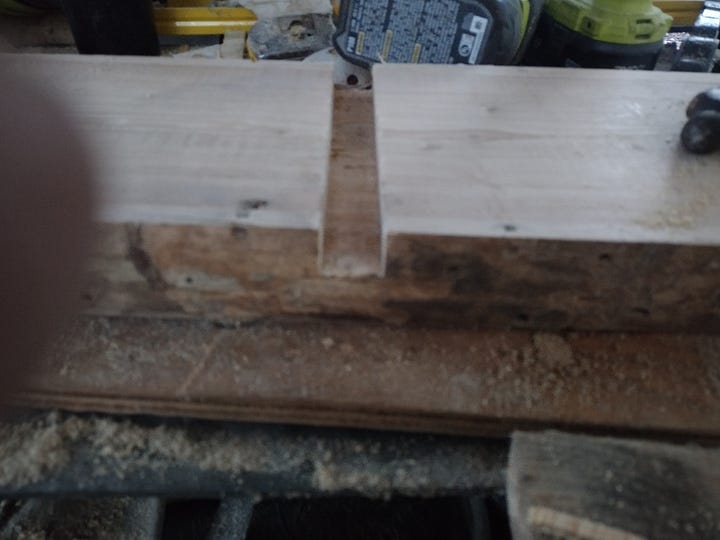
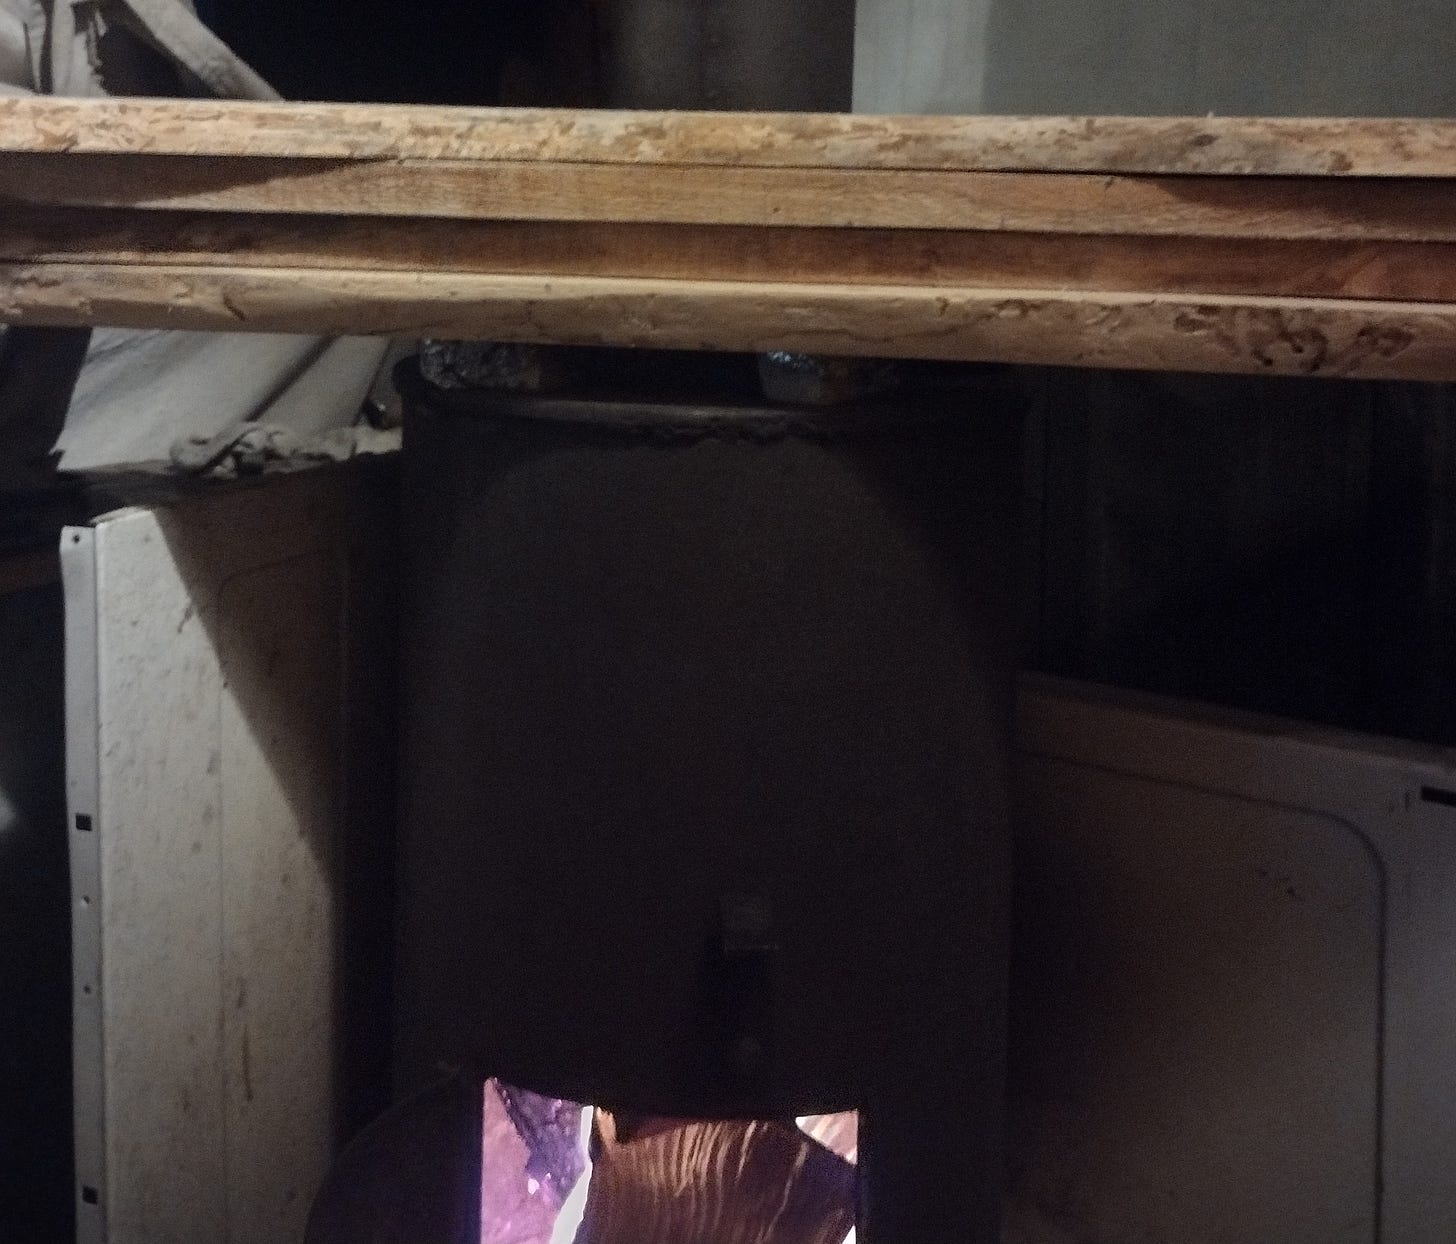
While all this was going on, I set the first bank of shelves to dry a bit more on a wood stove that was already burning because it was terrifyingly cold out. Each set of shelves got a few hours of this treatment. It didn’t make them kiln-dry, but it did lighten them by about 10% each.
I may have misled you earlier about the vertical shelf structural pieces. I only pre-rabbited the end pieces. The center piece had to be cut after it was put in place.
The reason?
The floor has settled since I built the porch, and I wanted these shelves level. This meant that the rabbit grooves in that center piece had to be cut a la carte after leveling and scribing each individual shelf. I did a lot of chiseling in awkward positions, and not all of the slots had clean faces—which is okay, I already had a plan for that.
The Installation
After their shifts drying on the wood stove, the shelves went up. The first bank was easy, as that half of the wall didn’t have anything in the way…
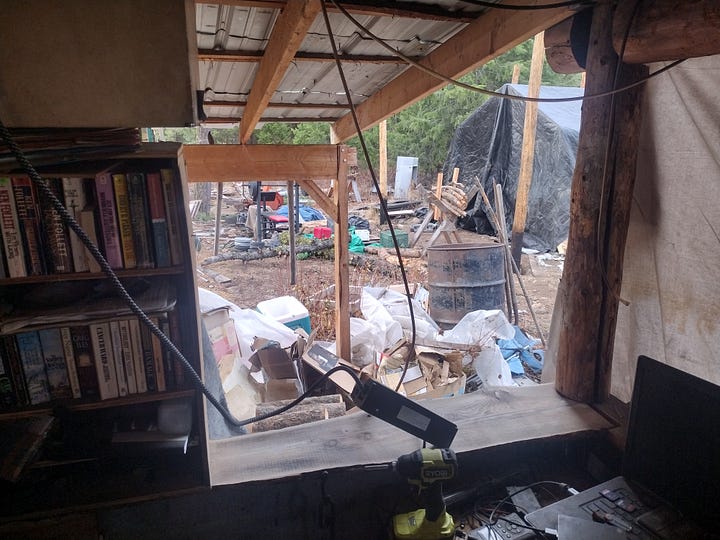
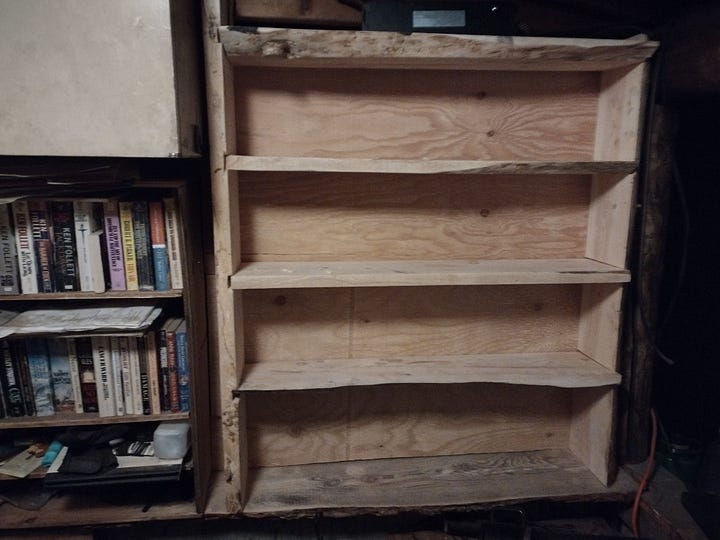
At that point, I broke for the night and put some books up.
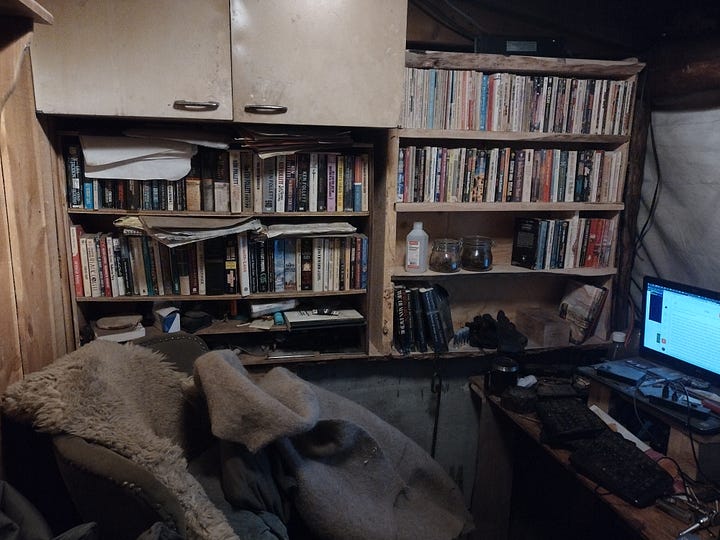
The next day, I ripped out everything on the left side and installed the next bank of shelves.
And with a good backing piece and a full population of books, it officially gets the designation of done-for-now:
Material Properties
You’ll notice that there’s no stain or finish here. I mentioned earlier that I only sanded it down to a 400 grit, where for a really beautiful finish I’d normally go up to an 800, at least.
That’s because, as I’ve mentioned, this wood needs to dry. It’ll take several months to dry out properly, and during that time it will shrink. Most of that shrinkage will be across the grain, rather than along the grain. This means that the shelves will get narrower, but they won’t get shorter. They’ll also get a bit thinner, leaving them loose in their slots.
If I were to stain-and-finish the wood now, the drying process would slow down (or completely stop), and the wood might grow mold. Worse still, as it dries the wood might split, revealing unstained wood below the surface. Both of these endgames would turn something that should look gorgeous (when it’s done) into something that looks shabby and worn-out.
This shrinkage across-the-grain meant I had to be very careful when hanging these shelves—each piece that’s actually screwed into the wall is fastened in a single line, on a single axis, so that when the board shrinks it won’t be pulling itself apart between screw points. This should (hopefully) prevent the boards from splitting.
Meantime, the finished backing boards will be tongue-and-groove panels, and those have to be assembled after the wood I’ve milled for them dries.
All that means that finishing these shelves—stain, finish (the glossy coat that seals out moisture), backing boards, and trim refinement on the facia to cover up the gaps in the joinery and smooth out the transitions between live-edge and milled surfaces—will have to wait until spring.
But that’s okay with me. In the meantime, I’ve got bookshelves that bring the beauty of my forest into my writing space, that surround me with books, and that reminds me why I chose this crazy life in the first place.
So, if you’ll excuse me, I’m off to go work on my November novel project. May your artistic endeavors this month fill your world with as much beauty and delight as these bookshelves have brought to mine!
If you’re looking for tales to transfix your imagination, you can find my novels, short stories, visions, and dreams (along with some how-to books and literary studies) by clicking here.
When not haunting your Substack client, I write novels, literary studies, and how-to books. If you’re feeling adventurous click here to find a ridiculous number of fiction and nonfiction podcasts for which I will eventually have to accept responsibility.
This column is a big part of how I make my living—bigger now due to recent exciting events which you can read about here. Because of this, I’m offering a 20% lifetime discount off the annual subscription rate. If you’re finding these articles valuable, I’d be honored to have you join the ranks of my supporters!










And I was expecting a discourse upon the recent election!