
Building Typhon
Build Series #28

This is the 28th installment of my series of build projects. Catch up on the series here.
This post is filled with pictures and your email client may truncate it. Read the original at http://jdanielsawyer.substack.net
The classic detective stories begin with the client walking into the PI’s office and telling a dubious tale of woe, sending the detective off on a grand adventure. It has occurred to me more than once that some of my most interesting builds begin the same way.
A phone rings. A message pings. An email comes in. A finger taps me on the shoulder.
And the person who found me? They need something.
Sometimes it’s practical.
But sometimes, it’s just epic.
This one, my friends, was epic.
“I need a mace,” says the stranger. “You know, just in case there’s a zombie apocalypse.”
“So get a baseball bat.”
“No, you don’t understand. I want a real mace. The kind of thing a medieval warrior would have been proud to own. I want to hang it on my mantle and tell stories about it.”
“Ah,” says I, “That’s a whole different proposition.”
What Is a Mace?
A mace is a tool for splitting skulls.
No, really, that’s its whole job. It exists for no other reason than to bash in the brains of your enemies.
A mace is a weighted bar, and the weighted end has either spikes or blades at the terminus.
In the medieval era, they were top-notch bludgeons, part of the knight’s standard toolkit. They were useful against armored knights because they brought terrific force to bear, the kind that could break bones even through steel armor.
The classic European Mace is the Morning Star, which looks like a prickly pear on a stick:
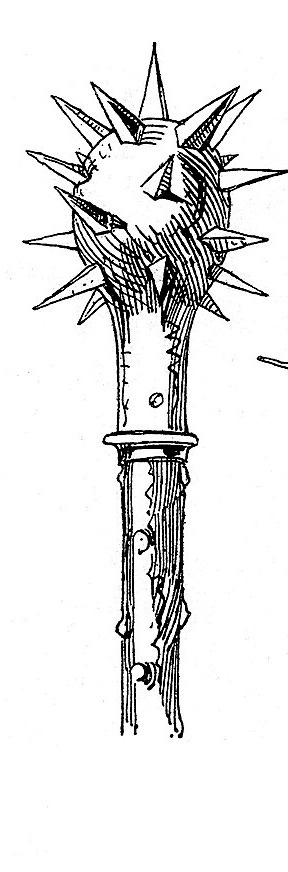
Getting spikes to stick in a ball like that requires some pretty sophisticated work that is currently beyond me. I could make one, but not one that I could expect to take a pounding. I’d be seriously disappointed if, after the zombie apocalypse passes by, the stranger showed up on my doorstep demanding warranty repair because the spikes fell out of his murder ball.
So I suggested a far-eastern variant as the base for the design.
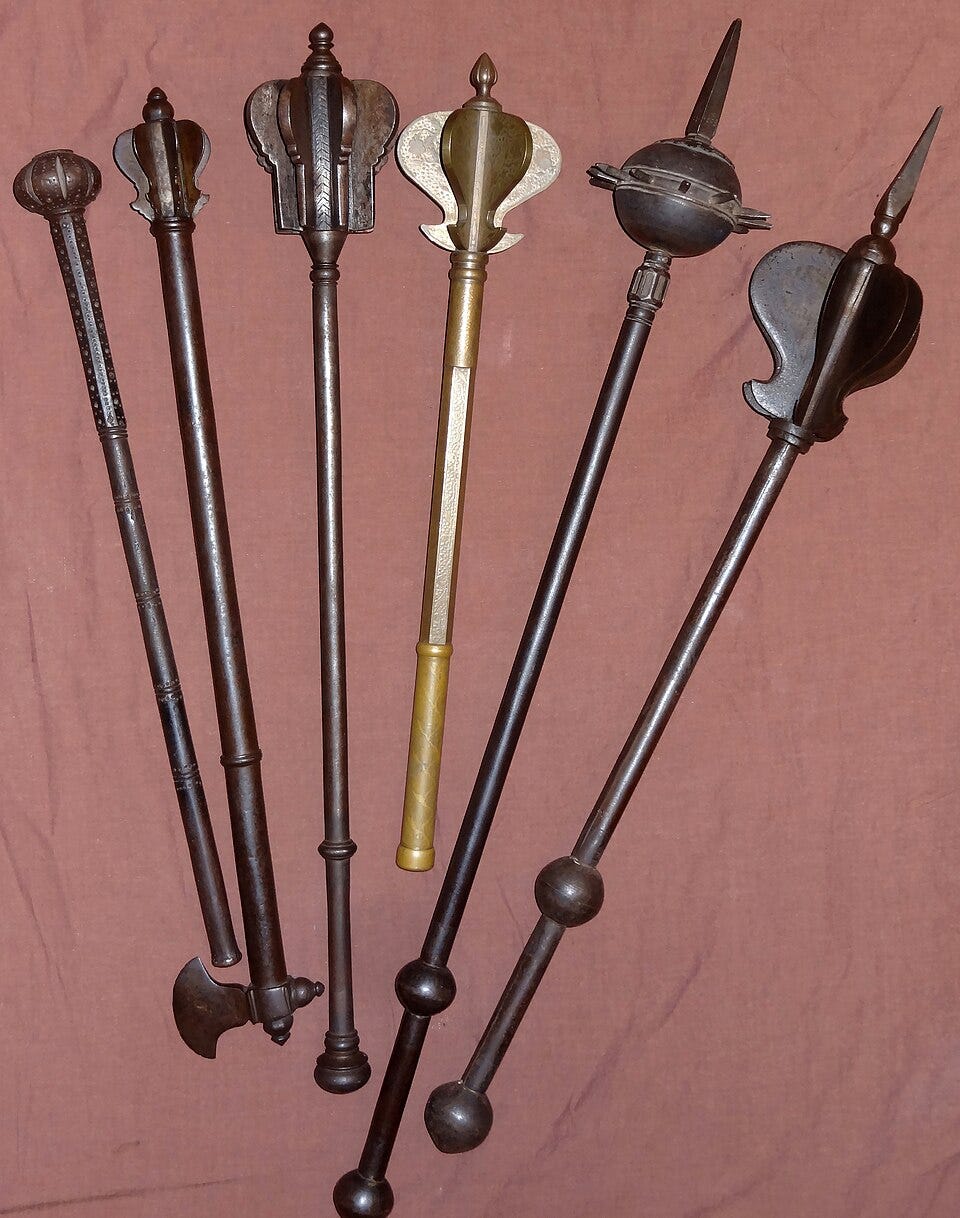
The third mace from the left in that photo is an Indian variant called a “Shishpar.” That is a design I can execute.
Then the stranger said the words that I was waiting for:
“Be as creative as you want. Make it look like something Mad Max would love.”
As you will, stranger. As you will.
The Matter of the Metal
For those of you who didn’t grow up in the 80s, or don’t dig action films, Mad Max is an Australian post-apocalyptic wanderer who lives as a cross between a paladin and a scavenger.
Scavenging is something I have a bit of experience with.
For the body of the mace, I would need a big chunk of hardenable round steel. I would need to build a transition into it between the handle and the shaft. A mace can be a very forward-heavy weapon, and that’s not a good thing.
I’ve done a lot of melee fighting—not in serious situations, but during my short career as a stunt man and my longer career as a martial arts student I’ve worked with all manner of batons, staffs, swords, flails, and bludgeons. Swinging a forward-heavy weapon in a fight is a really good way to get yourself injured or killed—either because the weapon pulls you after it which leaves your flank exposed to your enemy, or because, in struggling to keep control, you dislocate a shoulder, sprain a wrist, or chip your shinbone on the follow-through.
So for this mace, I needed to keep as much weight as possible towards the butt-end of the weapon. I needed to keep the handle beefy, and build a pommel into it too, just to make sure I had good balance.
What to use?
Last summer, I replaced the tie rods on the truck and the blade on a neighbor’s lawnmower. Lawnmower blades are good blade steel, and tie rods are good tough steering parts that have to take a lot of abuse, so I figured these materials would serve me well.
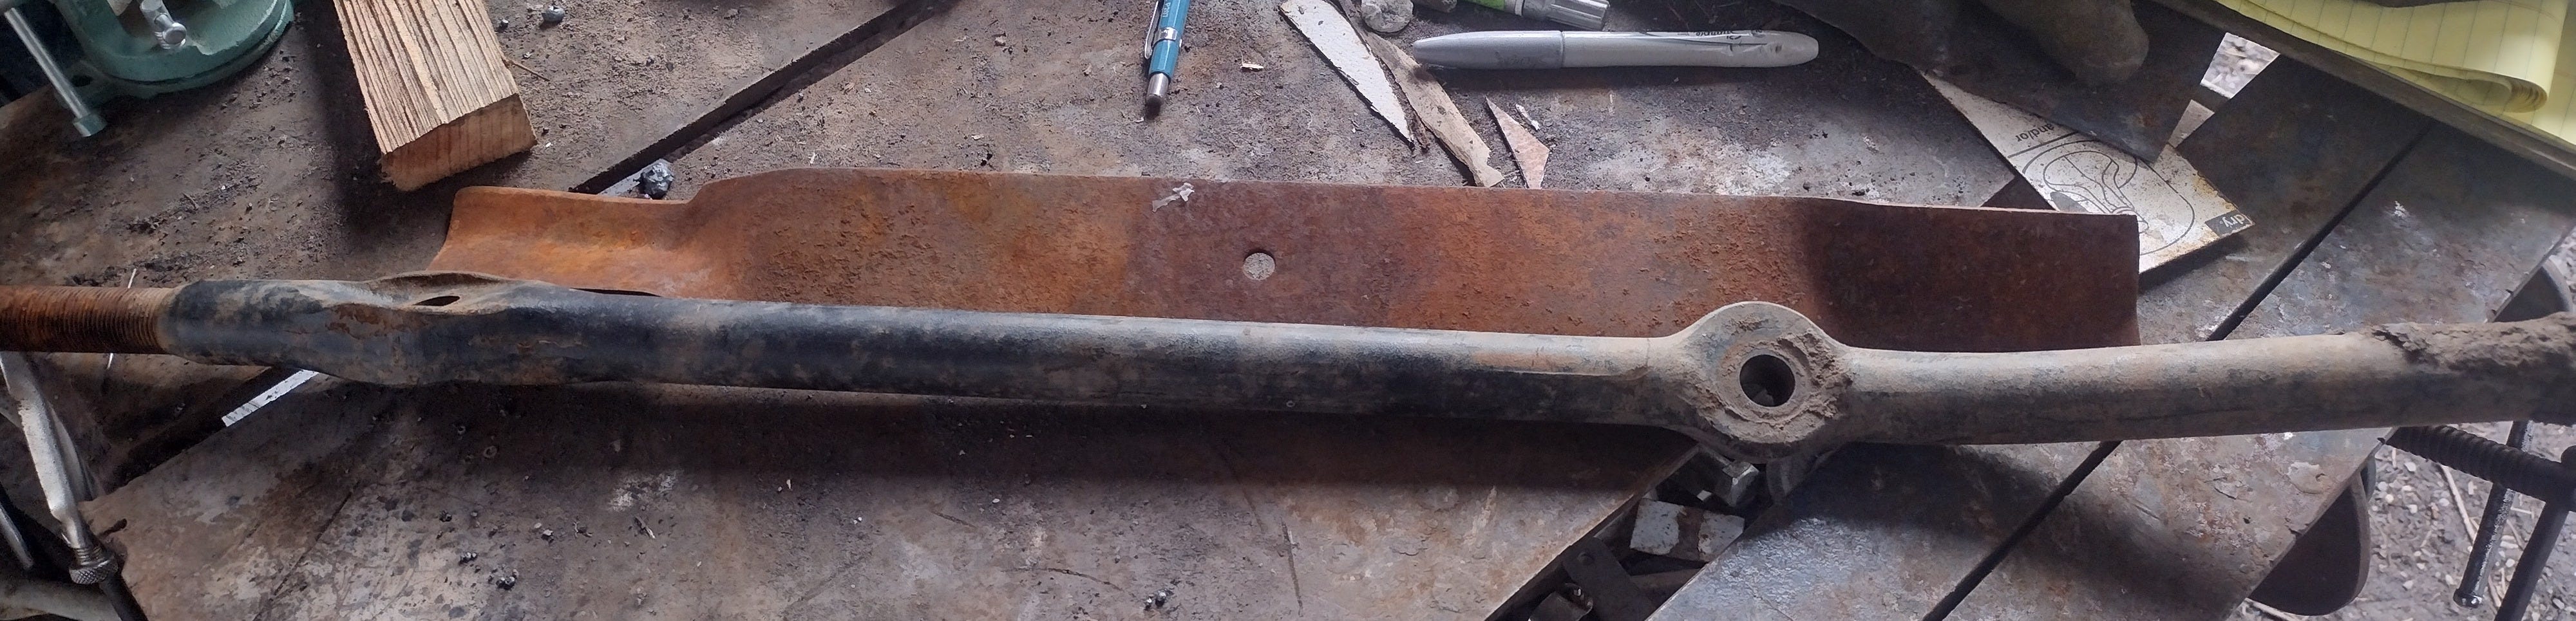
The tie rod appealed to me for another reason, too. You see those wide areas with the bolt holes through them? It occurred to me that one of those might work as the basis for an integral guard. This would help me isolate the handle and guard without having to do some complicated upsetting work with the torch (important, as I was running low on gas).
And both of them passed the spark test.
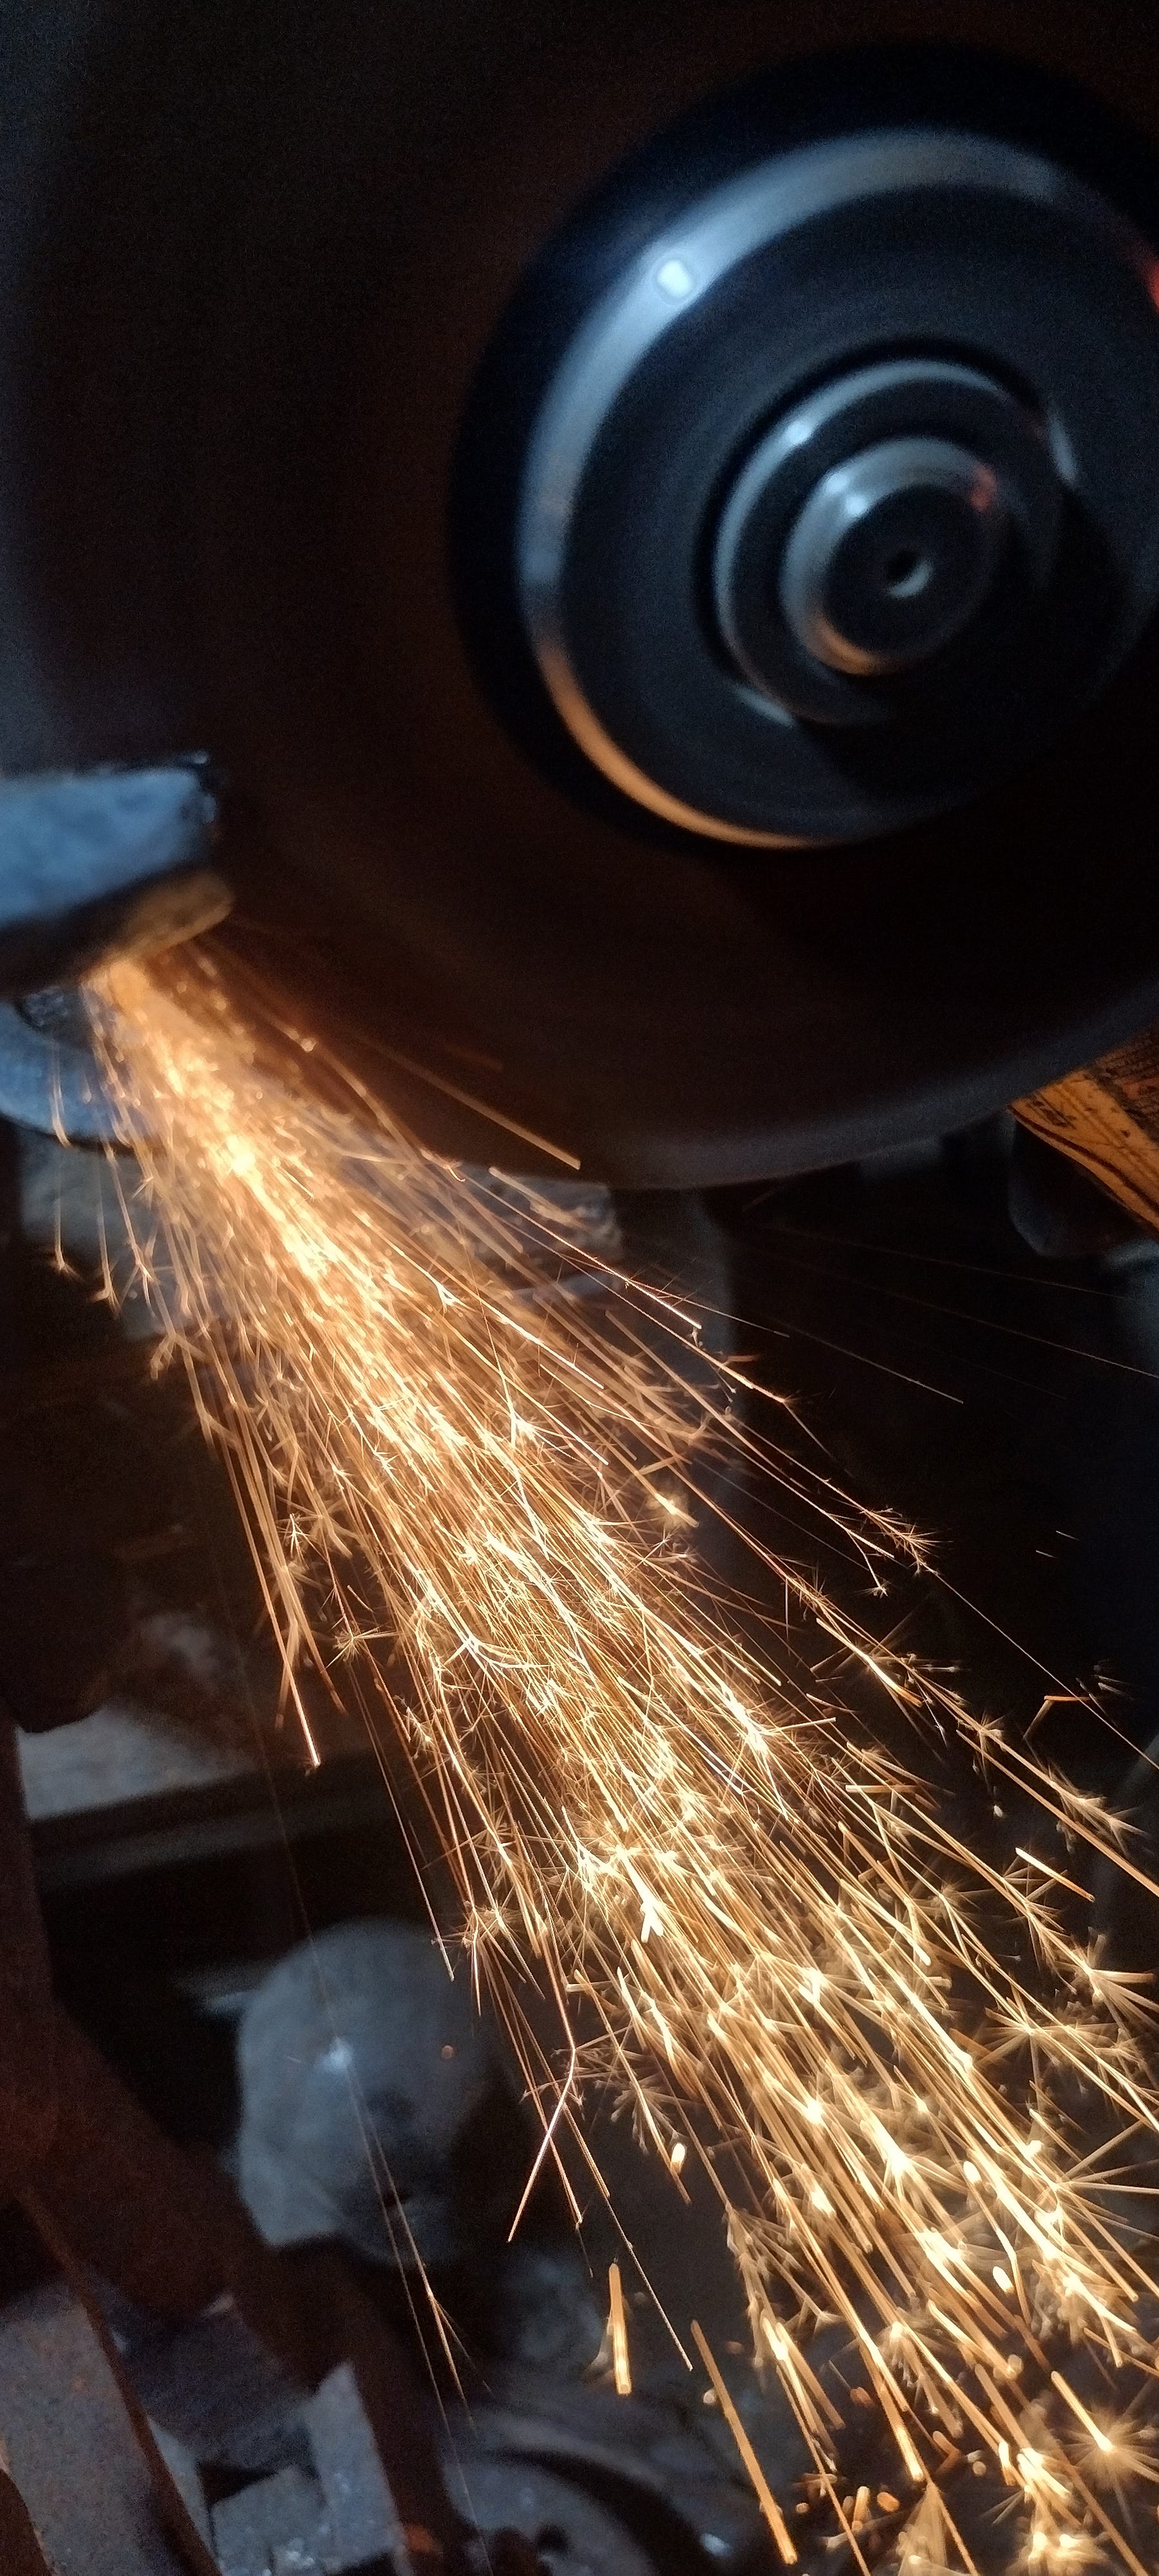
See all those starbursts in that picture? Those are carbides exploding as they hit the oxygen in the air. That means the steel has a goodly amount of carbon in it, and will harden up nicely when heat-treated. For blades, that’s a must-have. For bludgeons, hard steel in the shaft prevents it from bending when you hit it against a tree.
Time to measure and cut the big tie rod so I can get it in the forge.
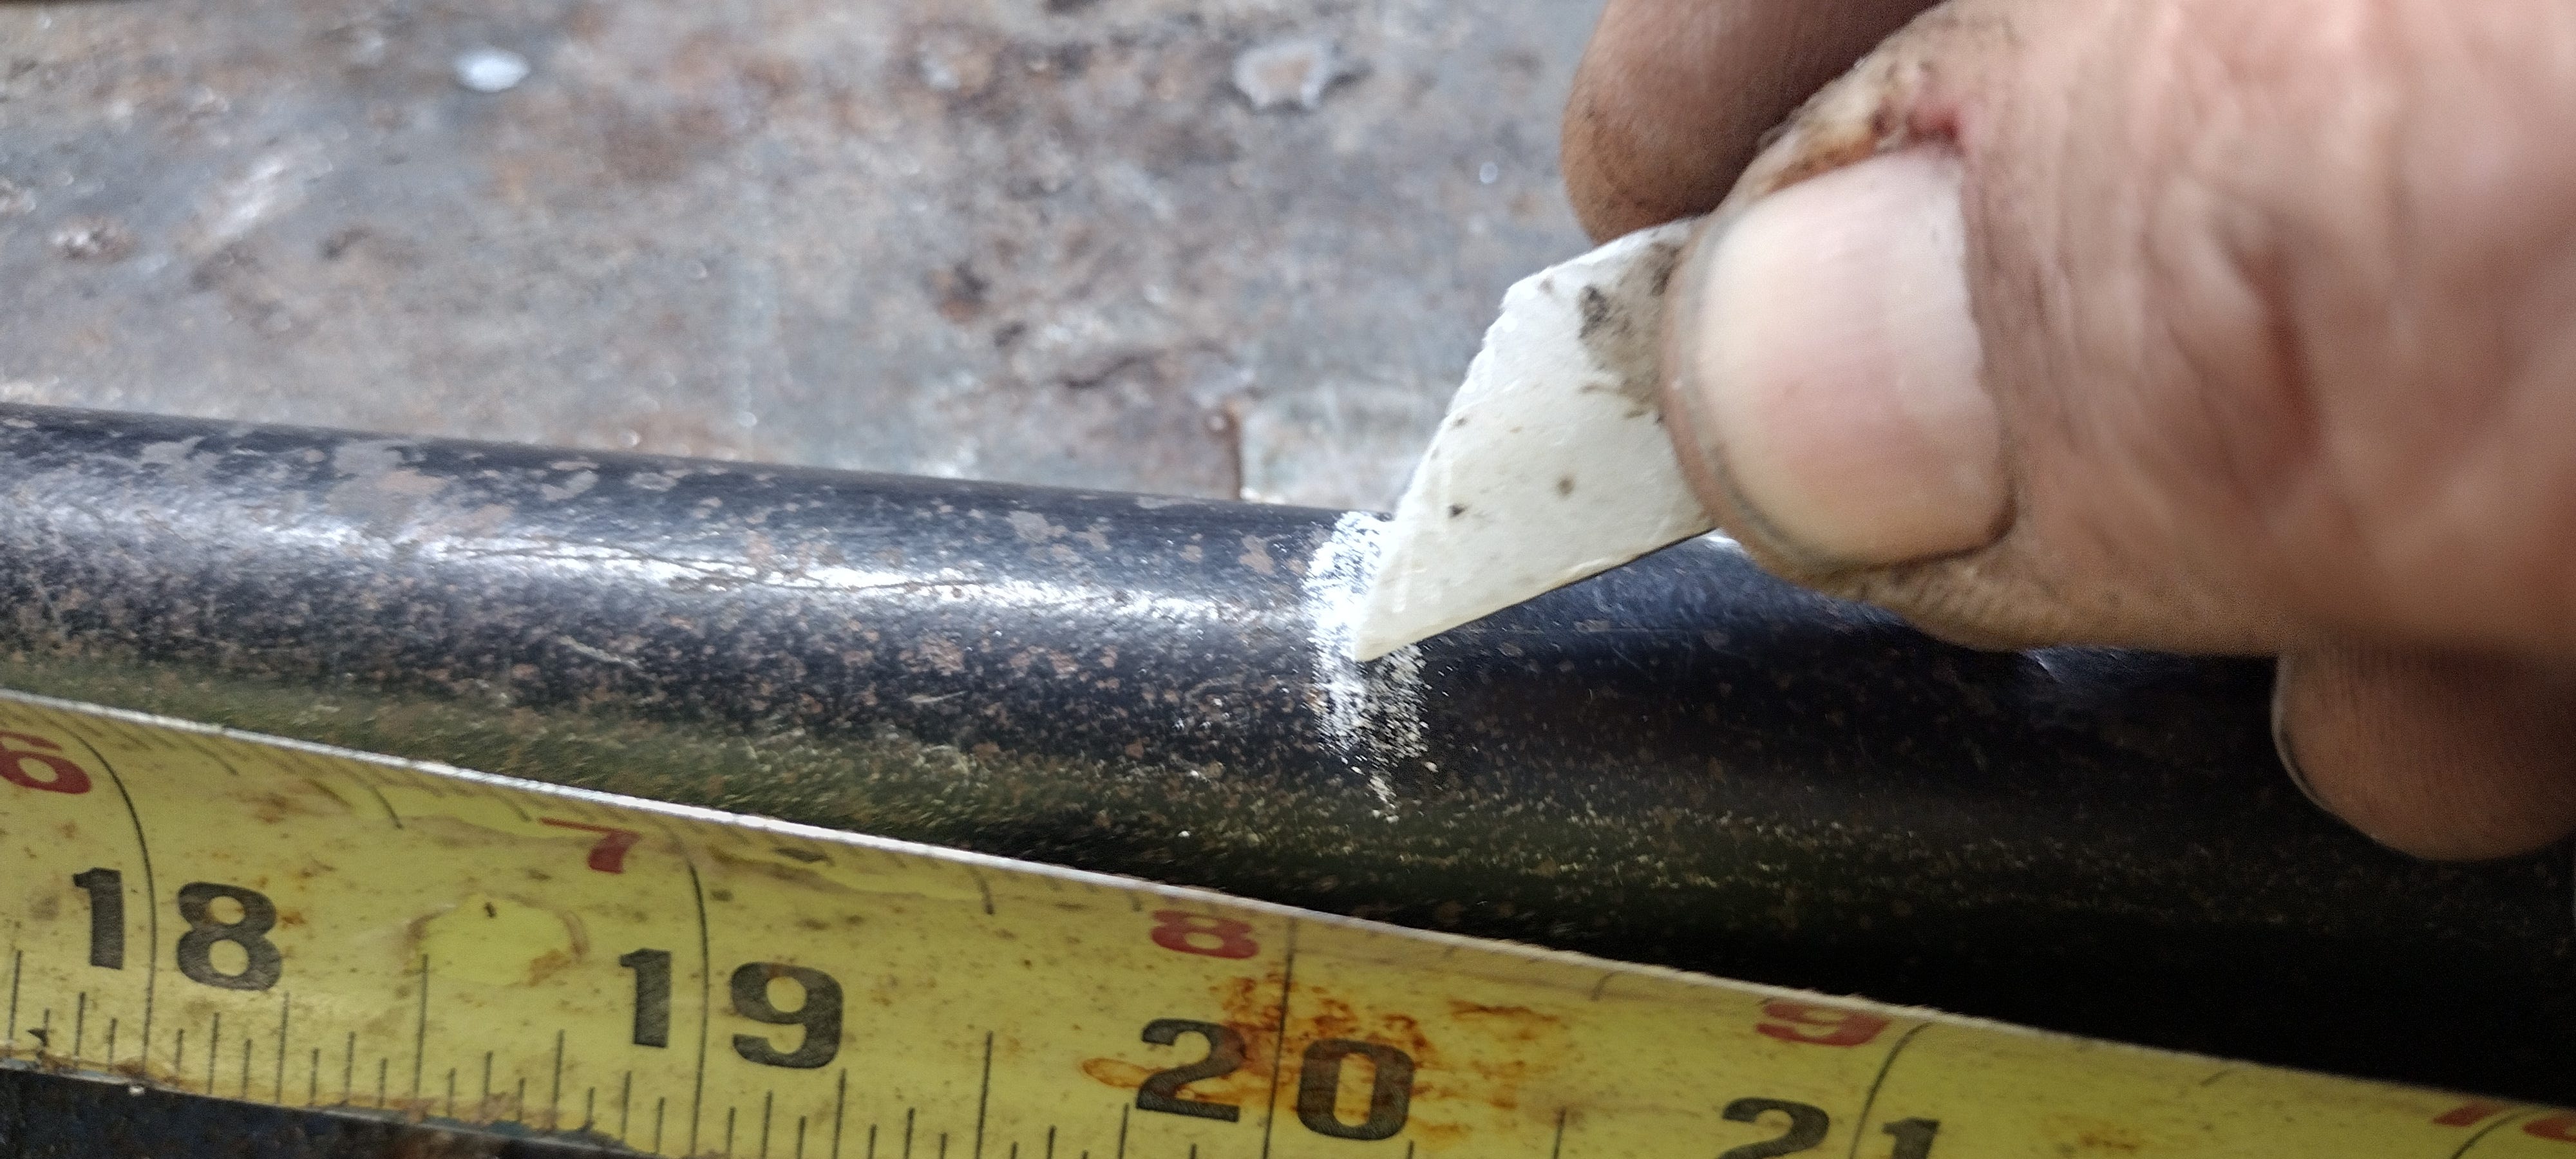
A typical mace runs 24-26 inches. This bar is 7/8” across, so cutting it at 20” would give me enough mass for the weapon, and enough material to draw out into something elegant.
Hammer and Tongs
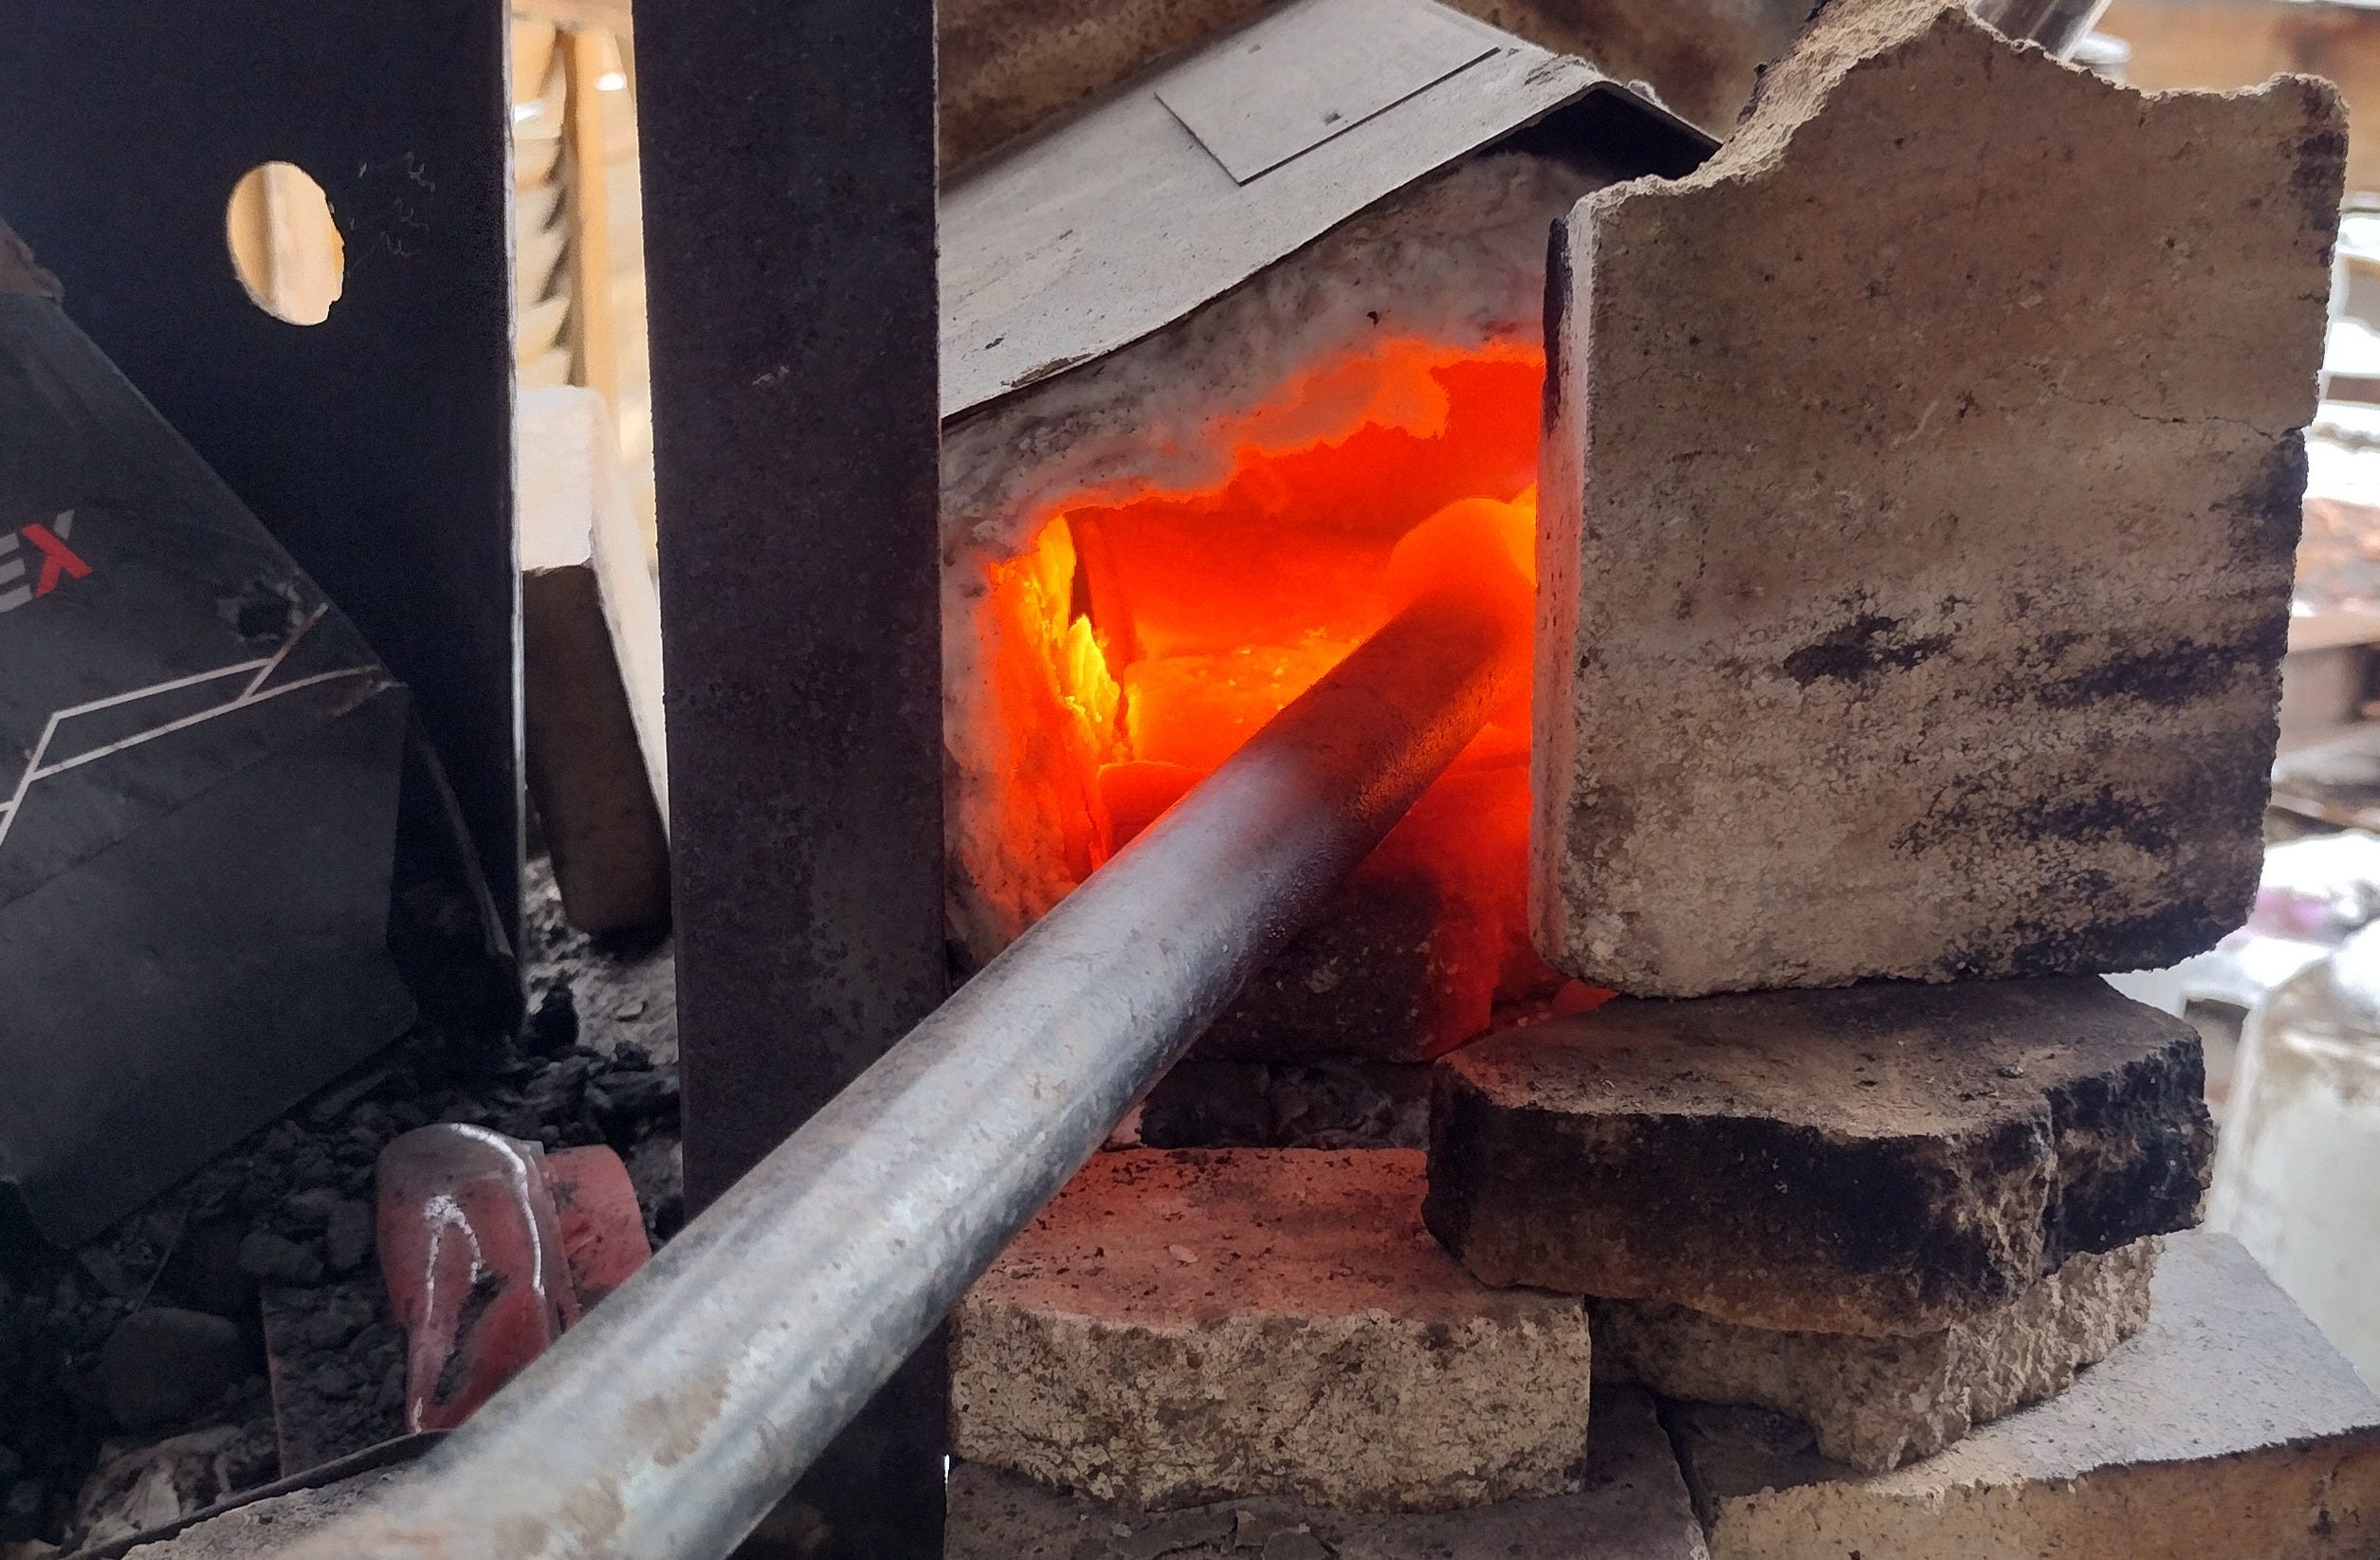
After warming up the forge, the big bar went into it to soak up the heat. I spent the time organizing the shop (no matter how clean you keep a shop, there’s always some clean-up work to do, especially when you have more tools than shelves).
Twenty minutes later, the bar was a nice yellow. I started hammering.
And upsetting.1
And hammering.
And upsetting.
Mostly it was upsetting.
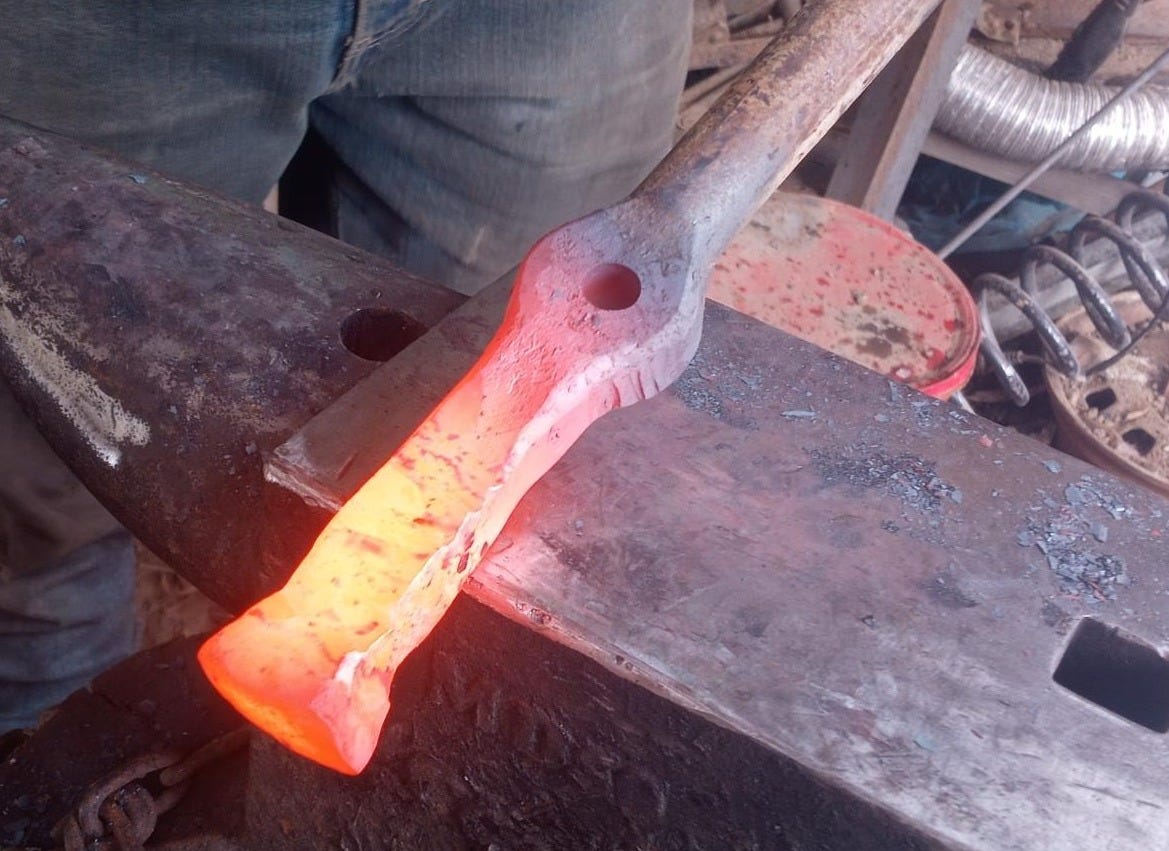
At least until I got enough mass built up in a pyramid at the bottom of the handle.
After that it was a lot of hammering to draw out the handle.
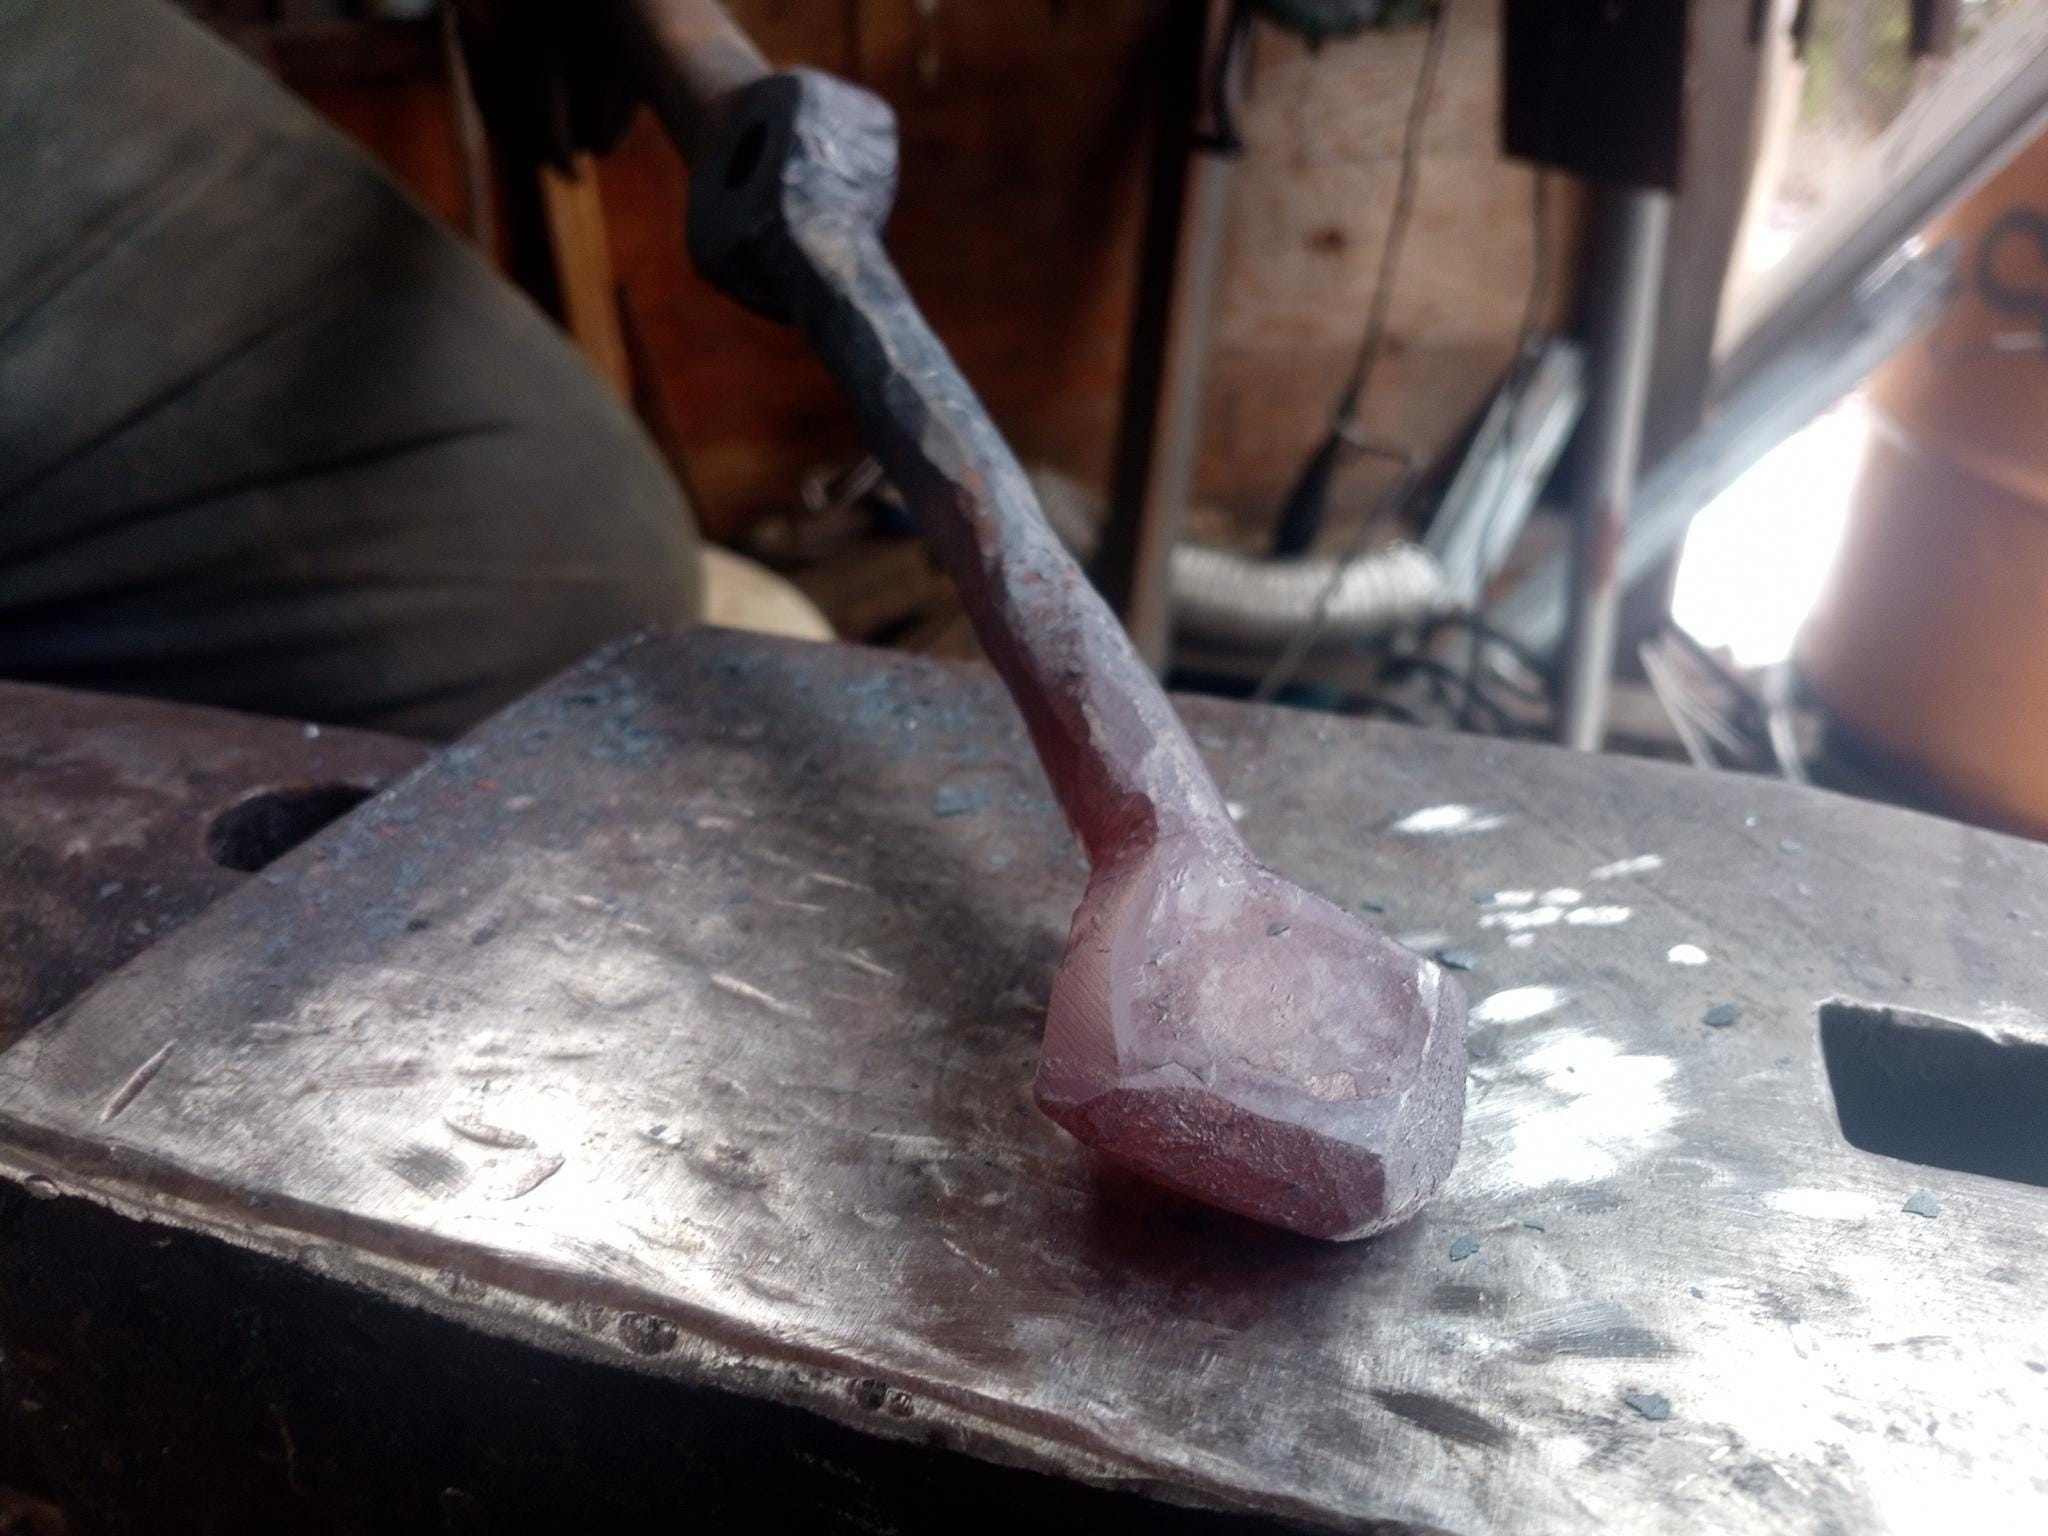
The stranger had larger hands than me, so I drew it out to hand-and-a-half size when scaled to my hand. Seemed appropriate for a weapon destined for the mantle of a crusty old bastard.2
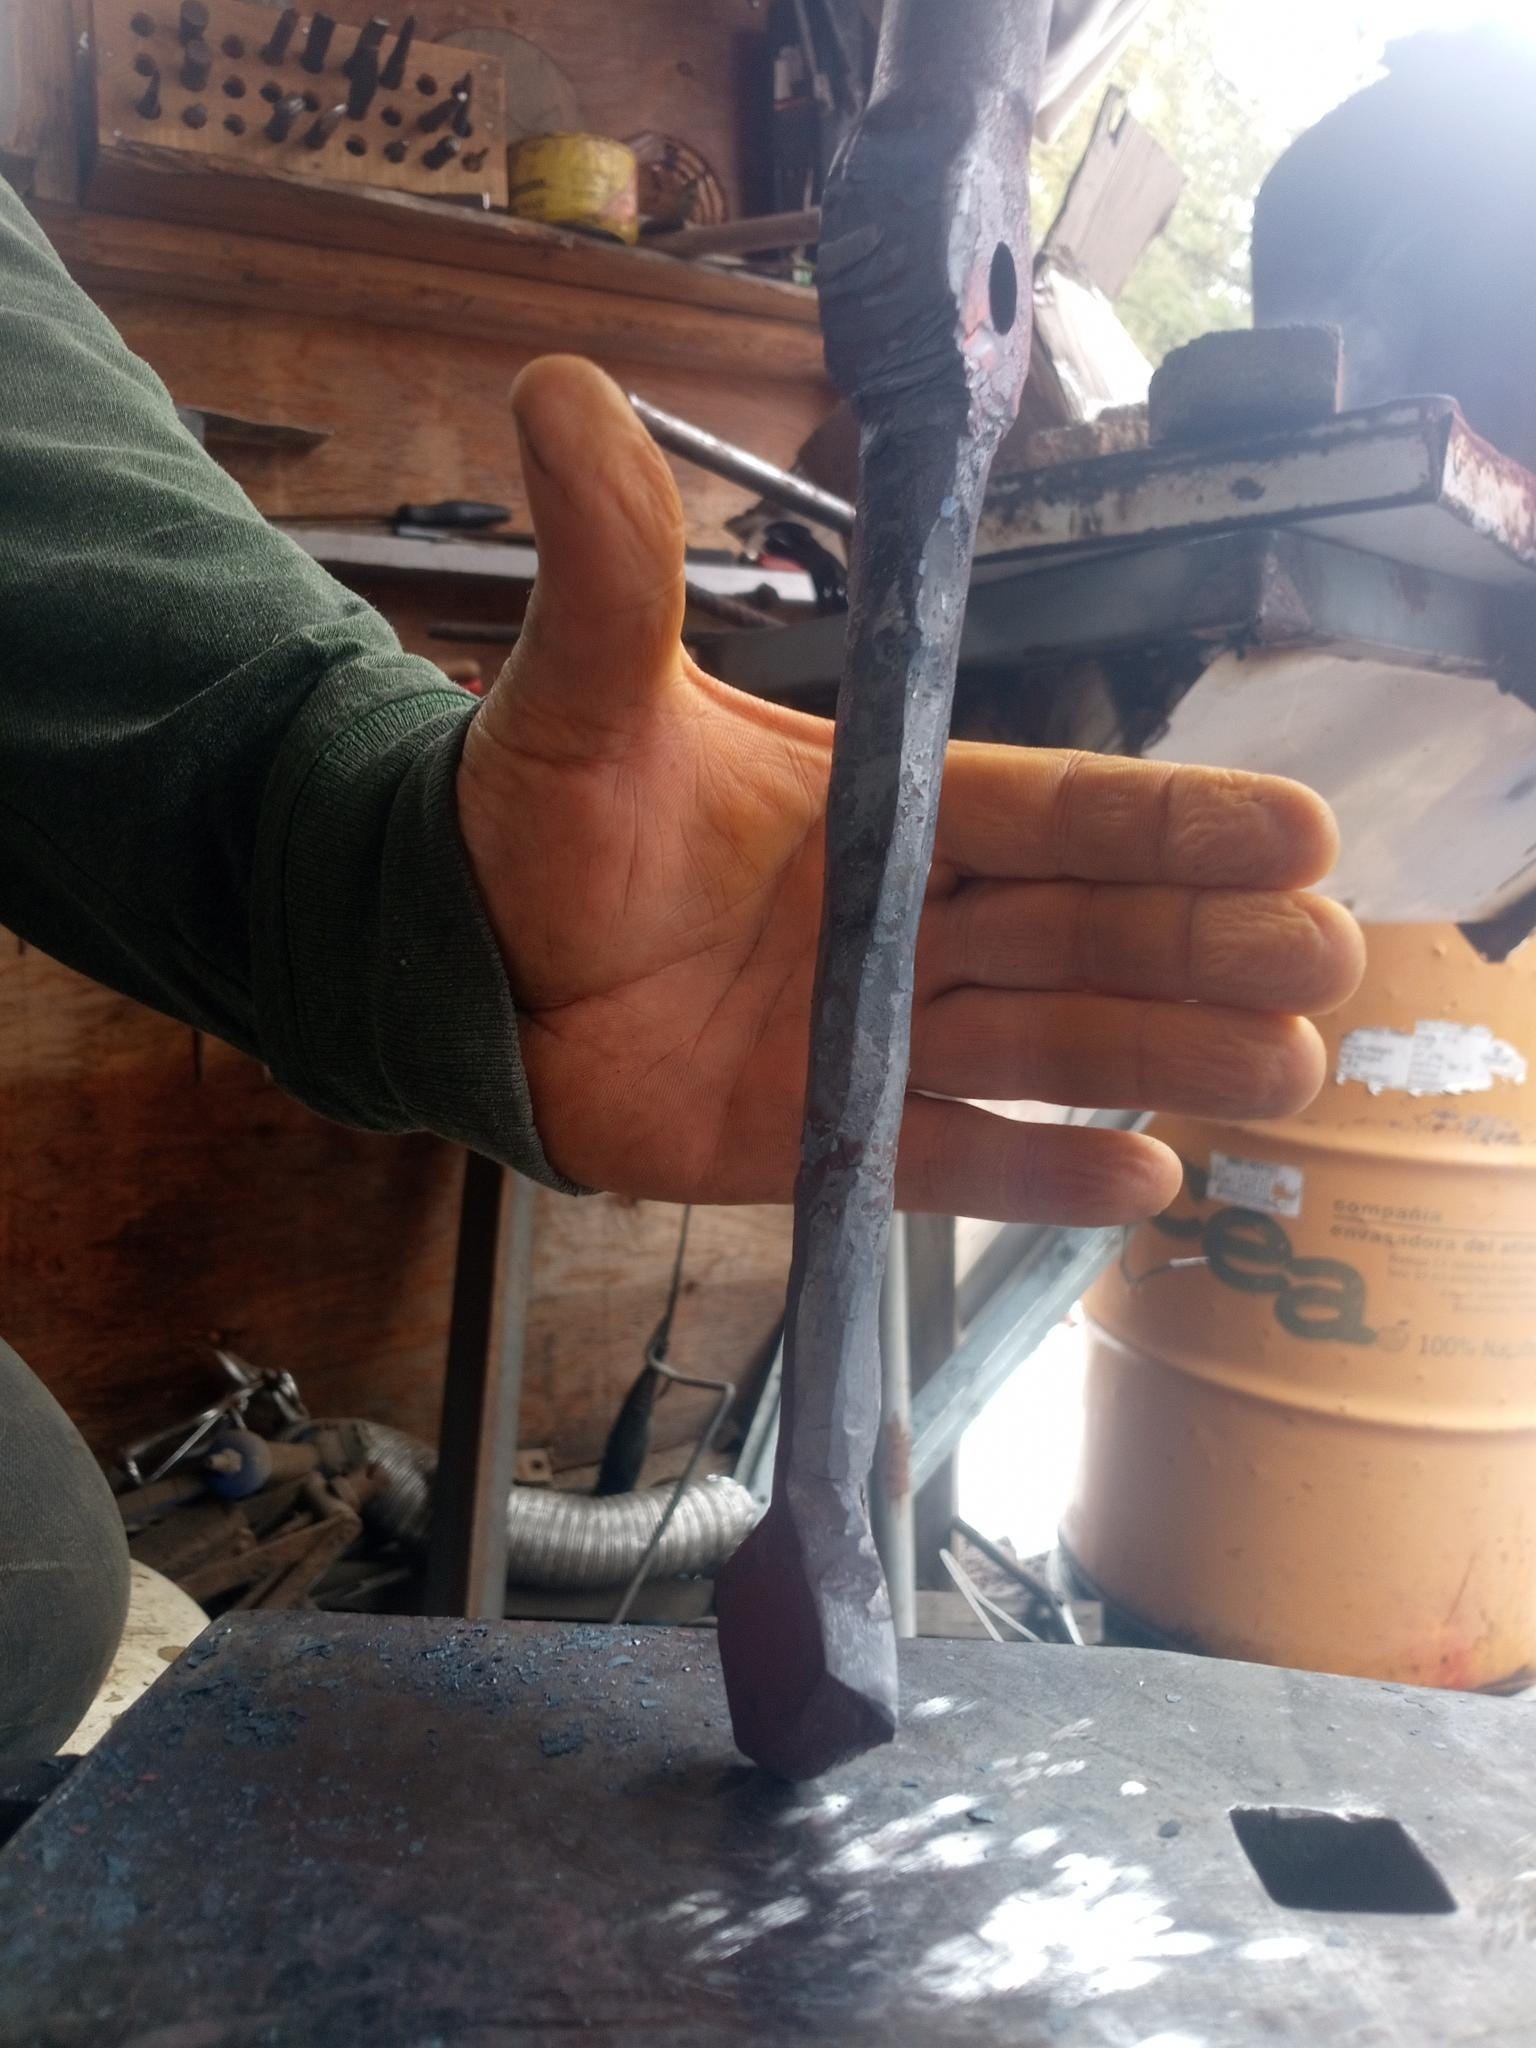
After about an hour and a half of work, I wound up with what I considered an acceptable weapon blank.
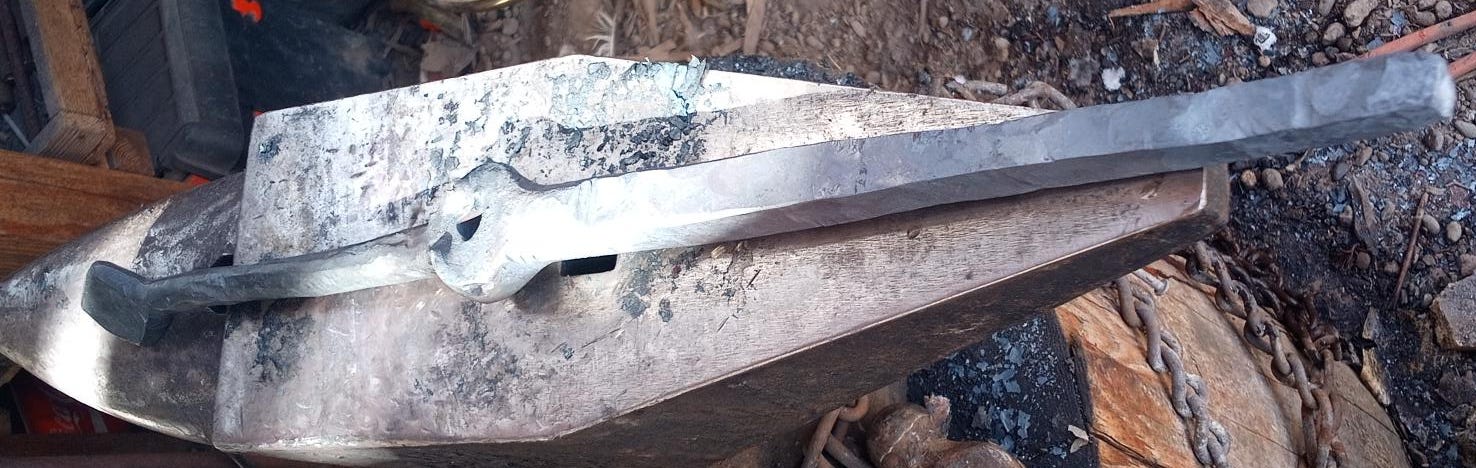
At this stage, it weighed over 6 lbs., which is heavier than a typical Claymore broadsword (the sort that William Wallace wields in Braveheart), and a LOT of that weight was out at the end of the weapon. The overall length was 26”, so I decided I should cut 3-4 inches off the end and draw out the shaft, adding a taper that would keep most of that mass down near the guard.
So, after another couple hours, I ran out of steam for the day (swinging a 6lb hammer for four hours will do that to you), but I got the re-draw done, and octagonalized the whole shaft (which I figured would be more stylish than just leaving it round).
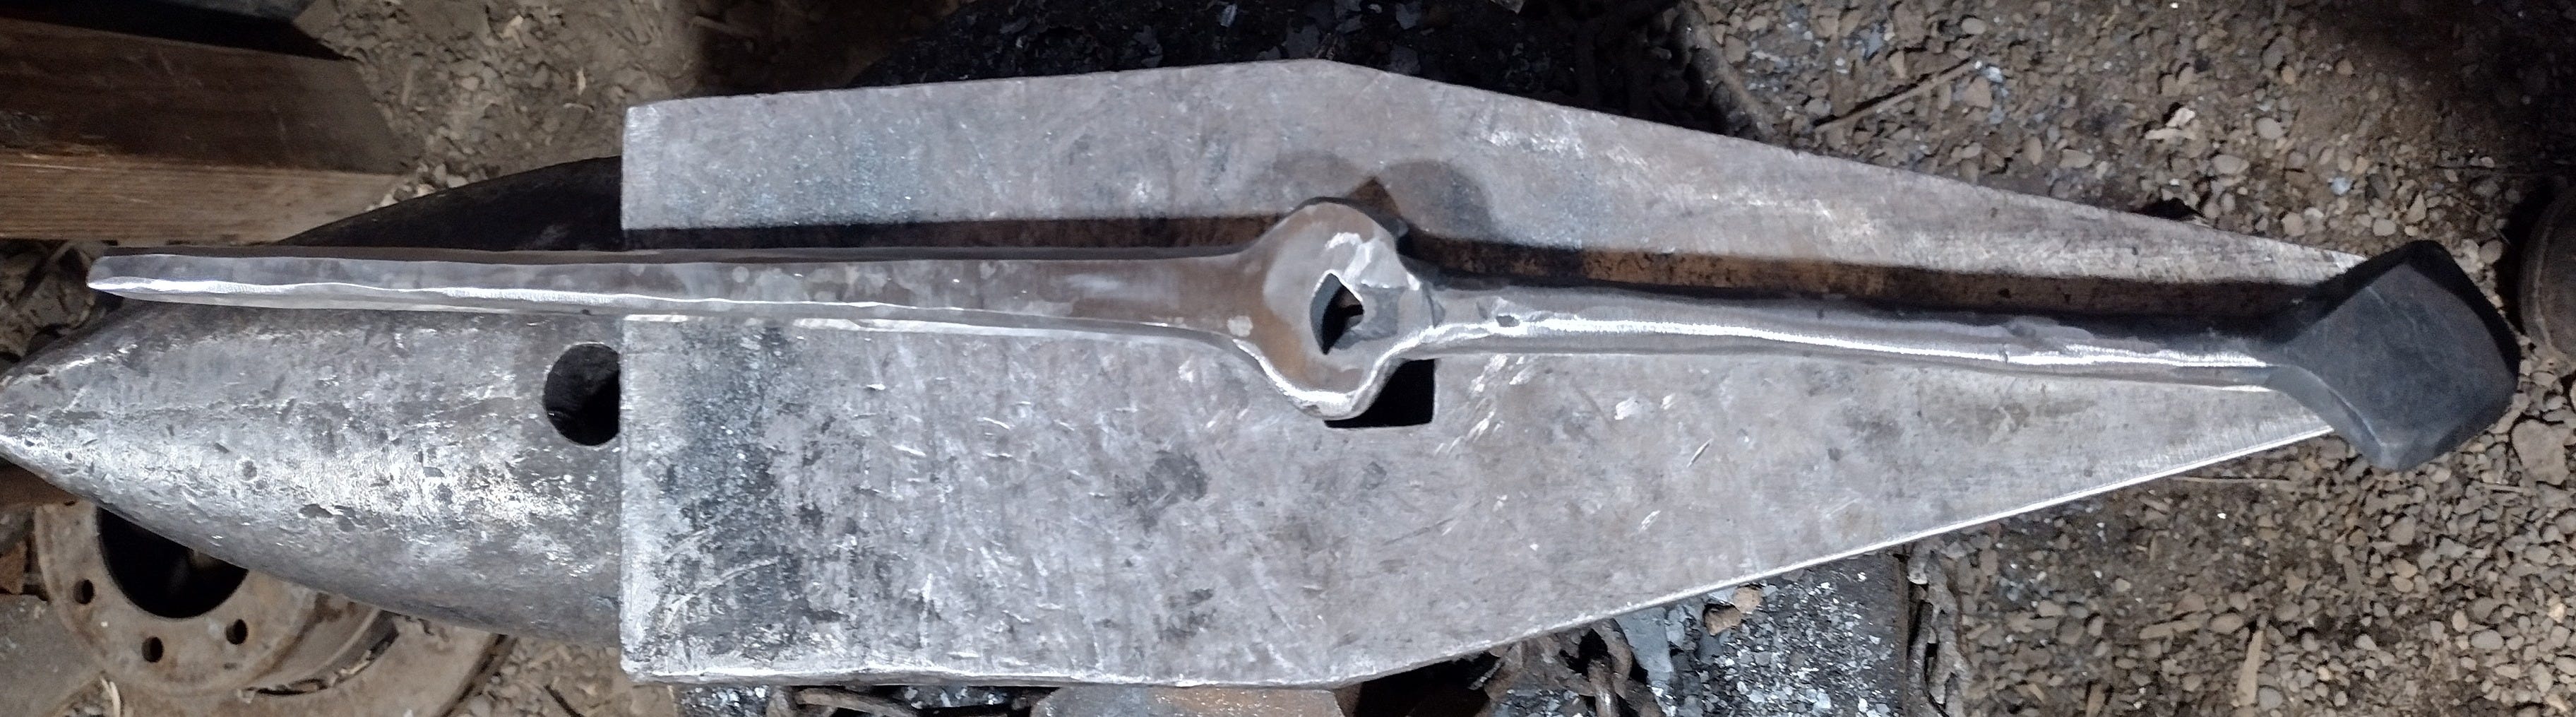
I also decided to squash the guard so that it looked more interesting than “just round.” Not the wisest decision I ever made—I didn’t make the tooling to do it correctly. Doing it right would have required a handled strike-fuller, and that would have taken another three hours to make. Since I was enjoying the momentum of the project, I was loathe to switch gears.
This was a very dumb mistake, as it took me hours of filing and forge-tweaks to get it mostly even, and in the end I wound up asking the stranger if he was okay if it was a bit uneven because I was sick of trying to fix it.
Happily, he was fine with it.
On the other hand, the strange shape and minor asymmetry suggested to me a design element that turned the whole project into something really special.
The Birth of a Monster
That wonky shape that I’d introduced into the guard? The more I looked at it, the more it reminded me of a fish’s tail.
So, I thought, what if I were to give the whole weapon the texture of fish scales?
The idea appealed to me immediately, so I warmed up the mace again to a red heat, then buried in in a bucket of ashes to anneal (soften to the maximum extent) overnight. The next morning, eager to do some work that wouldn’t require a heavy hammer, I made myself a fish scale punch from a bit of an old strut spring.
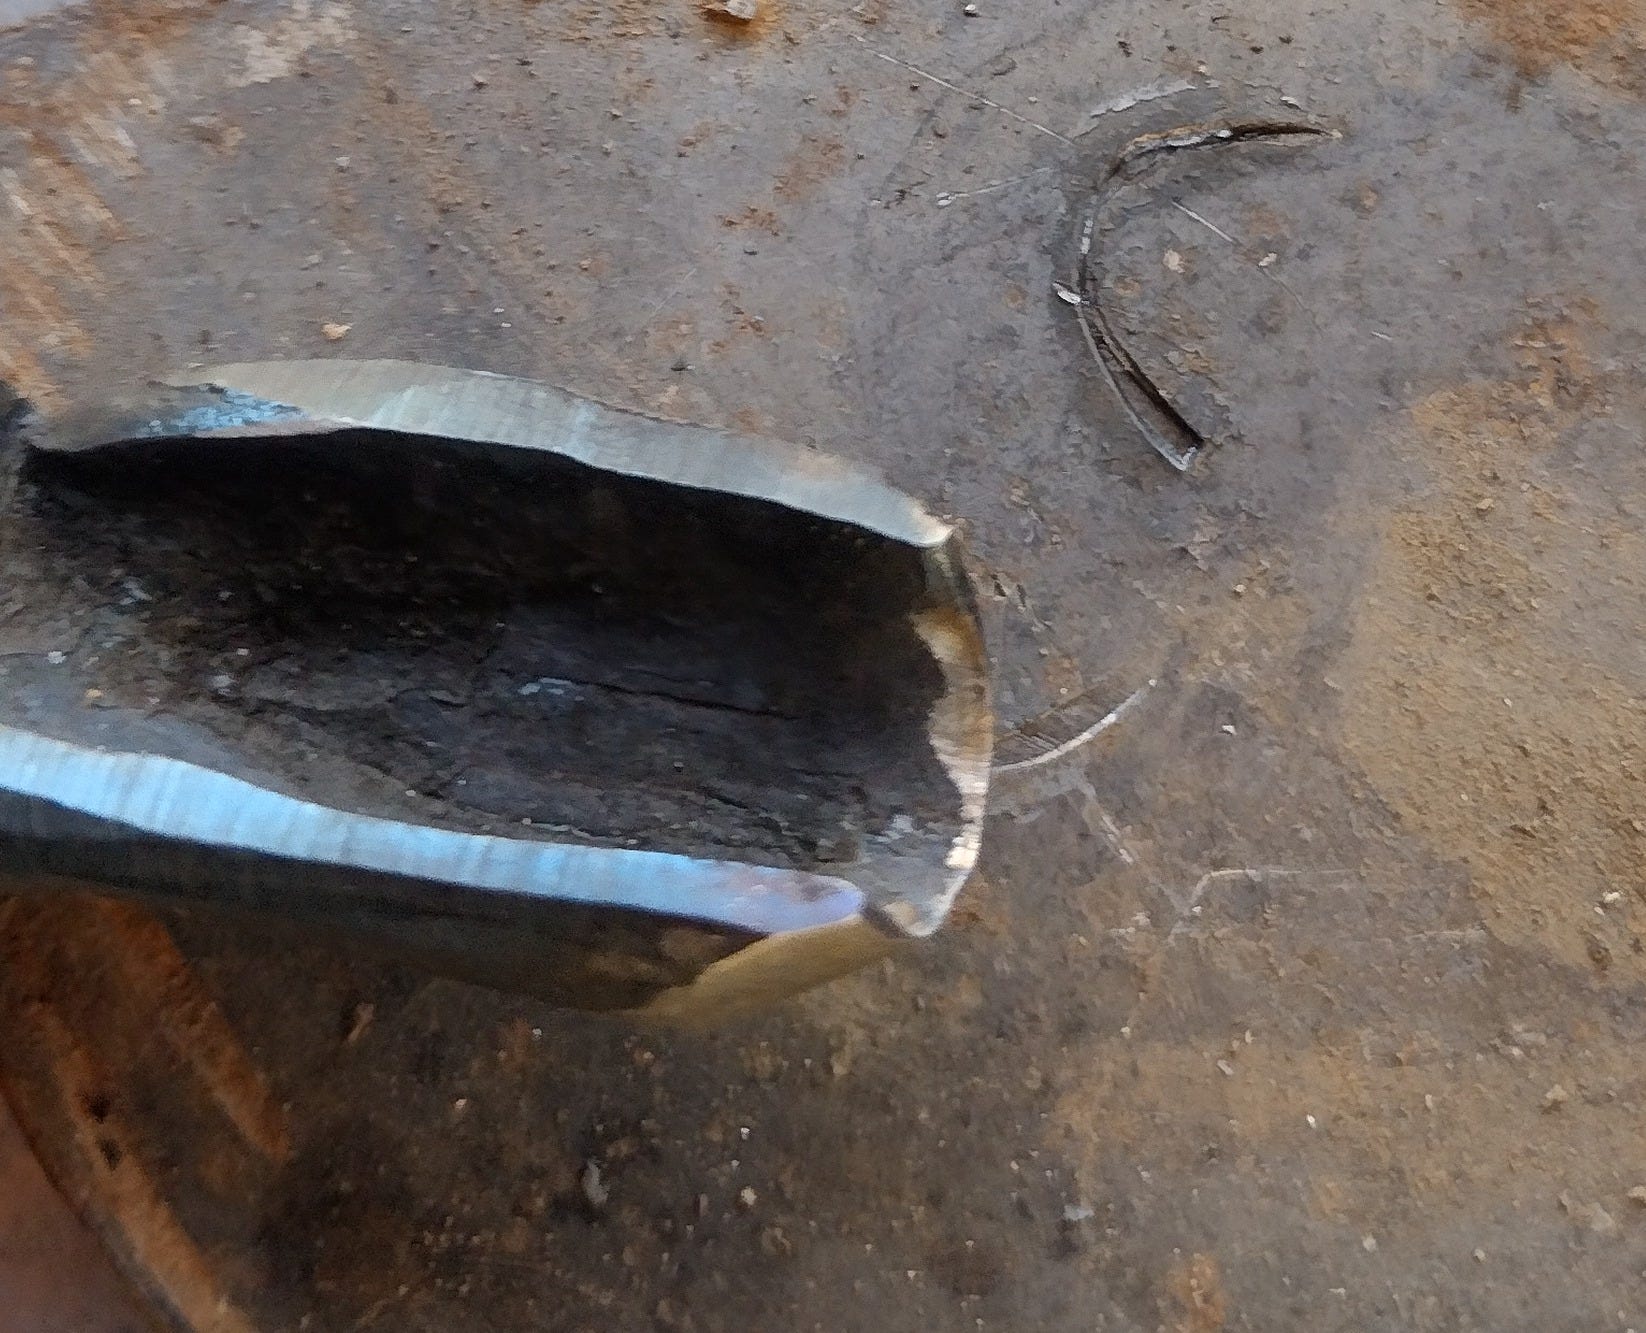
I set about engraving fish scales onto the mace…
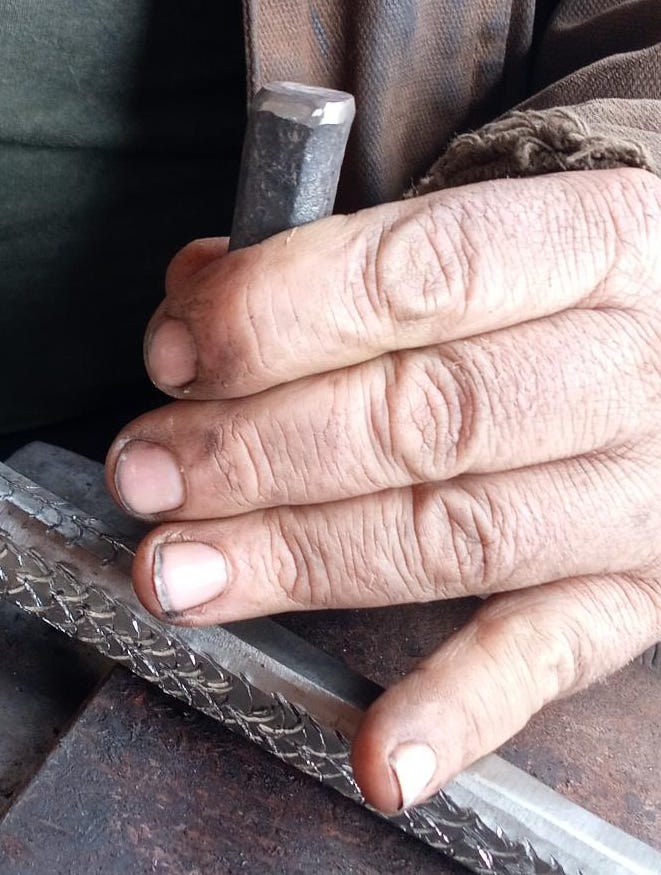
…and promptly broke the punch.
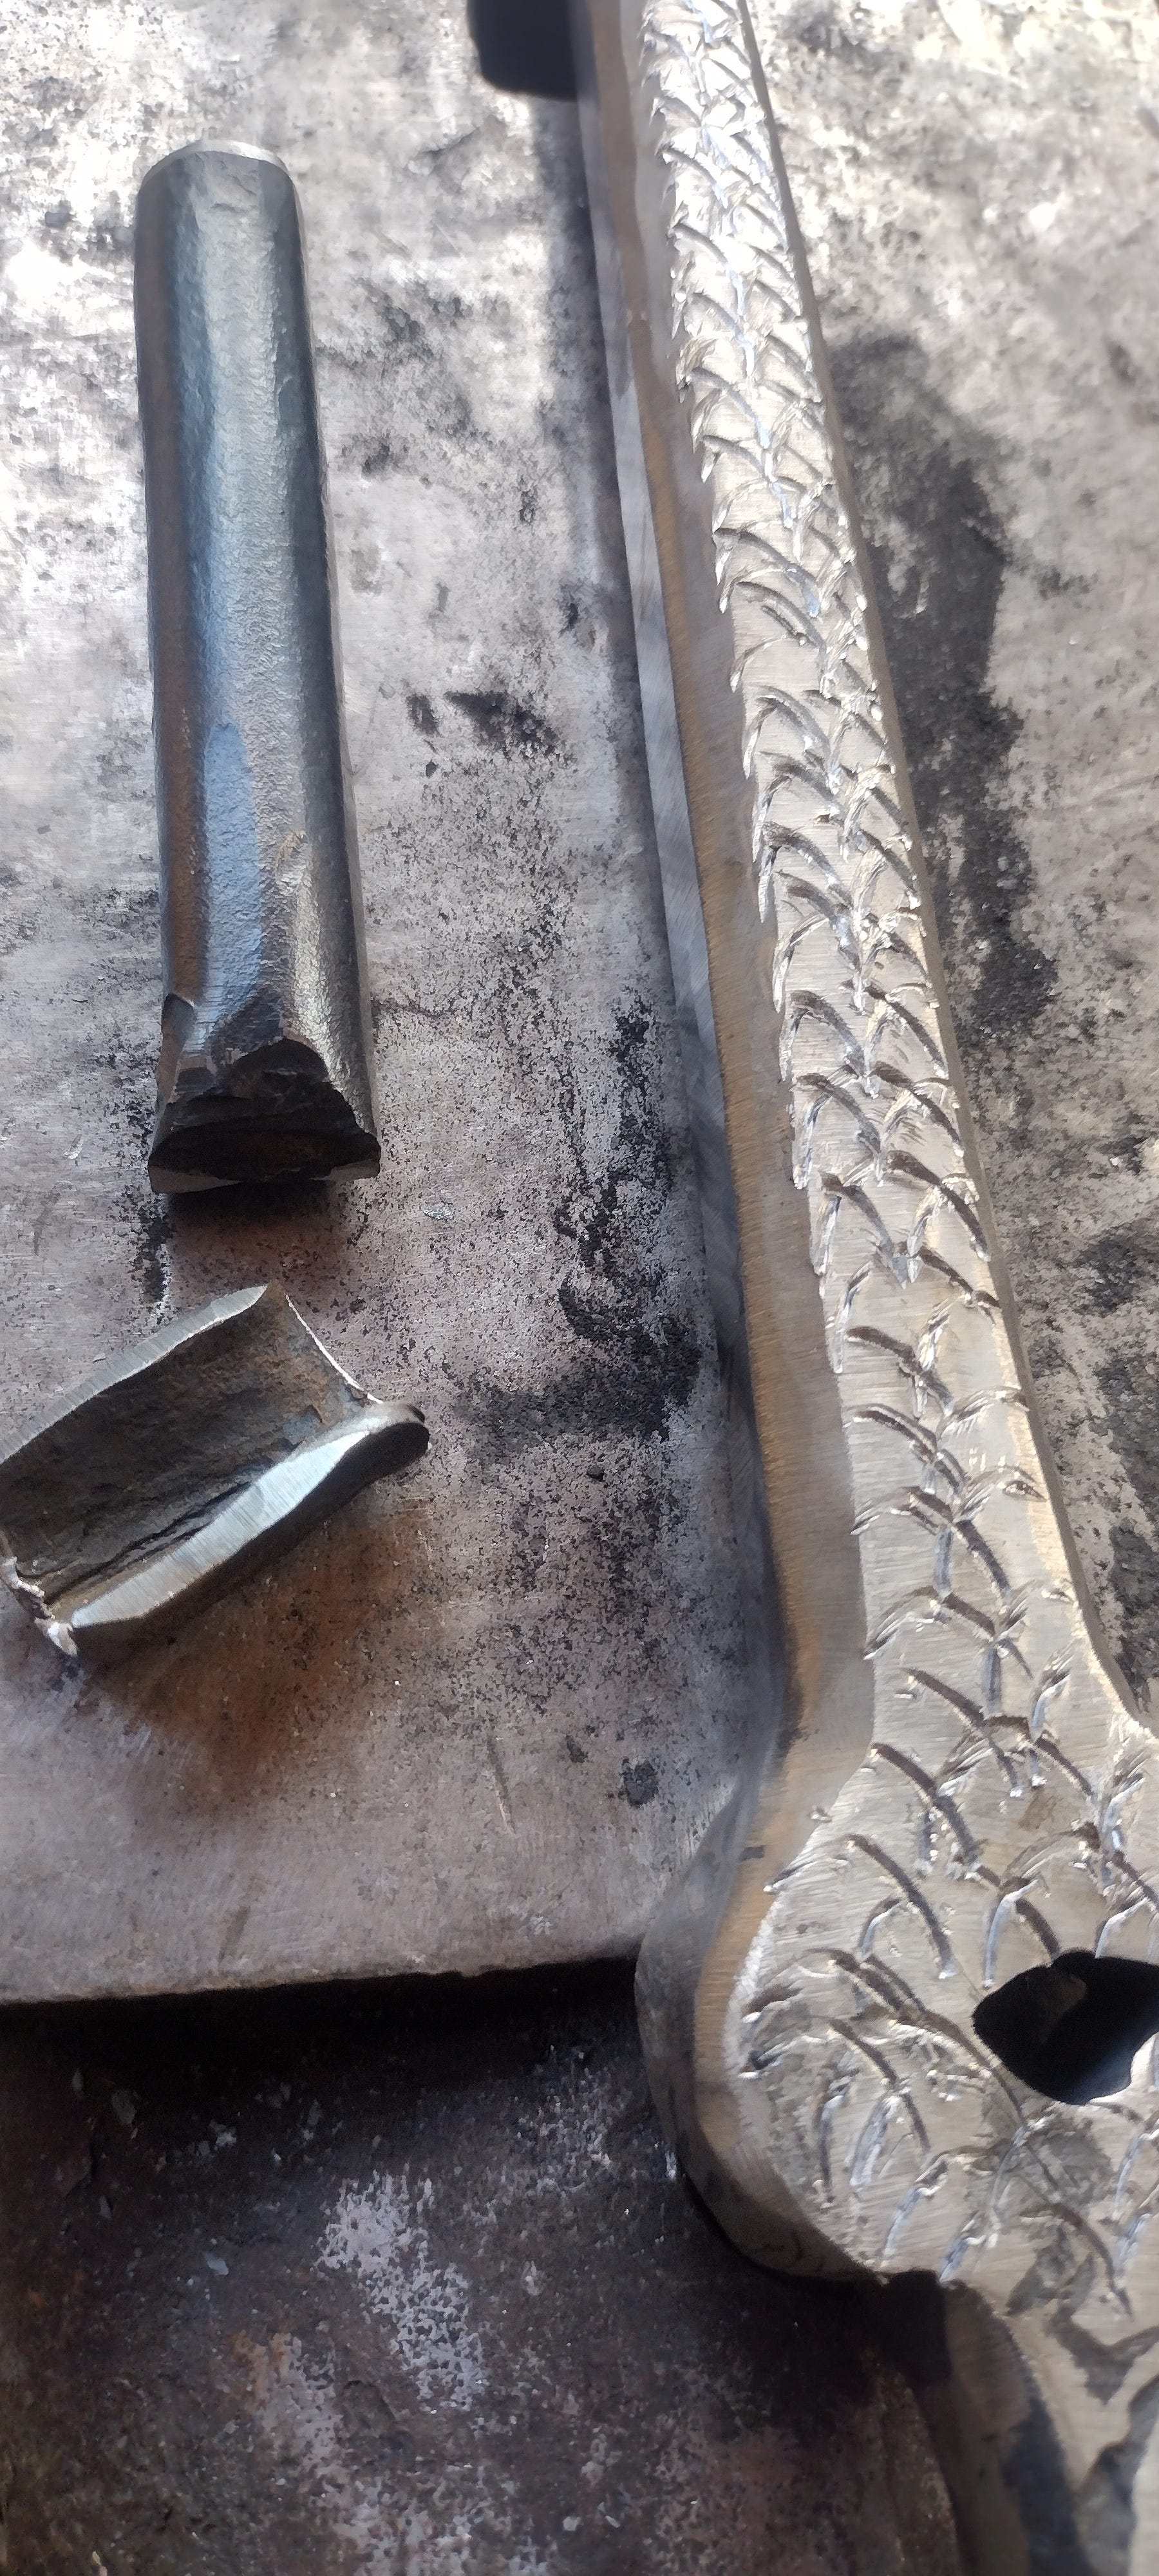
A close examination of the break revealed that I’d introduced a crack while I was forging the punch, so I re-forged it, re-sharpened it, and continued on until I had covered the whole mace shaft in scales.
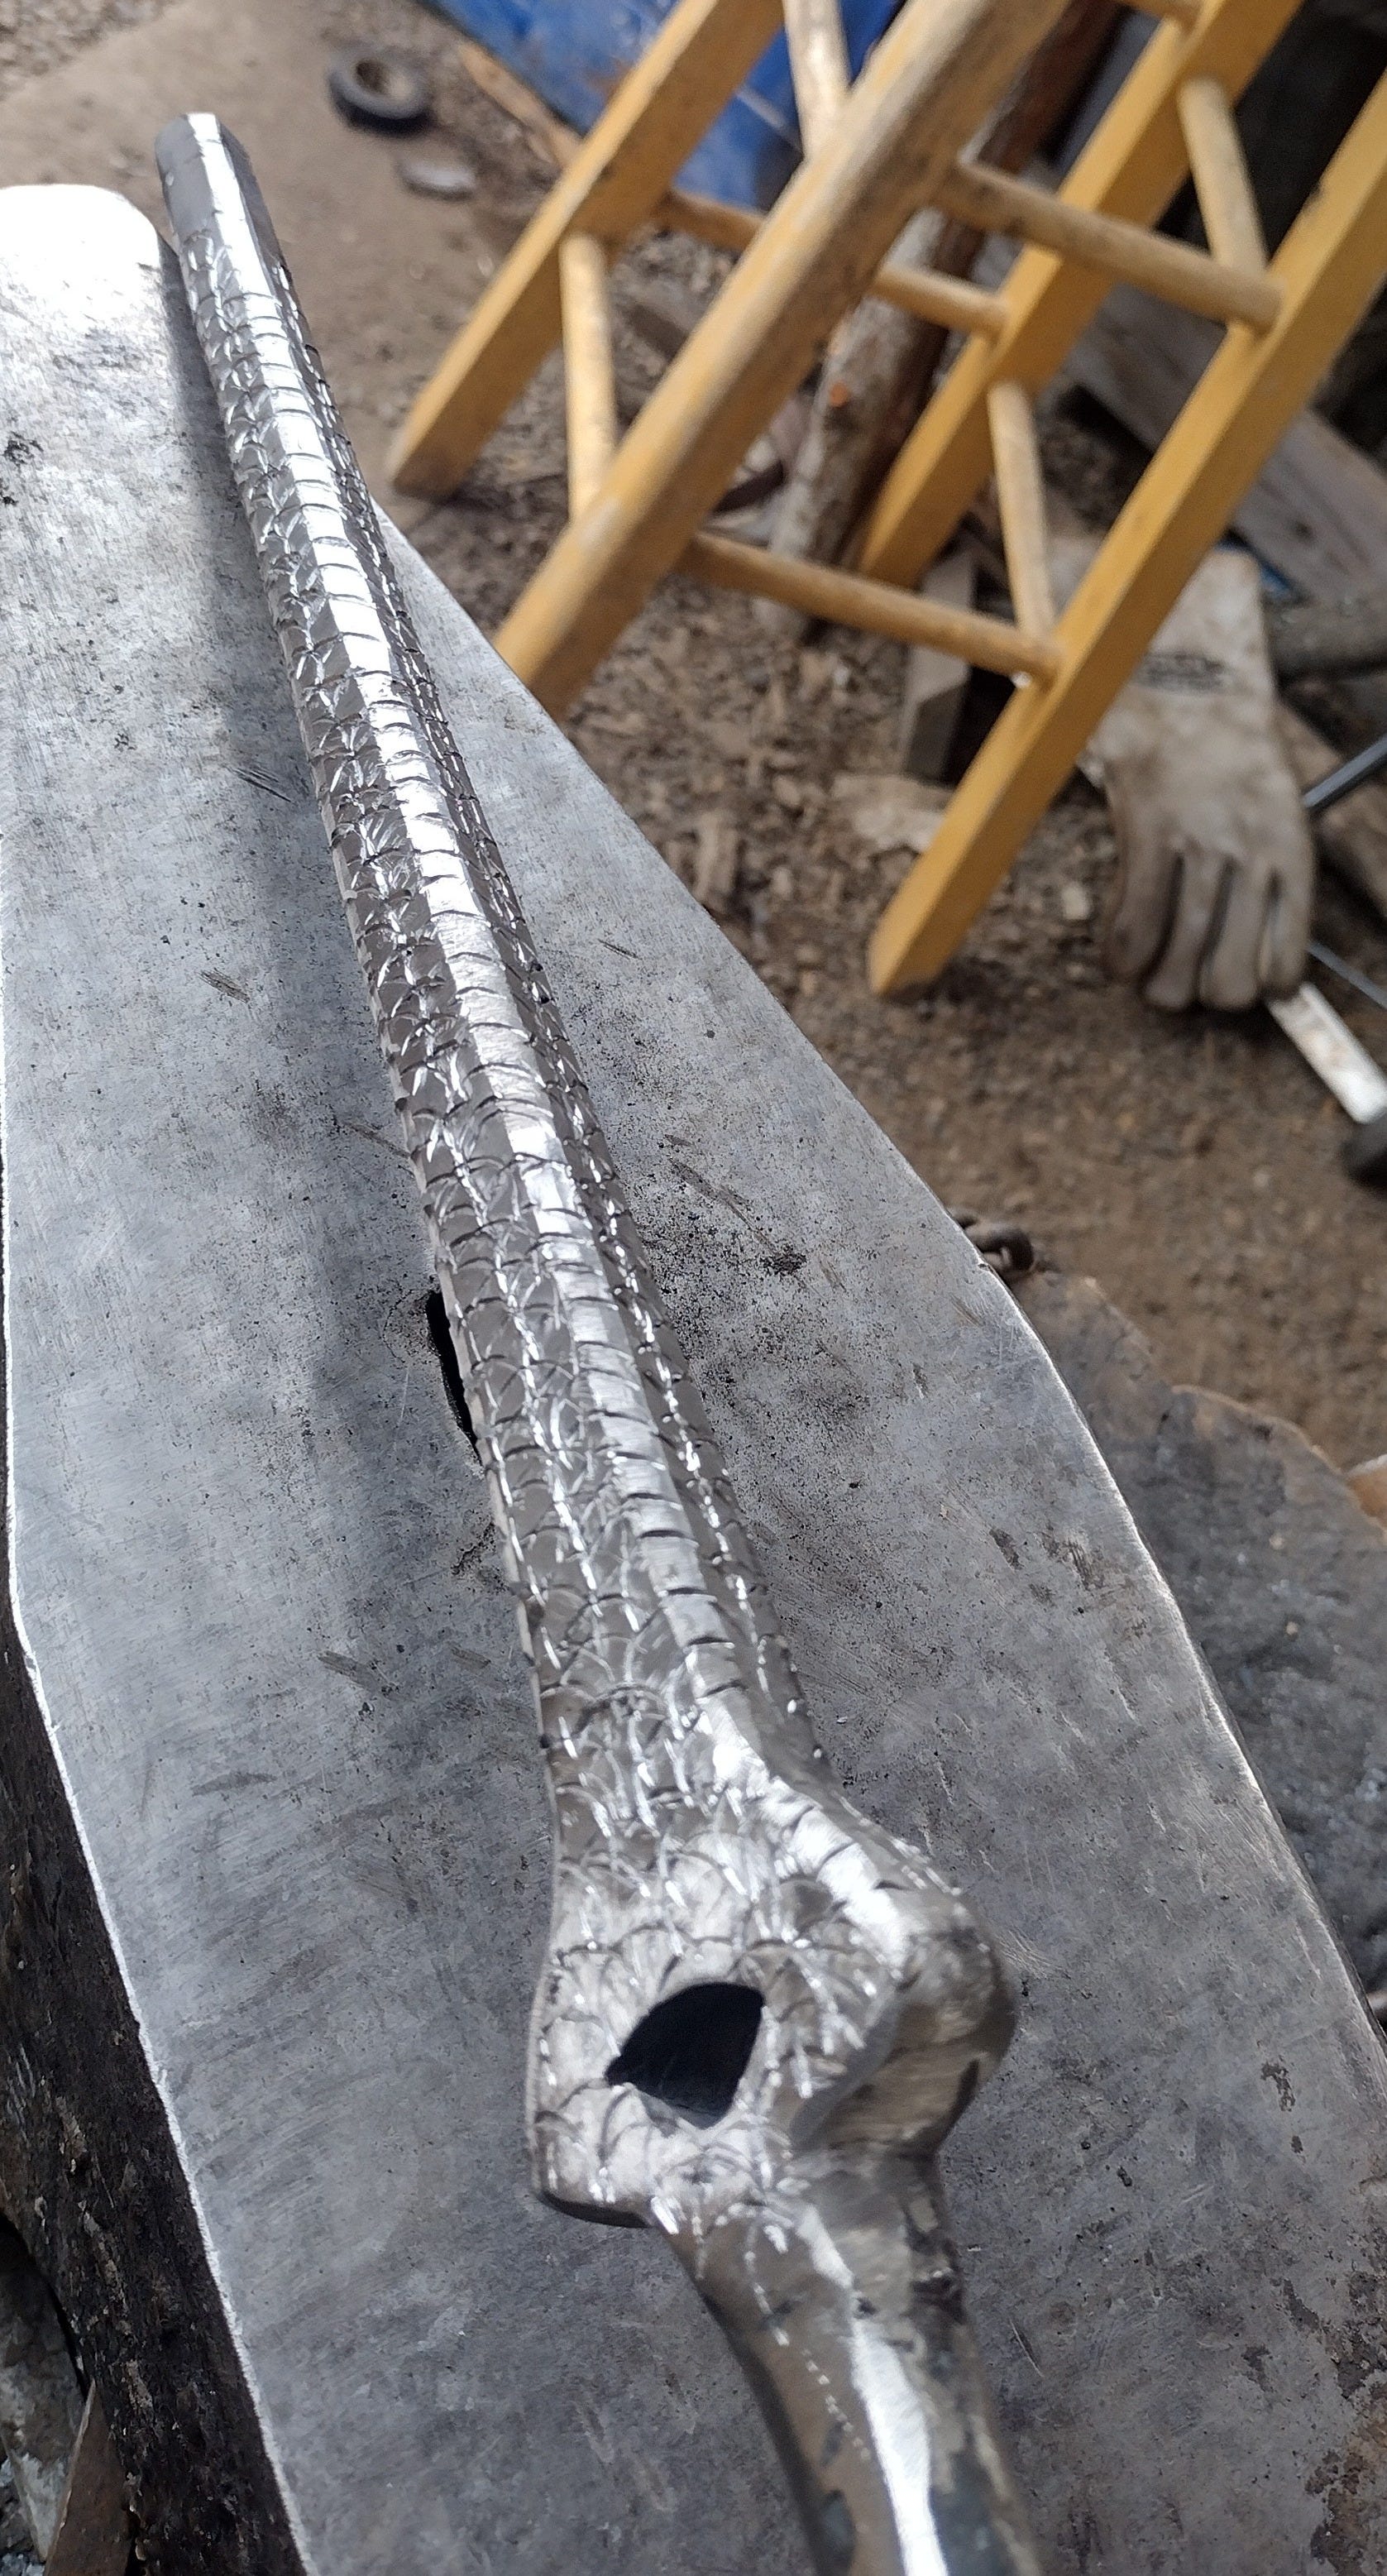
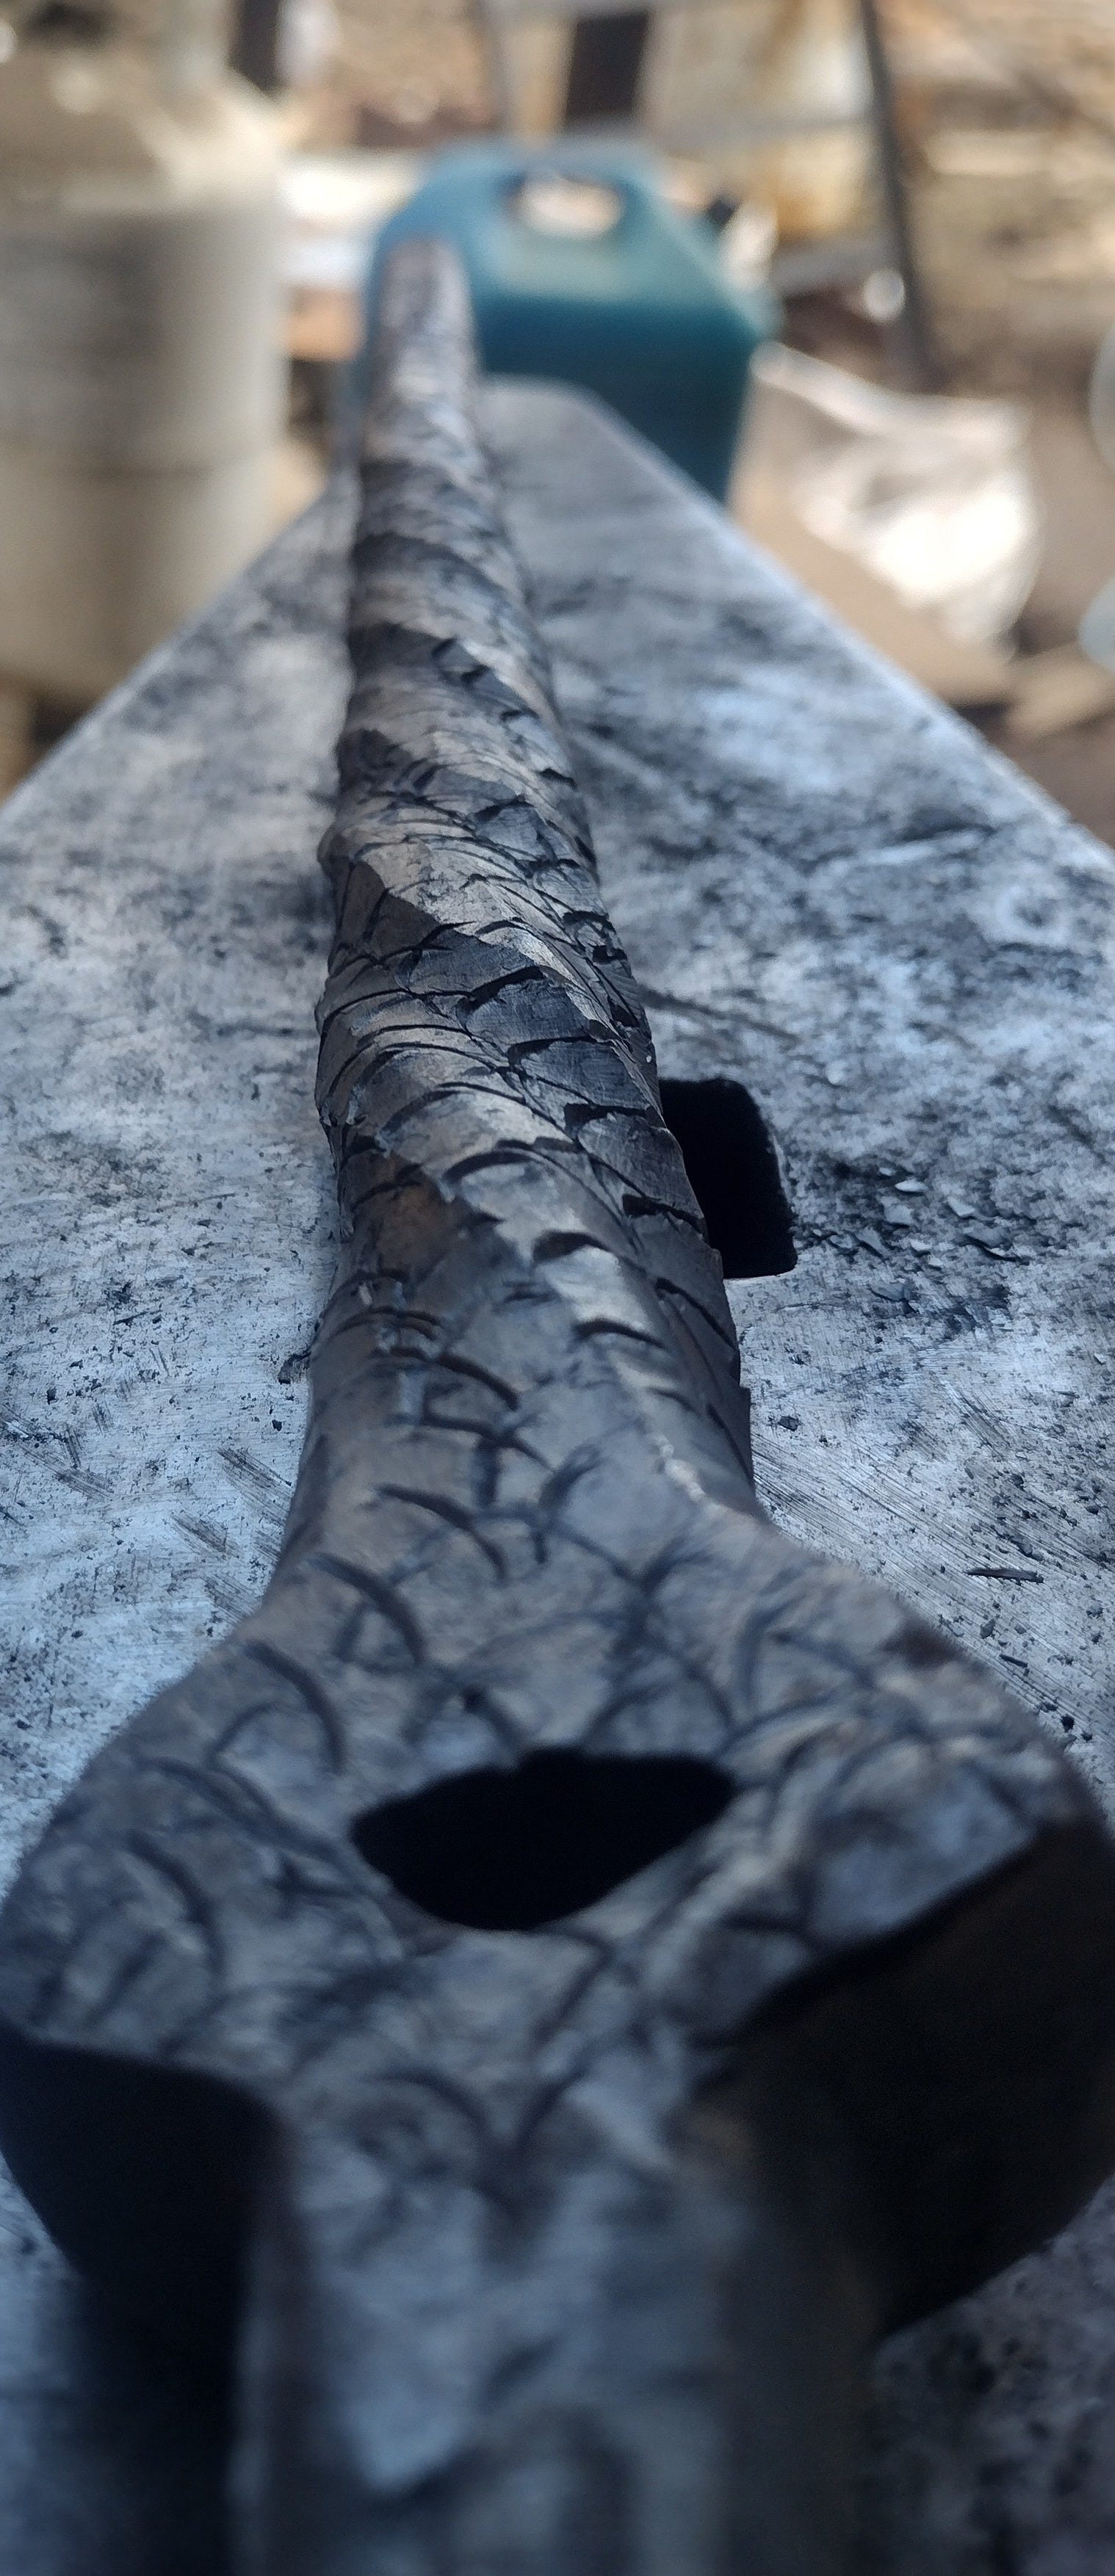
Now it was starting to look, to me, like a sea monster. I started having visions of twisting it up so that it looked like the shaft was an arm of a great beast holding onto the blades at the end.
I liked the idea so much I put the twist in right away.
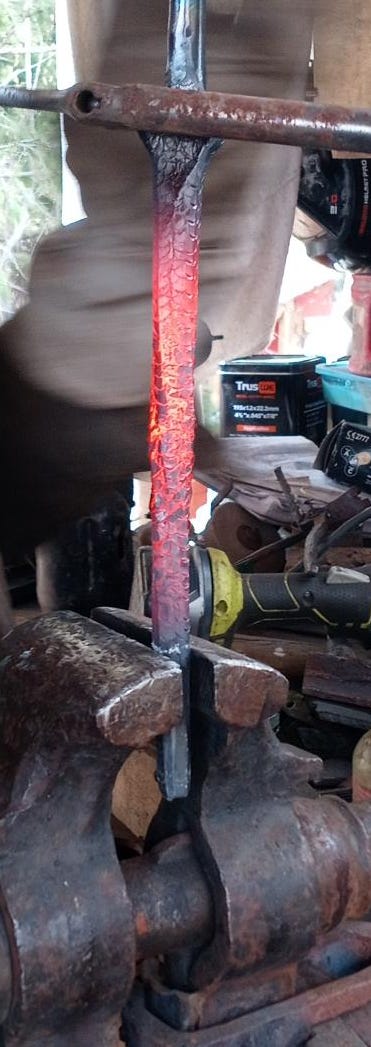
And after three heats, I had this beautiful sea monster arm to play with:
Unfortunately, it was at this point that I realized that I may have made an horrific error that could force me to re-do the whole project.
A Critical Error?
I awoke that night in cold panic. I do that sometimes, because I’m one of those horrible people who solves problems in my sleep.
Sometimes, it only works halfway, and I merely turn up problems.
This night was one of those nights.
In my dreams, I had finished the mace. I had heated it up for the quench, and plunged it into the oil, and it had shattered at the join between the blades and the shaft.
Sitting up in bed, I realized that I had completely short-cut myself when it came to identifying the metals I was using. I’d done a spark test…
…but I hadn’t done a quench test.
When you quench steel to harden it, you’re freezing a high-temperature crystalline structure in place by cooling the material faster than the crystals an relax. But not all steel is created equal. Different alloys require different quench media (oil vs. water vs. brine, etc.) in order to harden correctly. And if you stick a red-hot piece of steel that requires a slow quench (like oil) into a medium that quenches fast (like water), it can shatter. If you have two steels welded together that require different quench media, then quenching in the faster media can bust the welds apart.
The obvious way to get around this problem would be to harden the two pieces separately and then join them up after…or it would be, if joining them together so that they’d be combat-quality didn’t require welding.
Metallurgy is really annoying.
Well, I wasn’t about to get out of bed and figure out a solution, so I went back to sleep and dreamed on it for a while.
When I awoke in the morning, I had a plan:
I needed to test the steels to see if they’d quench in the same medium.
If they didn’t, I needed to order some virgin steel from the mill for the blades, and make sure I picked a steel which would quench in the same medium that the tie rod did.
Next time I was in the forge, I cut samples from both the tie rod and the lawnmower blade. I warmed them up to a nice cherry-red, then quenched them both in oil.
The tie rod did not harden, but the lawnmower blade did.
Not good.
So I heated new samples up and plunged them into water (the fastest quench medium I had on hand). Neither cracked. That, at least, was encouraging.
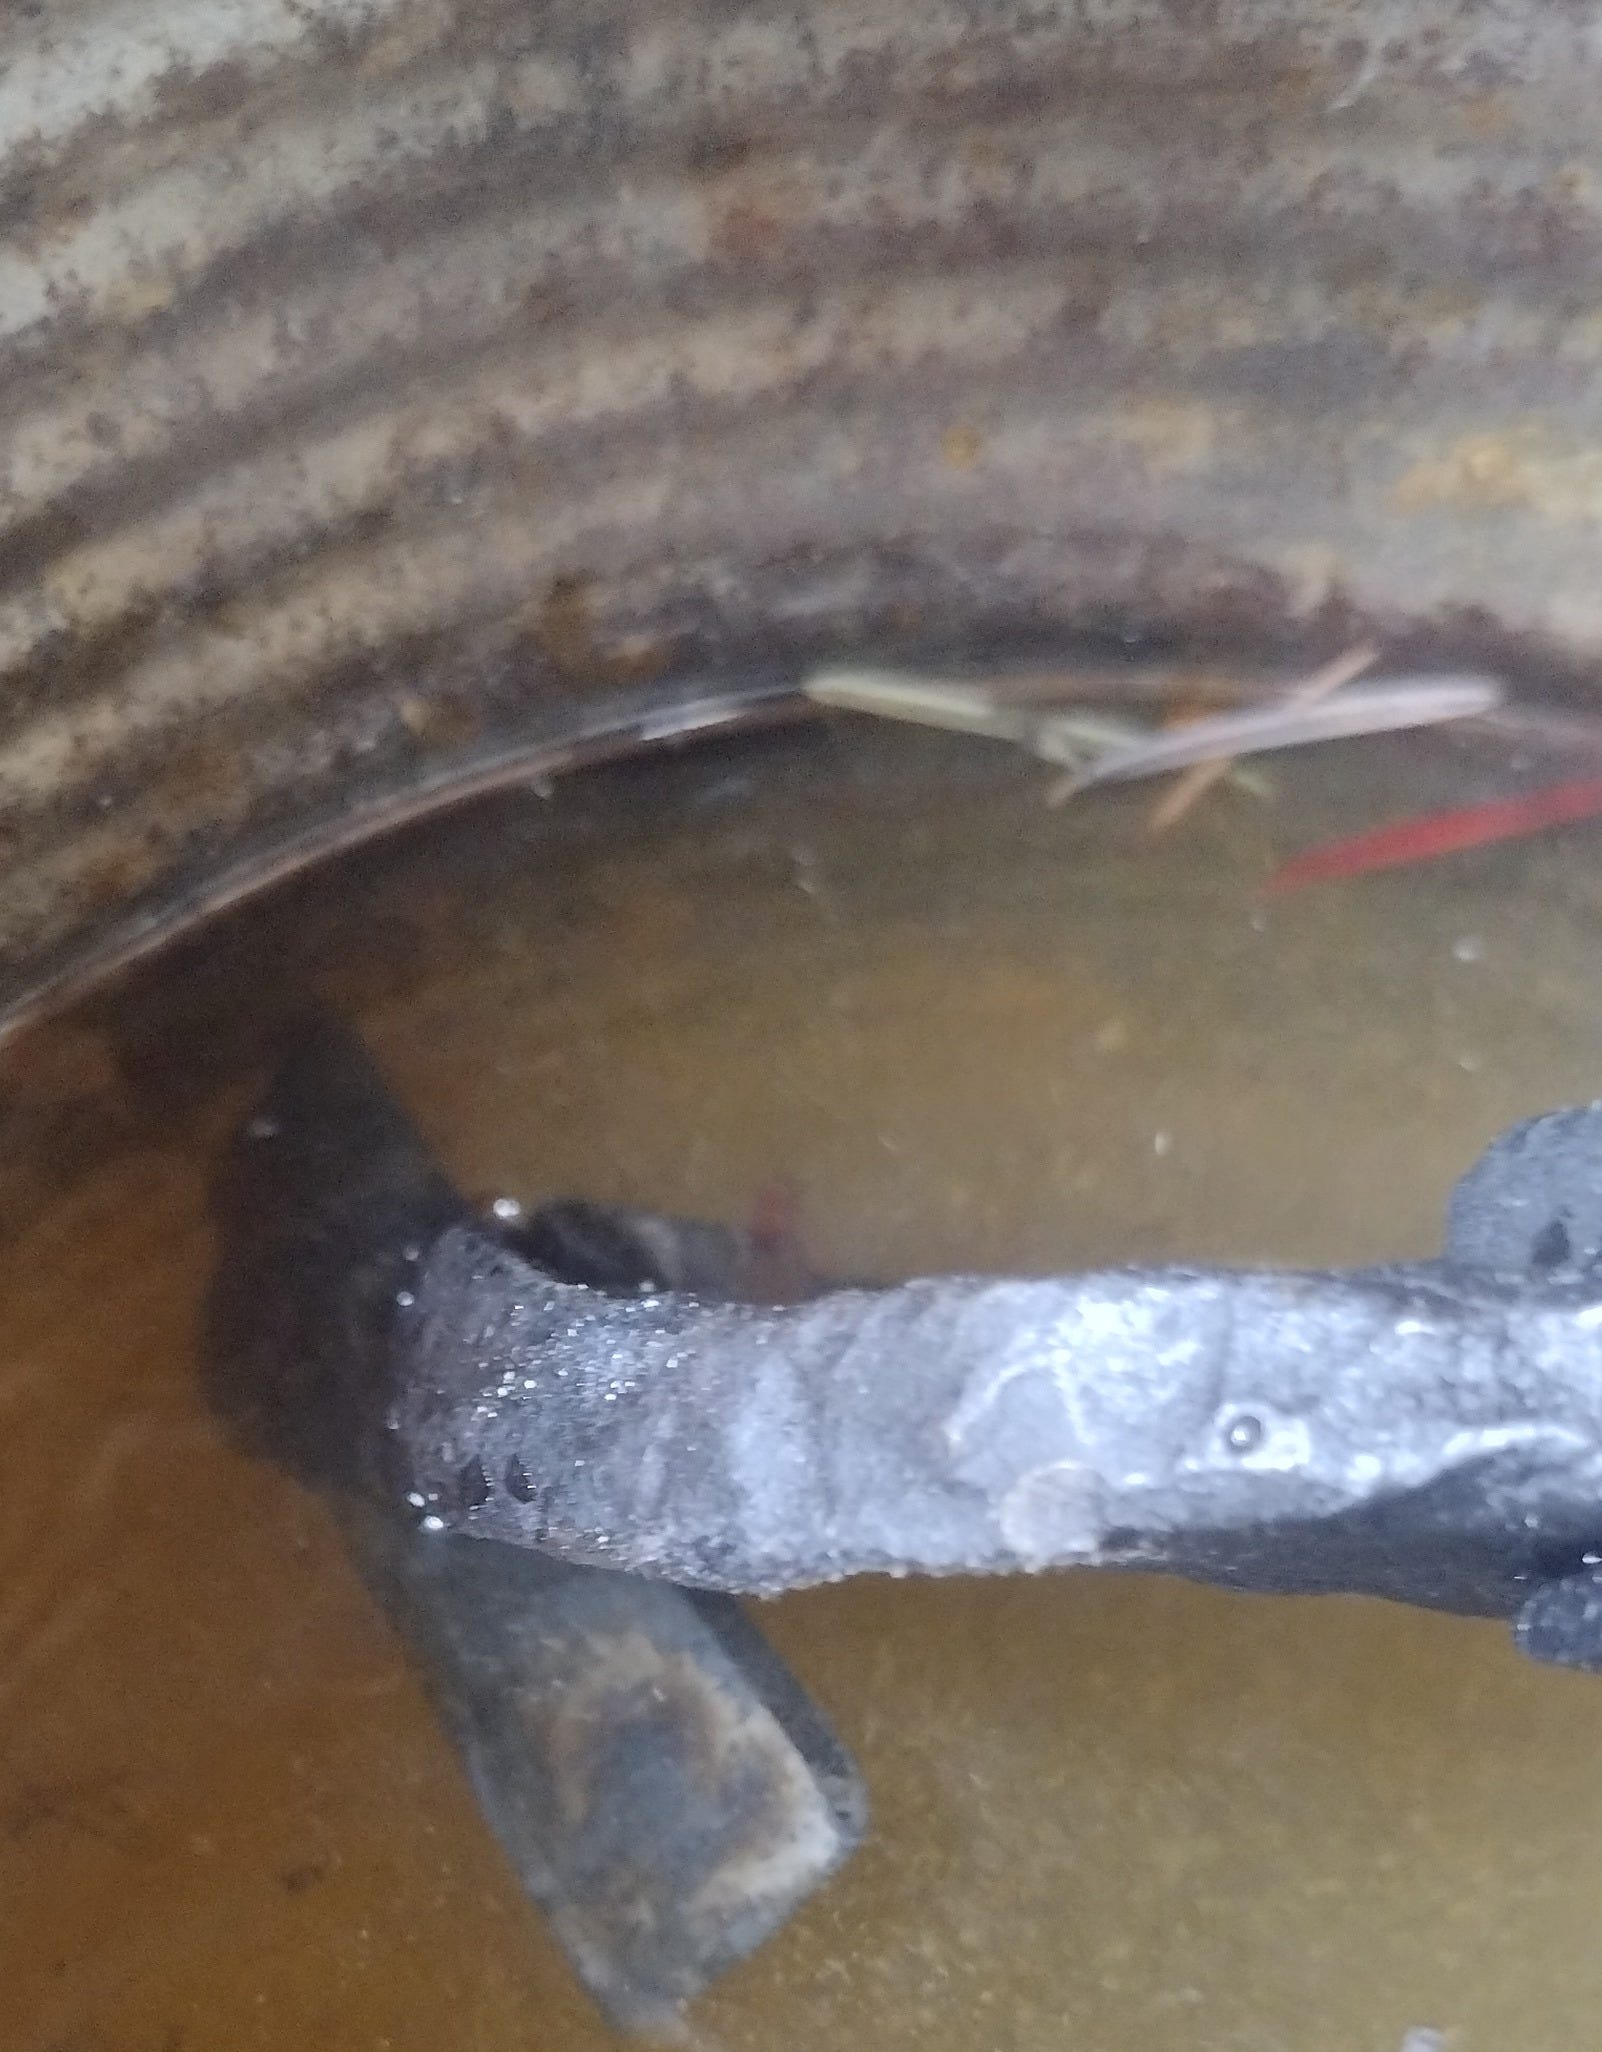
And then I stuck them in the vise and hit them with a hammer. If they bent, they were still soft. If they snapped, they were hard.
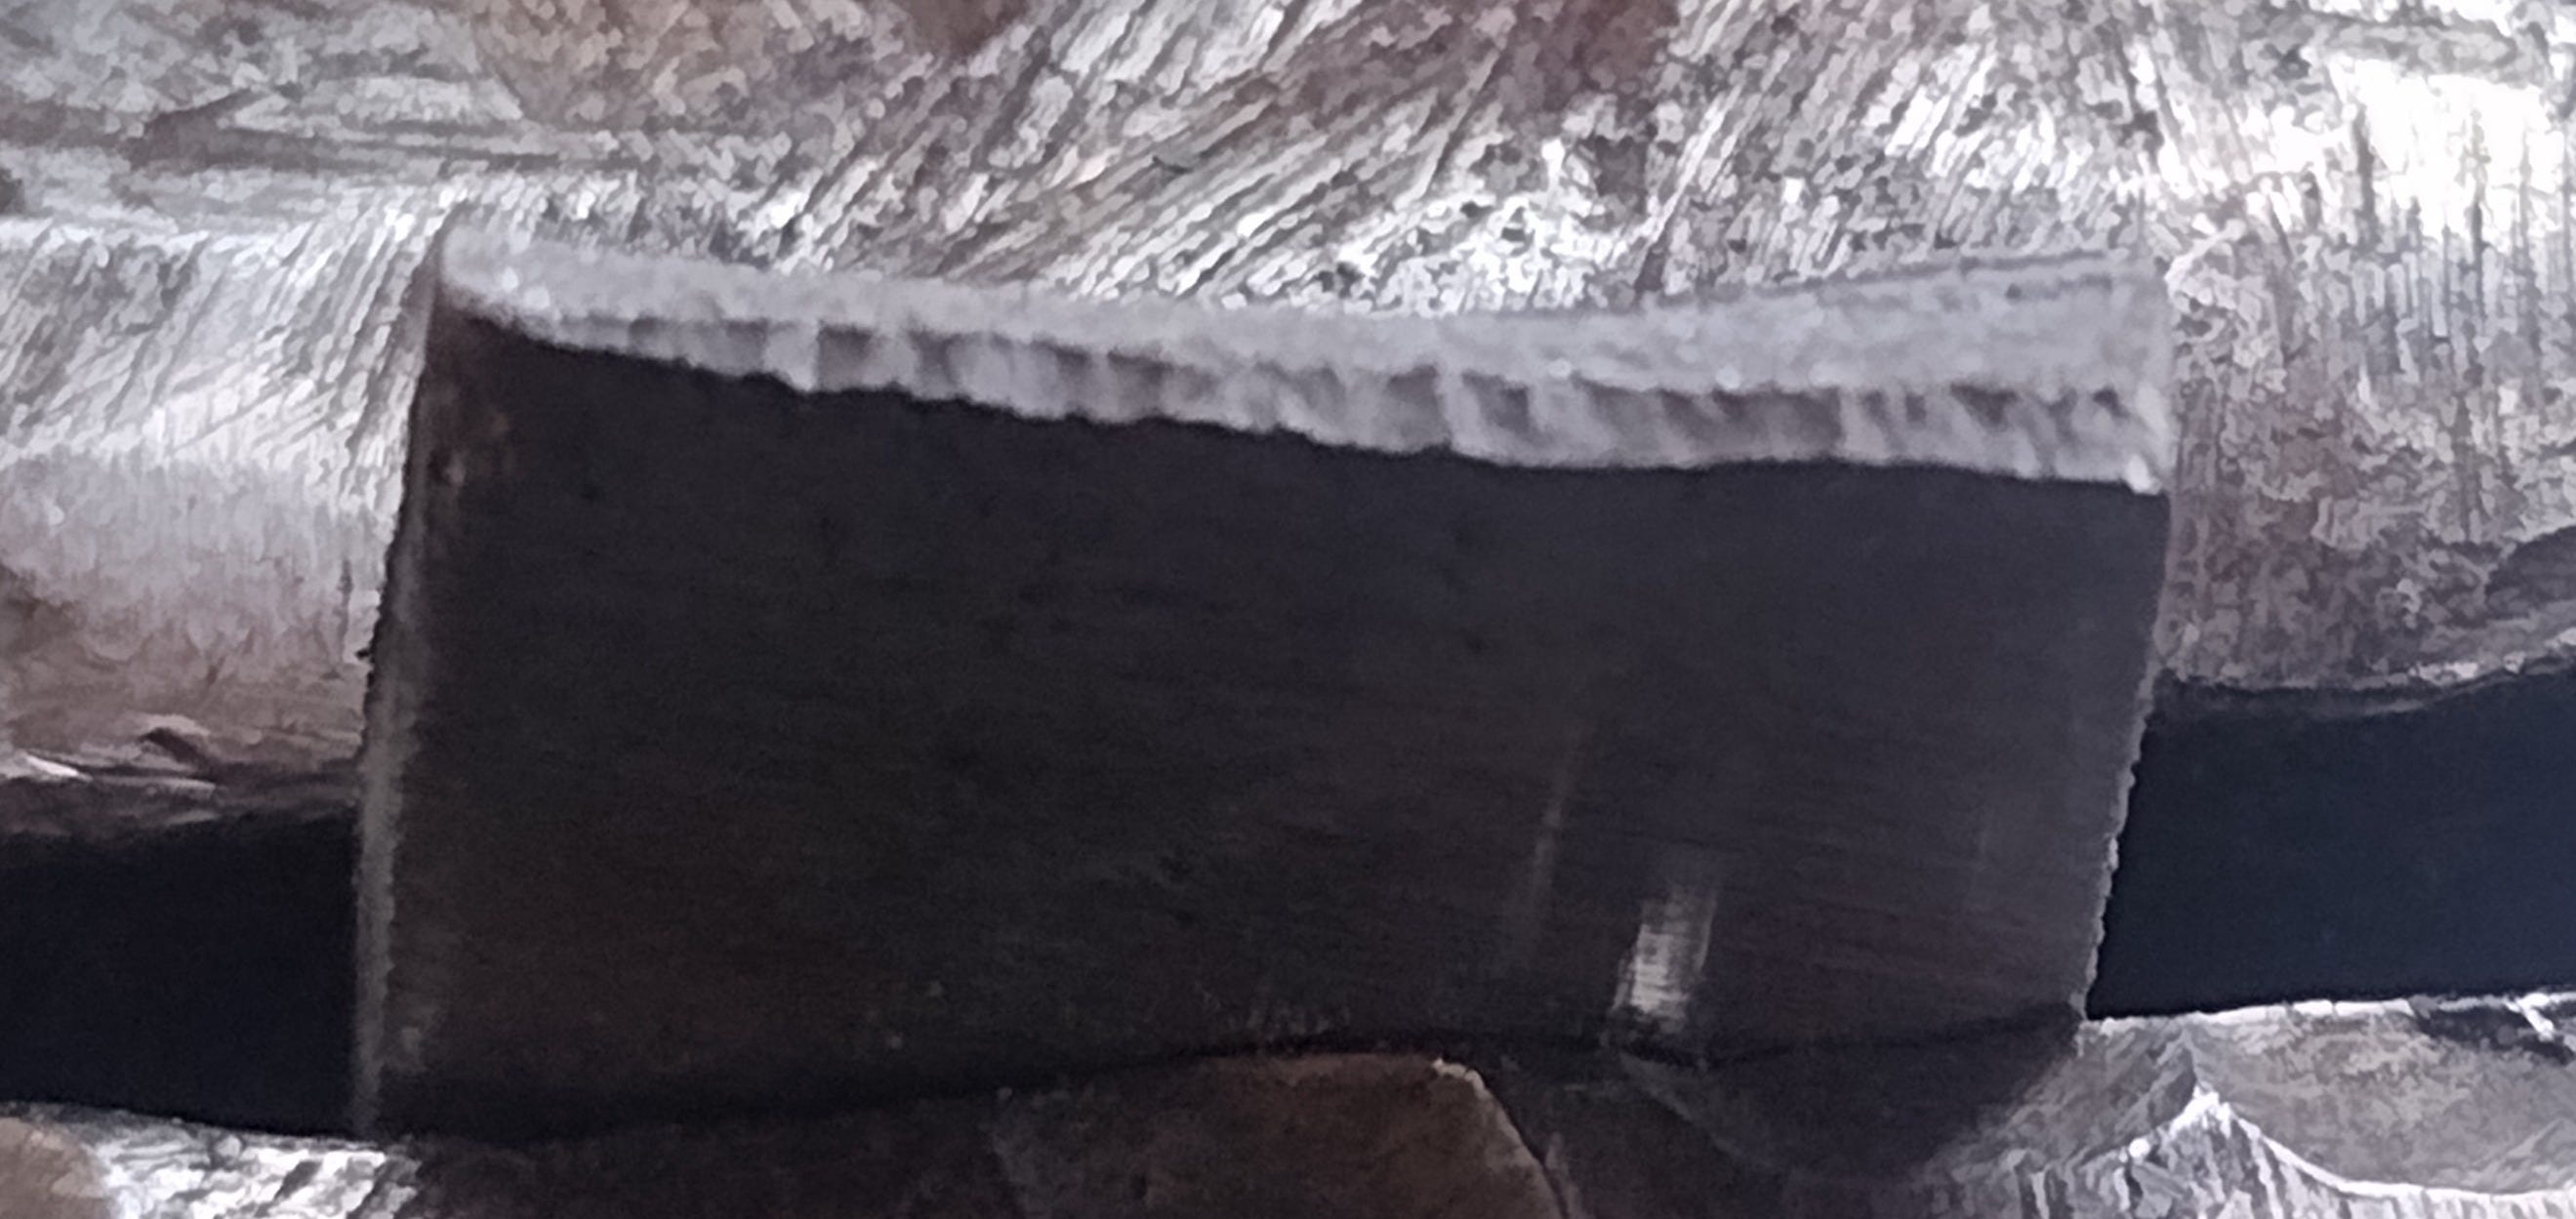
They were hard. And, as you can see from the cross-section, the grain structure is fine, like velvet—i.e. perfect. The story was the same on both samples.
I had got lucky. There would be no quenching disaster.
The Pommel
With that load off my mind, I turned my attention towards the pommel. In the initial forging, I made a nice, substantive, diamond shape pommel that had a decent amount of mass.
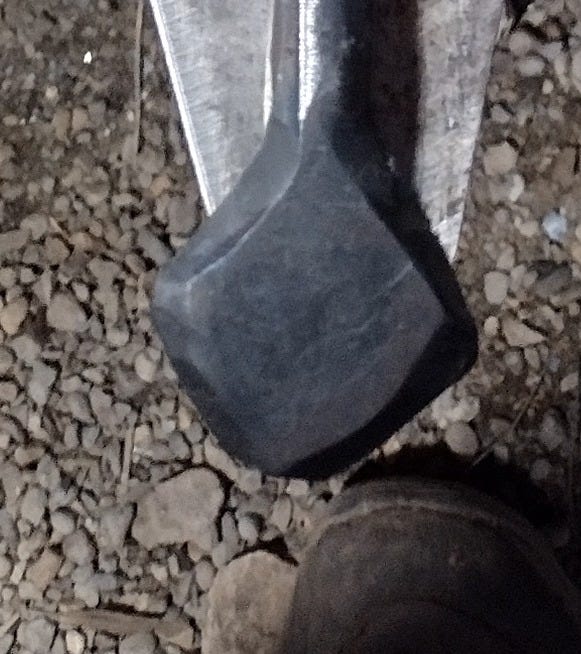
As you can see, it’s not even—and, as this mace was shaping up to be a showpiece, I wanted it to be as perfect as possible.
So I marked it with a balanced cross and set to it with a file to even out the diamond and the bevels.
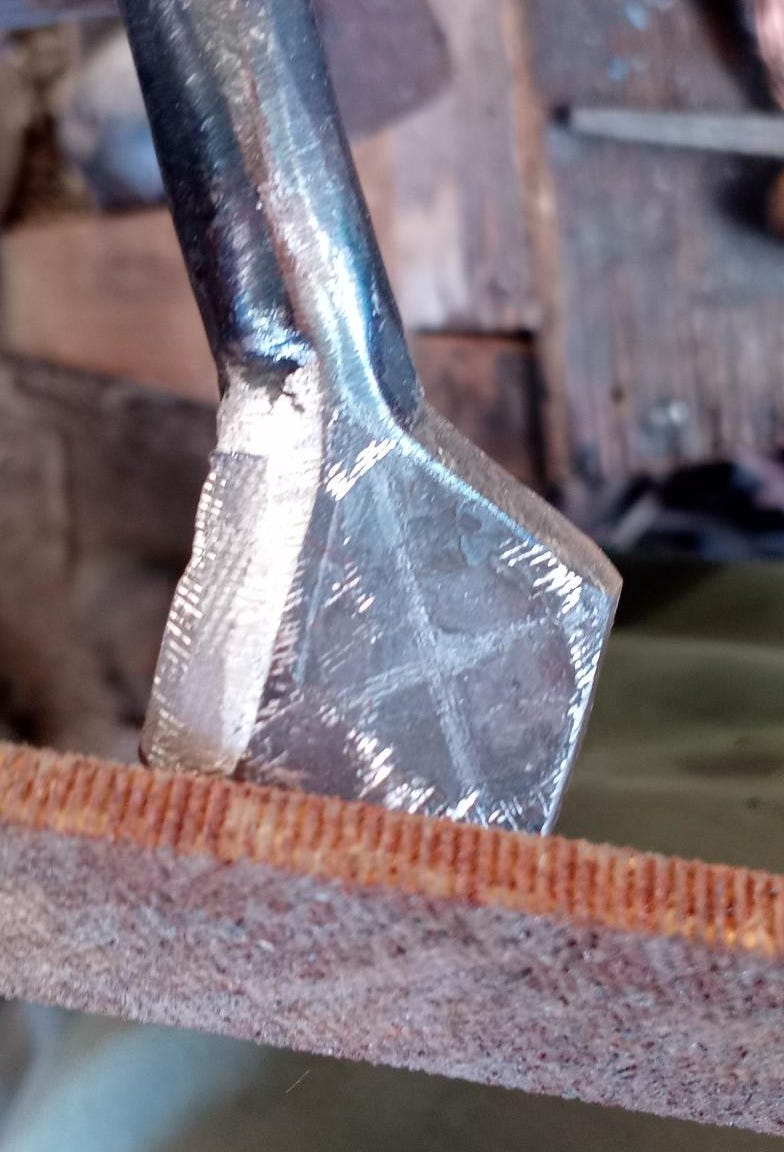
It turns out that, even when you’ve got years of experience making three-dimensional shapes, cutting even bevels in three dimensions is…tricky. The closer I got, the more material I was removing, until I was forced to admit that I just didn’t have enough material to work with if I wanted this thing to serve as a proper counterweight.
So, I needed to pivot.
I threw the butt end of the piece into the forge and heat it up, then punched a divot in the center.
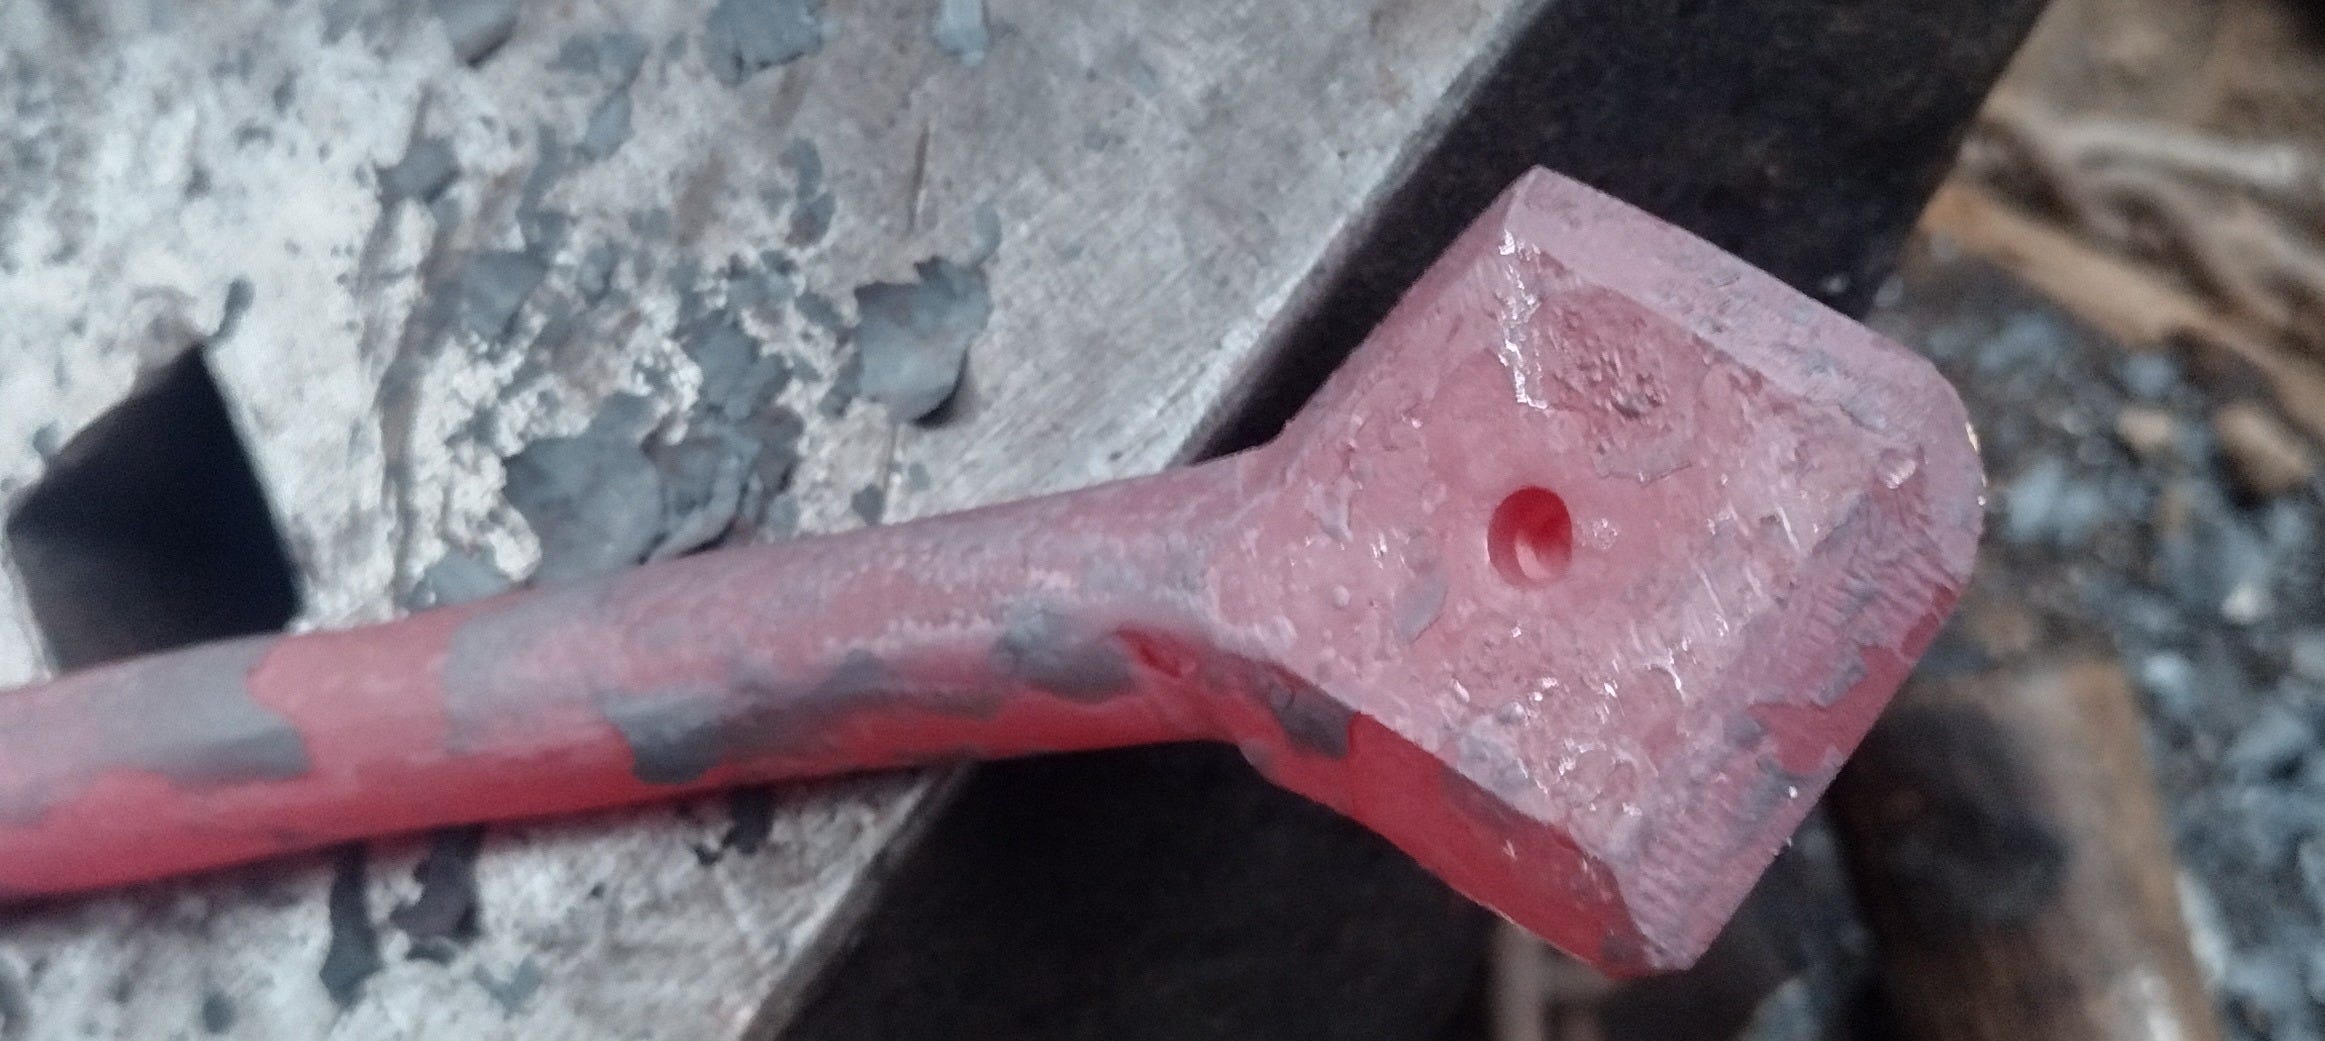
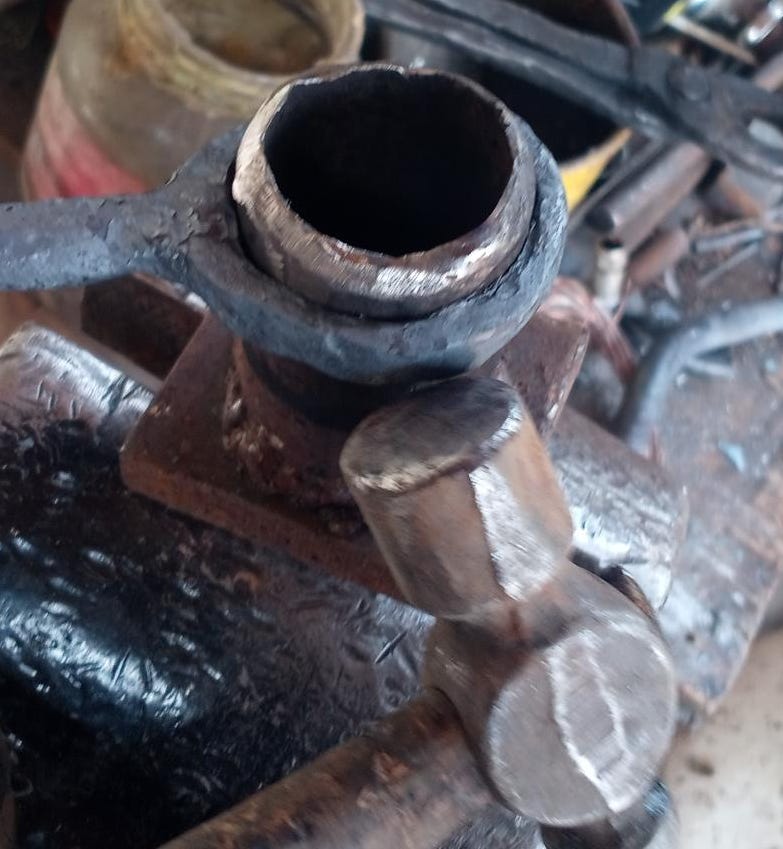
Over several successive heats, I turned the divot into a hole, then passed larger and larger drifts (shaped bars of steel made for this purpose) through it to dilate the opening until I was able to fit it over a 1.25” steel pipe and shape it into a large ring.
From there I worked it until it was even all the way around, then polished it up and set some notches in it.
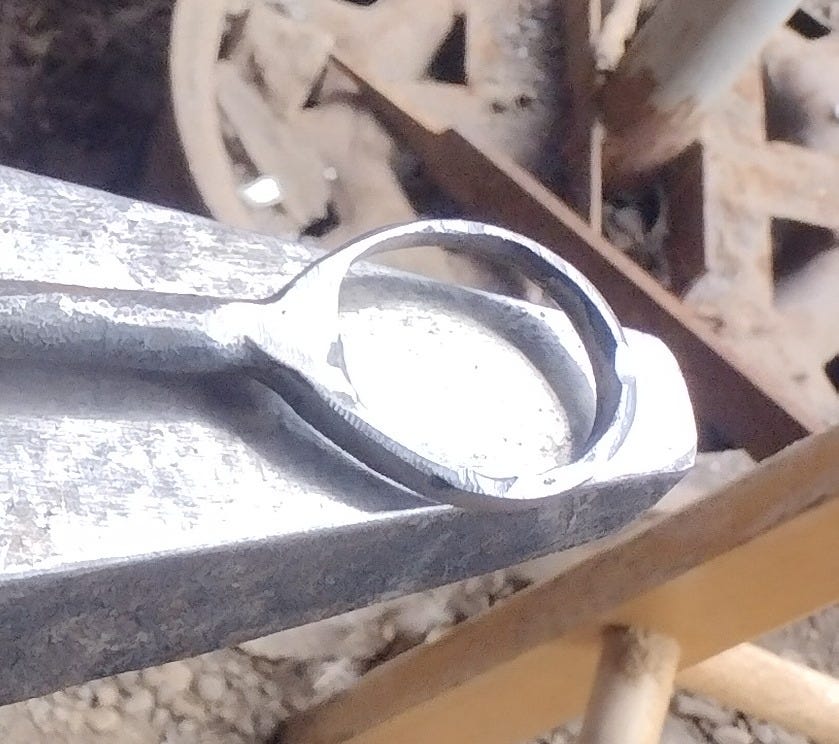
Why the notches?
Because I had hatched a cunning plan to add more weight to this pommel, and I would need the grip points.
But before I could proceed with that plan, I needed to finish forging this monster.
The Blades
A good mace needs good points of contact on the business end. If you want to crush skulls, you need a good skull crusher.
This particular shishpar-style mace was, I had decided, going to get a four-blade star at the end. This star starts with that lawnmower blade cut into two double-ended arches, and then filing a notch half-way through the dead center of each piece.
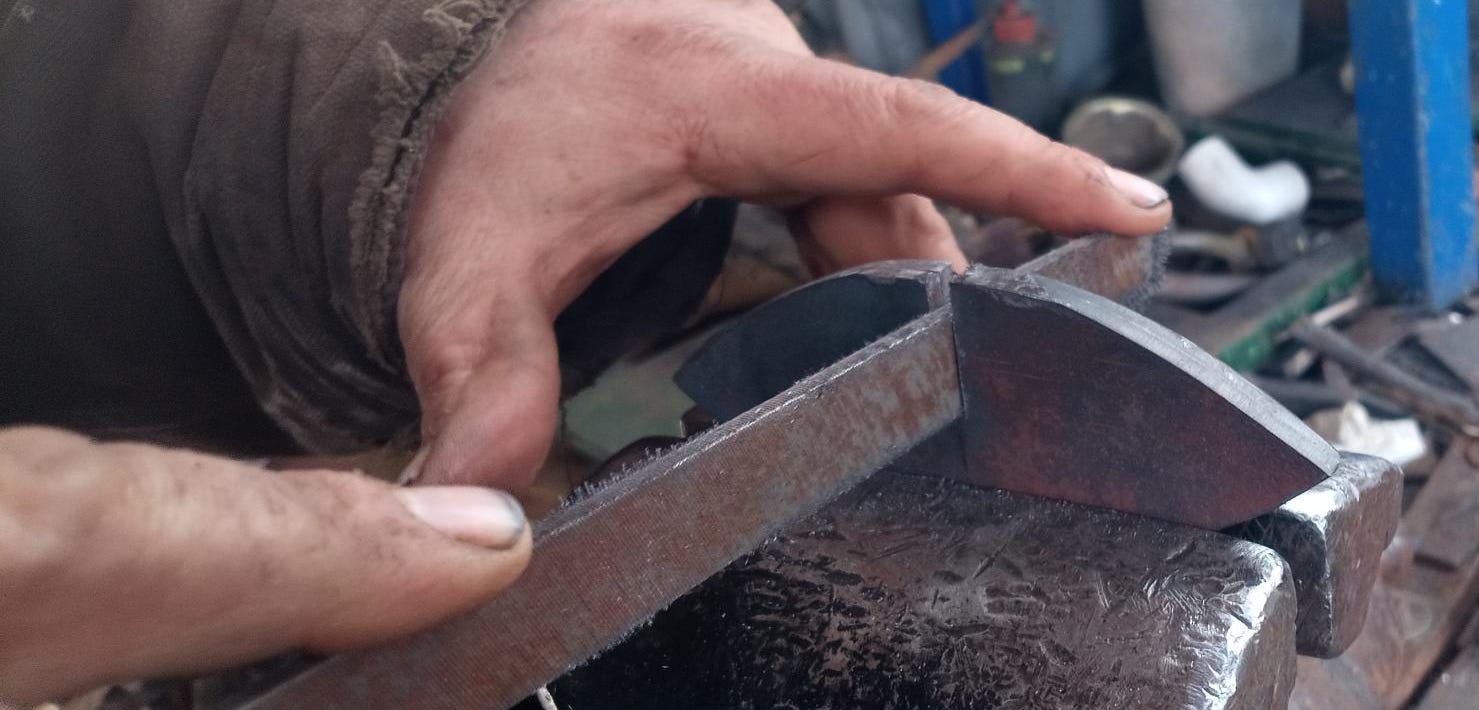
With that done, I could flip one over and make a nifty, and very tight pressure-fit, blade cross.
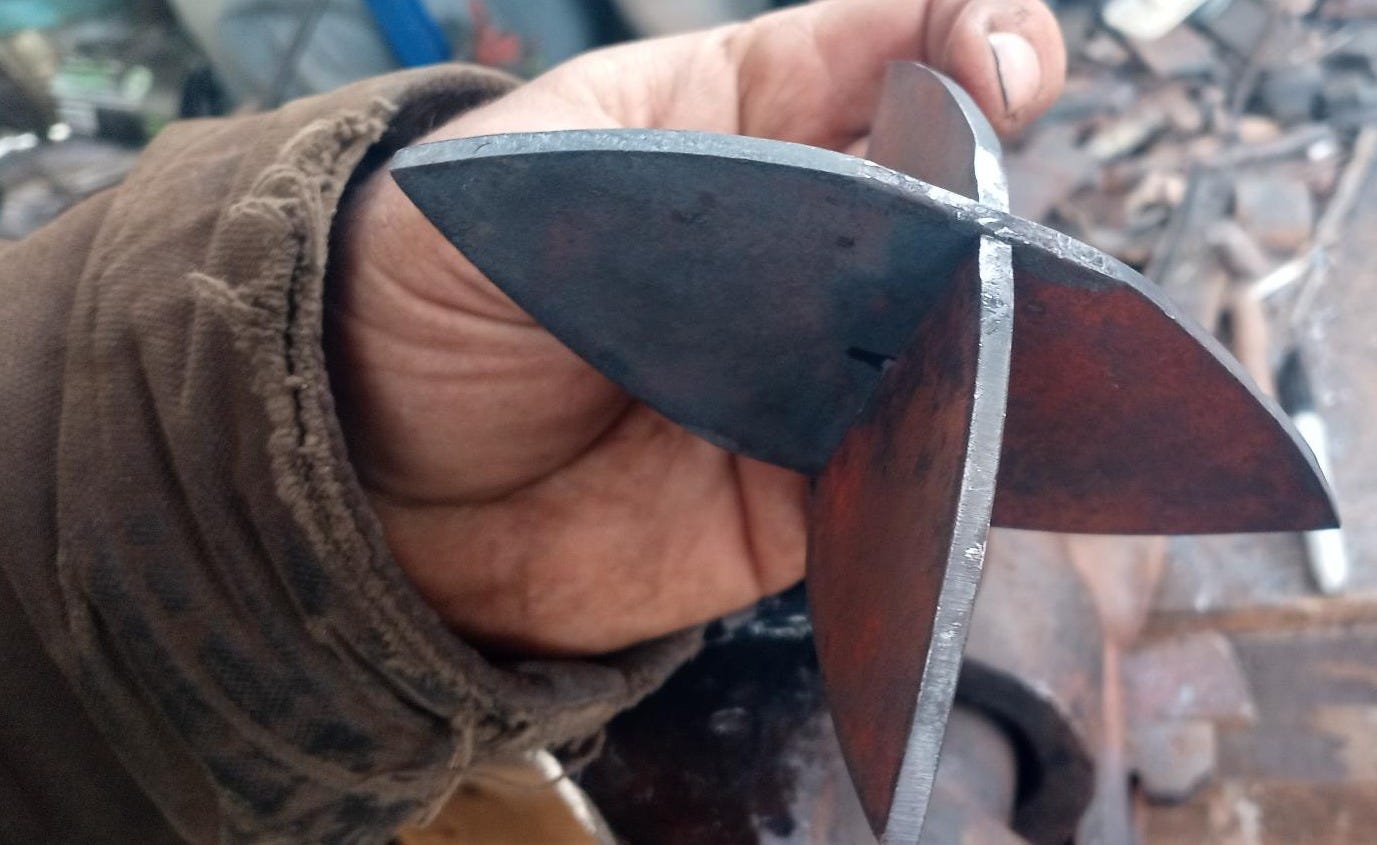
Now, to mount it.
With the angle grinder, I cut a cross into the octagonal shaft, then, after heating, separated the tines with a chisel.
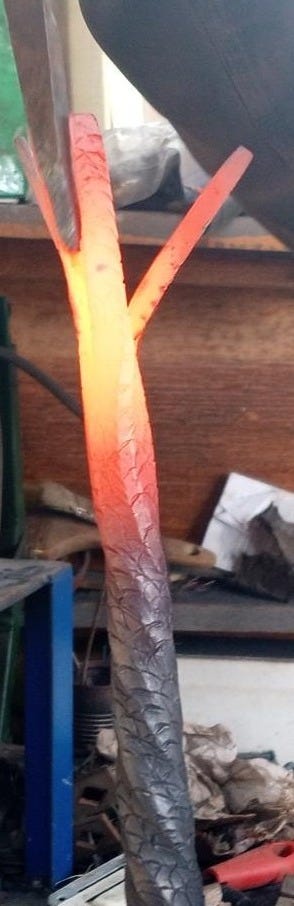
Then I nestled the blades in the basket, and—using the torch and a hammer—heated and closed up each tine around the blade cluster.
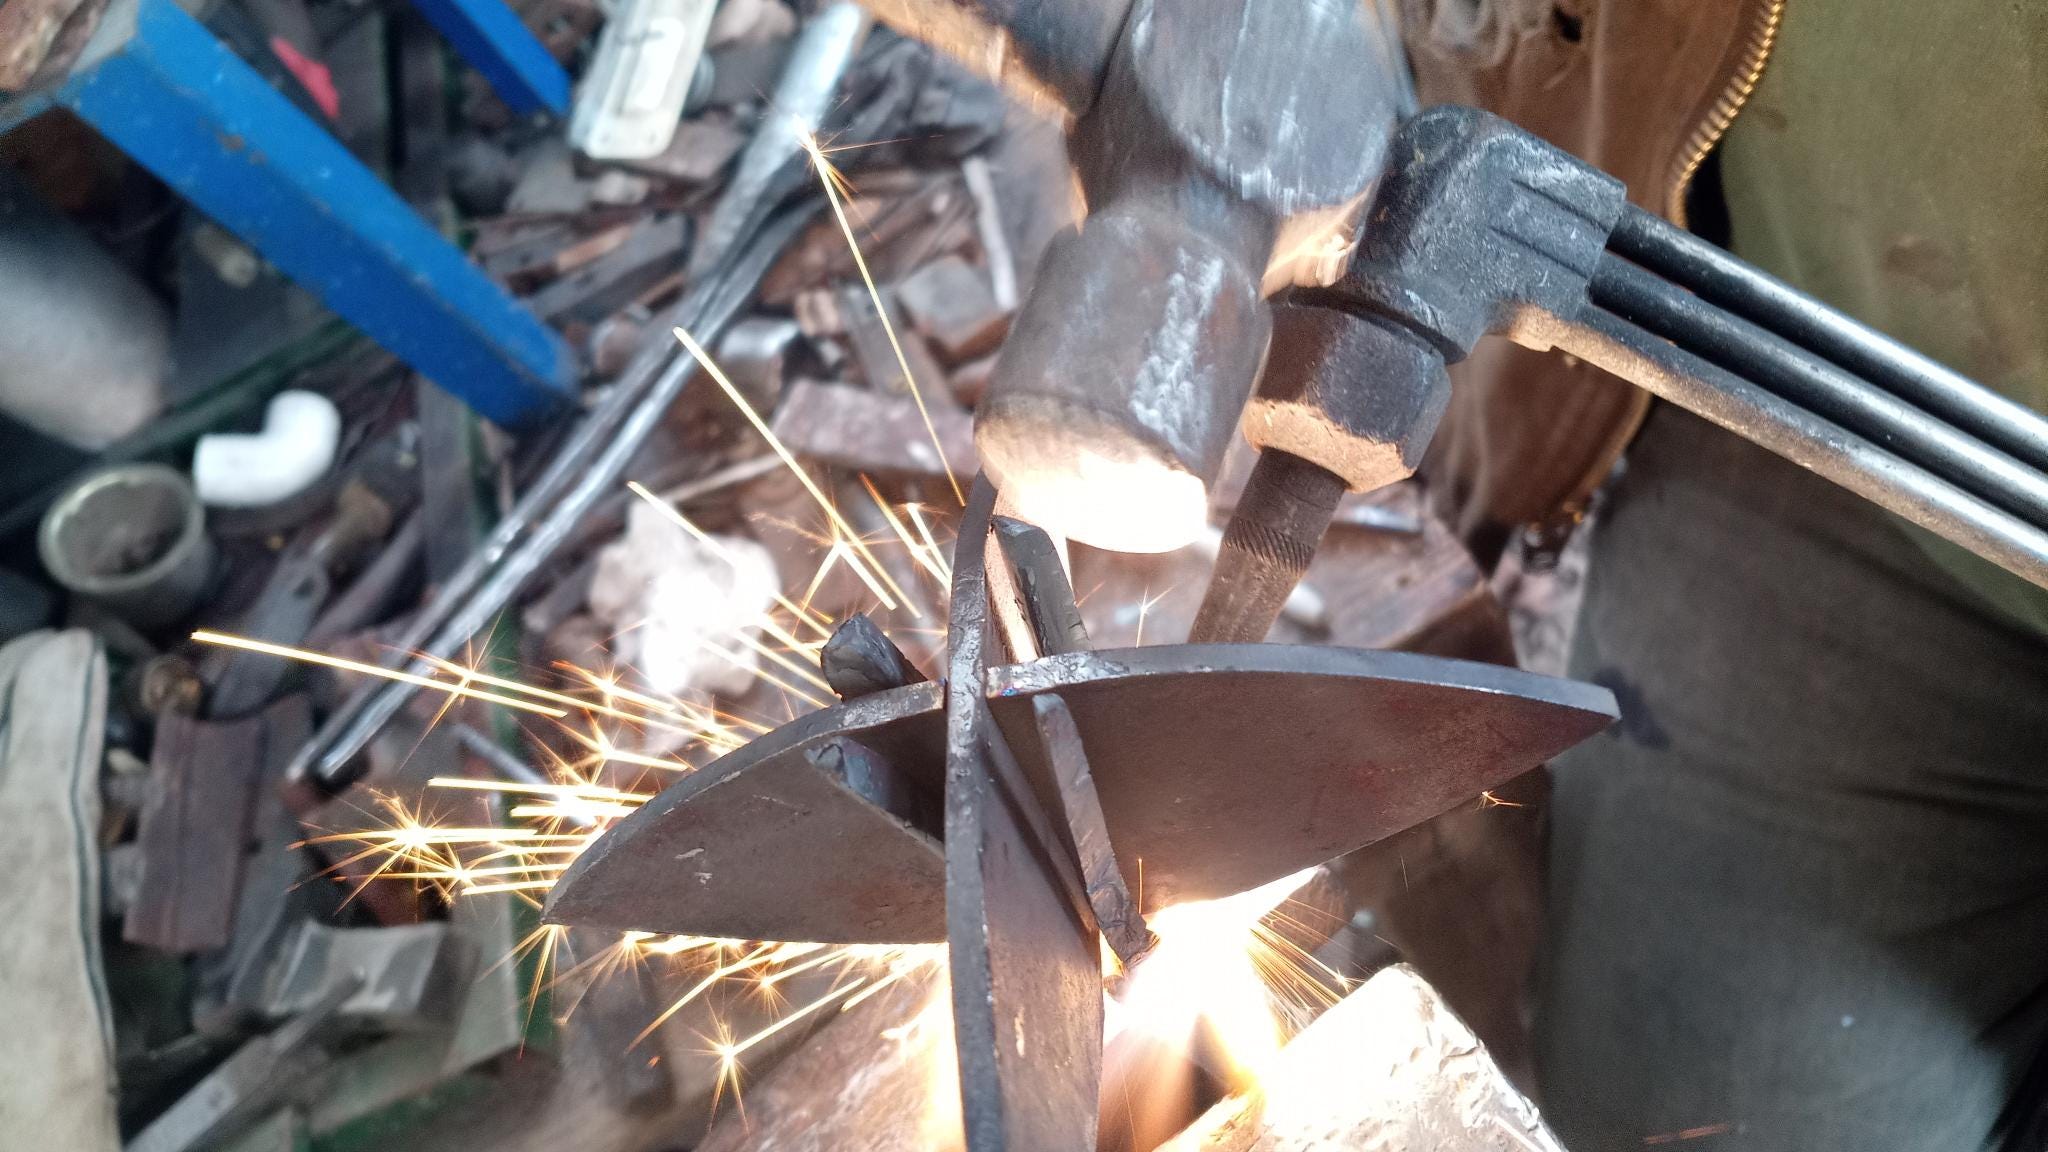
Under normal circumstances, I would try to forge-weld all this together, but not this time. The solid-fuel forge would have been the right tool for that job, but I didn’t have any coal on hand. My propane forge can get hot enough for forge welding, but only if you close it up on both ends and let the piece heat up in private—the forge is a foot long, so that wasn’t going to happen with a mace that was two feet long.
I was left with no good choice but to use an electric welder. I clamped the thing down on the welding table and built the weld up with some carbon steel welding rods, enough that the blades would stay in place and I’d have some extra mass on the end.
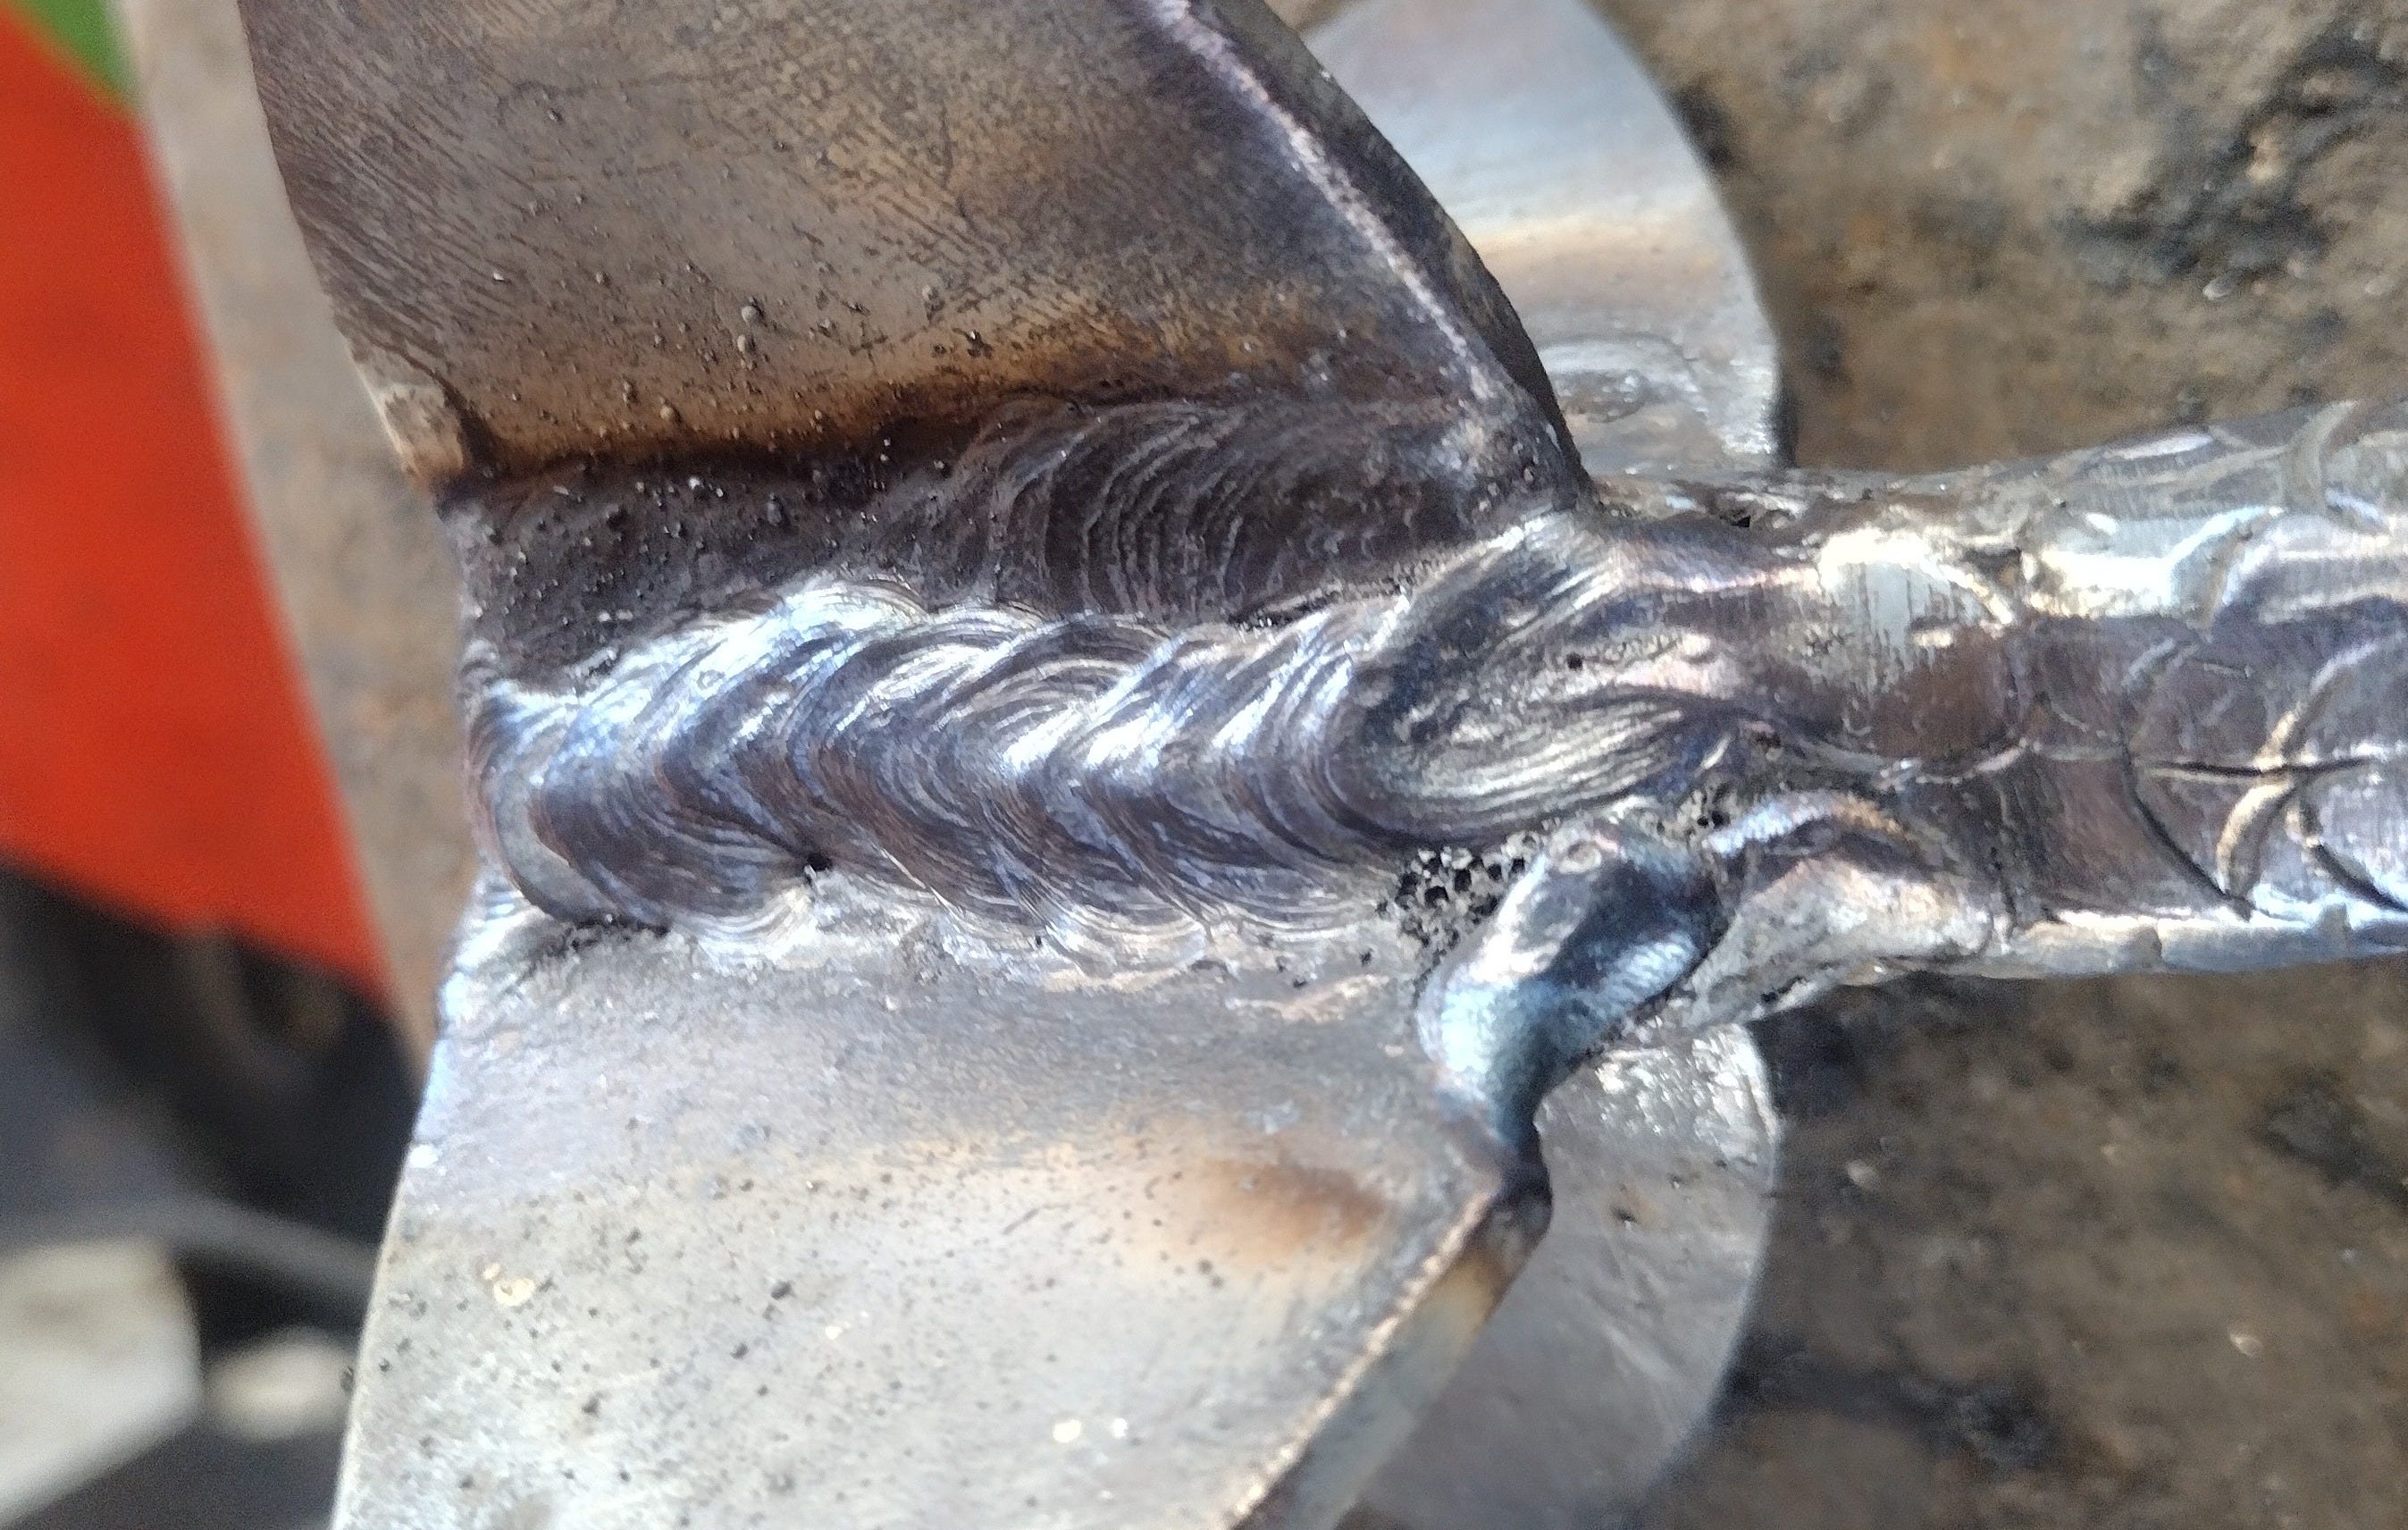
At this point it occurred to me that I really oughta build the weld up on top so that the piece had an attractive and appropriate finial on it.
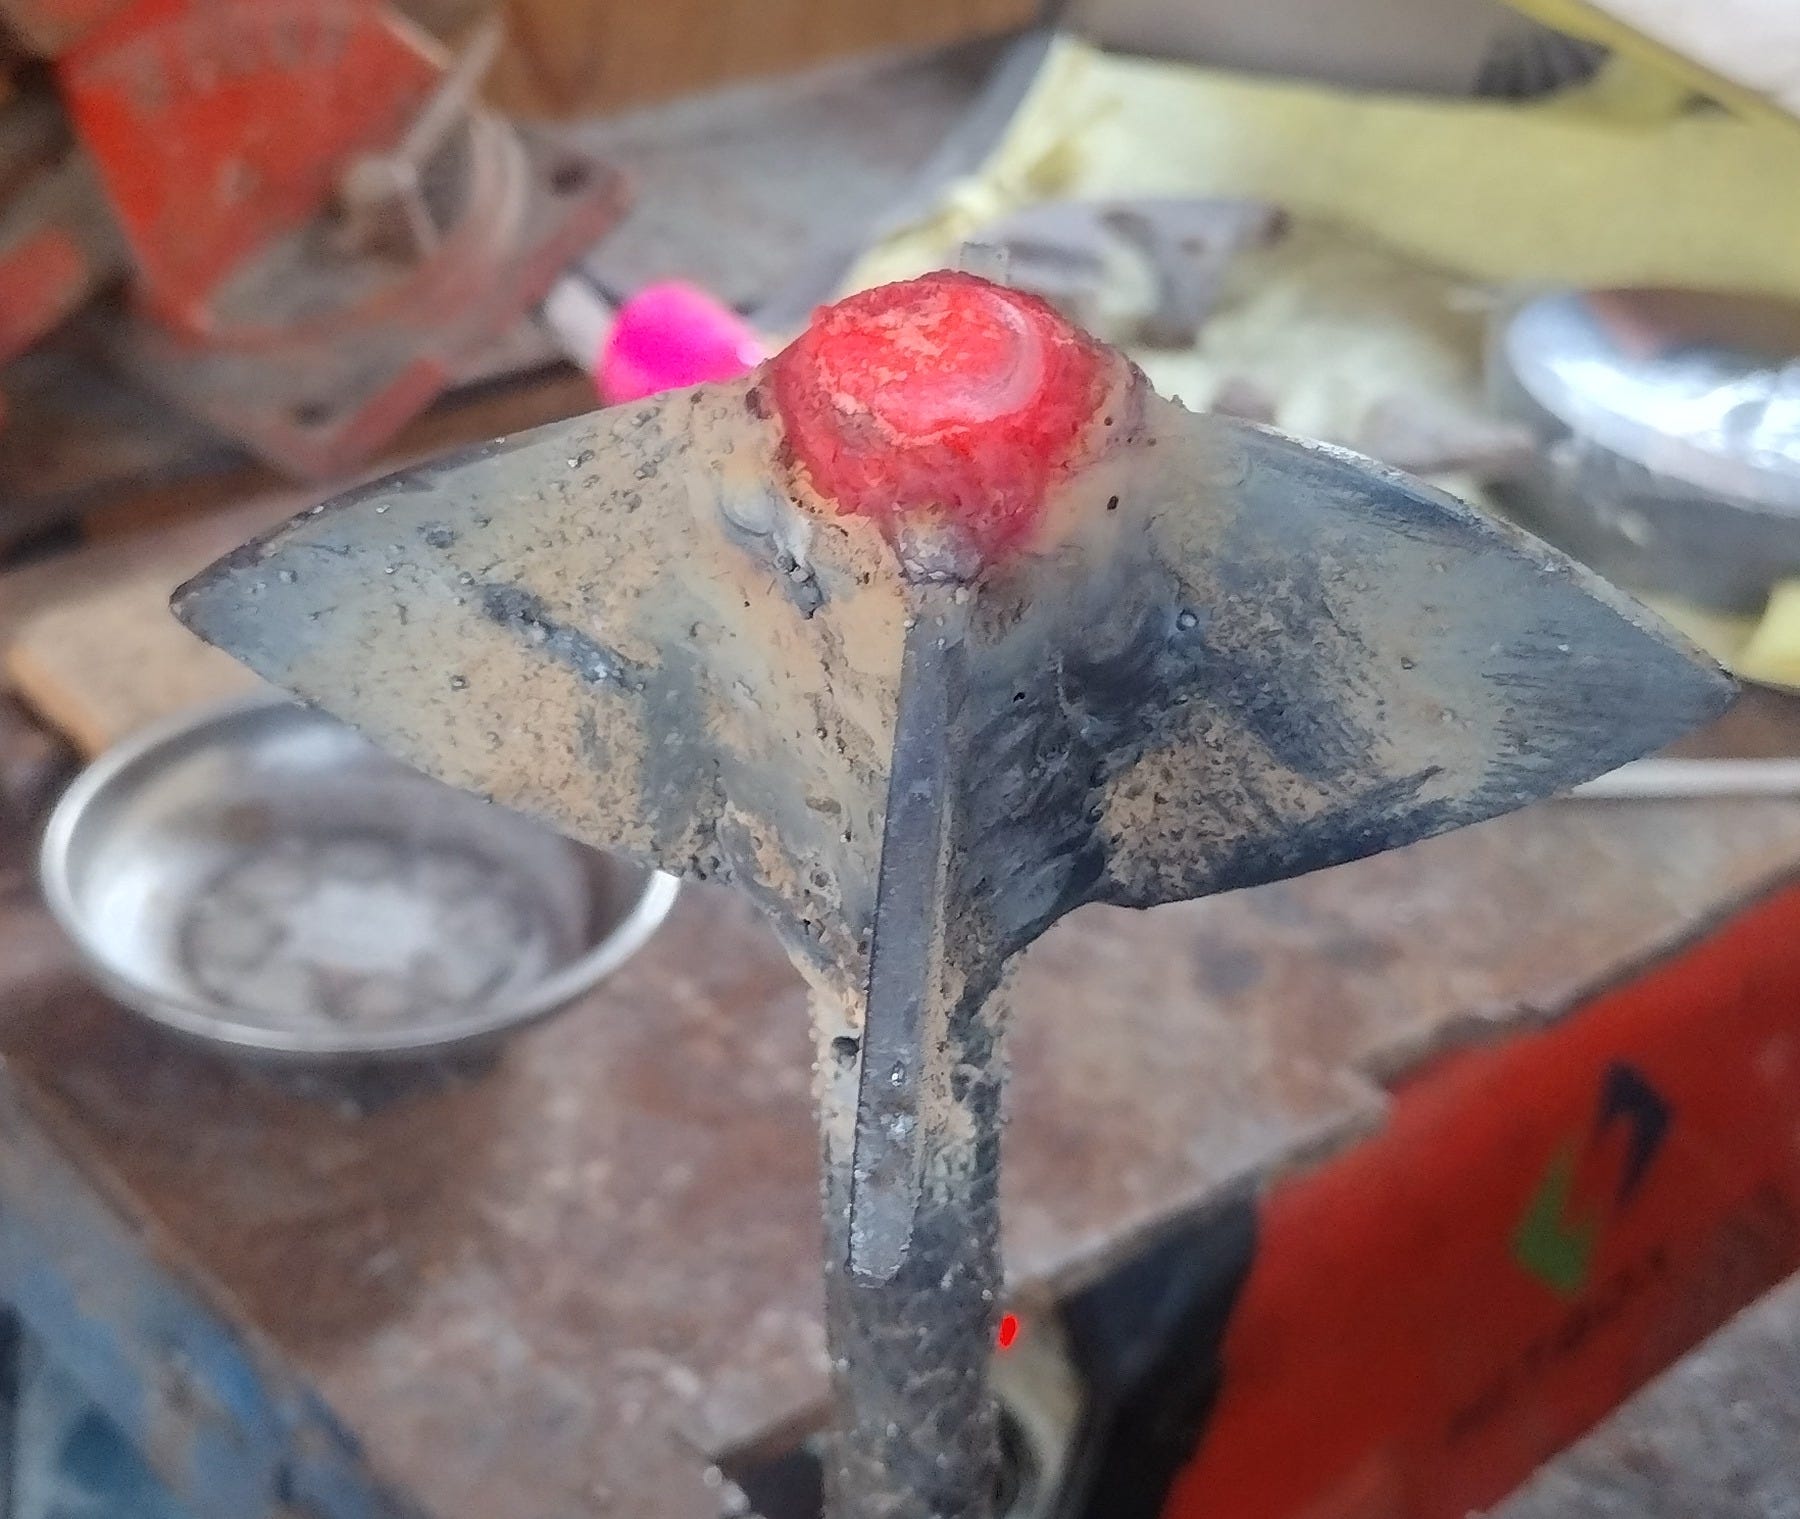
After a bit of clean-up with the angle grinder, I took the fish-scale punch and extended the pattern all the way to the end, then used a file to sculpt the finial, which left me with a cosmetically complete piece. The forging part of our show was officially complete.
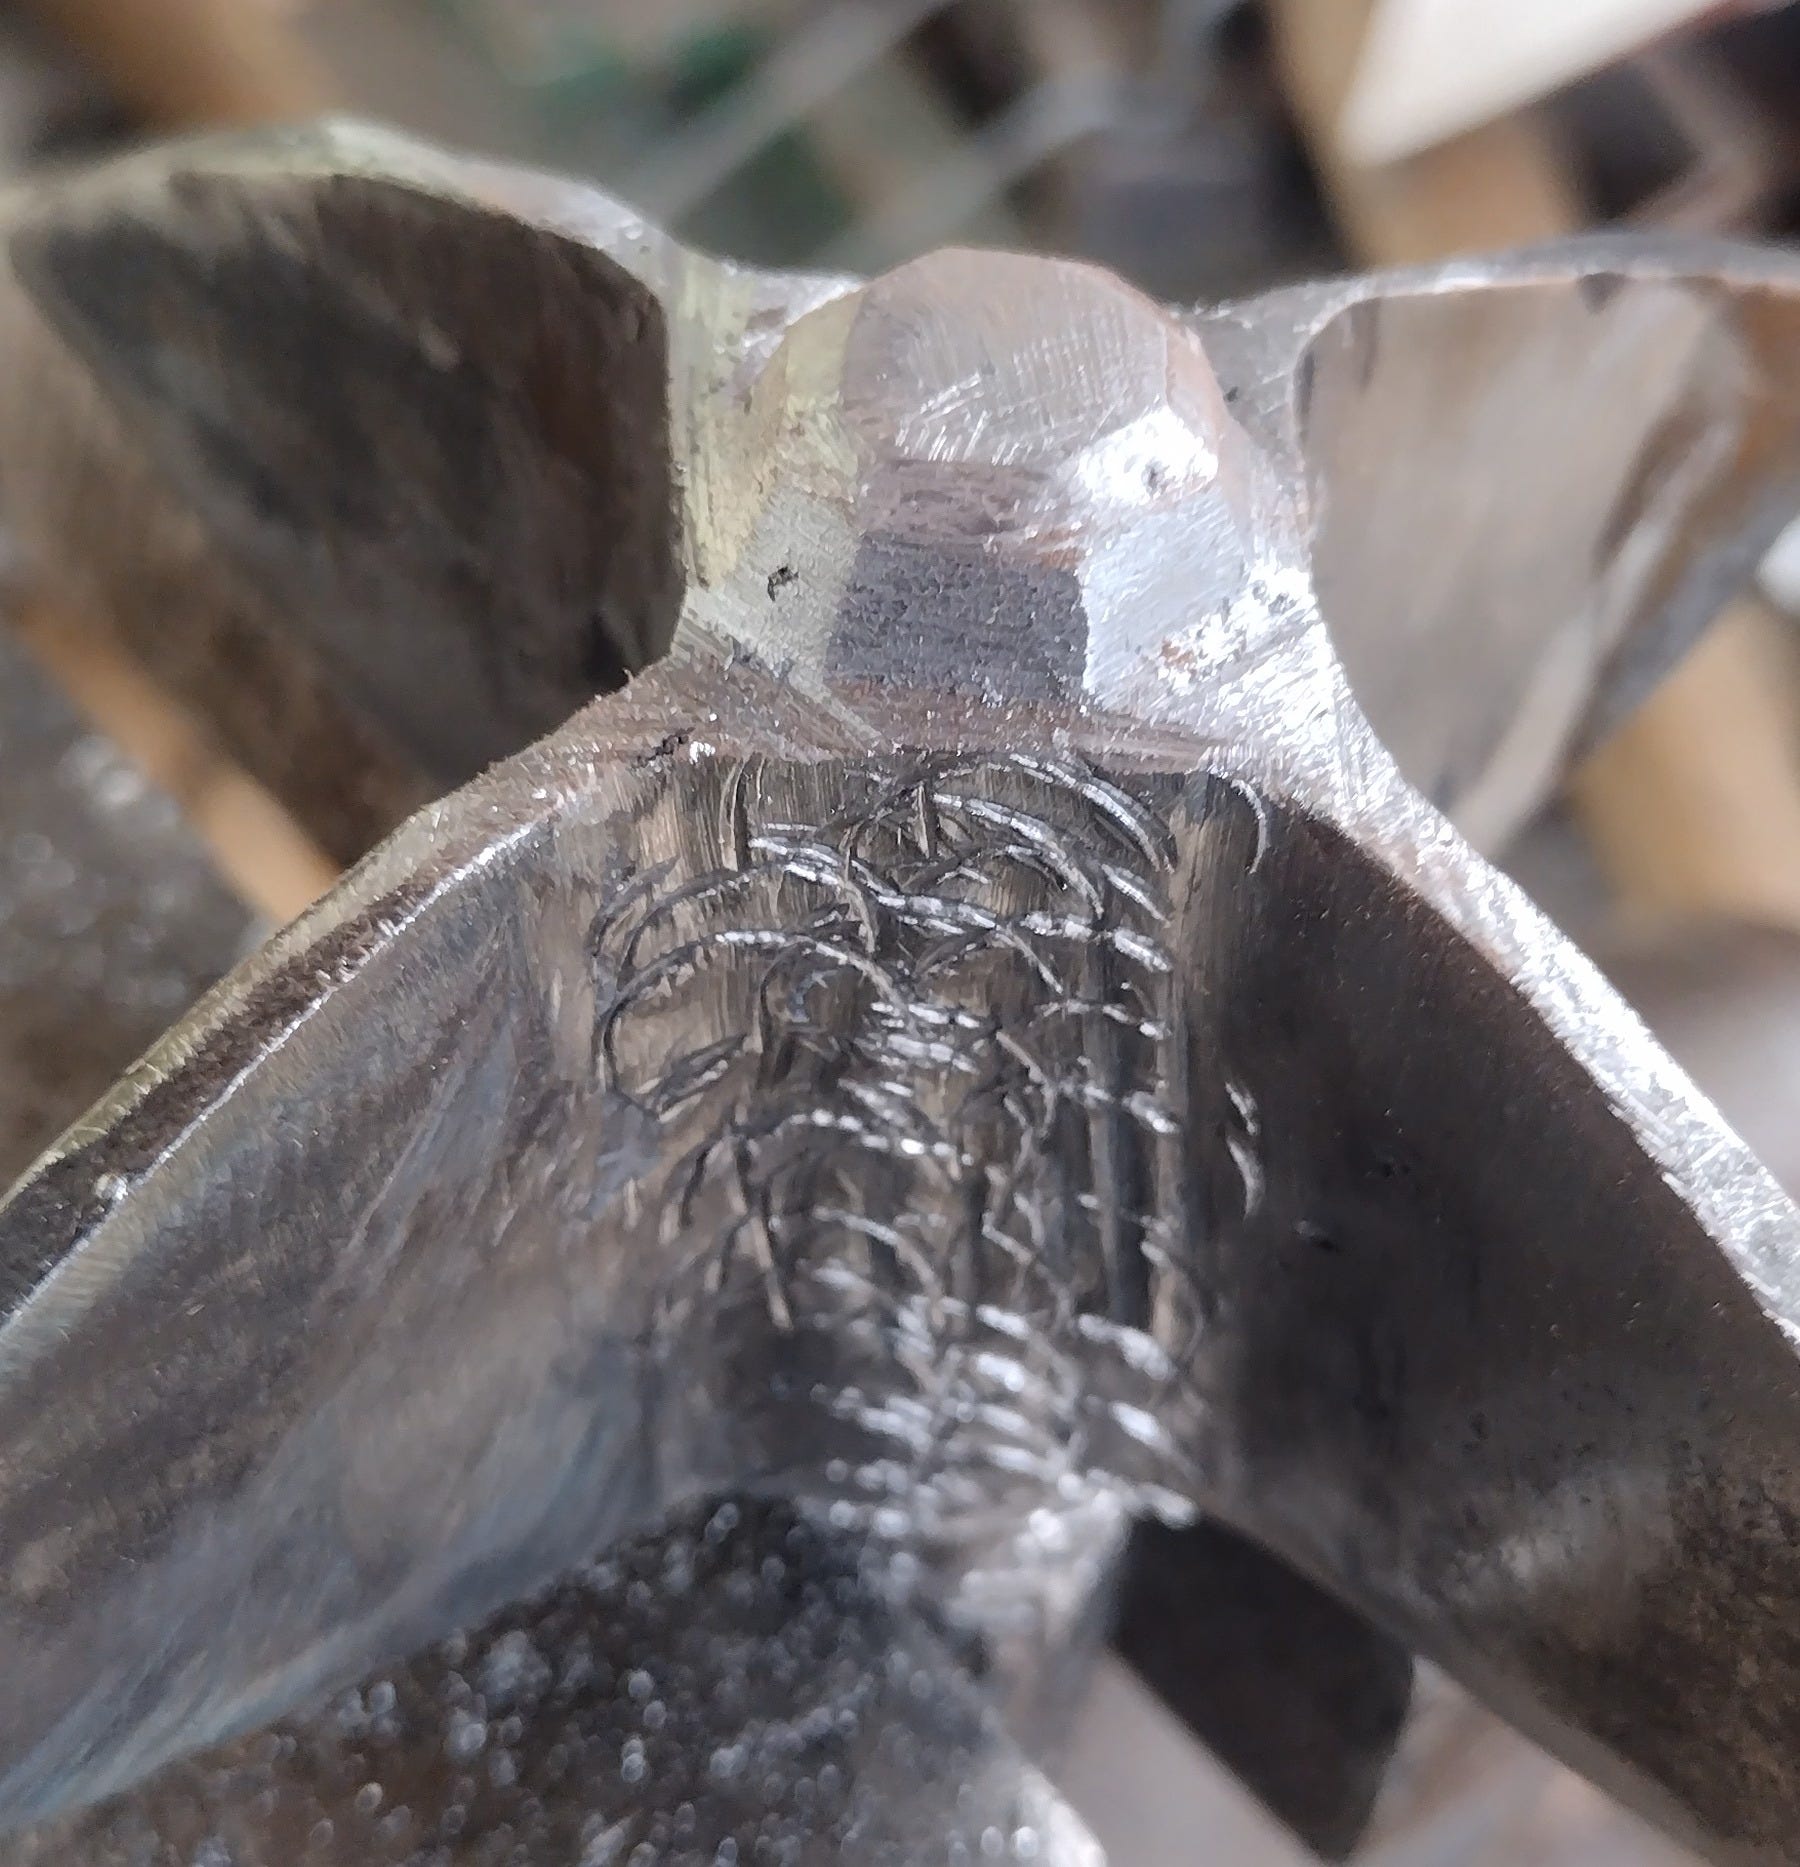
All I had to do now was heat treat it, and then add the finishing touches.
Making It Real
Up to this point, I had approximately ten hours invested over the course of a couple weeks.
Why so long?
When I’m production-forging, I spend all day in the forge doing one-after-another of the same piece, over and over. Key chains, hair pins, small knives, brooches, hooks, and anything else that can be churned out in decent volume. They’re excellent practice, and they make great gifts.
I focus on special commissions, custom pieces, and prototyping in these articles because the problem solving involved has a built-in narrative structure. These custom pieces are creative endeavors. I start with a rough plan, then when I run into an obstacle I leave the forge and go work on other things while my brain chews on the problem. Then, when my brain flashes the “solved” sign at me, I go back to the project until I run into the next not-easily-resolved obstacle.
All the work up to this point has built the foundation upon which the final artwork will rest. Now it was time to make it real.
First, the heat treat. This involves bringing the entire 2-foot-long piece up to a red heat despite only having a 12-inch-long forge to work with.
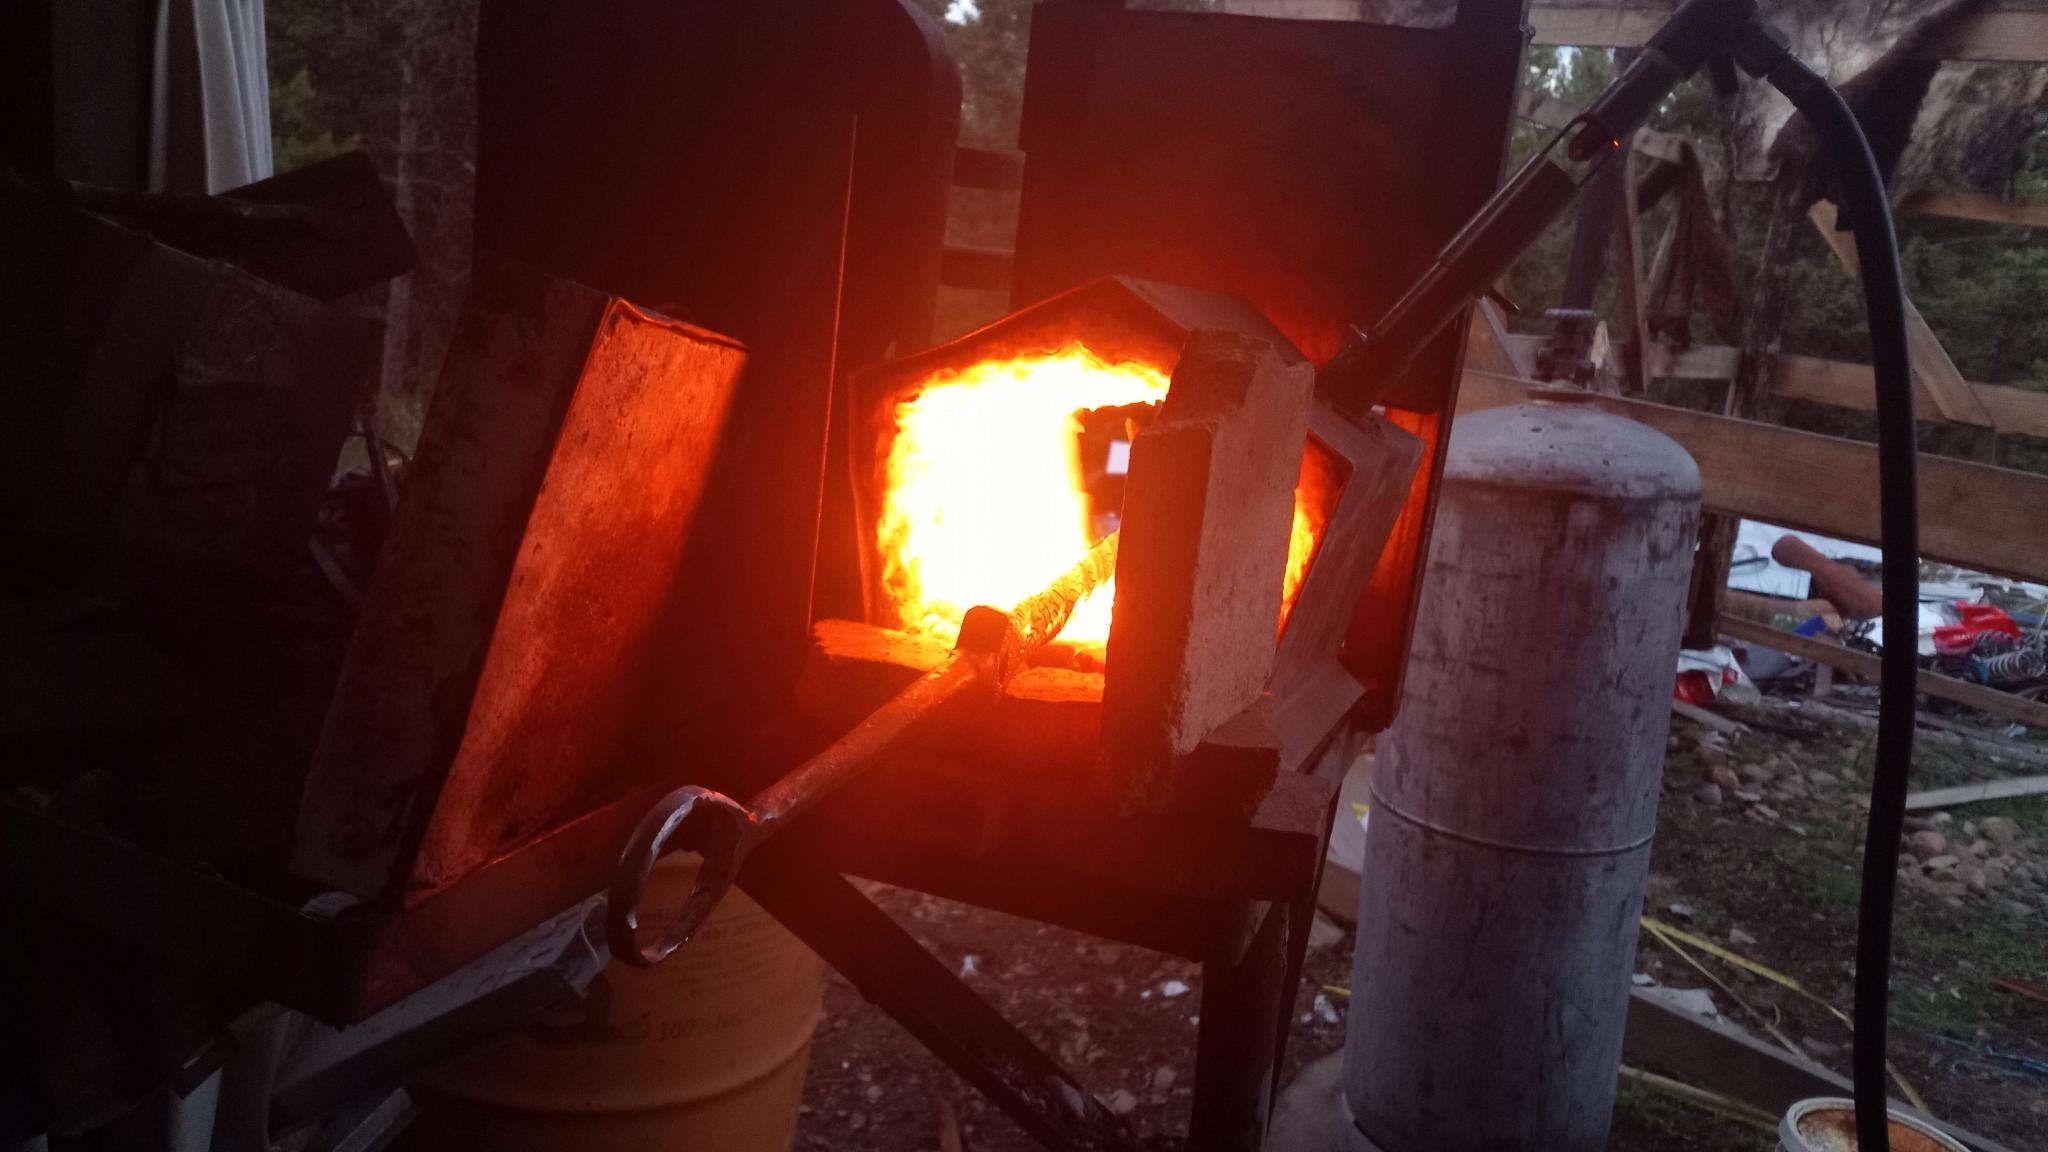
I did this by opening the doors on both ends and letting the middle section cook, then lifting the piece and moving it back-and-forth until the entire mace was painted in a nice red heat.
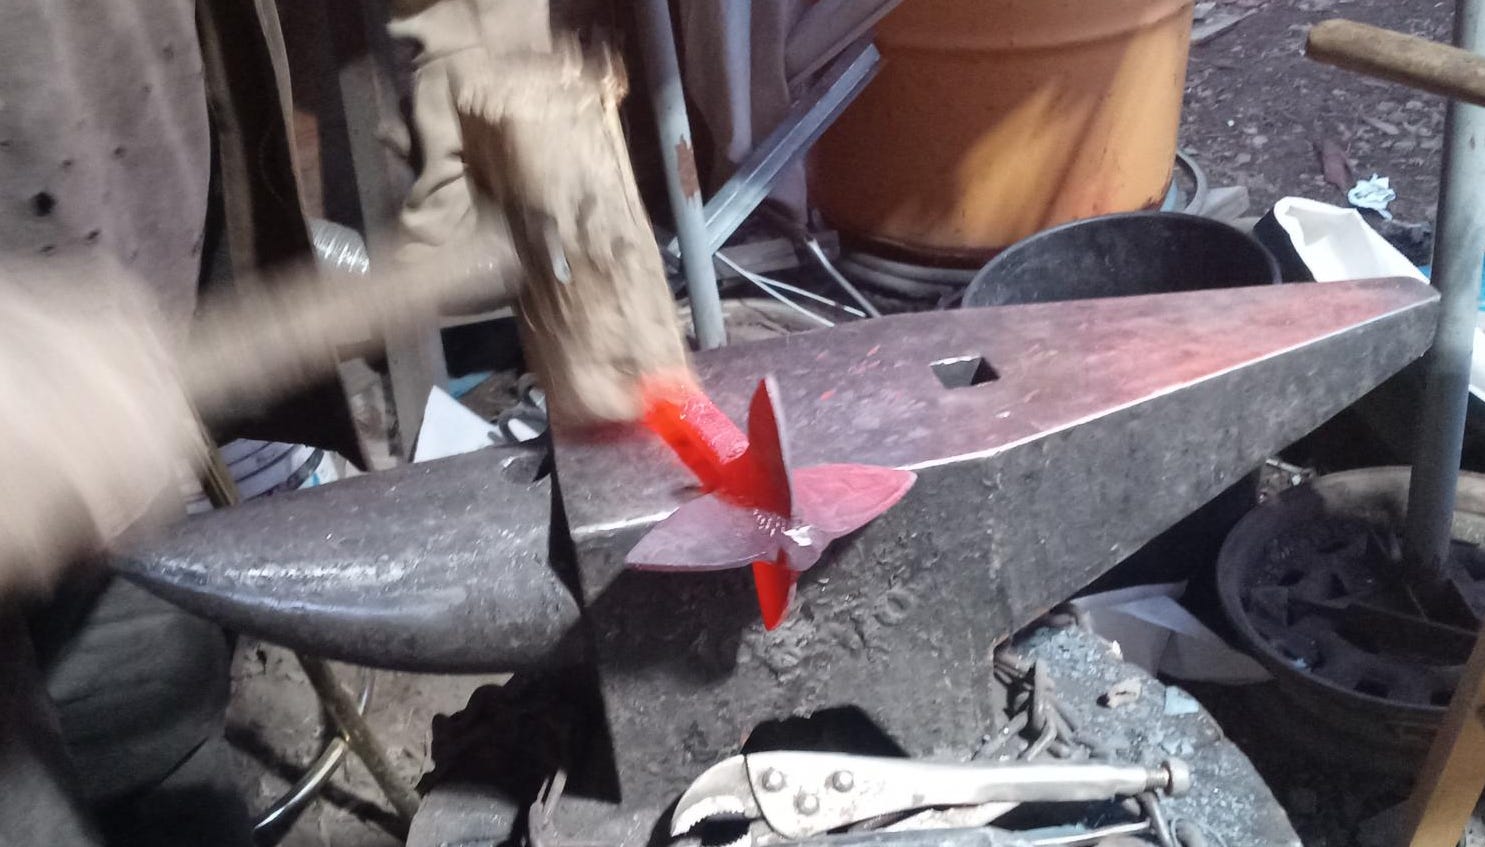
When it was nice and hot, I tapped it with the wood mallet to straighten some warpage introduced during welding. I then brought it back up to temperature, and set it on the anvil to rest.
This step is called “normalizing.” It relaxes the stresses that build up in the crystal structure of the metal while forging.
When it had cooled down, I heated it up again to an even red, then dunked it in a water barrel.
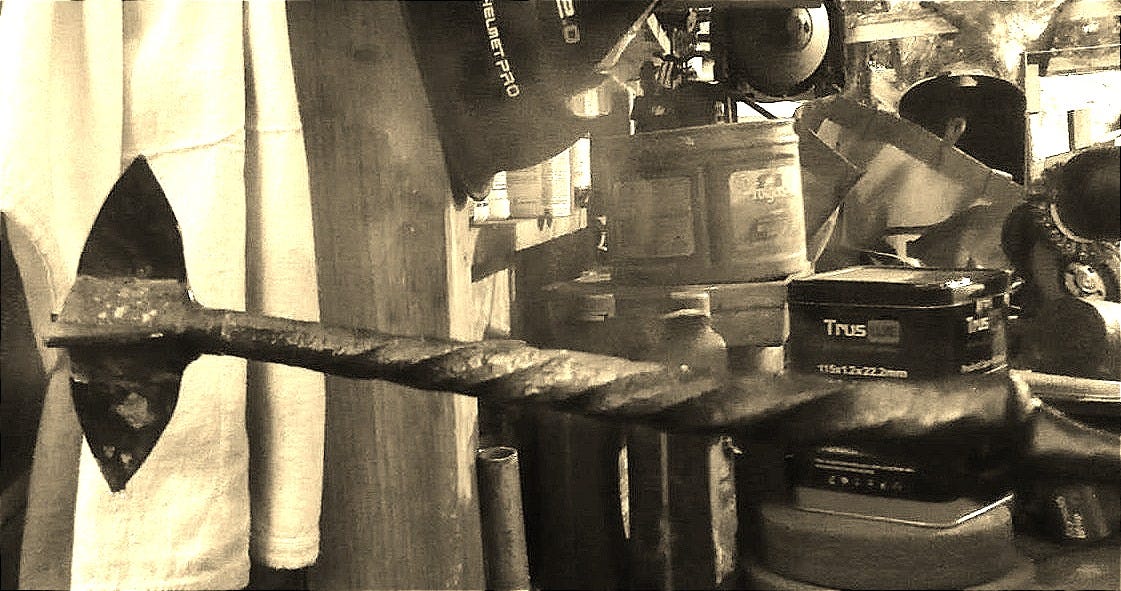
It file tested nice and hard…and, unfortunately, it picked up a warp (due to the dissimilar metals at the blade-end cooling at slightly different rates). A repeated treatment picked up a warp in the same spot, so I made an aesthetic decision: The warp made it look even more sea-serpent like.
I sent pictures to the stranger to make sure he was okay with it, and he insisted that it had enough personality that it needed a name.
And that wasn’t all it needed.
Dressing the Weapon
Quenching the piece in water quickly revealed to me a potentially fatal flaw in this mace:
All those little crevices in the scale pattern are moisture condensation spots. The next morning after the quench, I went to temper the piece.3 When I picked it up, I noticed that it had already developed a bit of rust. I would need to rust-proof this thing before I let it leave my shop.
So, after tempering I hit it with a wire wheel to clean it up, and I set about giving it a rust-proof finish.
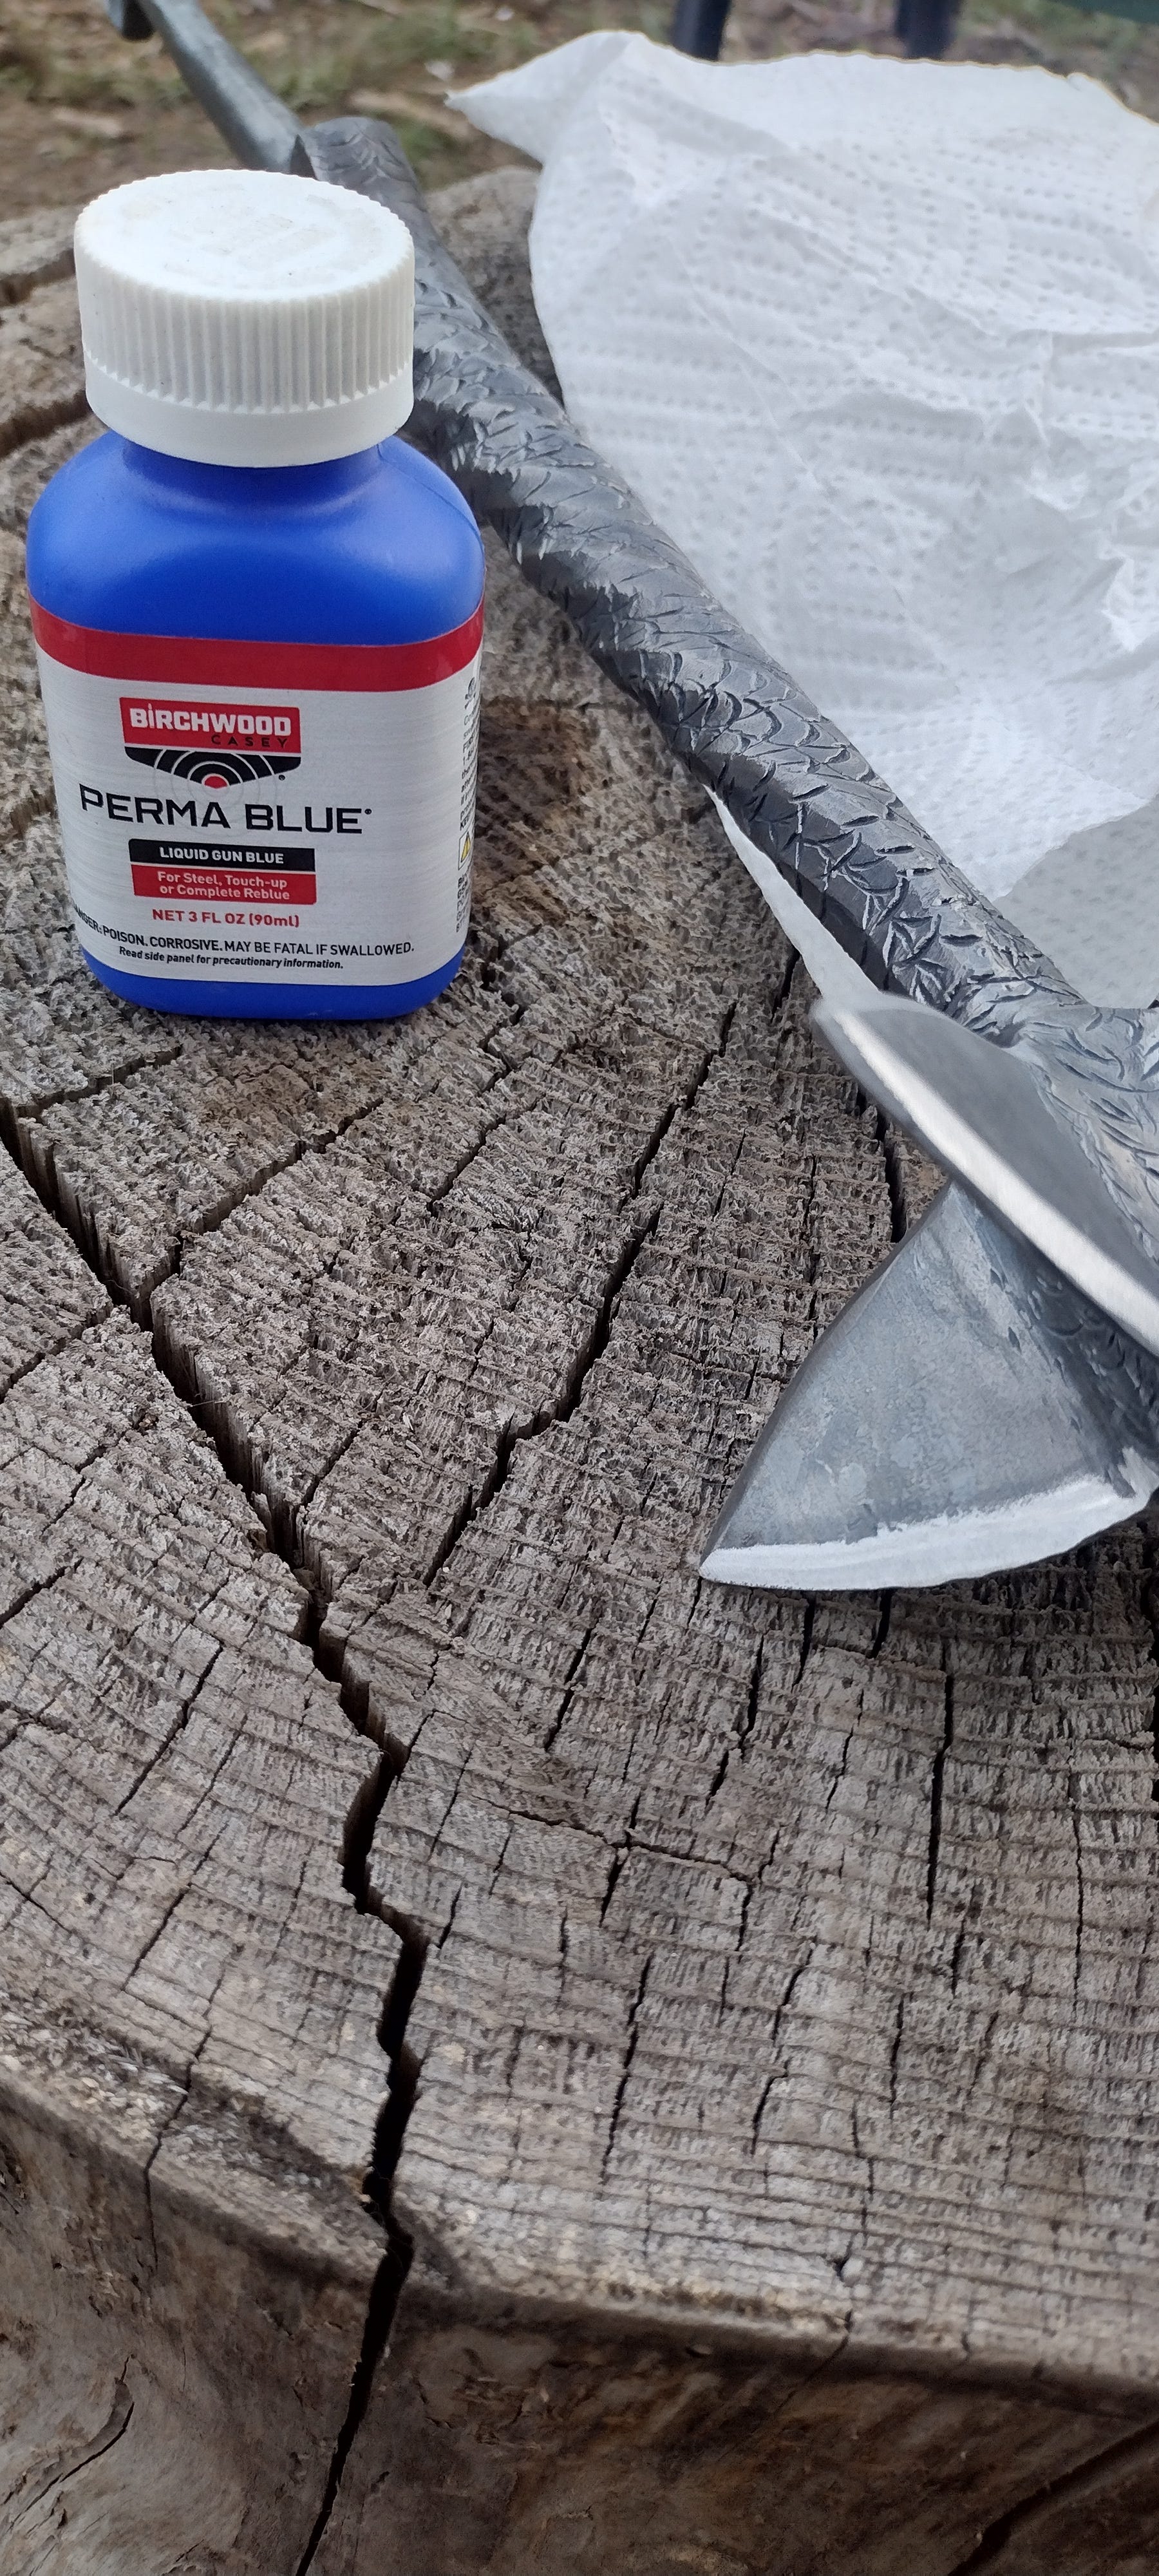
That is cold blue—it’s an acid concoction that approximates the black-blue steel finish that’s fashionable on revolvers and other guns. Bluing the steel creates a layer of black iron oxide. Of course, rust is also an oxide of iron, but where rust forms a crackly, flaky, brittle layer (which always allows more moisture in, perpetuating the rust), black oxide is relatively impermeable—it takes a lot of water and temperature cycling to crack the surface on black oxide and introduce rust.
I blued the mace from tip to butt, then sharpened the blades (you can see the result in the picture above), then—just to be doubly-sure—I covered it in a film of boiled linseed oil and let it cure for a few days. Linseed is a “drying oil,” i.e. it cures on contact with oxygen and creates a plastic-like coating that hardens over time.
With the basics seen to, I now needed to add the finishing touches.
The Handle
Now, the handle. The handle needed weight, and it needed girth. I originally planned to wrap it in a few layers of lead foil before building it up with wire, but the stranger vetoed that one—the slim chance that the lead might contaminate an environment where children sometimes played was one he did not want to take.
So, no lead.
That left wire.
First, a layer of galvanized mild steel wire.
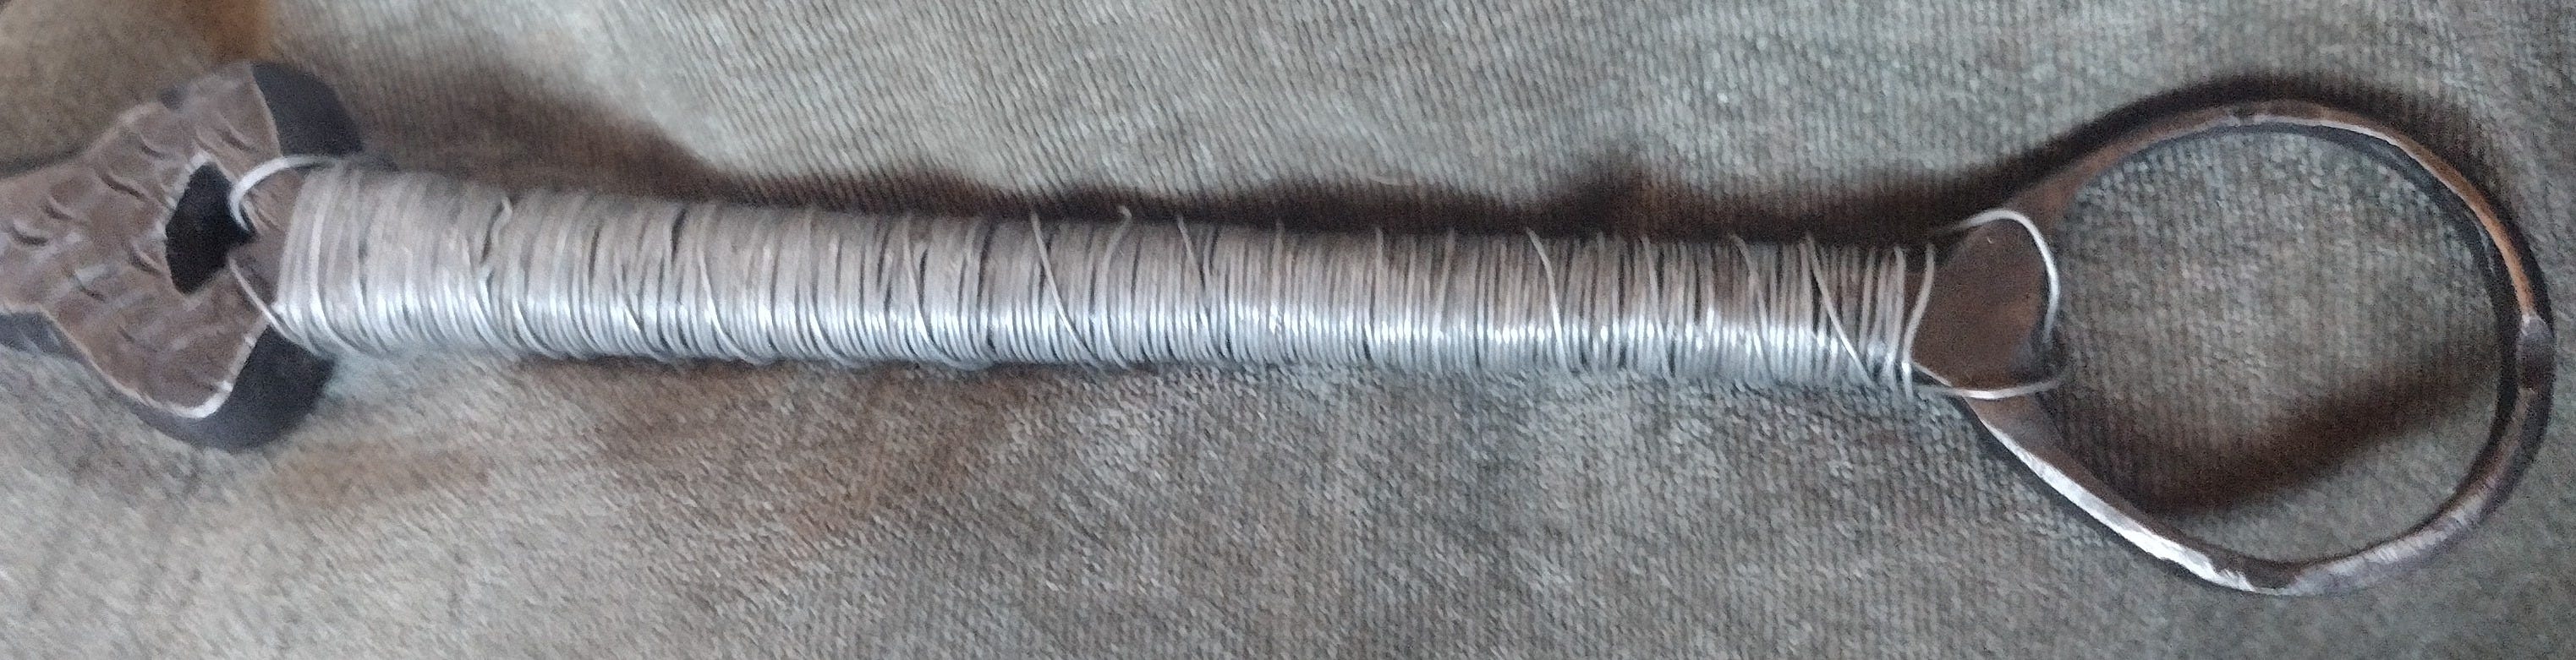
This added a few good ounces and a decent amount of grip, but it didn’t exactly look swanky or feel comfortable. That was a job for the next layer.
I took the project to the leather workstation.4
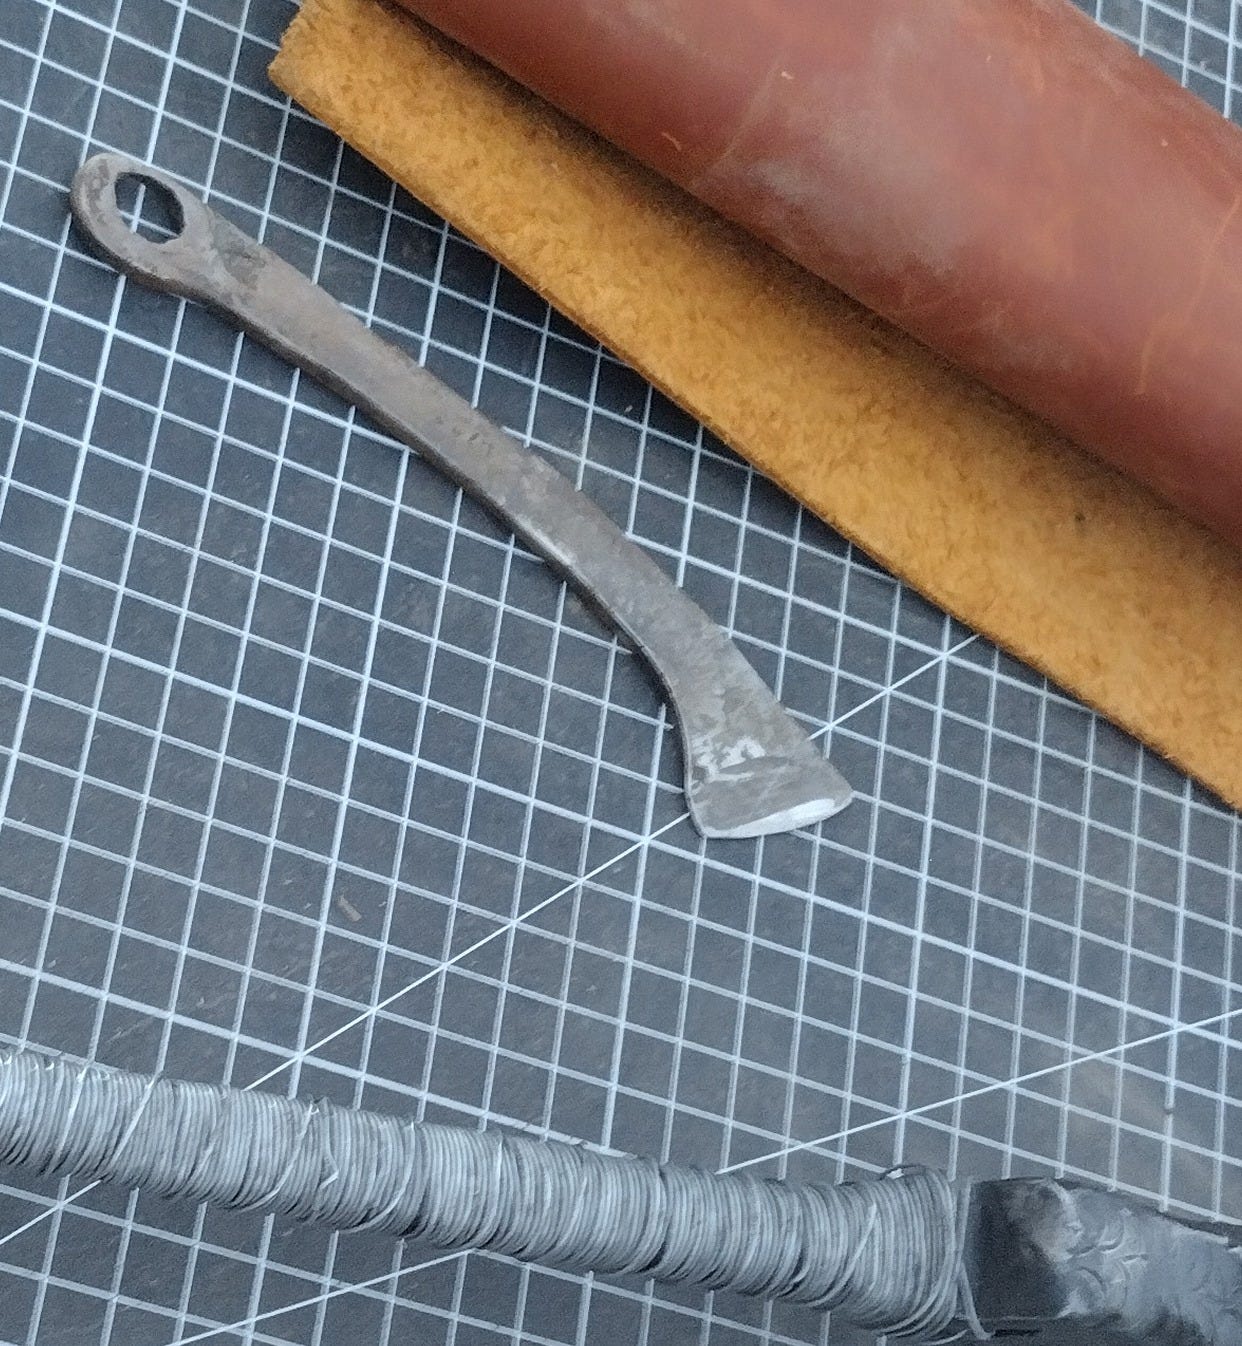
Using a kiridashi I made last year, I cut out some heavy-duty leather for a wrap.
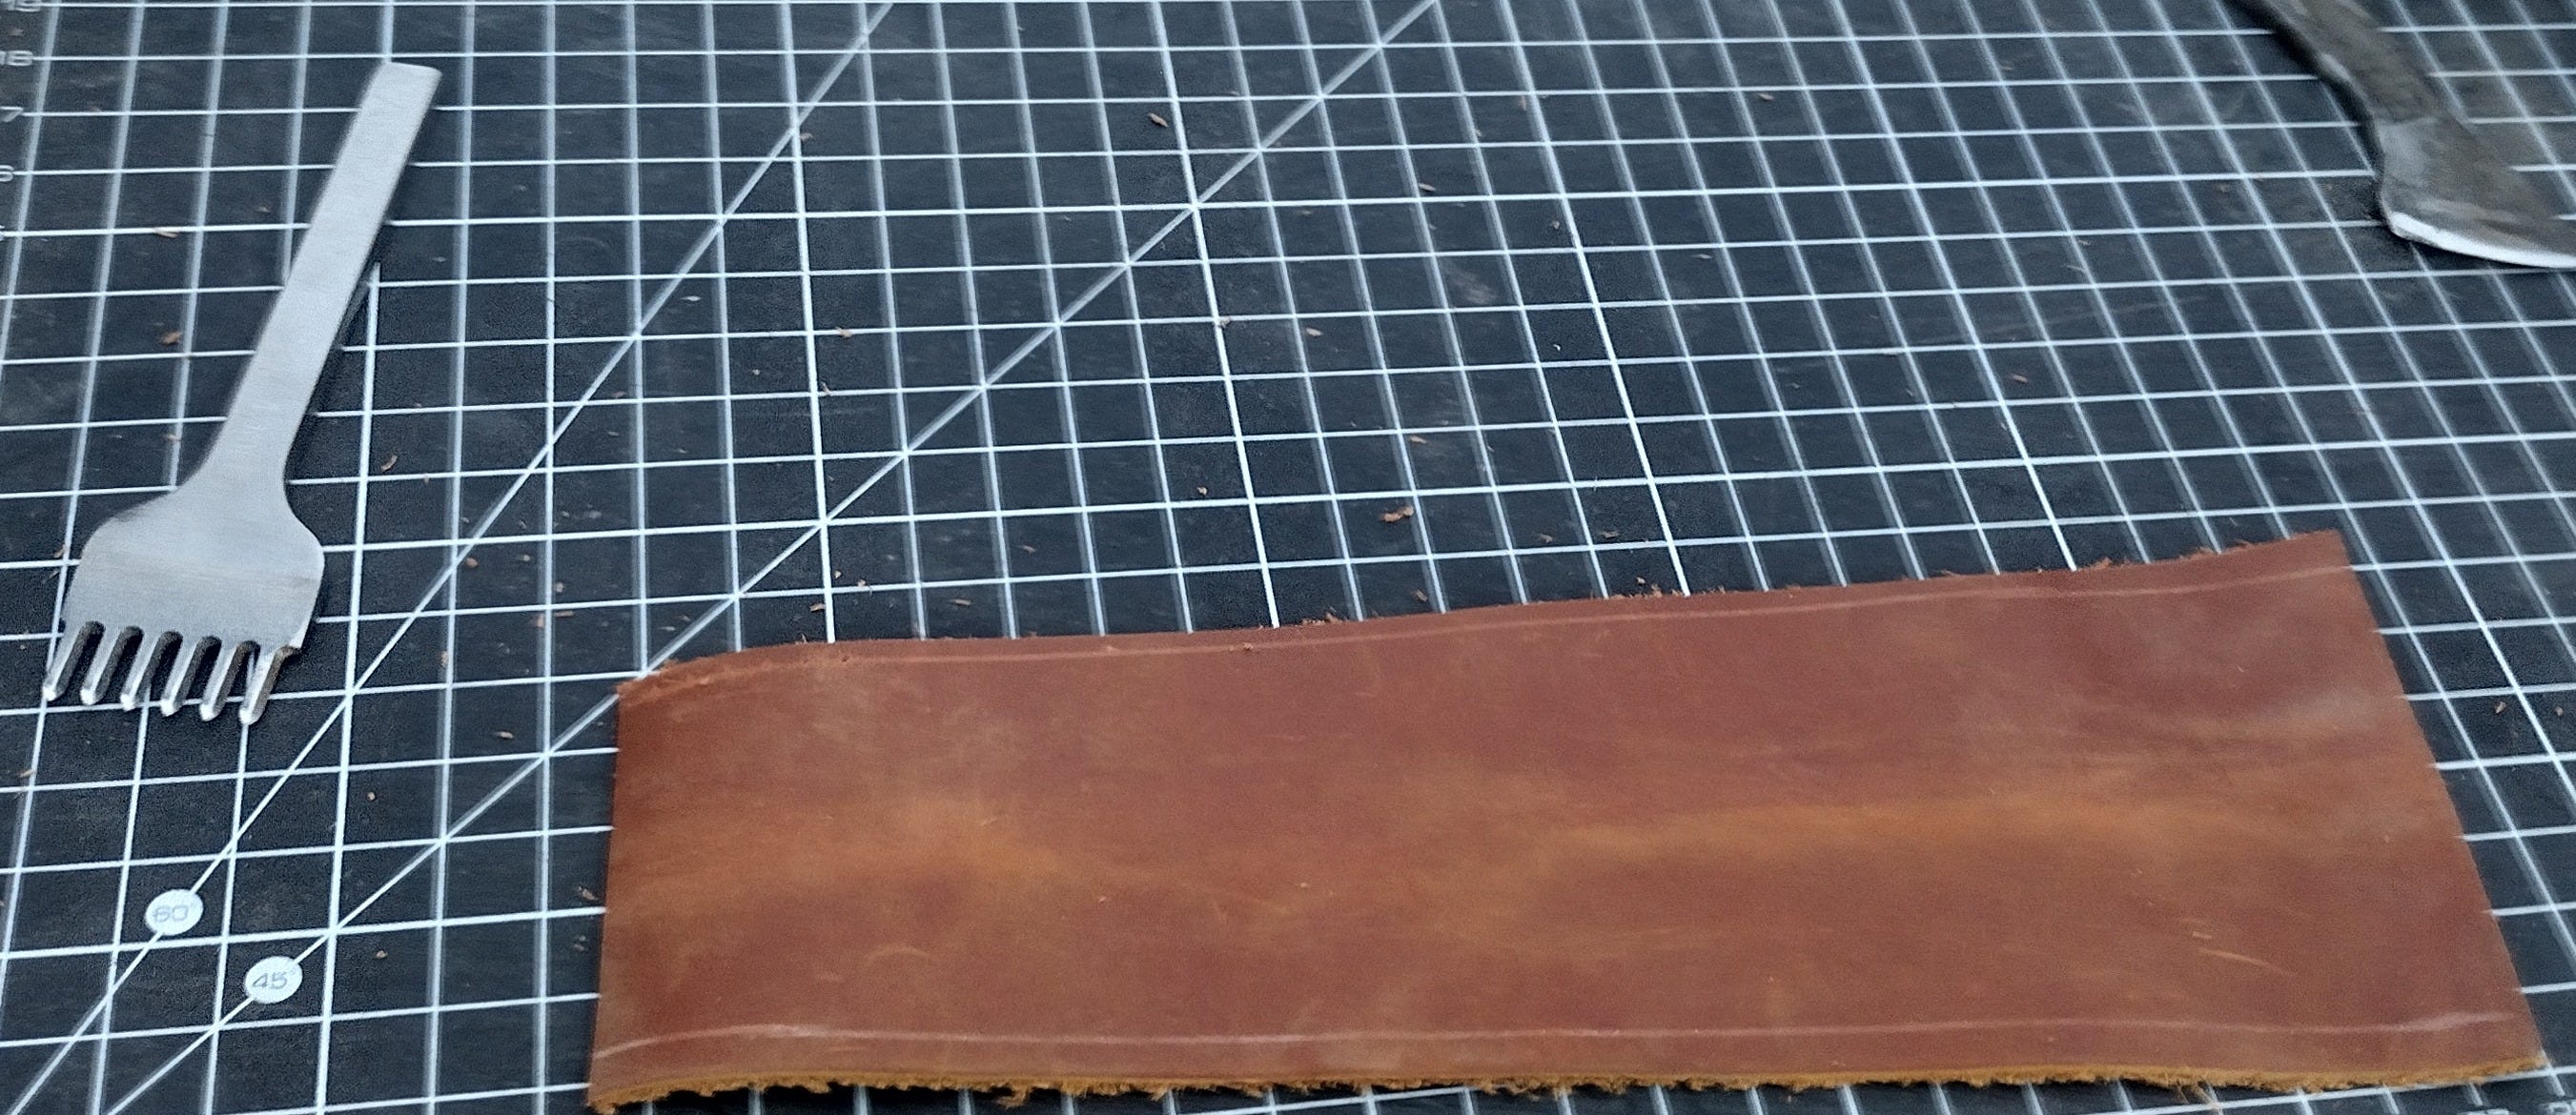
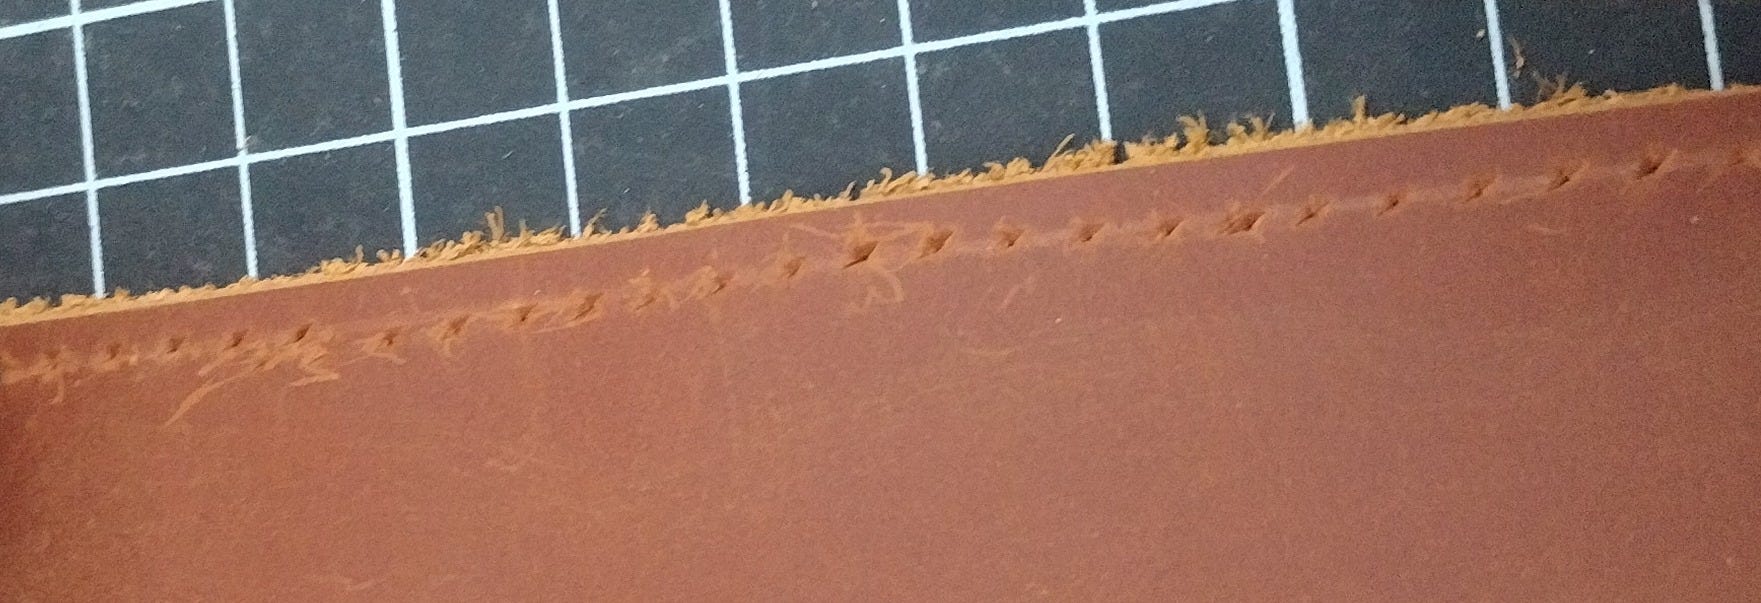
The over-ambitious salad fork on the left there is called a “stitching chisel.” It’s job is to punch holes in the leather where the stitching will go. With the wrap cut to size and the seams marked, I took the stitching chisel and ran lines of holes down each of those lines you see scored onto the leather.
The leather then wrapped around the handle and got stitched into place with a pair of needles, like a cross between a shoelace and a suture.
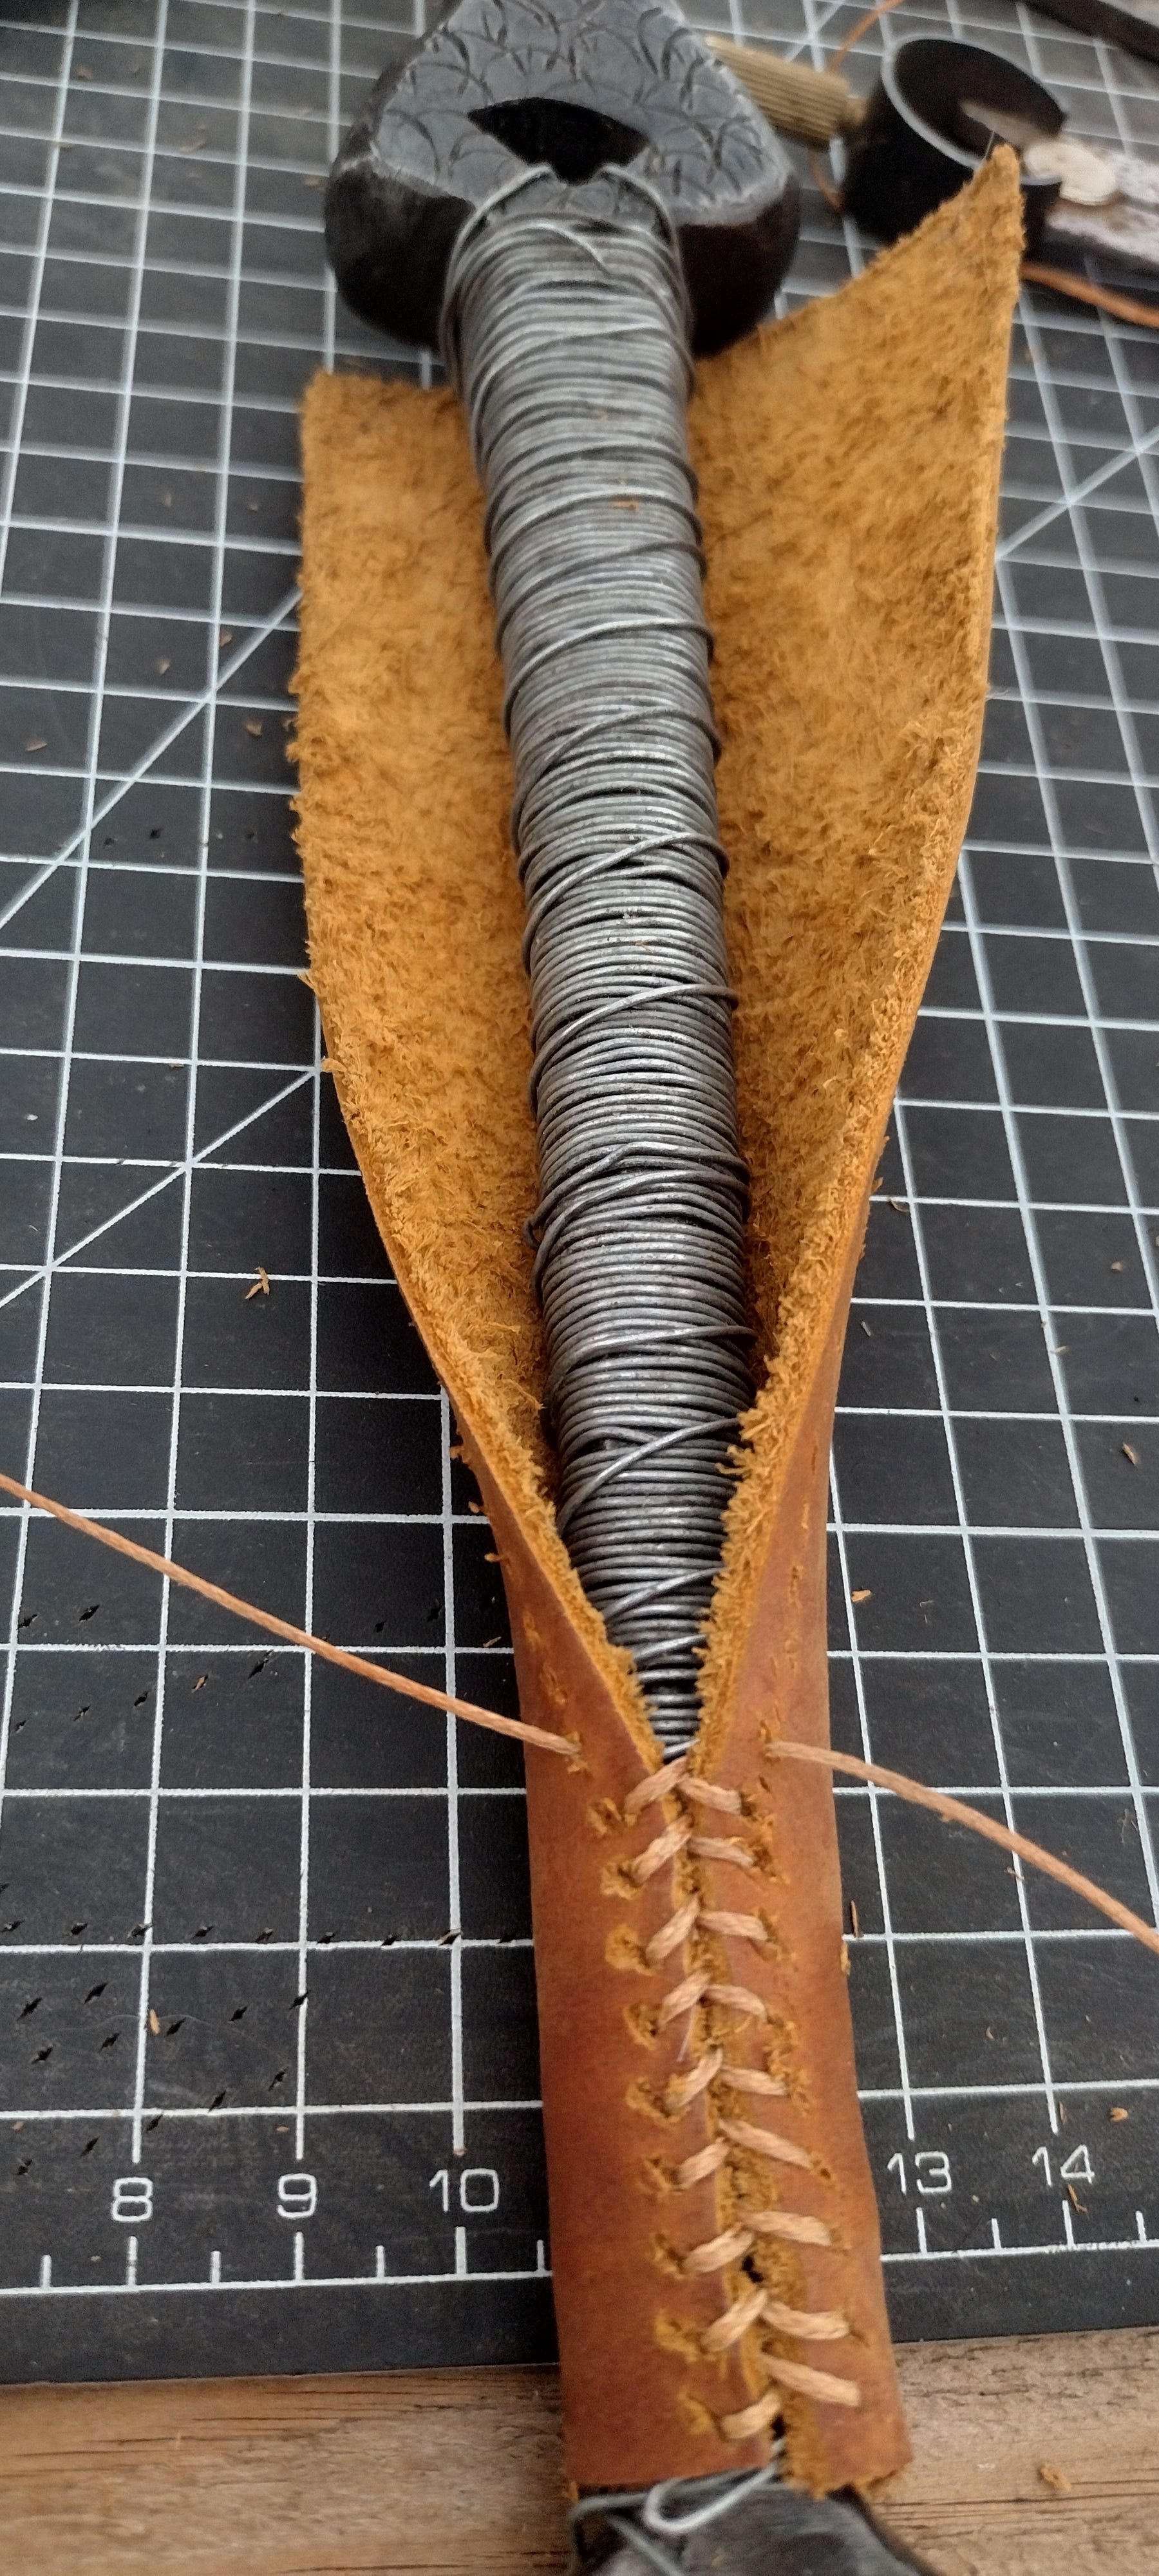
The resulting fit was pretty solid and won’t move around in use, though if I had to do it again I’d do it with wet leather so that it could shrink onto the handle for a real iron-grip fit.
Finishing Wire
Finally, for the finishing touch, I needed some braided stainless steel wire.
This isn’t the kind of thing you can buy at a hardware store—but you can buy single-strand stainless steel wire at a hardware store and braid it yourself.
To make braided wire, stick two ends of a wire in a drill…
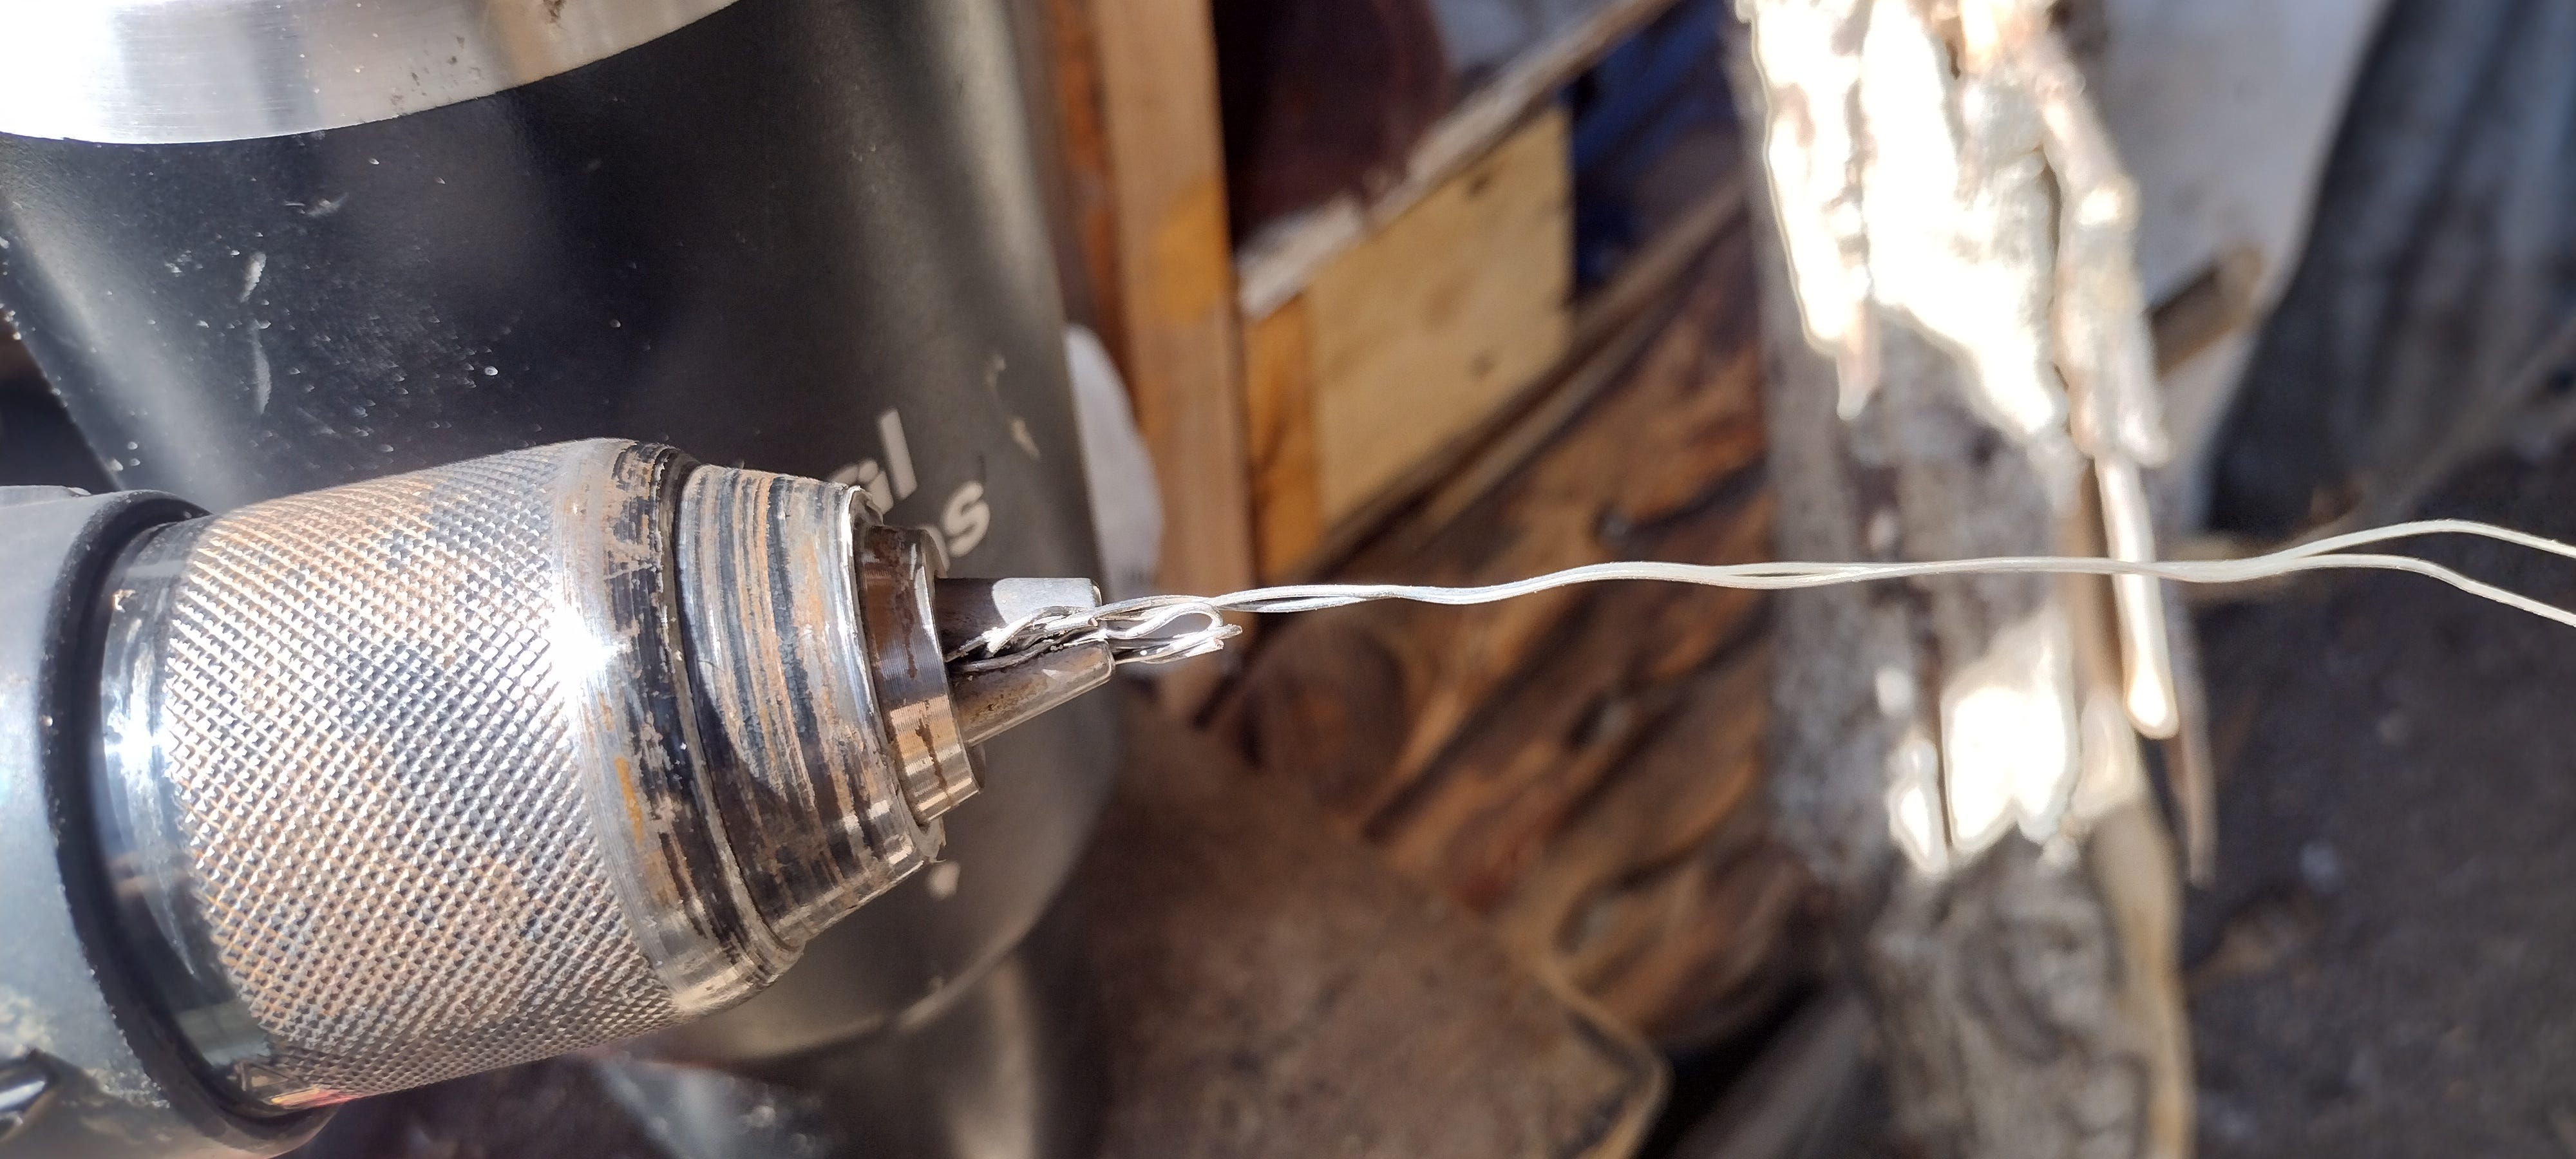
…and loop the middle around a peg.
Then, spin the drill.
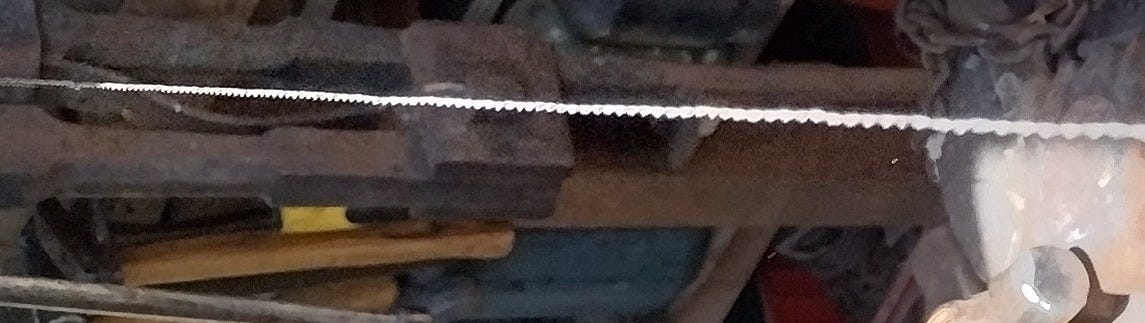
Result: fifteen feet of braided 2-strand stainless steel wire.
And with the wire thusly constituted?
Well, I used that to hide the leather transitions on the handle and add some more weight to the pommel.
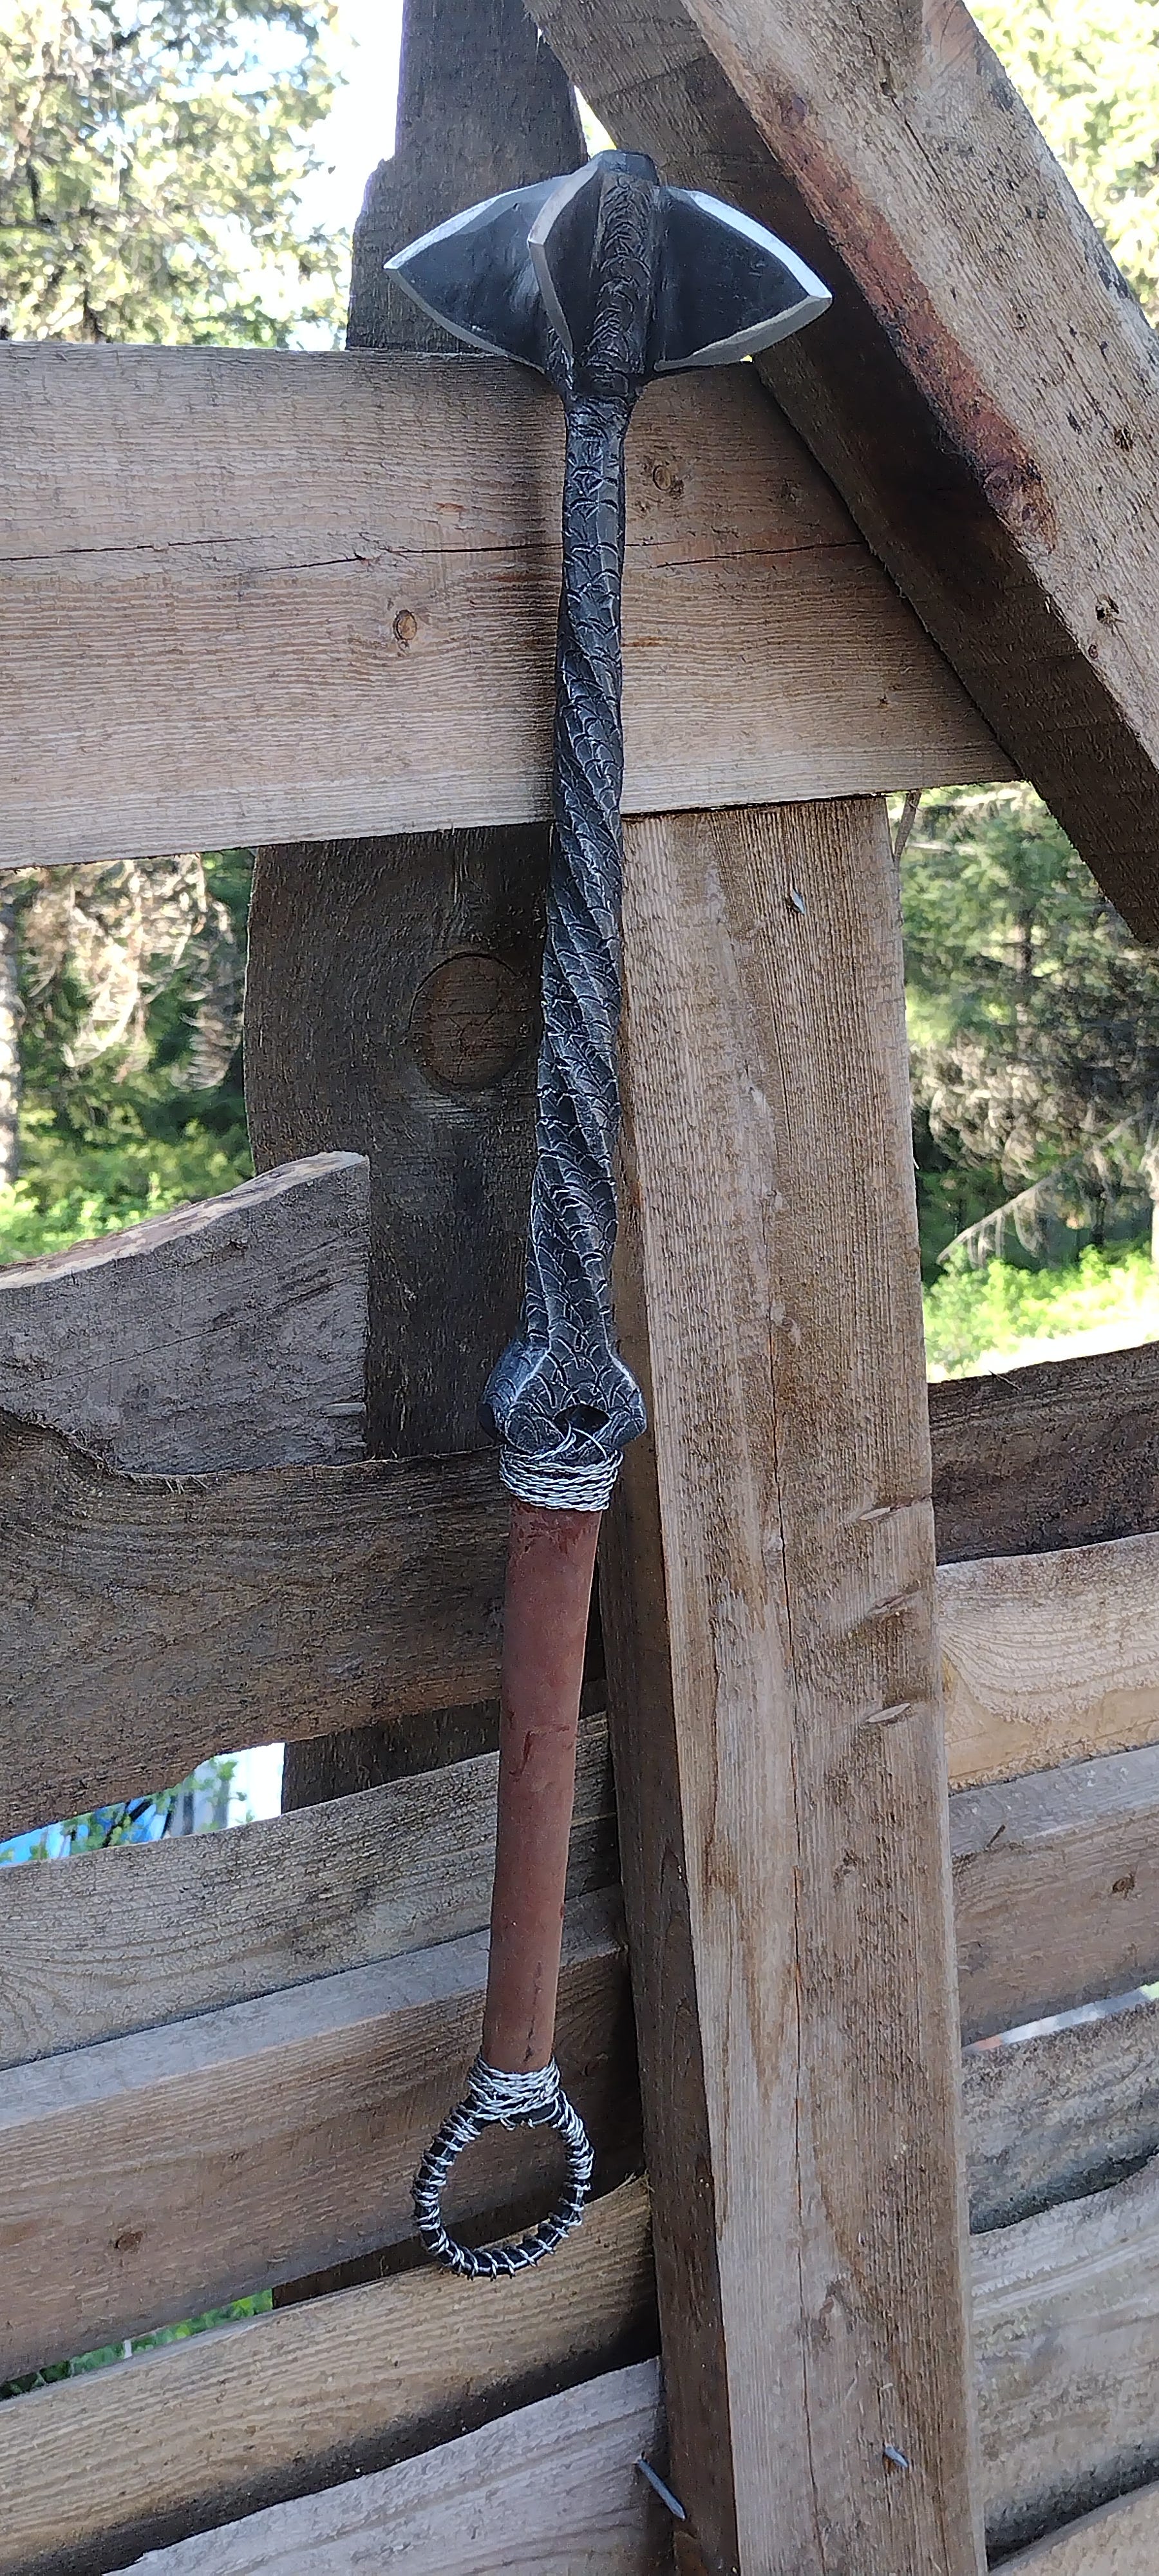
Now all she needs is a name.
And there was only one name that would fit.
A name as old as time, the name of a sea monster known for smashing ships and landmasses alike.
This mace was that monster’s arm.
So I dubbed her:
Typhon.
But this is only the first half of this build. I still needed to get this project shipped, which meant it needed a presentation box worthy of its grandeur.
And that would prove to be a whole other kind of challenge—which you can read about next week.
Want to hire me for a special commission? Drop a comment on this post or message me through my store front.
If you’re looking for fresh stories, you can find my novels, short stories, visions, and dreams (along with some how-to books and literary studies) by clicking here.
When not haunting your Substack client, I write novels, literary studies, and how-to books. If you’re feeling adventurous click here to find a ridiculous number of fiction and nonfiction podcasts for which I will eventually have to accept responsibility.
This column is a big part of how I make my living—bigger now due to recent exciting events which you can read about here. Because of this, I’m offering a 20% lifetime discount off the annual subscription rate. If you’re finding these articles valuable, I’d be honored to have you join the ranks of my supporters!
“Upsetting” is the technique of hitting hot steel on the end to force the mass to become shorter and fatter.
This is a pun. A “bastard” weapon has a handle that’s a hand-and-a-half long, so that it can be wielded either one-handed or two-handed with ease.
Tempering is the process of heating the quenched piece up to a few hundred degrees. This relaxes the metal a bit, making it tougher and less brittle. So long as you don’t get the metal too hot, most of the hardness is retained.
I detailed the build of this workstation in this article: [link to the article]
https://www.youtube.com/@DiesInEveryFilm/videos
This is a fun youtube channel where a machinist makes a new mace almost every week!
That was a fun read, and fine-looking piece of murder-art at the end. Thank you!