


This post has so many images that your email provider may freak out. See the original at http://jdanielsawyer.substack.com
Before industrial blast furnaces and smelting, steel was made in bloomeries—immense kilns filled with charcoal and some kind of iron ore (black sand, bog mud, red dirt, etc.). The ancient artisans would fire these kilns for hours or days, and at the end of the process, a mass of lumpy, foamy iron-and-steel would emerge at the bottom.
You can see the whole process in this video here:
These lumps of steel (“blooms”) would then be consolidated into larger billets by repeatedly heating and beating the metal together at high heat.. The original name for this process—of joining metals by beating them together while hot—was “welding,” and metallurgists call it “fusion welding,” but those of you who watch Forged in Fire will know the process by its 20th century name:
Forge welding.
This is the most important skill in smithing.
It got this popular name after other welding techniques (oxy-acetylene welding, electrical ARC welding, and dozens of others) were developed starting in the mid-19th century and in the decades since.
One of the basic techniques of metalworking is the fusion weld—also called the “forge weld.”
It’s one I’ve been struggling to master, because it unlocks vast superpowers in the smith’s art. Every metalworker accumulates gobs of scrap off-cuts that have very little practical value. We keep them around because, every once in a while, they can save you from having to cut down a nice big piece of metal to make a gusset or something, and you can usually make hooks of them, but if you can combine them into bigger pieces of steel you have a lot more flexibility.
Forge welding is messy, though. You often need to use flux (borosilicate, a.k.a. borax) to help get rid of crap that builds up on welding surfaces and give you a nice strong bond. Borosilicate, when melted, forms a caustic glass that tends to eat at the lining of propane forges. Solid-fuel forges (coal, charcoal, and/or wood) are a lot easier to deal with in this respect, but they can only reach the correct temperatures if you’ve properly designed your forge.
I’m still debugging mine.
But I had another problem creeping up on me. I have a whole mess of old chainsaw blades (some worn out, some broken on metal spikes inside logs I’ve cut down to size), and I’m frankly drowning in small scrap. I needed to get something useful out of some of these chains so I could clear up some space.

Fortunately, chainsaw chains are ideal for making the beautiful pattern-welded steel popularly known as “Damascus.” I figured if I could weld-up some of these chainsaw chains, I might be able to make a couple beautiful utility knives for use around the homestead.
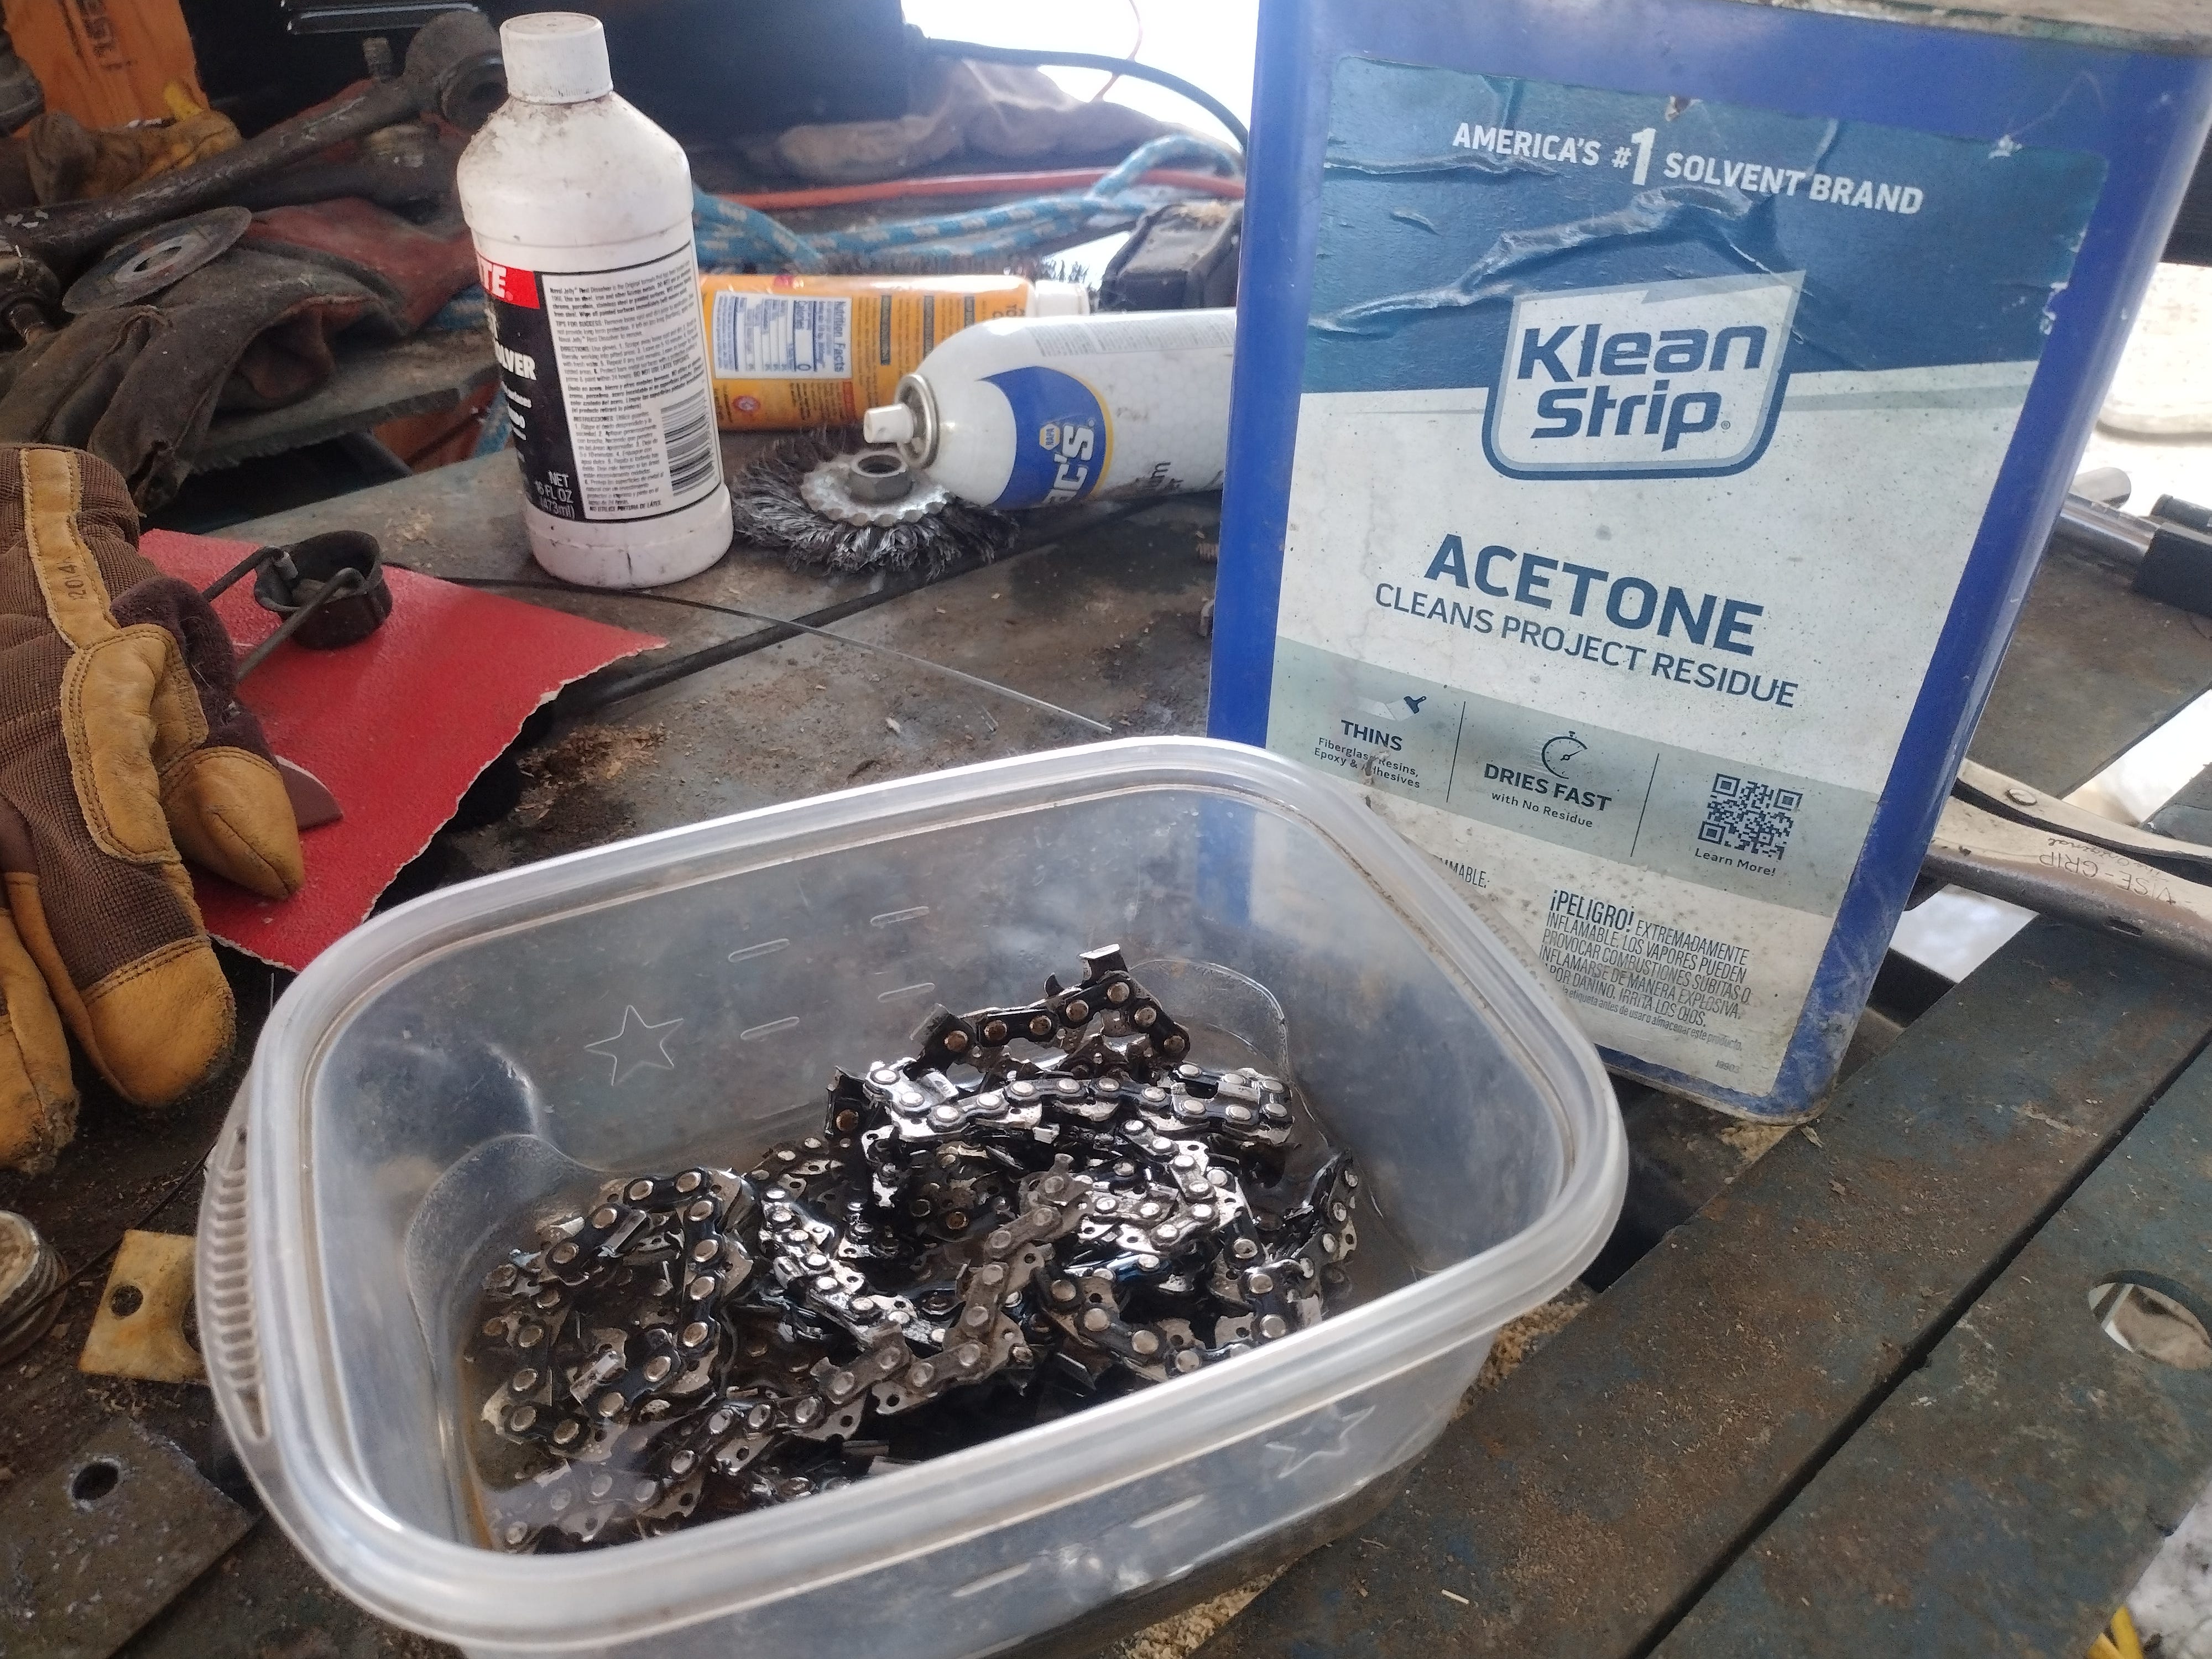
Cleaning the Steel
Chainsaw blades are dirty. They accumulate a lot of gunk during regular use. Chainsaws use a thick oil (“bar and chain oil”) to keep the blades lubricated and cooled, and that thick oil attracts dust. When you retire a chainsaw blade, you don’t just have a chain. You’ve got some nasty oily steel that you have to clean thoroughly if you want to have any hope of forge welding them.
So, step one:
Bathe the blades in acetone, which dissolves oils like a champ.
Once I had the first round of chain cleaned up, I chopped it up into lengths and wrapped it in some wire, and threw it in the propane forge.


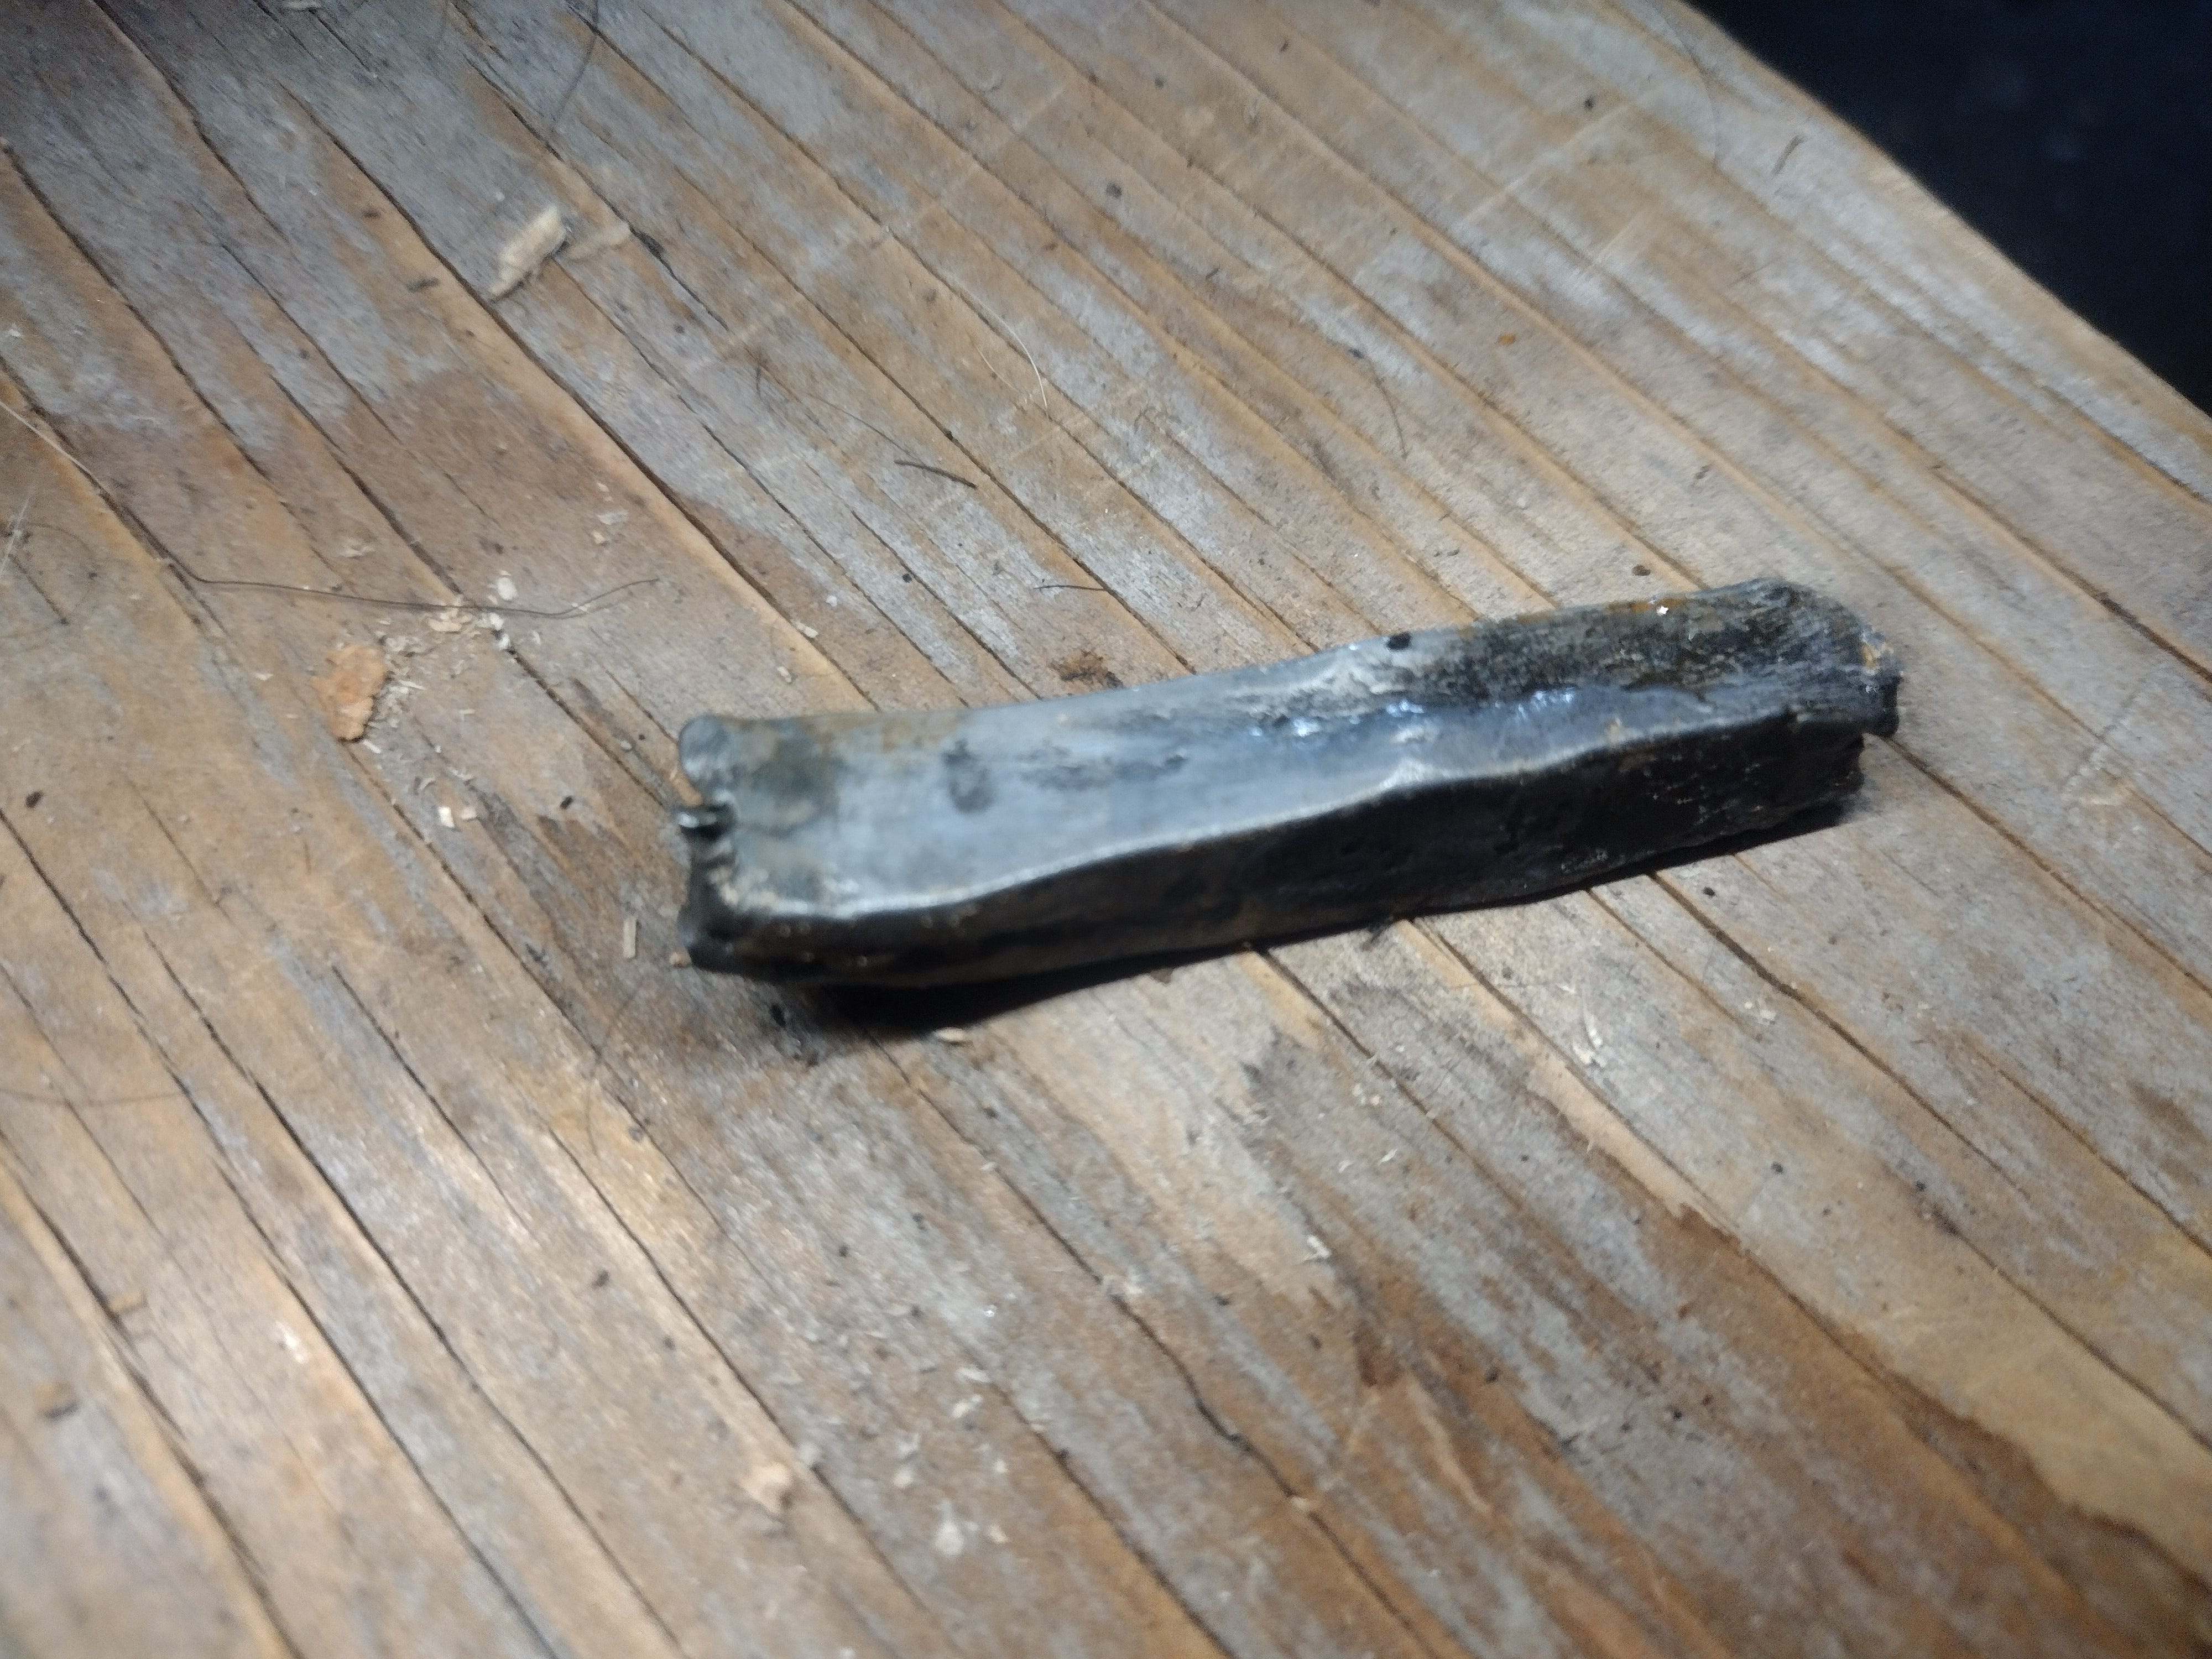
A lot of hammering followed, during which I lost a lot of steel (due to poor technique) and basically destroyed my propane forge lining with flux waste. But I did wind up with a little billet, about an inch long, three-eighths inch wide, and a quarter inch thick, and weighing about a tenth of what the original chainsaw chain did.
A partial success, which is more than I had any business hoping for. I was ecstatic, and quickly set my sights on another, bigger chain. I put it through the same rigmarole, but with two important changes:
First, I’d use an arc welder to weld up the rough billet. The wire wrap is the traditional method, but badly tied wire was the reason I lost a lot of steel the first time around.
Second, I’d use the solid-fuel forge.
So, I cut, clean, and welded up a much bigger bundle of chain.
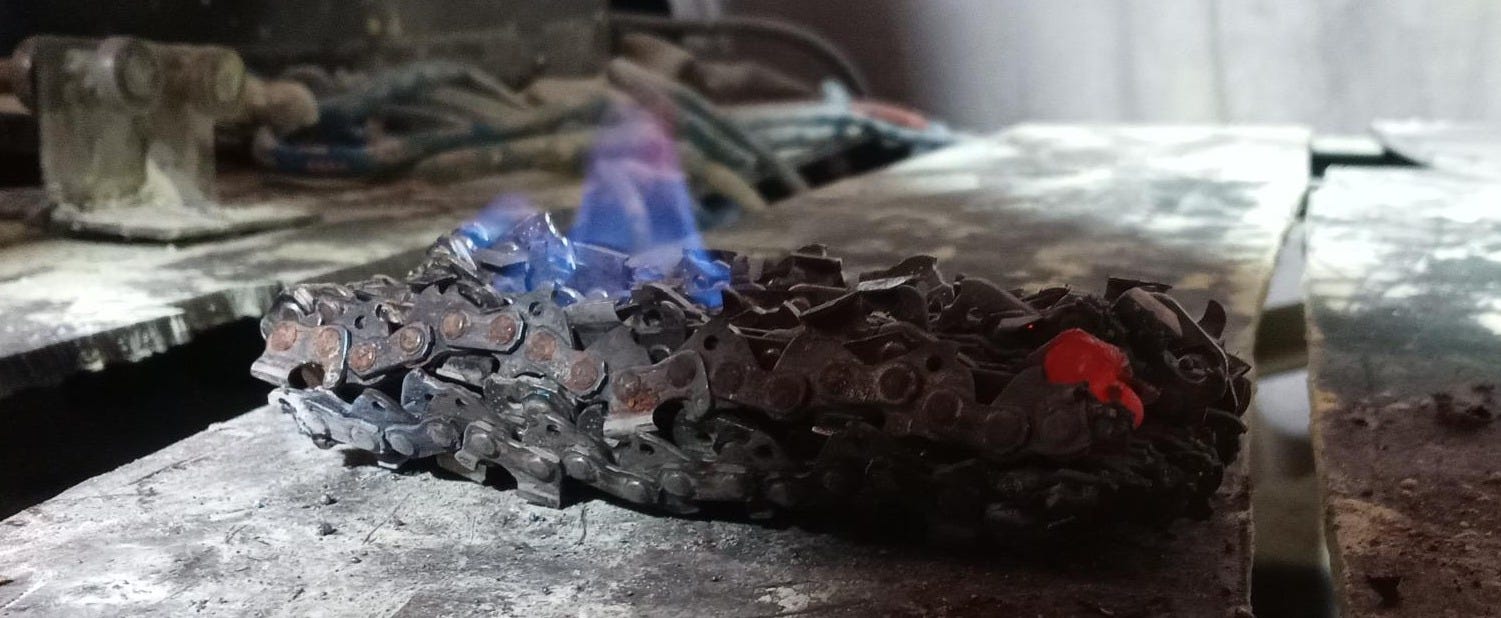
And I threw the chain in the charcoal forge and started cranking the blower like crazy.

Before long, I had a white-hot billet ready for wailing on.

But despite the fact that I was getting the right heat, the billet just was not consolidating. I beat it, reheat it, beat it some more, but every time I put shear stress on it, all the welds broke.
Which is when I realized my fatal error:
I forgot to clean the slag off the arc welds before I layered more chain onto the starter billet.
There was glass all through my chainsaw chain, and no amount of fluxing would wash it all out.

But I didn’t want to give up. I figured if I could get something out of the experiment, even a similar amount to what I’d gotten out before, then I could still make something. Maybe a little pen knife, or a hair pin, or something else pretty.
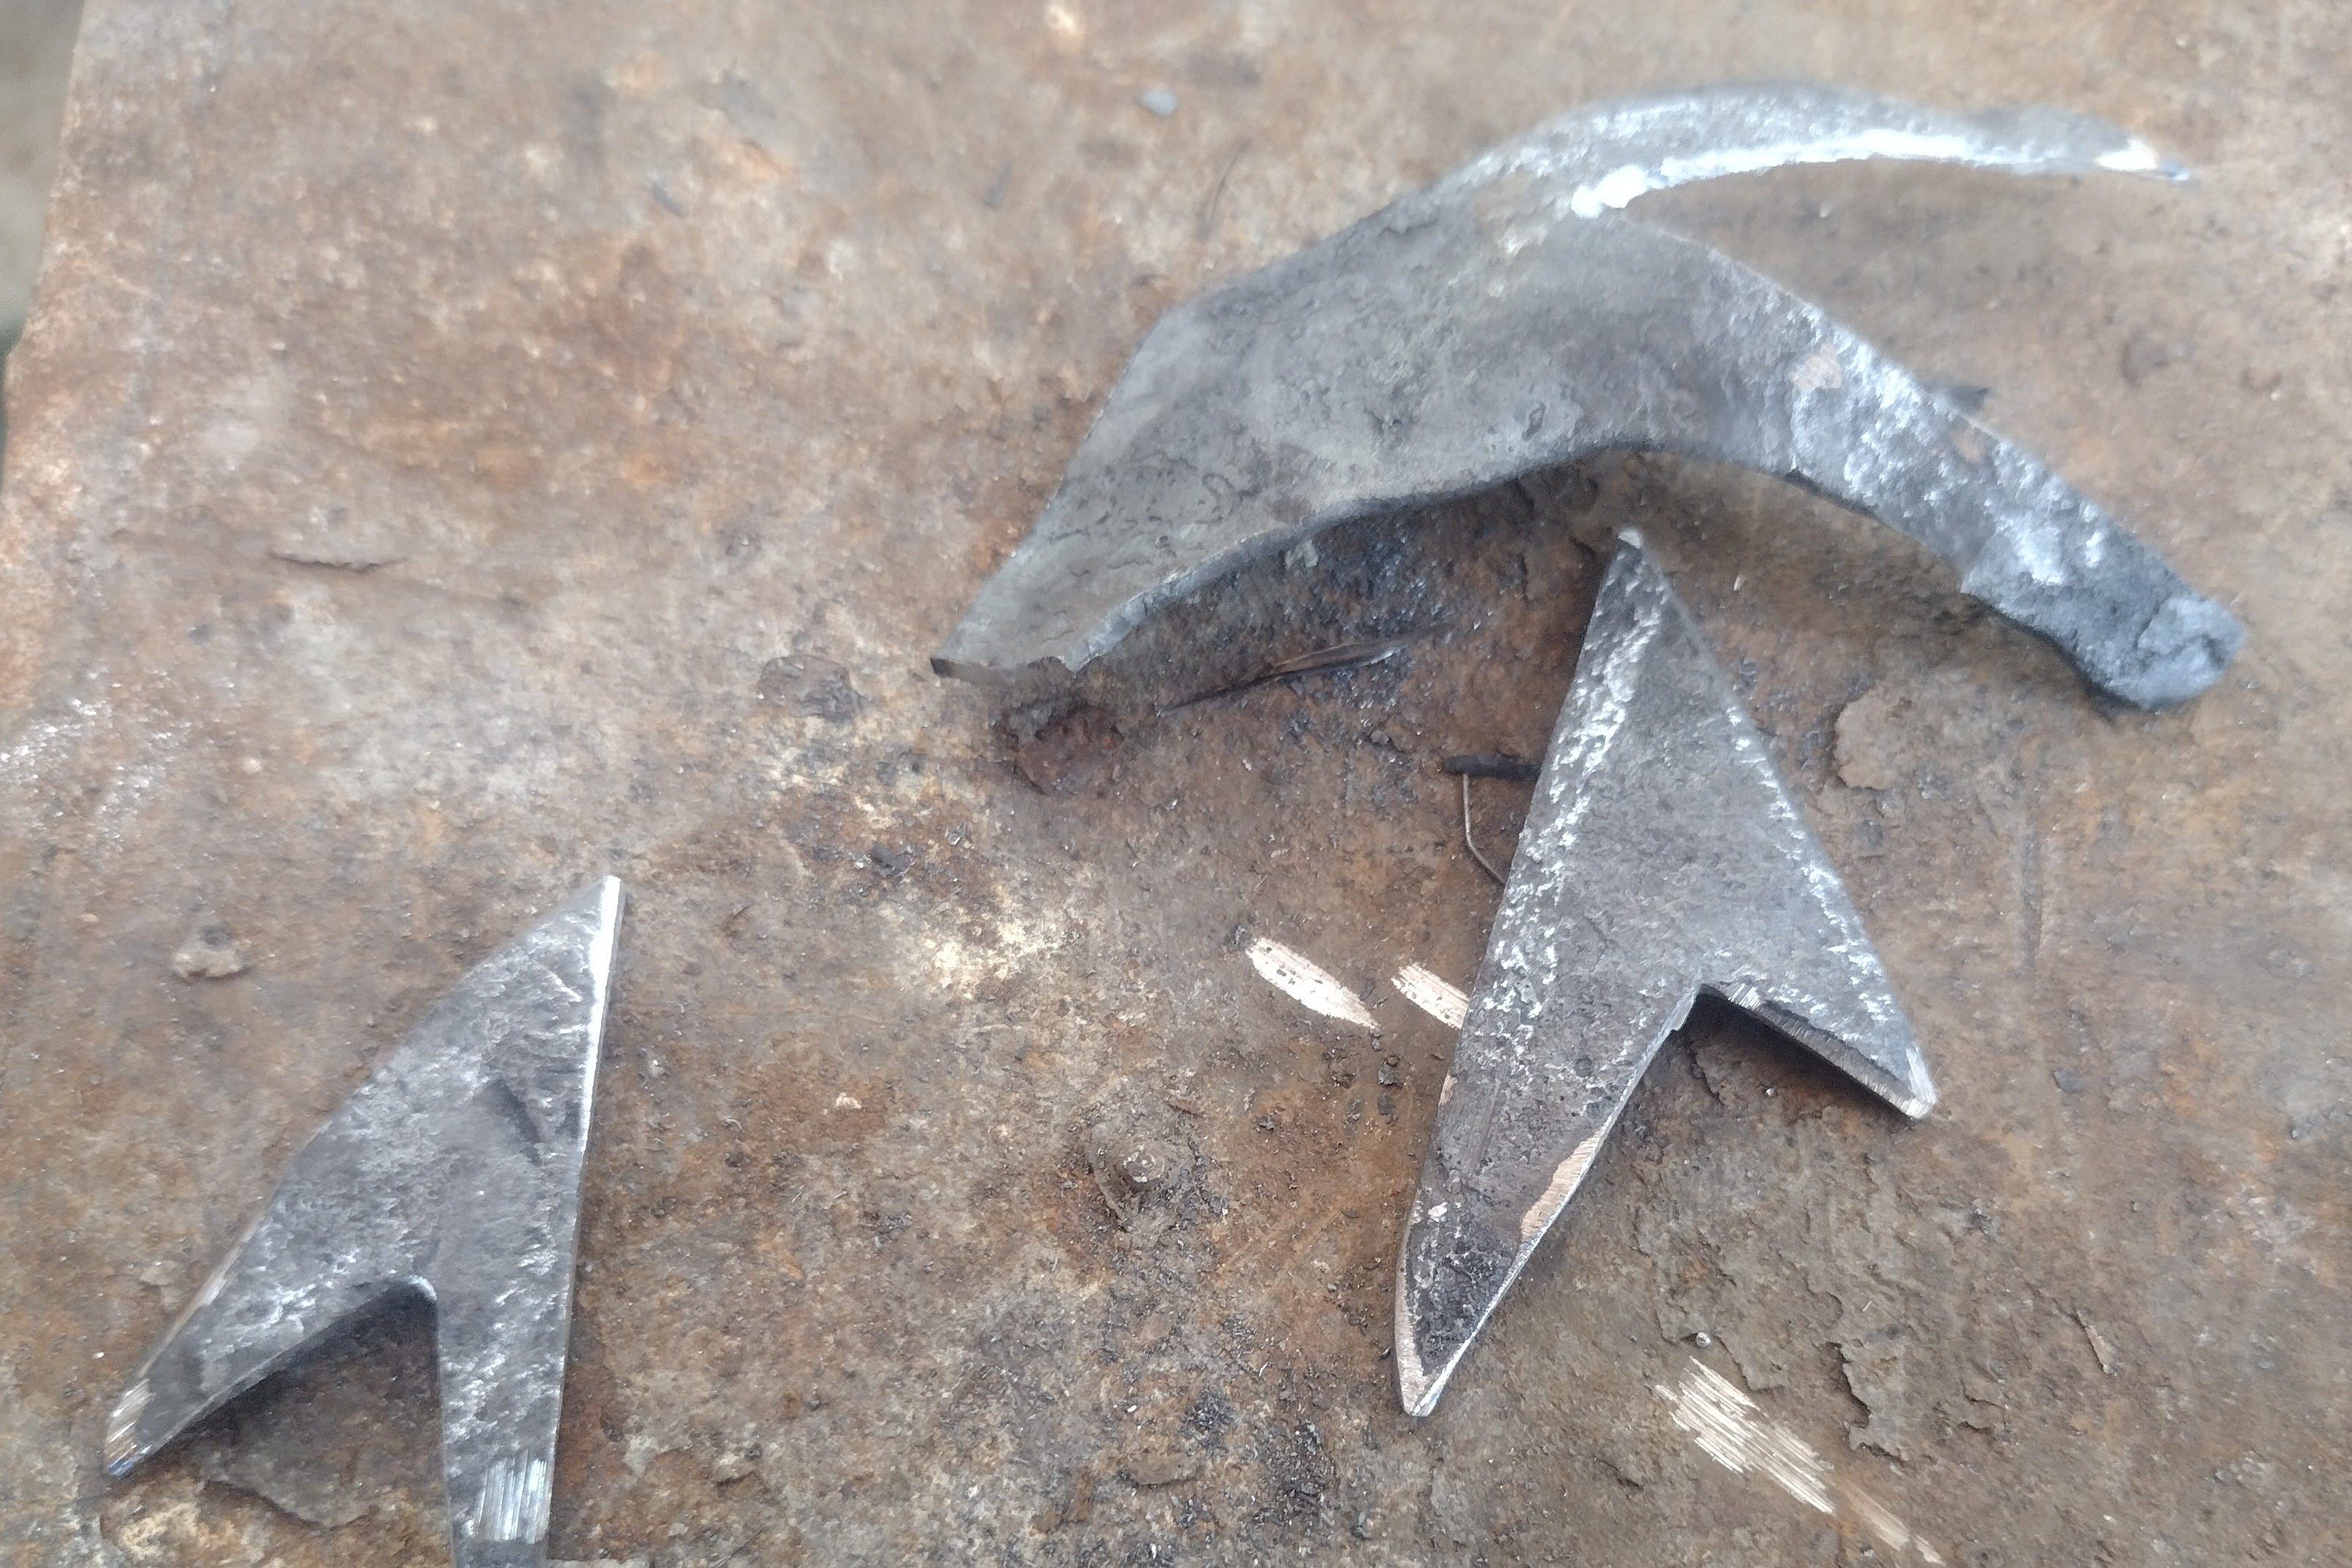
So I cut the failed billet to pieces, checked the cross-sections, found all the stuff that had welded, cleaned it off, stacked it up, and worked it down.
Miracle of miracles, it worked!

It wasn’t pretty, but it was twice the size of the first billet—and, considering that I’d started out with a little less than twice the steel, I figured I’d improved with this second attempt, at least a little.
The billet went onto the shelf next to the other one, and I waited for inspiration to strike.
Beauty From Tragedy
In the house where I grew up, Saturday nights in the late 1980s were pizza night. Everyone was home, and we usually had company over. We made crust, and often sauce, prepped sausage, pepperoni, cheese, and a wide variety of veggies, and we cycled pans through the oven with one goal:
Get the first half of the pizzas out of the oven by 7 PM.
That’s when Star Trek: The Next Generation came on the local independent television station.
Mine was always a science fictional household, and Star Trek had been a regular part of the family culture since I was a wee lad. In a family that was as fractious and difficult as it was warm and loving (and there was plenty of both), Star Trek—and sci-fi movies in general—were the great currency of family unity even during difficult times.
Several of the most important people in my life are also trekkies, and one of them—my partner-in-homesteading—has always wanted a home-made Federation insignia.
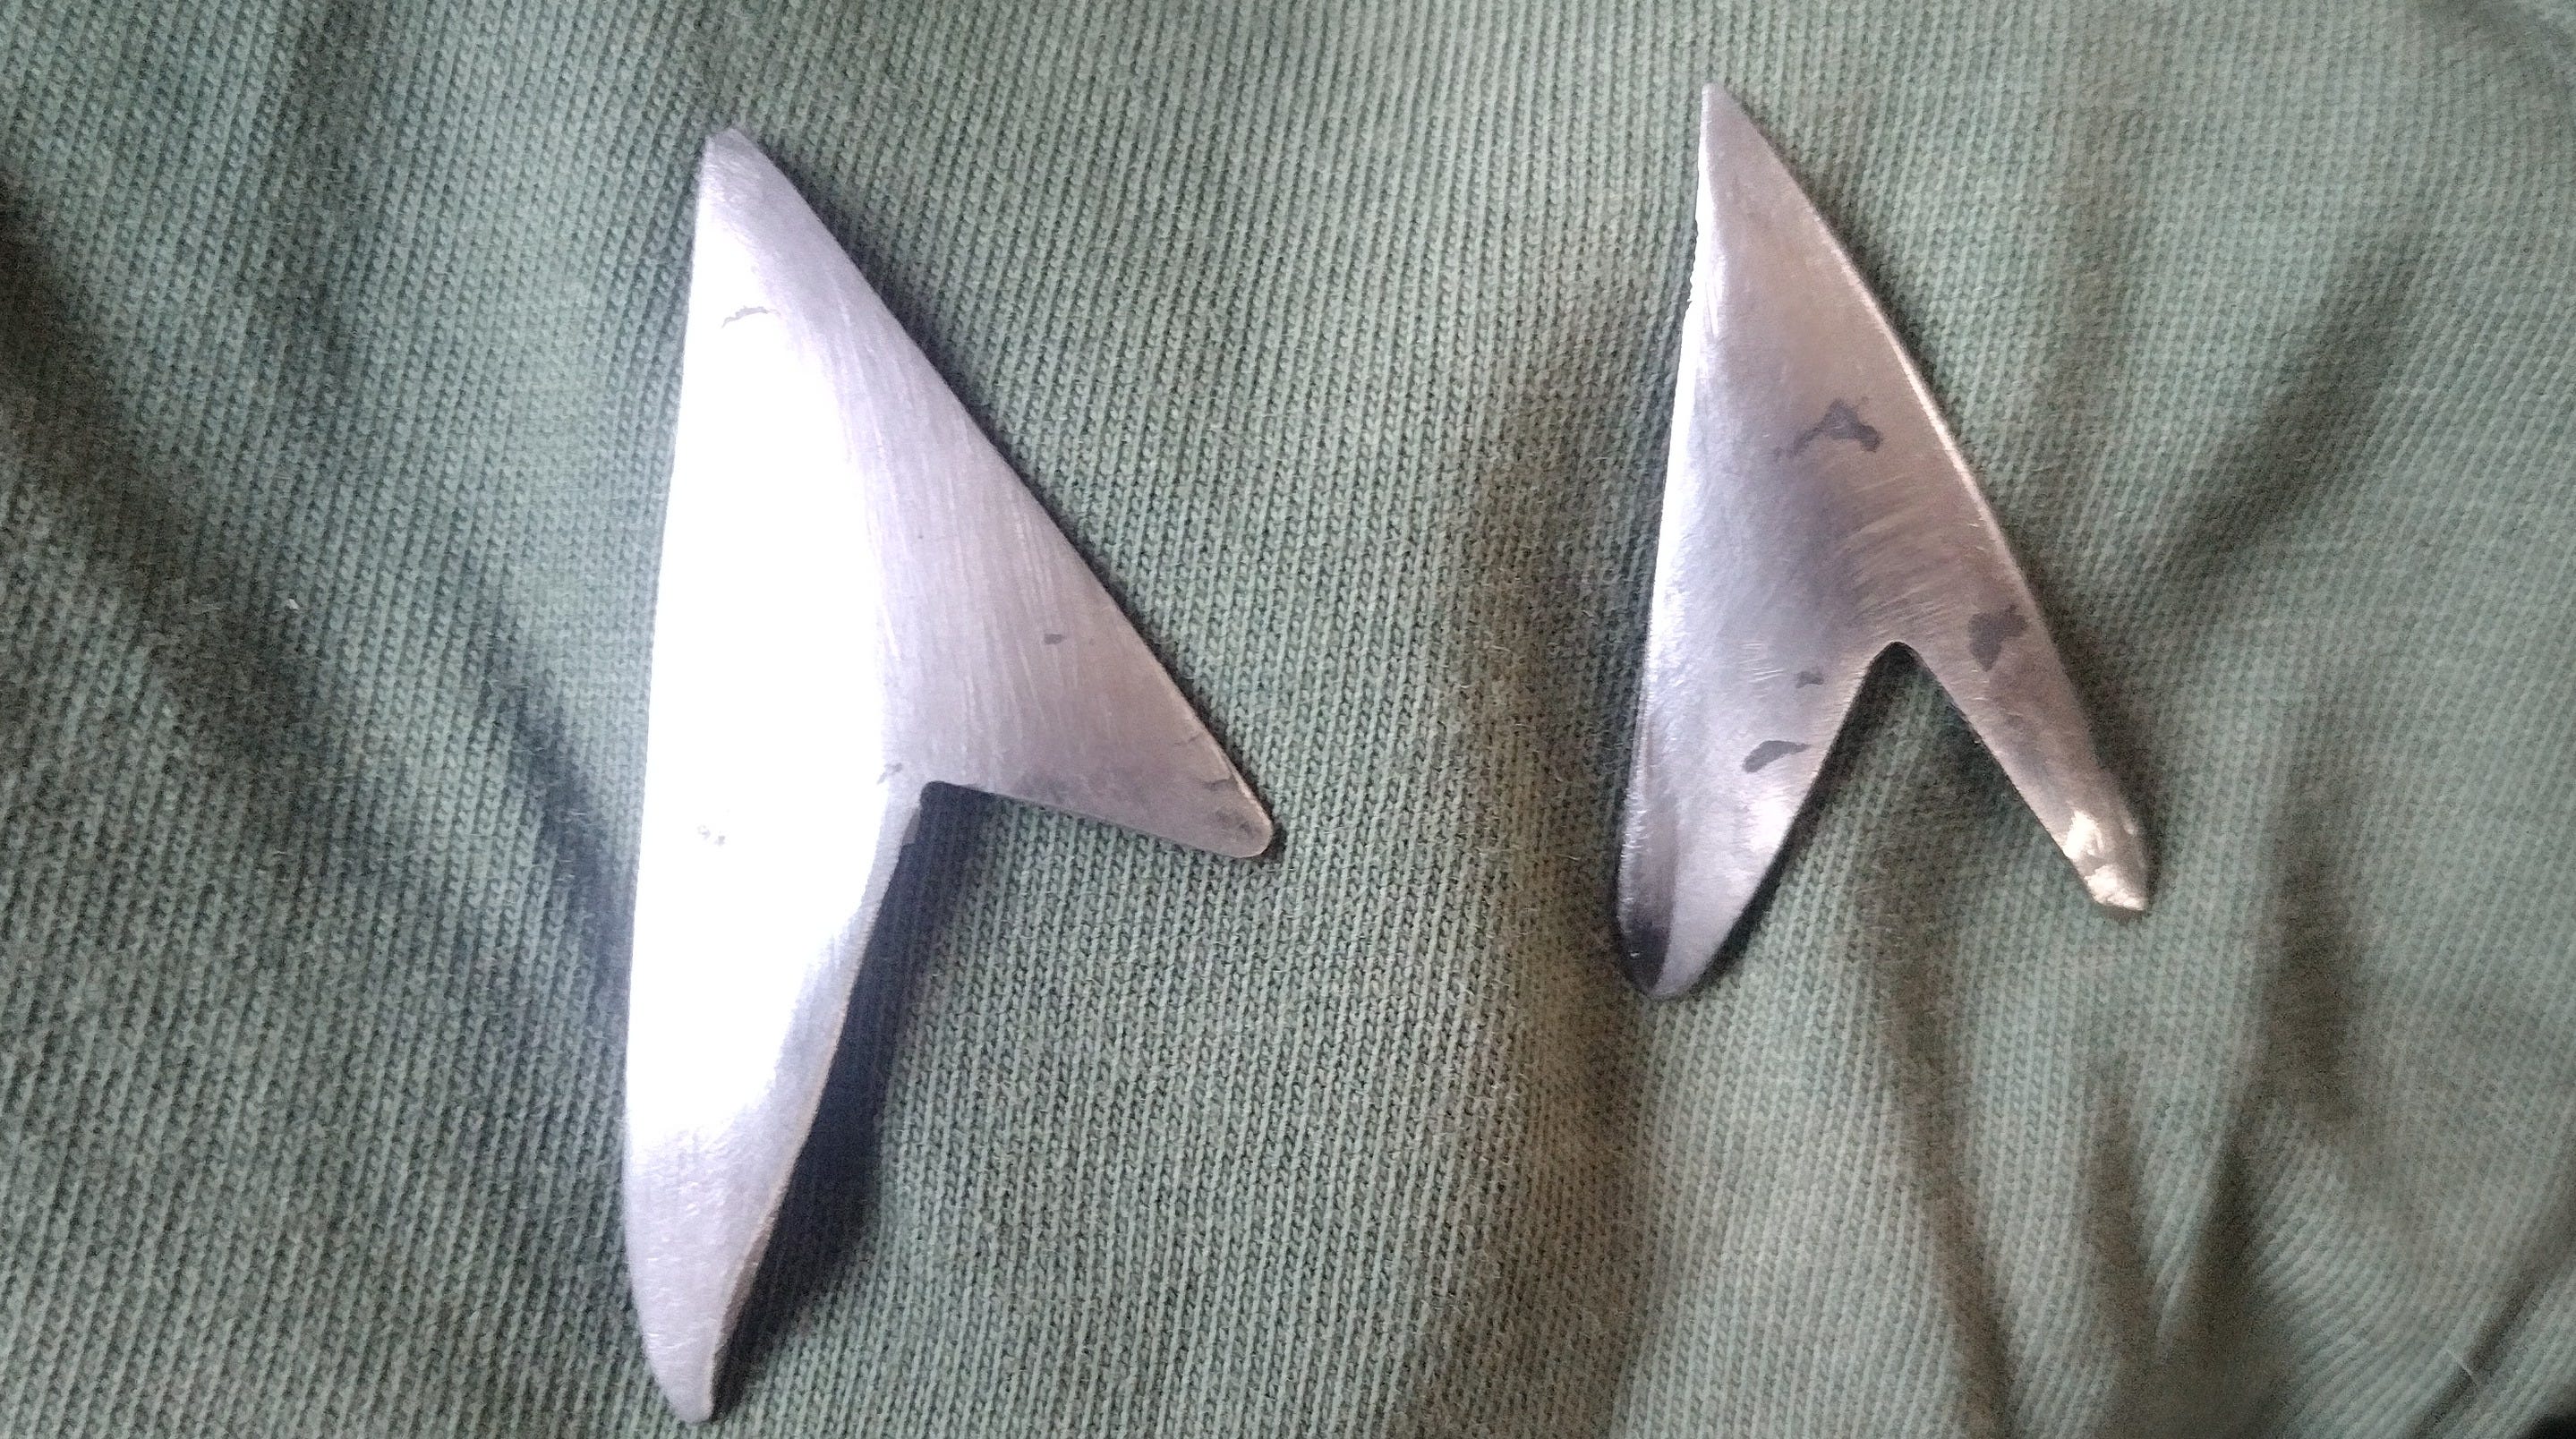
For those of you not in the cult, the original series insignia looks like this:

Over the years (well, the good years of the franchise), it evolved thusly:

I began to think that, if I could manage to work the steel down to sheet metal without breaking the welds, I might be able to make a com badge (like those above) for said partner.
Then, tragedy struck. One of my good friends suffered the loss of a dear friend, sending her into a deep dark period of mourning. She is also a major trekkie, and I probably had enough steel to do several of the com badges, so I made some discreet inquiries as to which her favorite version of the insignia was.
Then, armed with this knowledge, I pulled the billets off the shelf, cut them into bits, stacked them up, welded them together and then onto a work stick (this was one of the odds and ends I attended to in the big build I documented in Tooling Around), and set to it.

Heat, Beat, and Repeat
This was my third go at working the chainsaw steel, and in the intervening weeks I’d done a lot of reading on metallurgy. I learned that to work pattern-welded steel safely, it has to be done at near-welding temperatures. Any colder, and the welds tend to shear.
I cleaned the steel up really well this time, and I made sure to clean up the arc welding slag. I heat it up to a welding heat, beat it down to about 20-gauge thickness (about the thickness of a car’s body panels), then used a swage to dish the metal and give it a gentle curve.
After cooling it down, I drew the shapes (clumsily) and cut them out:
They were roughly the size of the com-badge jewelry from the 90s Star Trek shows, so I proceeded to clean them up…
And I suddenly started to think “This is actually gonna work!”
Now, I had to figure out the actual ornamentation.
My partner-in-homesteading wanted hers to be a TOS-style pendant—just the raw insignia, hung on a necklace chain.
My friend, on the other hand, loves the TNG episode Future Imperfect (see the badge diagram above), a one-off show with some exotic designs in it. I puzzled over how to get some good horizontal bars in an appropriate metal—the TV show used gold-plating, but I don’t have either the gold or the electricity to do gold plating. I do, however, have copper, and given what I intended to do with the steel, copper would be a perfect accent.
I further realized I didn’t have to forge down any of my copper scrap—I could just cut and strip a couple inches of romex (the electrical cable that supplies the outlets in your house):
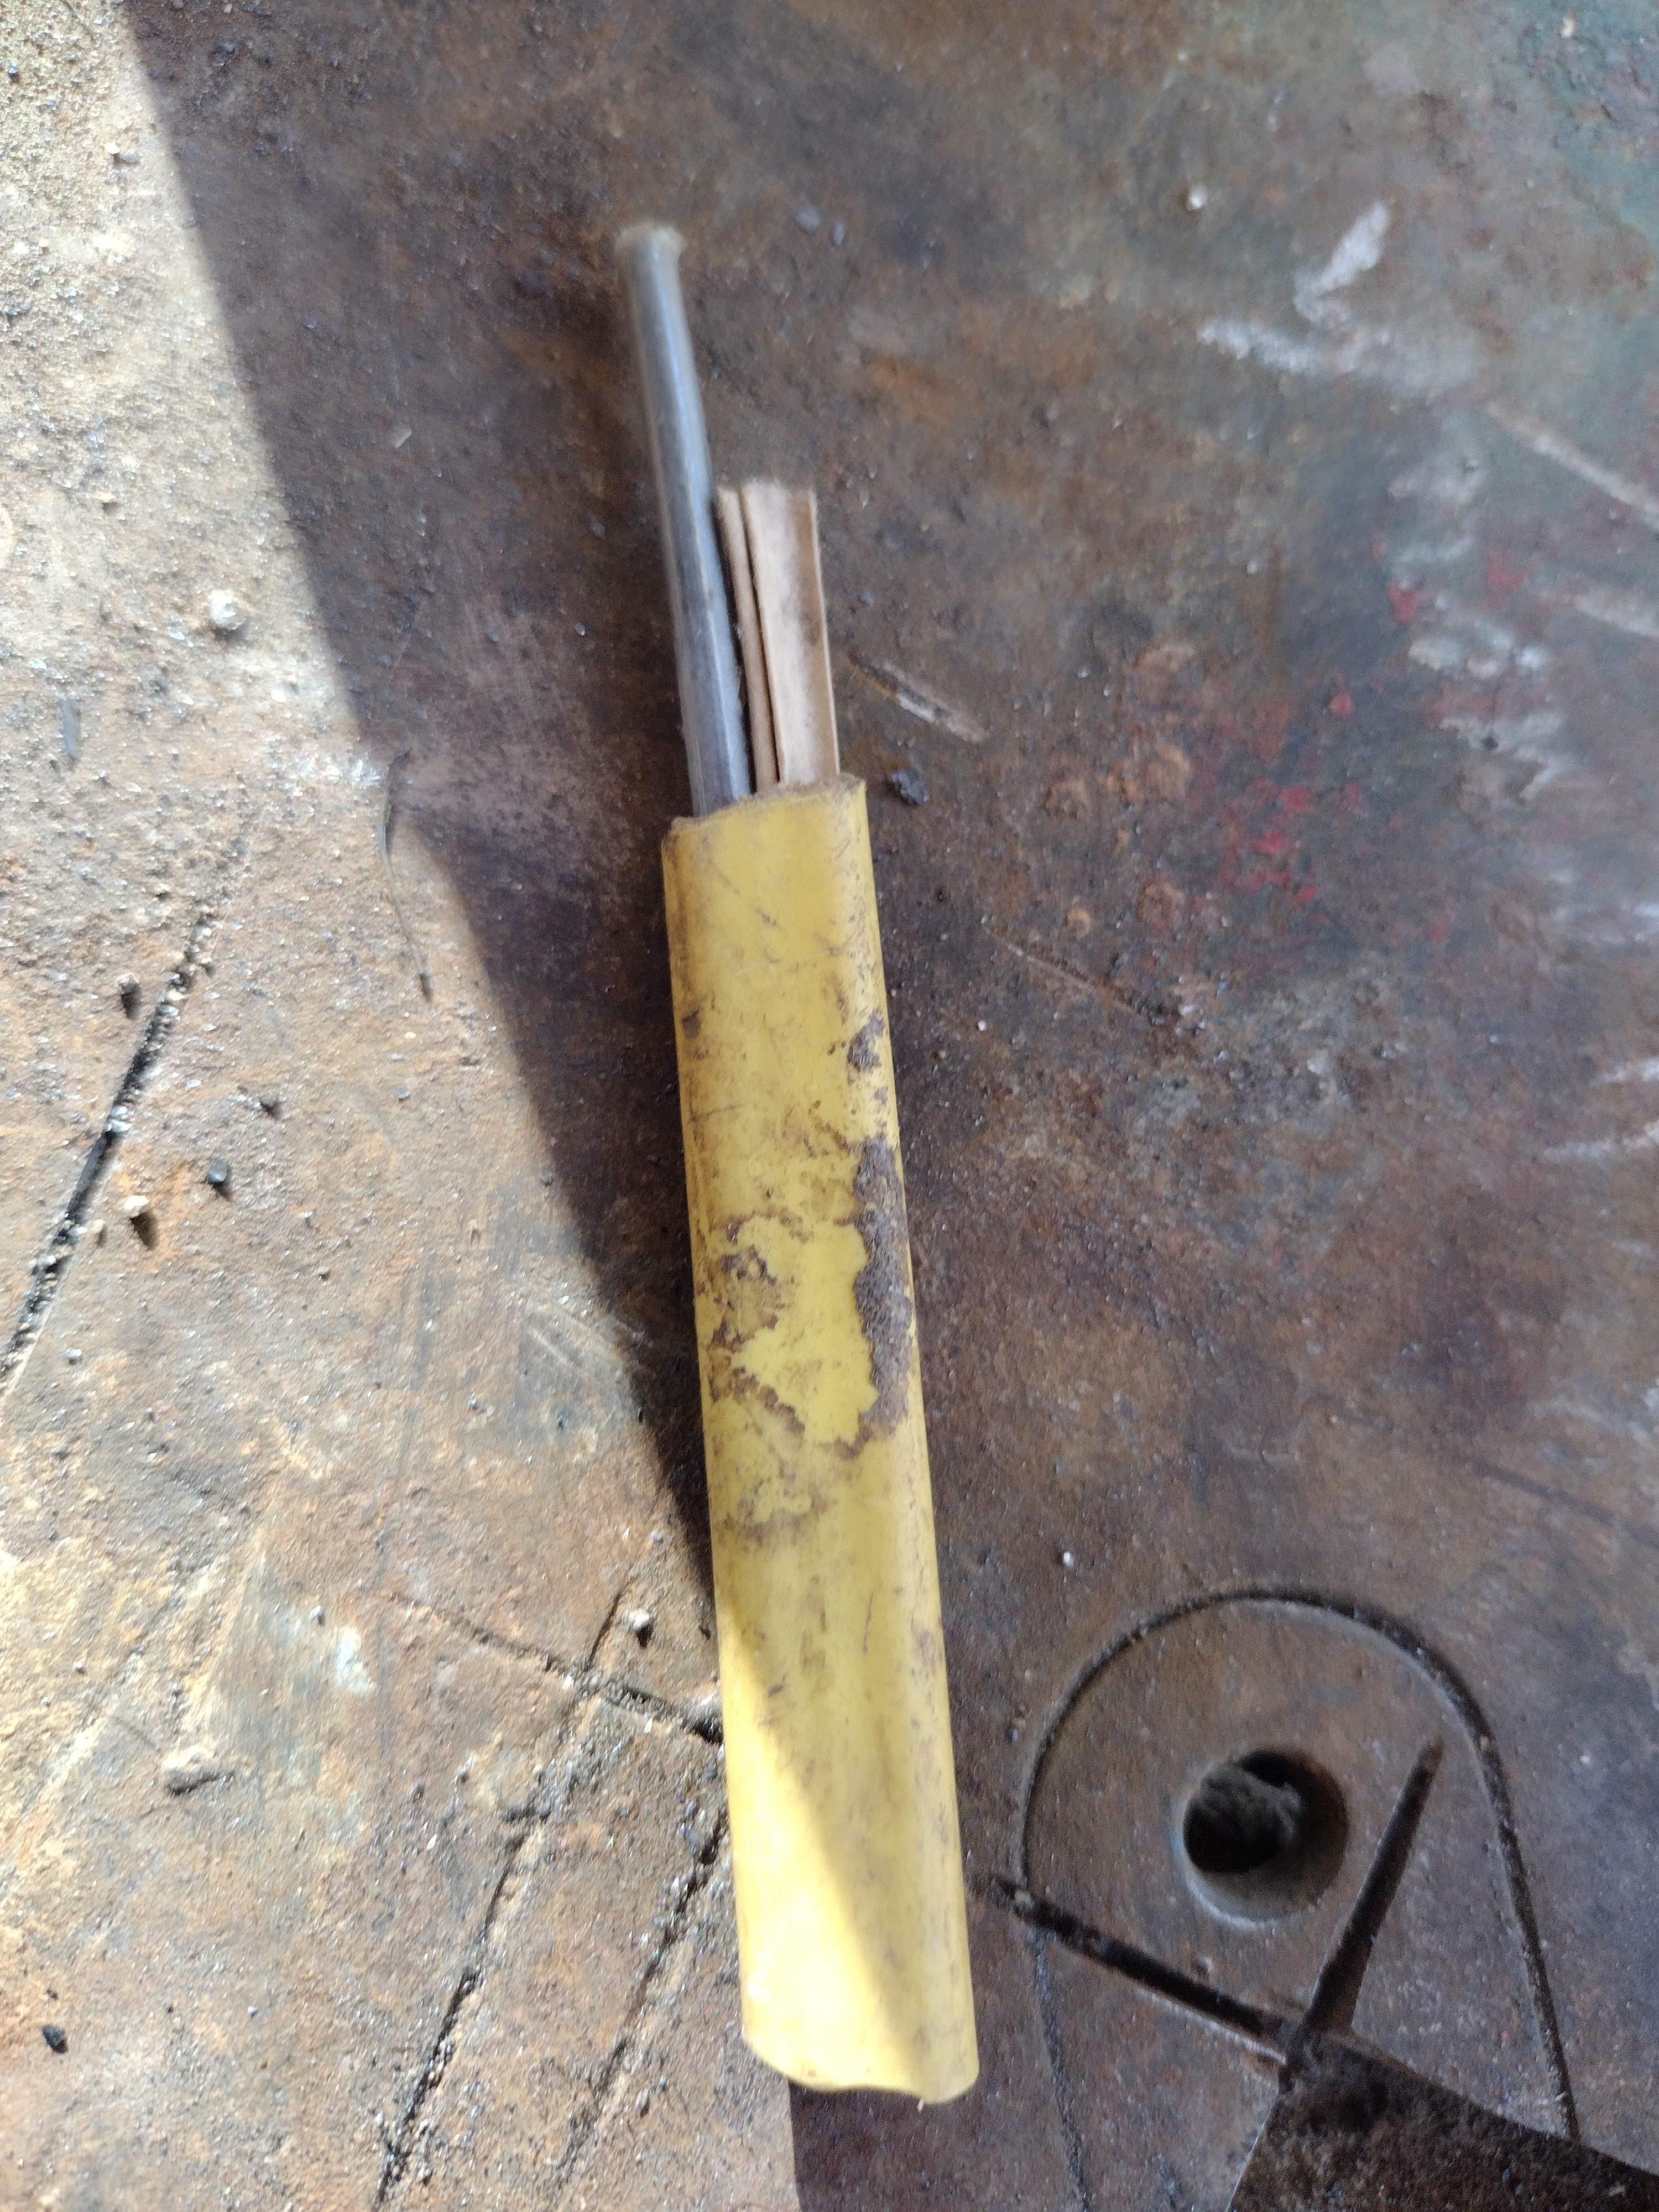
I stripped it, flattened it on the anvil, cut two lengths, and tested a quick layout for a lieutenant rank badge (my friend’s fantasy rank, which I discovered during one of those discreet inquiries a few weeks before).


I also grabbed some stainless steel wire and made a pendant hanger for the necklace version.
So far so good.
But to get any farther, I needed chemistry.
The Etch
Pattern-welded steel, as you might deduce from the name, is meant to show a pattern. The badge blanks above don’t show a pattern, but it’s there. The dissimilar metals in the chainsaw chain (the teeth have a lot of nickel in them, the links have very little) react to rust, light, and stains in different ways.
They also react to acids in different ways.
To get the pattern to show up, the steel needs to be exposed to an acid bath, so that it can oxidize. This process is called “etching.”
The best acid for etching pattern-welded steel is ferric chloride, and that shit is pricey. It’s also not available in your average corner hardware store. You have to order it specially from a blacksmith supply store (or Amazon).
Or, if you’re adventurous (or, as I like to call it, “cheap”), you can make your own.
All you gotta do is take some hydrochloric acid, some steel wool, and some peroxide and mix them up in the right proportions in an environment that won’t get damaged by acid spills.
So, for the first time in 25 years or so, my partner-in-homesteading and I set up a chemistry bench, and she was kind enough to whip up some ferric chloride while I was busy shoveling snow.

Armed with my new magic potion, I set up an etching station on the welding table, and plunged the badges into the acid.


The etch station consists of the jar of ferric chloride (the green liquid in the center), a soda solution to neutralize the acid (tumbler glass on the left), and some amazingly strong instant coffee.
I polished the steel to 1000 grit (almost, but not quite, a mirror finish) and cleaned it up with scrub pads like you might use to wash your dishes. Then, it was into the etch.
The steel spent a half hour in the acid, to get a nice deep etch. Once pulled out, it got a dunk in the soda solution to stop the reaction, then it was suspended in the coffee for a few hours. The coffee—also mildly acidic—stains the low-nickel steel very dark, bringing out the maximum amount of contrast between the different steels in the chainsaw blade.
Once etched, things looked like this:
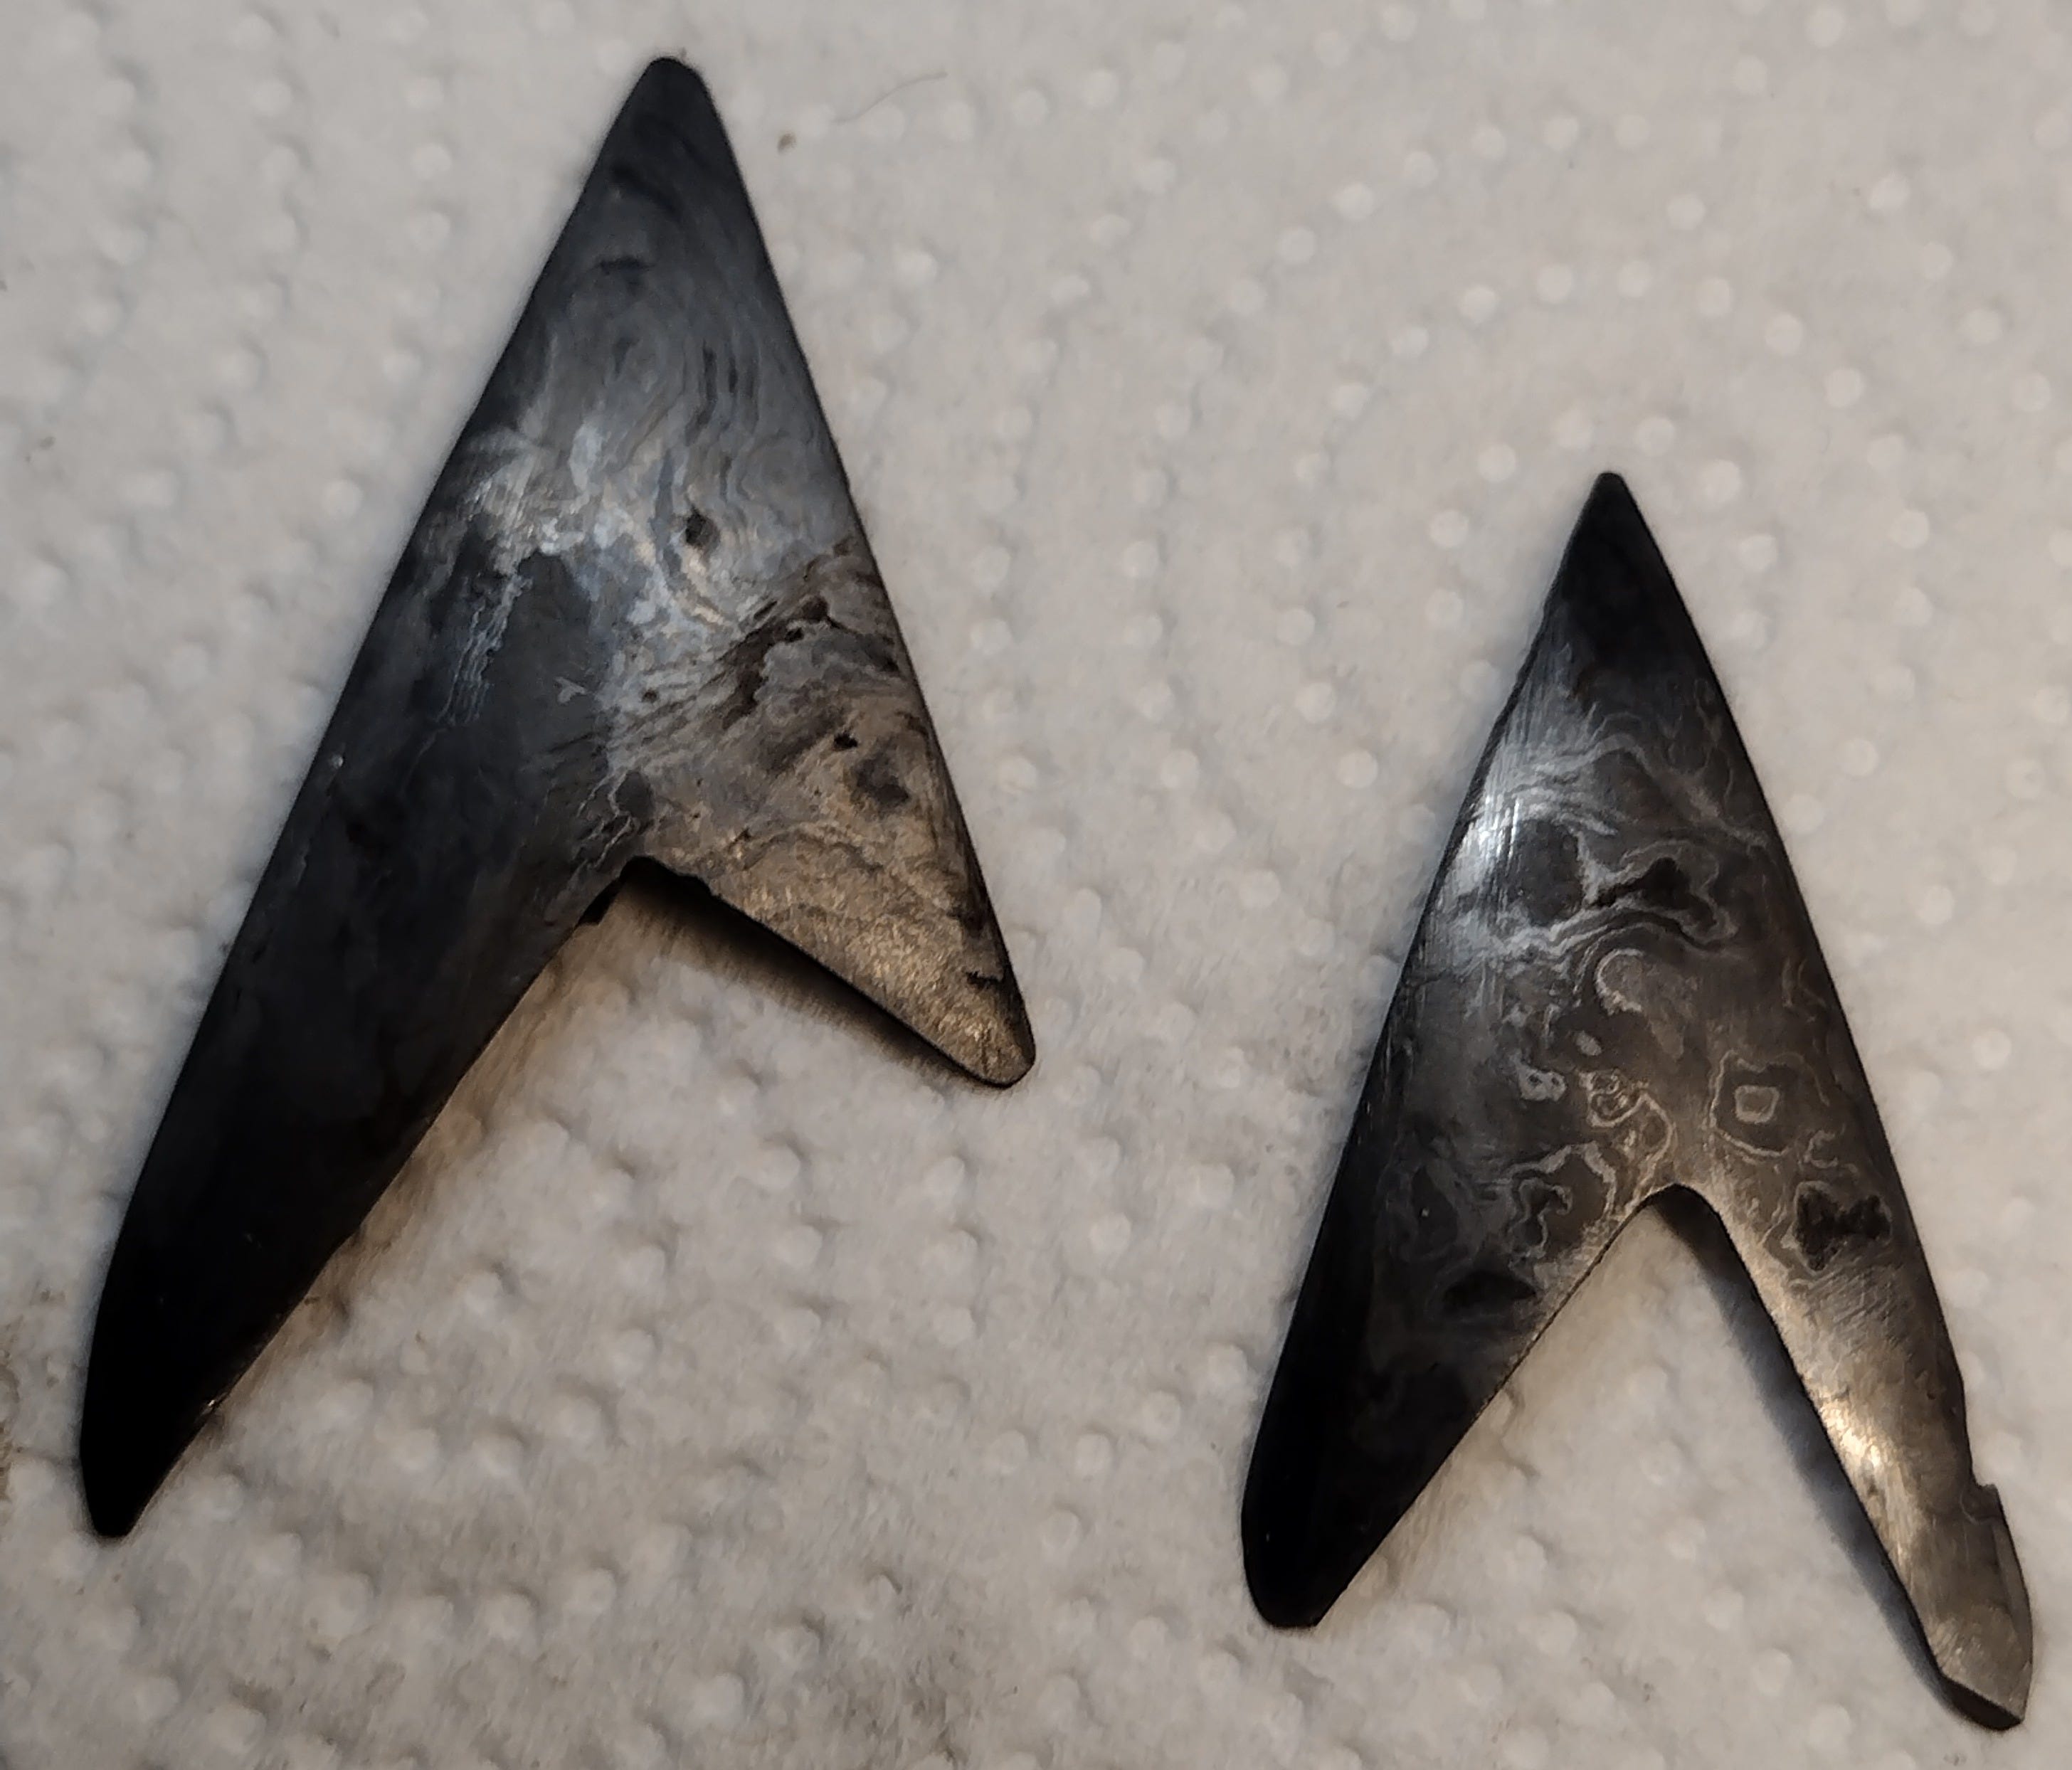
Looks almost like a wood grain, doesn’t it? Steel is a remarkable material.
At this point, it was time to turn these bits of pretty metal into jewelry.
The pendant was the first to come together. I used silver solder to affix the pendant, then gave it a nice coat of wax to protect it from rusting, and presented it to the lady of the ranch.


Next was the com badge. This one involved a three-stage solder operation. First, I had to get each bar soldered on, and then a pin-back bridging between them, with enough solder built up to hold it together soundly.

Not a pretty job, but it will be hidden behind the pin.
Unfortunately, some of that solder spilled around the front, and the stat bars didn’t go on quite straight. I had to re-polish, re-align, and then re-etch the front side of the piece, then wax it. But once it was done…
Well, take a gander:

It’s not perfect, and it’s obviously handmade, but it’s also gorgeous.
Most importantly, it’ll bring smiles to the life of a good friend who deserves more smiles in her life.
I’ve still got some of this stuff laying around, and I do have a whole crate of dead chainsaw chain still, so if any of you want something like this…I can be bought.
Comments are open.
This column is a big part of how I make my living—bigger now due to recent exciting events which you can read about here. Because of this, I’m offering a 20% lifetime discount off the annual subscription rate. If you’re finding these articles valuable, I’d be honored to have you join the ranks of my supporters!
Like my writing? You can find podcasts, audiobooks, novels, and other goodies at http://www.jdsawyer.net
Awesome!
U da man 👍