Okay, I know I said this would be a Maker Monday series, and this is Tuesday, but since I did all this work on Sunday and Monday, I’m going to pretend it counts. In this series I chronicle adventures in problem solving, building things, and doing off-beat industrial art projects. You can read the first installment here. This is an image-heavy post and exceeds the capacity of certain email providers. To get the full effect, read this post on the web at http://jdanielsawyer.substack.com
Fall in the mountains comes early, and it comes with a change in the air. Whether it comes in late August or early September, there comes a morning where, despite the thermometer reading north of 70 degrees at 8:00 AM, you can smell a chill on the air. A little bit of a tickle in the nostrils, a sense of pregnant potential. I haven’t been able to figure out what it is, because it’s not the temperature. It’s not smoke from heating fires—in the mountains we have smoke all summer from wildfires that gets blown to us from all points on the compass.
Perhaps it’s a chemical released by the trees as they sense a turning of the seasons? A shift in the animal population? Maybe it’s some kind of pollen swept down from the north as an arctic wind—no matter how warm—blows my way. Maybe it’s what the air feels like when the shadows of the forest are no longer warm without direct sunlight.
Whatever it is, it’s rich and sharp and subtle. Smelling it is more of a whole head sensation than it is whiffing an odor.
But there is something about that scent on the air. It’s the world having a whisper in your direction
When I smell that smell, it usually means it’s time to stock up on fuel for the winter—heating fuel, forge fuel, emergency fuel reserves for the engines, etc.
This year, I don’t have that problem. I was smarter than usual and got myself all stocked up on fuel before that smell arrived.
When I walked out of the house a week-and-a-bit ago and smelled that smell on the air, I knew I was running out of time to get things ready for winter. With the survival parts of the winter (i.e. the food and the fuel) all sorted, the question I had to answer was a new one:
What do I want to accomplish this winter?
It will be my first winter not being sick since I was ten years old, and the first winter in which I’m not so sick I can’t really do anything besides chores in around four years. So what do I want to do?
I’ve got four books that are all half-finished. I want to finish them.
That means, perhaps paradoxically, that I need a LOT of stuff to do outside. Without good physical activity, I can’t focus well enough to write. I work best on a rhythm of “write/work/write/work.” That means I need a good outdoor workspace.
My homesteading partner and I are currently seeking gigs for editorial, layout/design, voice over, audiobook narration, and strategic consulting work. Additionally, if you’re looking for a tutor for a student struggling with history, English, creative writing, or psychology, I’m available for hire.
Or you can help out substantially by joining me here as a paid subscriber.
The Forge Problem
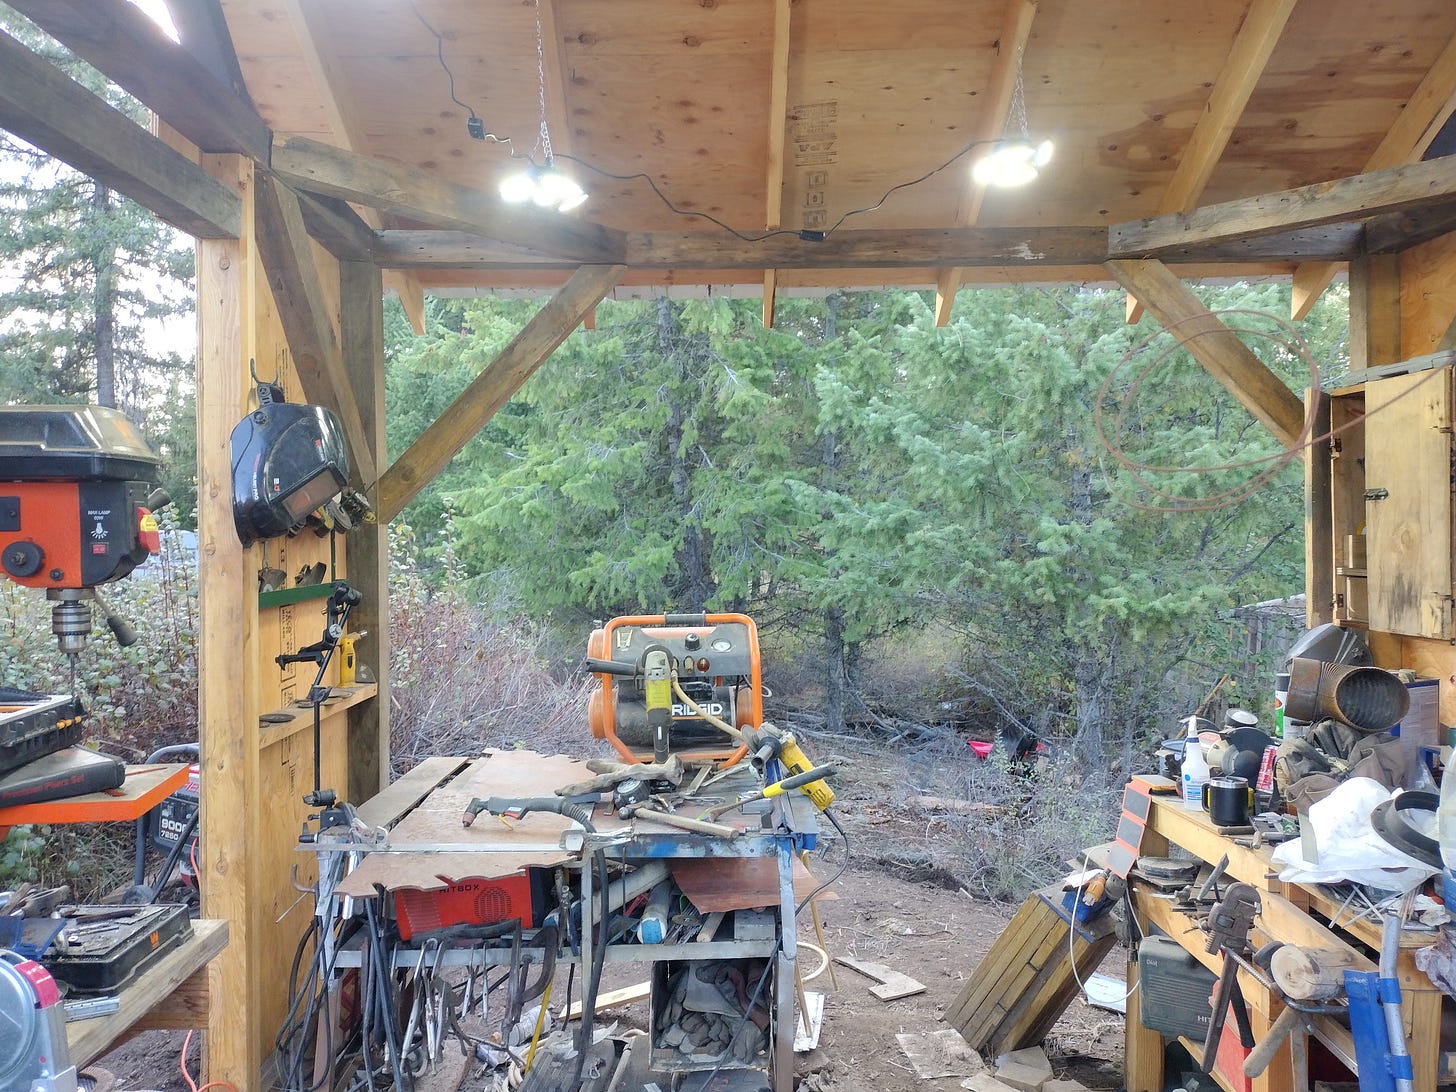
This is my forge building. The open walls (well, they’re cloth walls, now—had to have something to slow the wind down!) are there because I sometimes need to work on pieces that are longer than the building is wide, and because I need a place for the back-blast from the propane forge to go that’s not “against a wall.”1
It’s built from pine timbers I milled several years back on a friend’s property during my training in the art of saw milling—or, if you like, when I was earning my ancestral name.2 I left it half-finished because, frankly, it’s too small. I’ve got a full welding and smithing shop crammed into a little over 100sqft. Things get a bit cramped.
I’m hoping to expand it before the snow comes, but if I don’t get to that, I still have to be able to use it to get some exercise and make cool things through the long dark winter.
And that means I need to add a LOT of organizational capability, because right now, it’s overstuffed to the point of being *almost* unusable.
That is an overstuffed workspace. Below the welding table (center, left) are two big boxes full of drill bits. Off screen to the right are the forges, the anvil, the forging tools, and few big buckets of small metal scrap.
On the extreme left of the picture above, you can see the drill press. It’s on a shelf that’s overcrowded with drill bits, battery chargers, and supplies for the belt grinder.
When you’re breaking this kind of logjam, you gotta figure out a weak point. In the case of this workspace, the weak point is that drill press station.
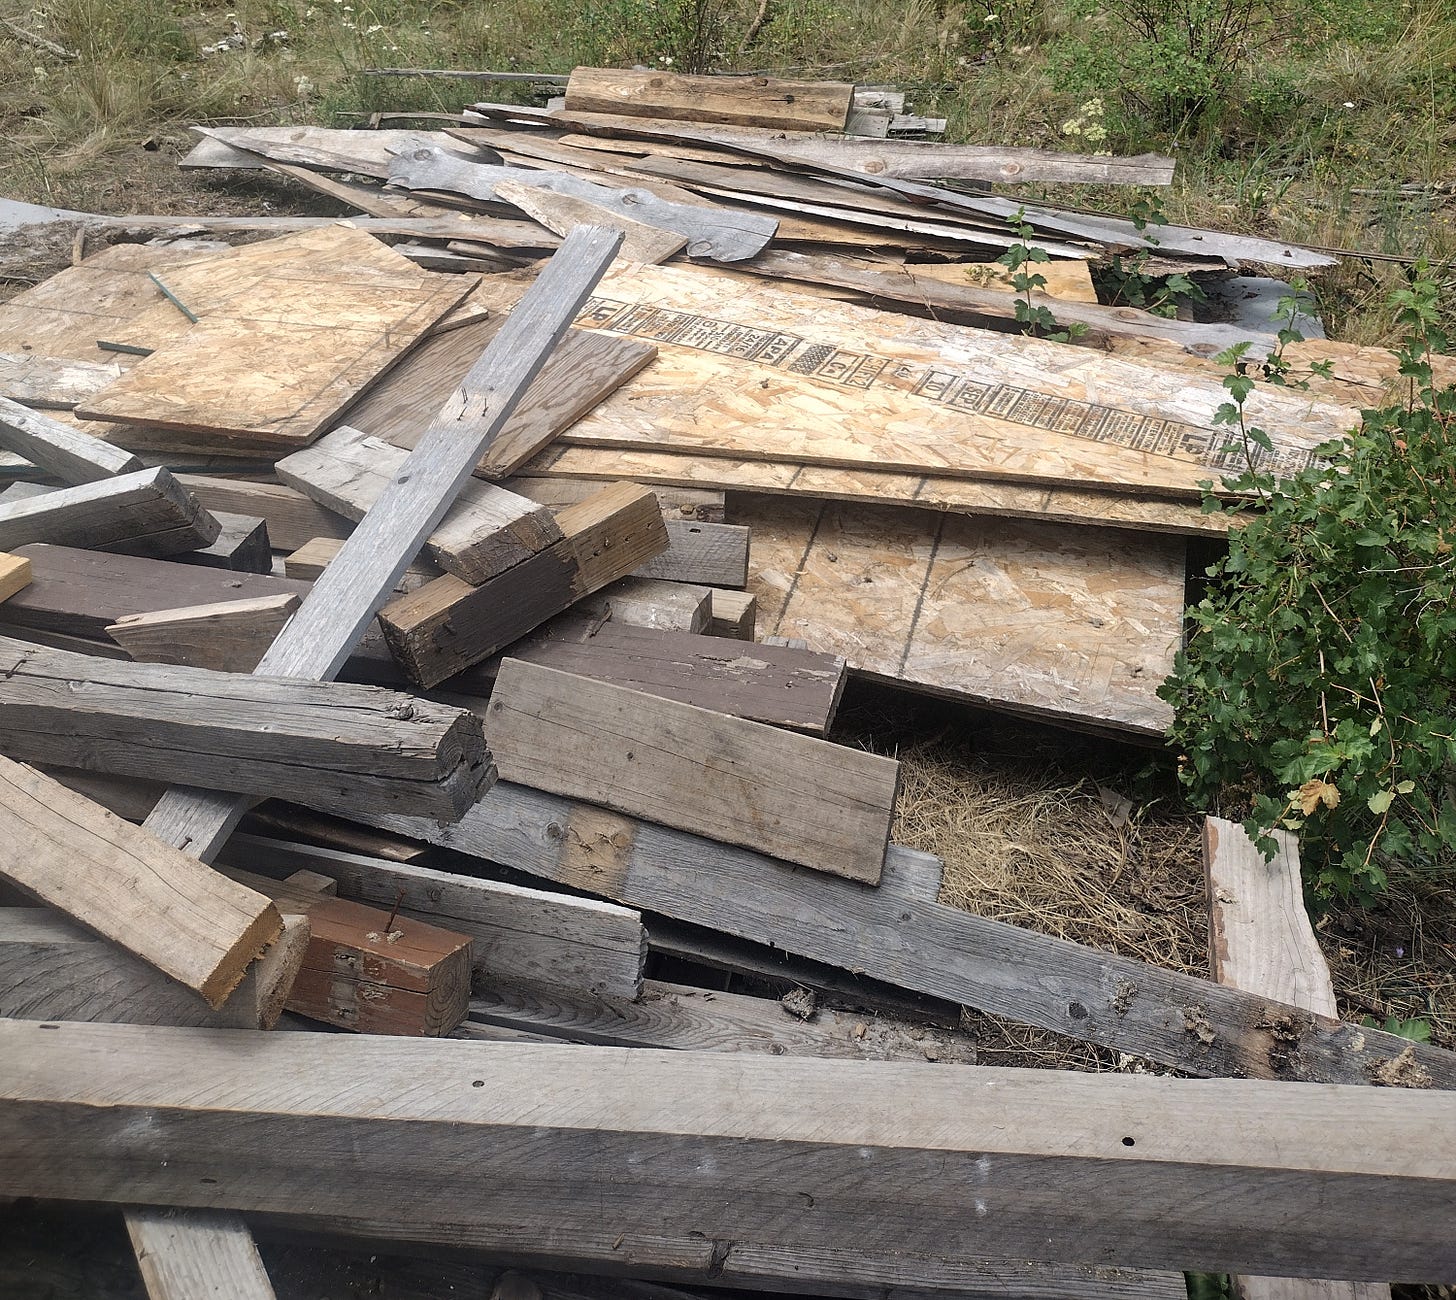
Quite a mess, ain’t it? Even when you ignore the scrap wood (which is gonna get used in a minute here).
Behind that scrap wood is an oxy-acetylene rig (under the bench) and a belt-and-disc grinder (on the bench). The whole thing is cramped, the cables are out of control, there’s too many drill bits up on the bench (and there’s dozens more in tool boxes under the welding table, where they’re hard to access).
Worse, that blue podium, which I rescued from an ancient elementary school, is in the wrong place. I keep my forge finish overstock (paste wax, beeswax, etc.) and some rarely-used tools in there, like my fire blanket (essential when welding on vehicles, which I once learned the hard way). There was no reason for it to live under that bench other than “it fits there.” If I moved it over next to the forge, which is where it really belongs, I could build a rack below the drill press station.
That would let me organize all the drill bits, clean off the bench, maybe even organize the cables on the wall, and make room under the welding table for the buckets of small scrap metal—which is where the small scrap is most regularly needed.3 Which would, in turn, free up a lot of space around the forge and anvil so I could better organize the tools associated with that.
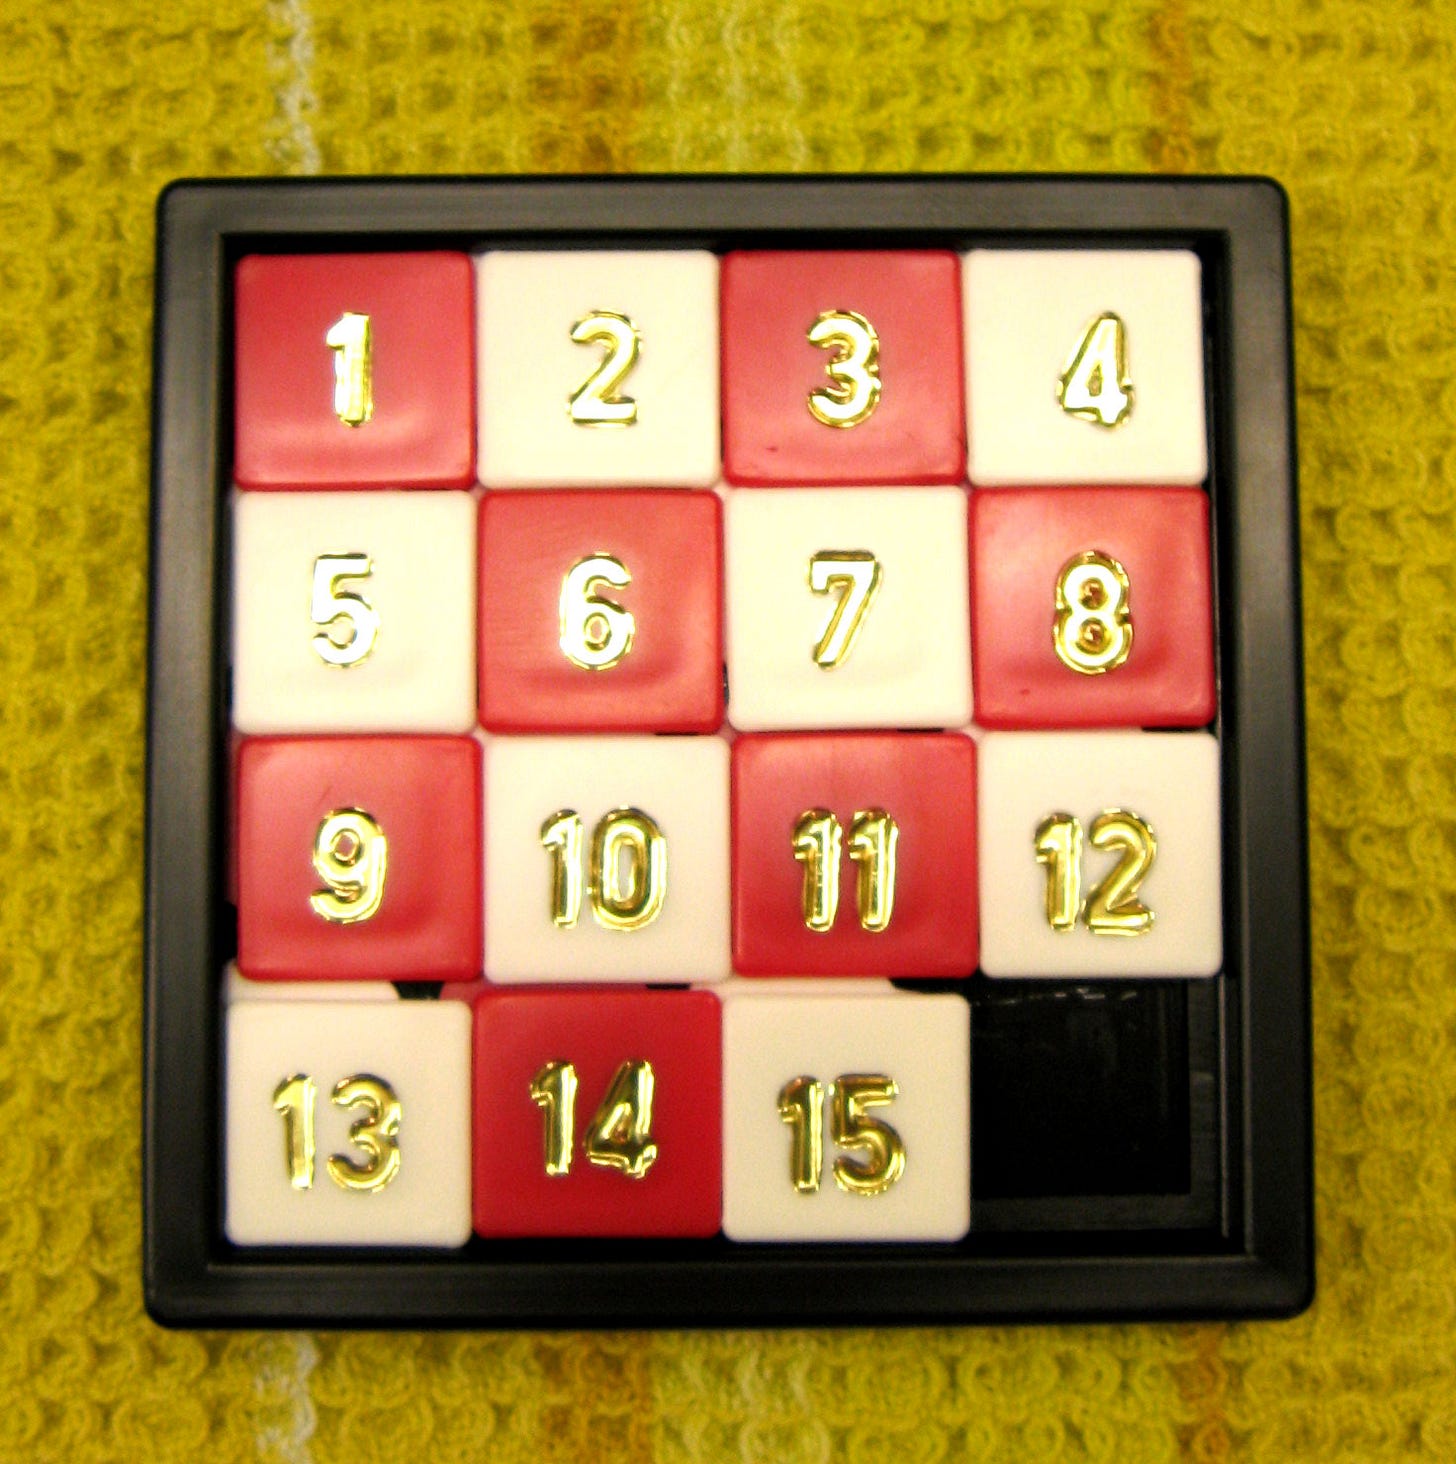
If it sounds like a giant version of the empty-square puzzle game, you’re not wrong. But that’s what happens when you organize an overcrowded space.
The Build
First question: Materials.
No problem. One of the advantages and/or downsides (depending on how you look at it) of building out a homestead is that you accumulate scrap quicker than you can use it. Every time you cut a board, no matter how careful you are, you’re gonna wind up with some waste.
The waste piles up.
A lot.
It piles up because BIG stuff has to get done before small stuff—you have to put up a building to then have a place to put, say, a rack of shelves. Well, here was a chance to draw down the pile.
First thing was to make a frame to hold the shelves. No problem. A bit of scrap 2x6 would do the trick. Then, to hold that together, some scrap 2x4s and some shelves cut from disused plywood scrap. I pulled out some likely-looking bits and piled them next to the drill press station, then started building the frame.
Trouble was, once I got a couple shelves in, I started thinking that deep shelves are a pain in the ass. It’s easy to get things lost in them. They’re hard to keep organized.
What I needed, I realized, was a bank of drawers.
The Drawers
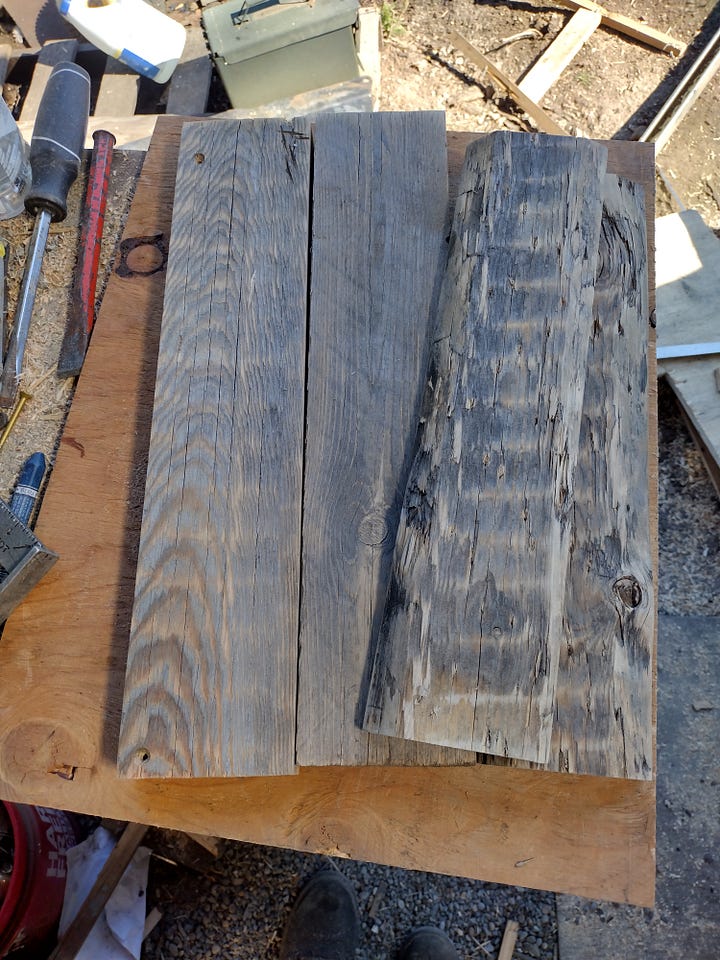

I started with some very weathered wood from a shipping crate, sanded it, and chopped it into appropriate lengths to make the most basic type of drawer imaginable: A frame with a backing board.
Real drawers have a groove in the frame so that the base sets into them, or even so that the frame assembles around the base, and has joinery at the corners. Not these babies. These are four sticks glued and brad-nailed together (with a pneumatic nailer, the lazy carpenter’s friend), and then topped (or bottomed) with a piece of trash 1/2” plywood which is, itself, glued and nailed into place.
If you’ve ever made a shadow box in shop or art class as a kid, this is basically the same technique, only about twelve times lazier.
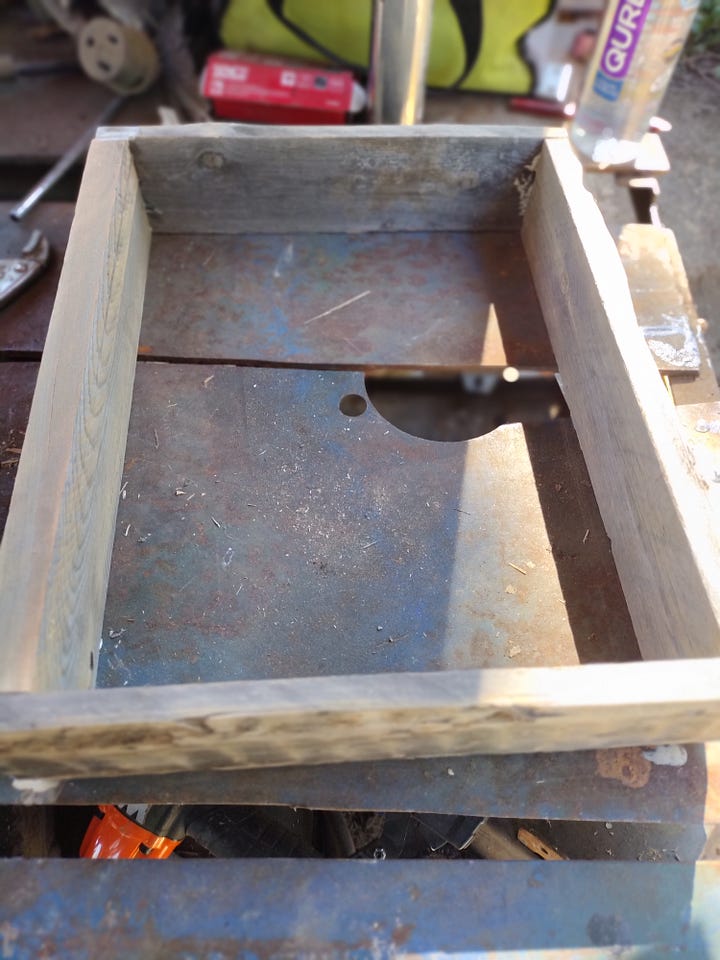
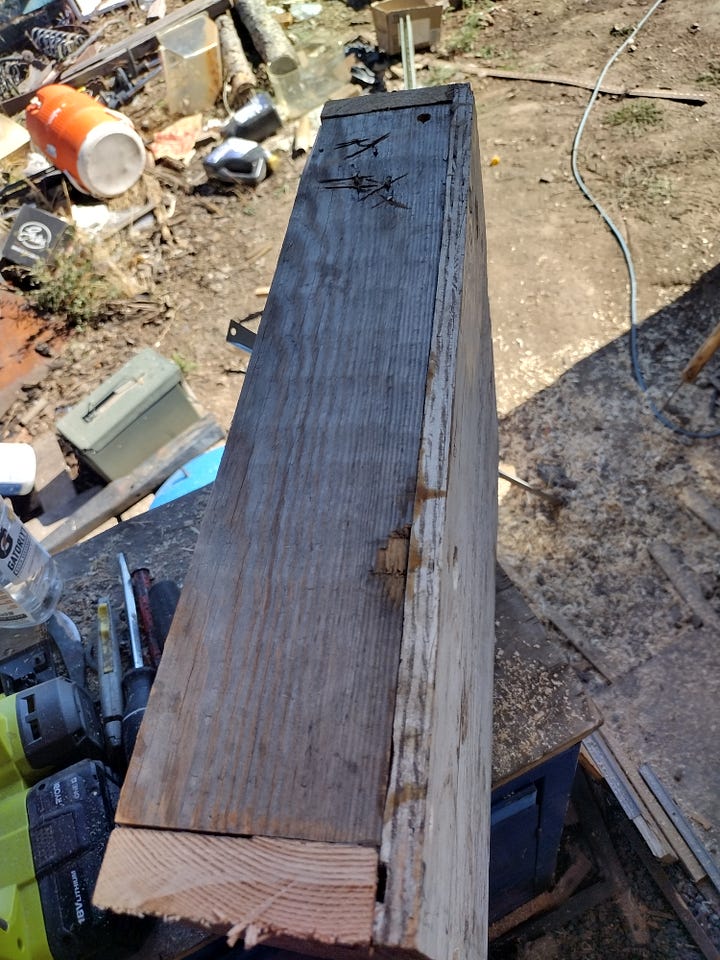
With four of these put together, I took the world’s smallest angle iron (which came off a discarded kit shed and looked like it was made out of aluminum foil) to use for the world’s laziest drawer mount rails, and discovered that I couldn’t hang them straight.
The space between those vertical struts was too small, and, despite having worked as a stunt man once-upon-a-time, I don’t bend that way (I think this is why I never got the high scores in gymnastics class).
I needed something that I couldn’t pull off the scrap pile to assemble this rack of drawers. Something that would let me hang the drawer runs flat enough and even enough that the drawers would, you know, draw out of their cubbies so I could get to what was in them.
I needed...a short person.
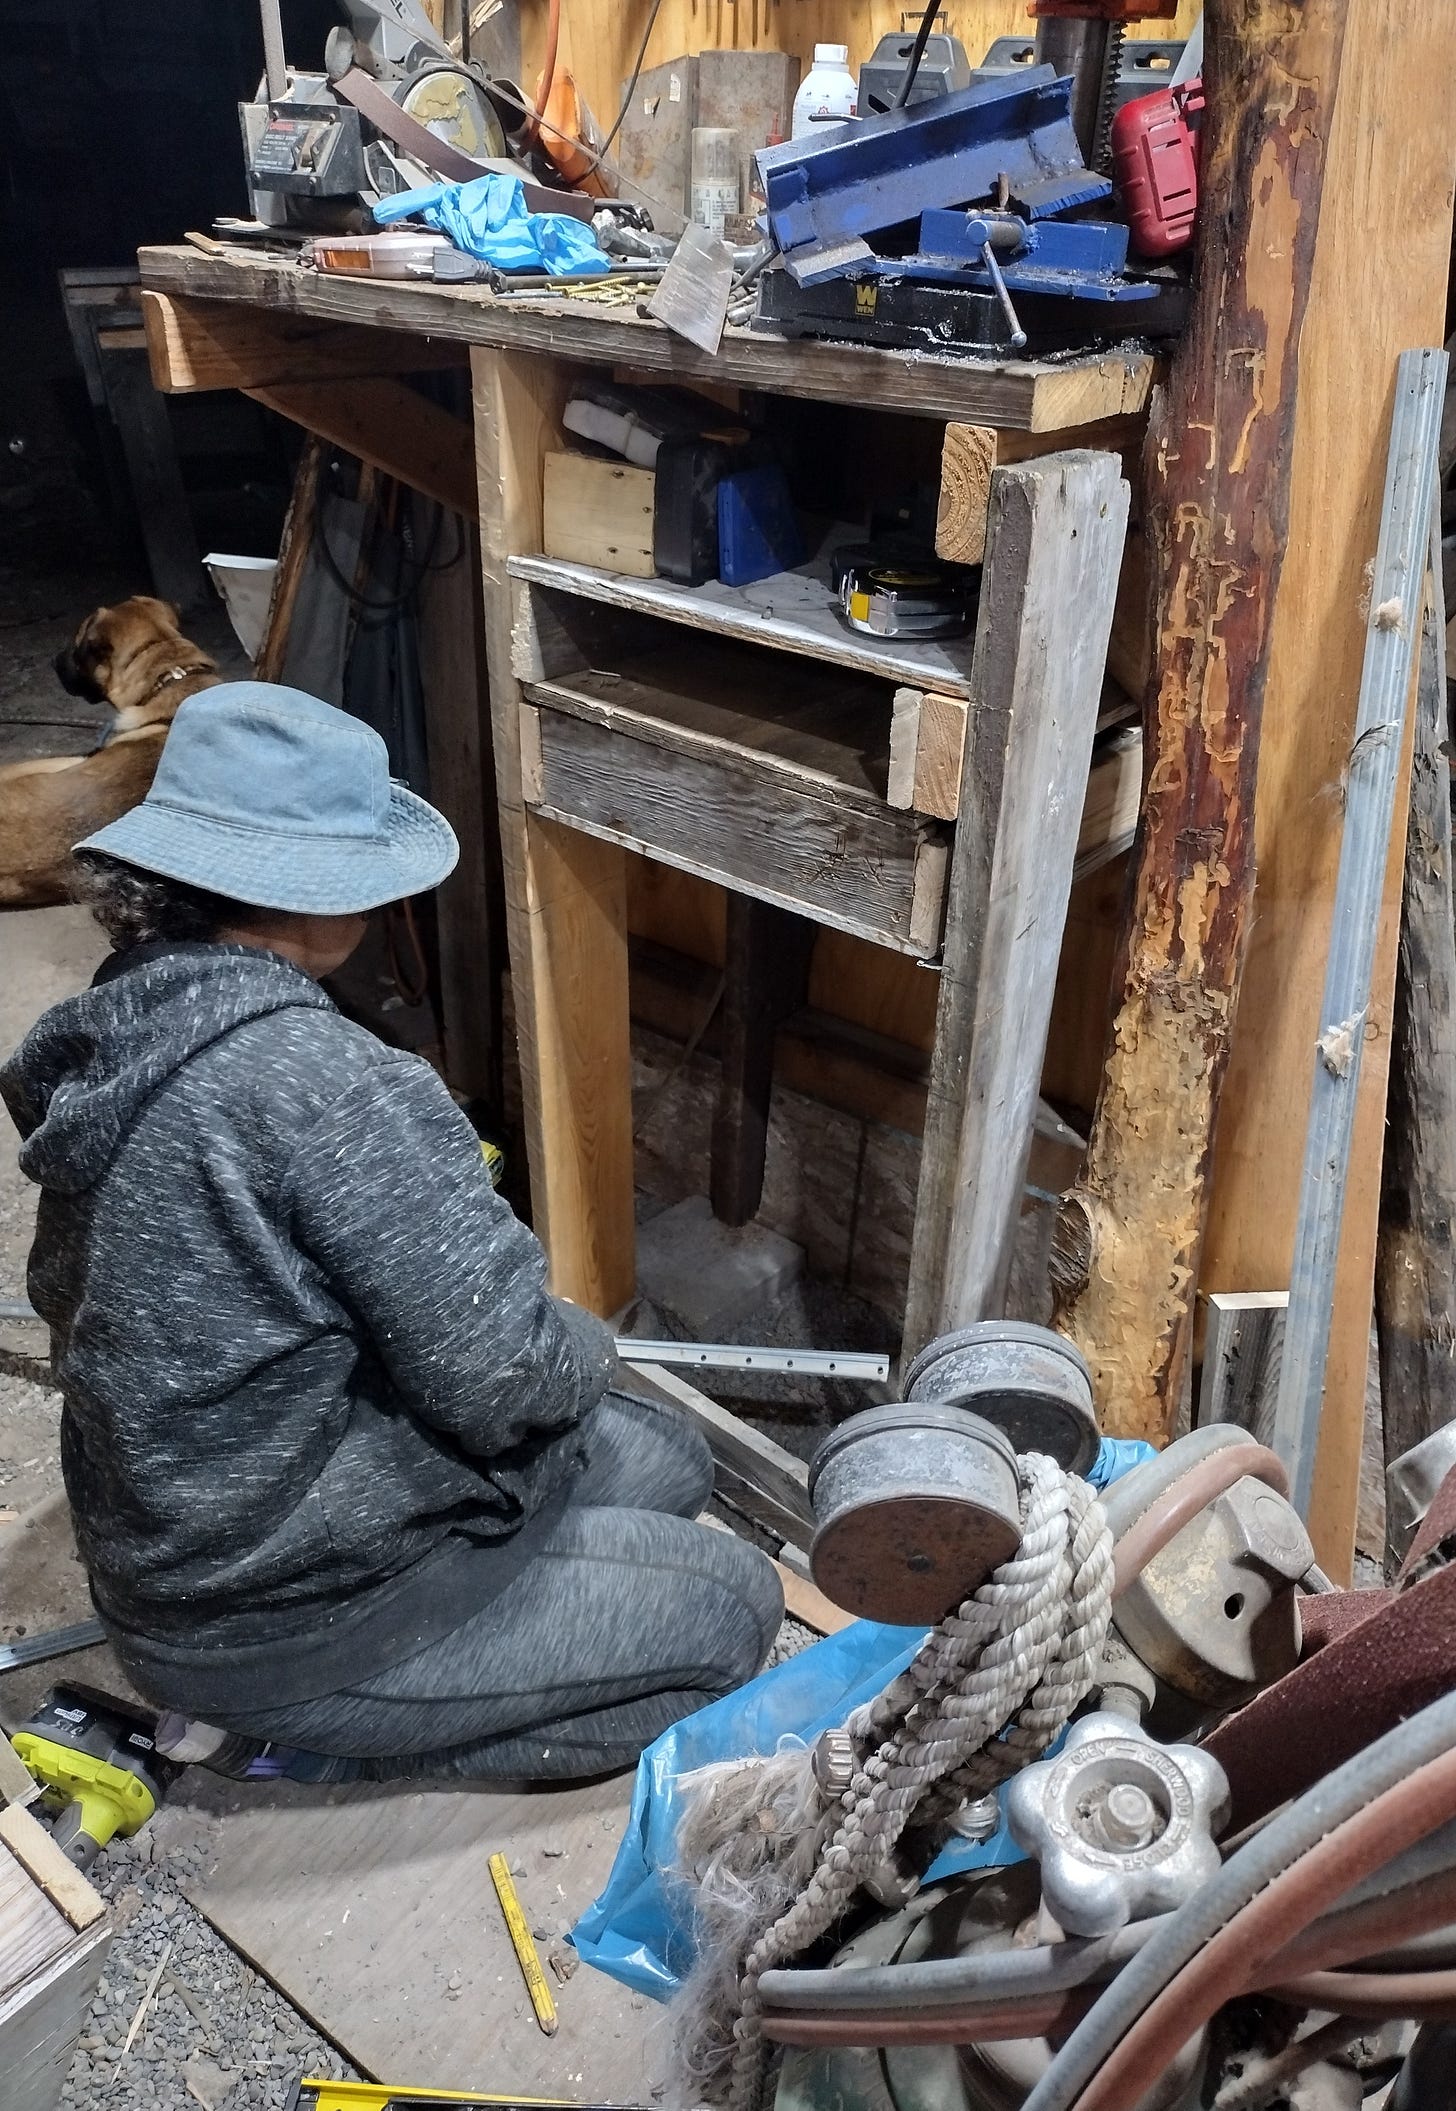
Fortunately, I have one that I keep around for these kinds of occasions.
Pro tip for those of you who want to keep one of these around:
Learn to cook. They respond very well to top-shelf cooking. They’ll hang around you for years as long as you cook good food, write novels for their entertainment, and build them the occasional luxury farm estate.
Totally worth it, especially when they drop what they’re doing and come running just because they’re sick of hearing you screaming in obscene frustration about what kinds of undignified abuse you intend to subject the laws of physics to.
Total clutch move that saved my new drawers from hours of invective.
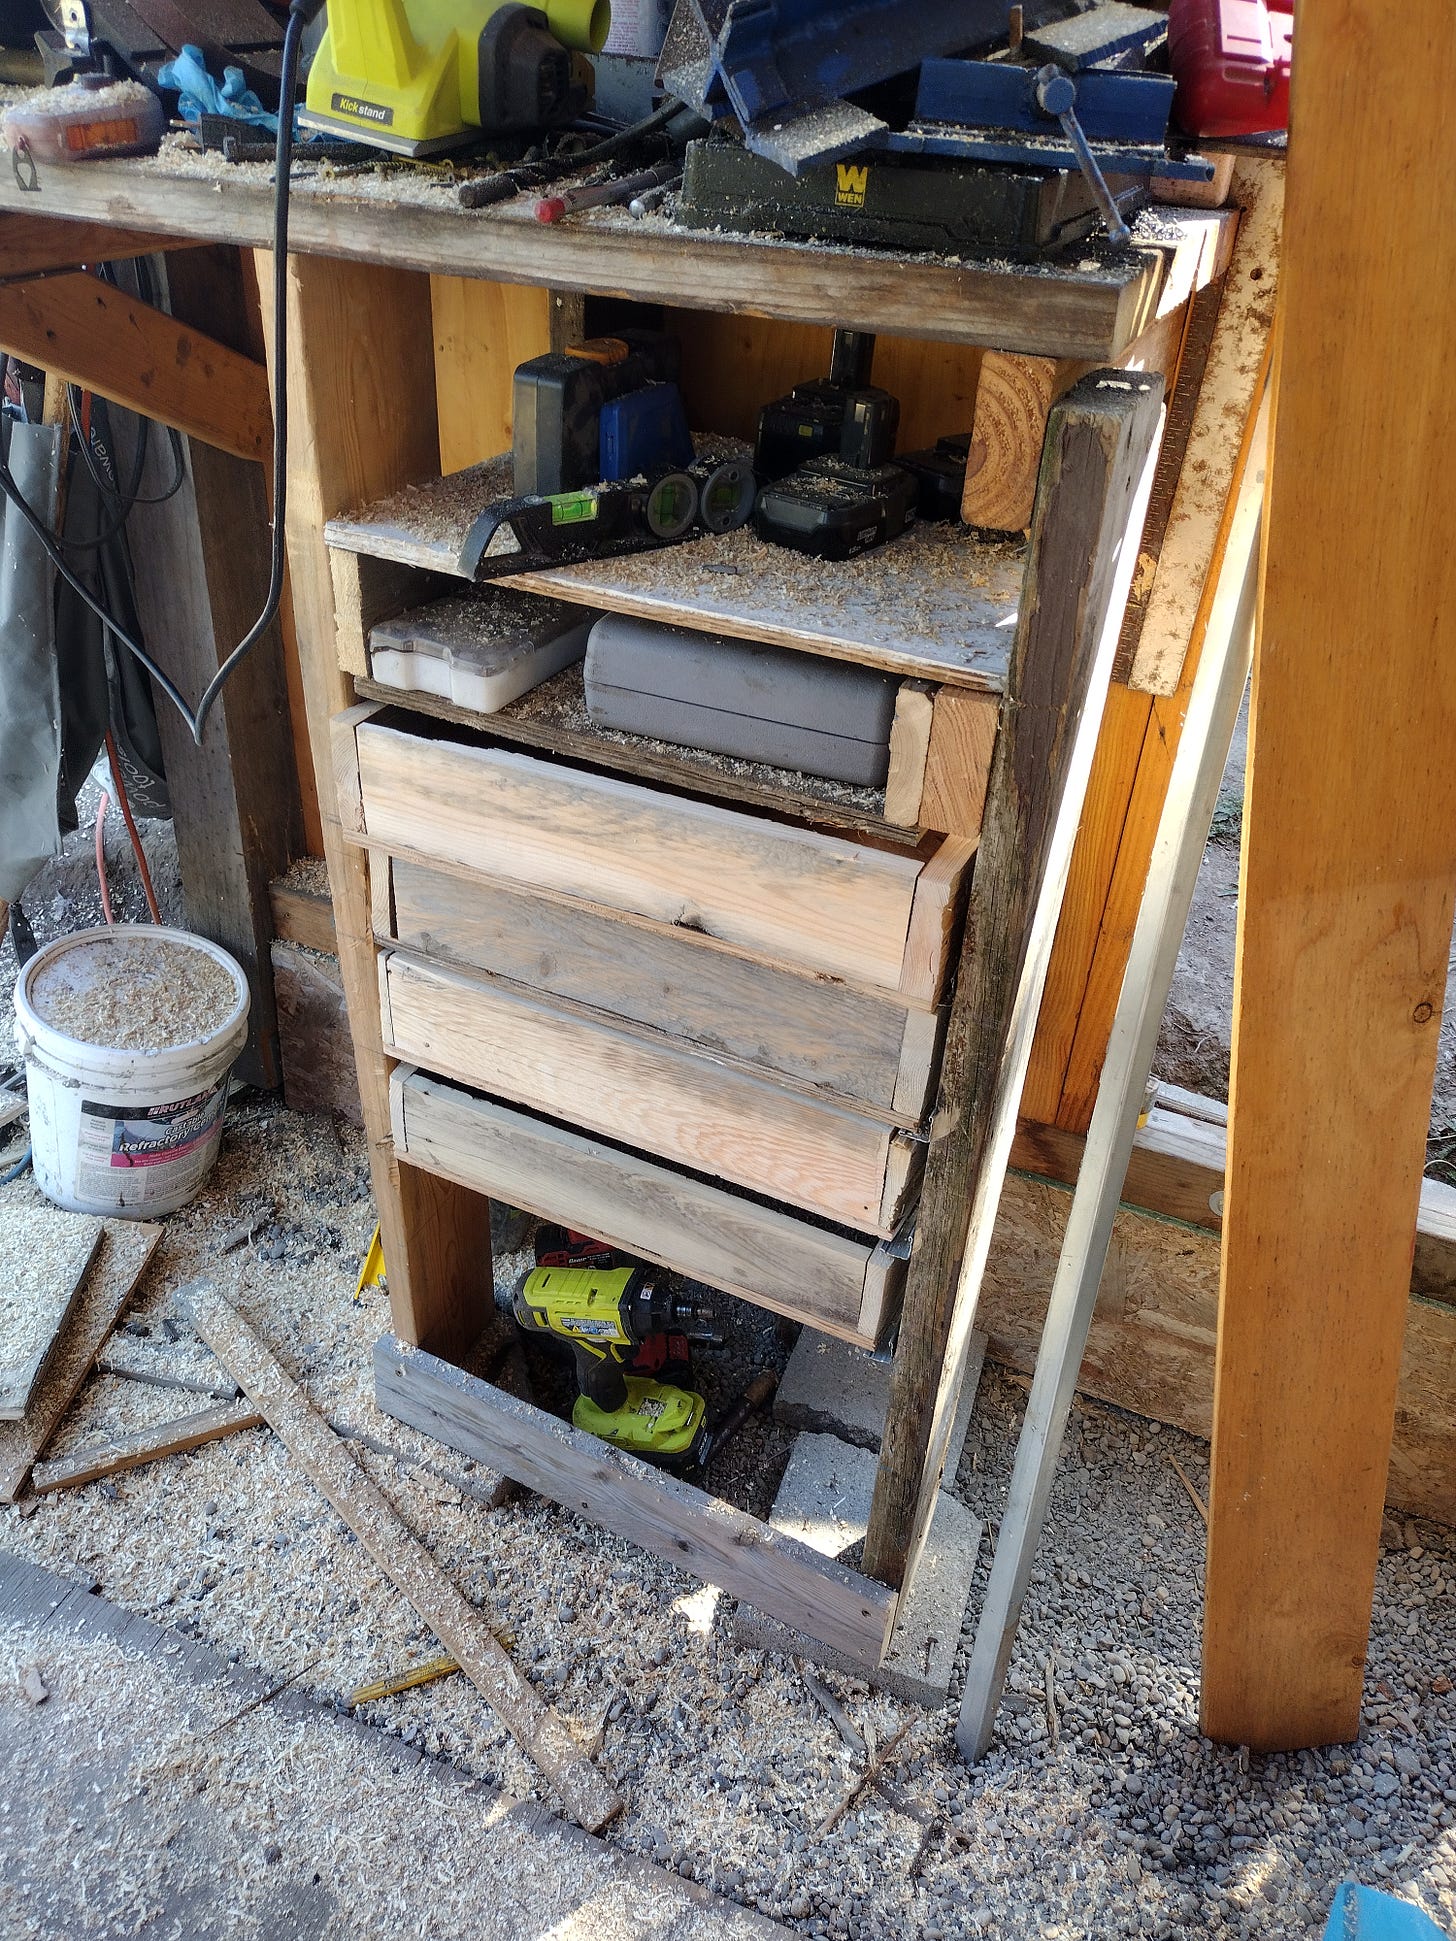
Thanks to her, I had some well-hung drawers…
I wound up taking a hybrid approach, with a couple cubbies and then four drawers, and another storage area beneath where I could stash a toolbox. Given the range of things I need to organize, it’s the best of all worlds.
And I could’ve left it there, just using some on-hand drawer knobs to make them usable, but I was really getting into the “use up the scrap pile” thing.
The Mill Ends
Mill ends are an inevitable side-effect of having the use of a saw mill. They’re the result of the unfortunate fact that, while trees are round, lumber is square. The round parts get shaved off in order to make the square “cant,” from which lumber is then cut to size.
You can use mill ends for soil building (turn them into wood chips, or just bury them in the ground to rot4), you can chop them up for firewood (they’re great for camp fires), or you can fall in love with them because they’re beautiful and start hoarding them because “someday, goddammit, they will be useful!”5
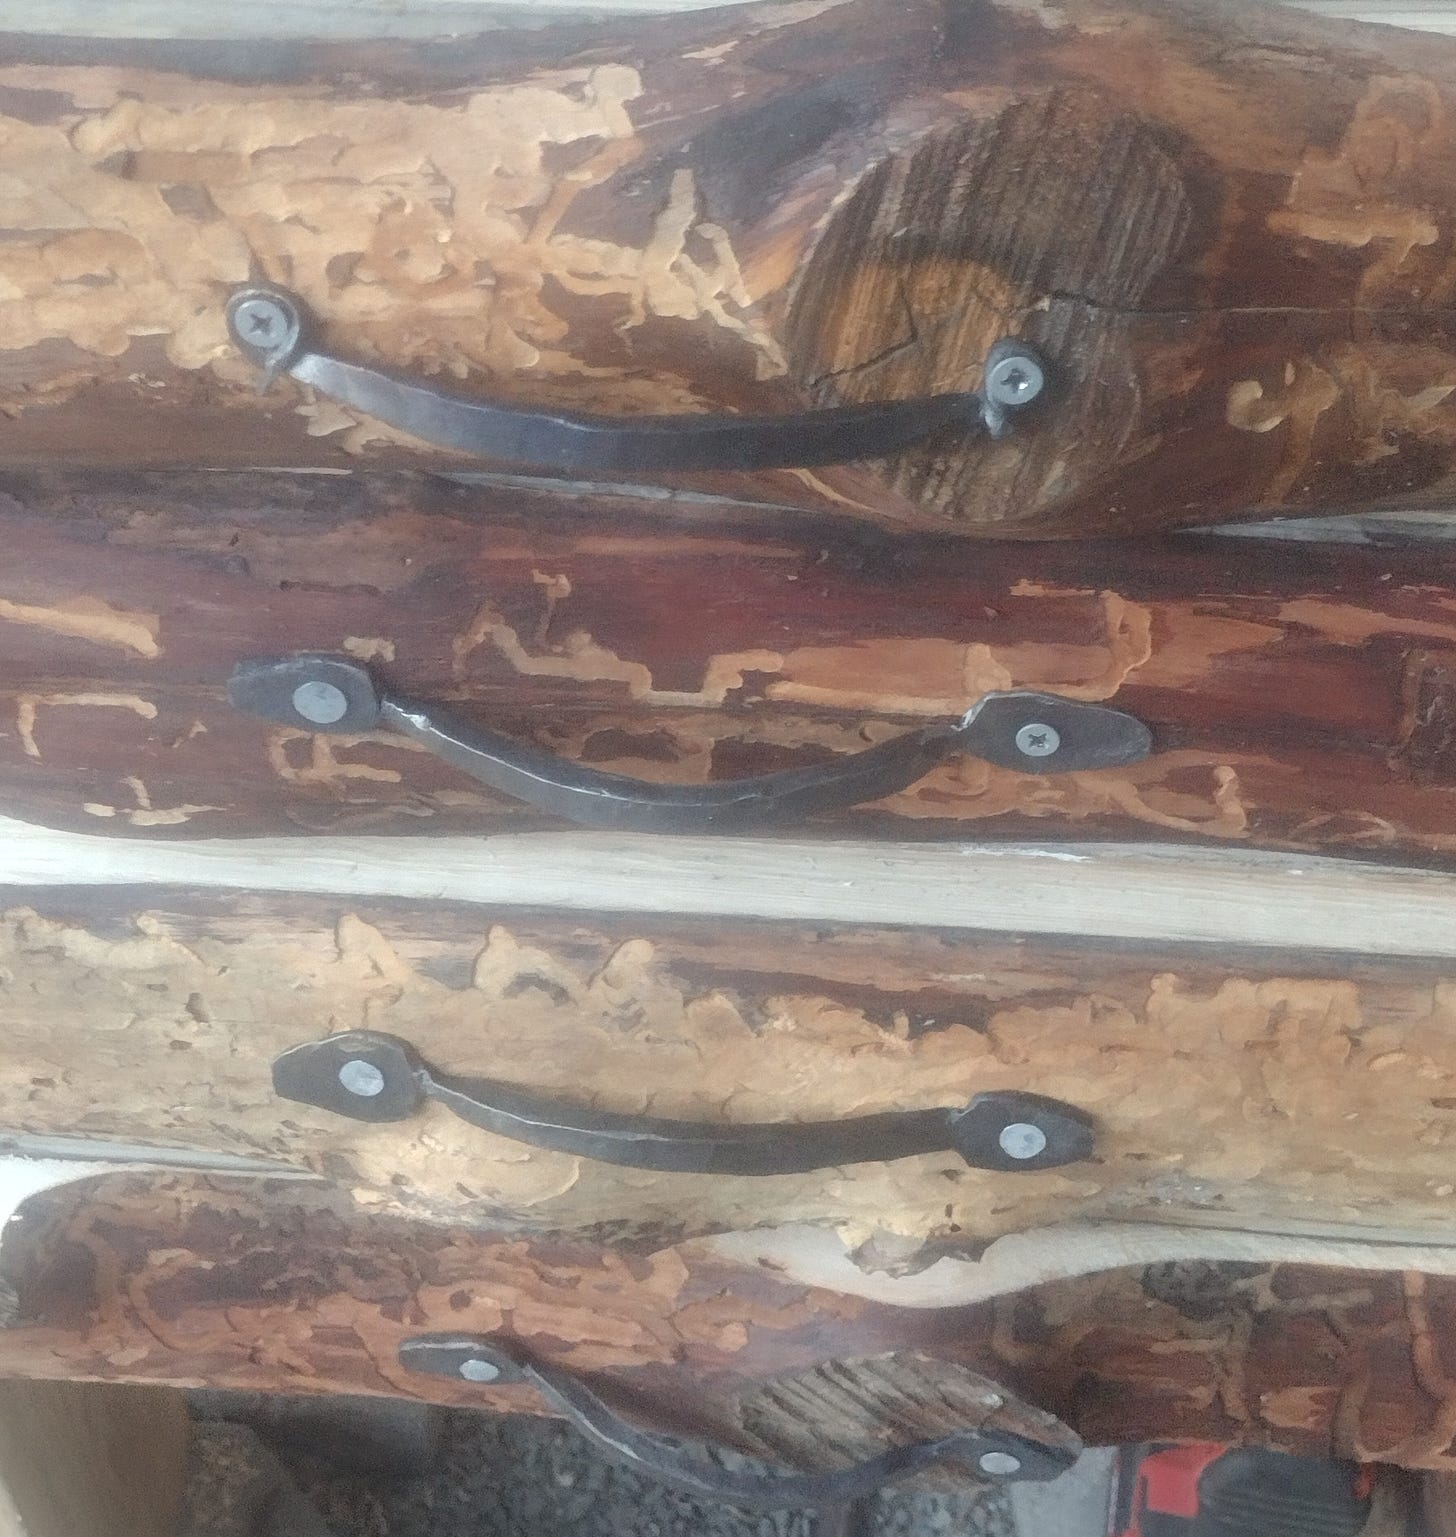
I've been building a collection of ones that really are too pretty to burn. I’ve thought they might make good trim, or serve as the backing for coat racks to take to sell at the county fair, or at least make good signage backing to hang on my own walls when I eventually have walls that aren’t already covered with tools and coats.
How can you not fall in love with the way that looks?
But since I’ve never tried to use them for aesthetic reasons, I had no idea whether the visions in my head were in any way realistic. I saw an opportunity to get rid of a mill end or two and see if they could make something beautiful—or, at least, interesting.

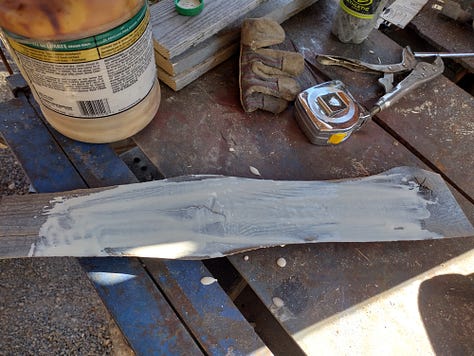

A bit of sanding on the back, then a healthy layer of glue, and they were ready to be tacked in place with that pneumatic brad nailer.
The first one wound up looking kinda cool, so I kept it up and covered the rest of the drawers.
That left the thorny problem of drawer pulls.
The Drawer Pulls
You will have gathered from previous entries in this series that I am a marginally competent blacksmith. This isn’t artificial humility; I’m just beyond “beginner” stage, and just advanced enough to have learned one of the secret-yet-cardinal rules of smithing:
The easiest thing to forge is “anything, once.”
The hardest thing to forge is “anything, twice.”
Matched sets are incredibly difficult. When you’re doing a single piece you can screw up, cover it up, and it’s fine. When you’re doing a matched set you have to duplicate all your moves from one piece to the next. If you screw up on one piece, your fix for the screw up just became part of your design for the next piece.
Learning to do repeatable work is one of the big milestones for a beginning smith.
I had four drawers.
I needed four matching drawer pulls.
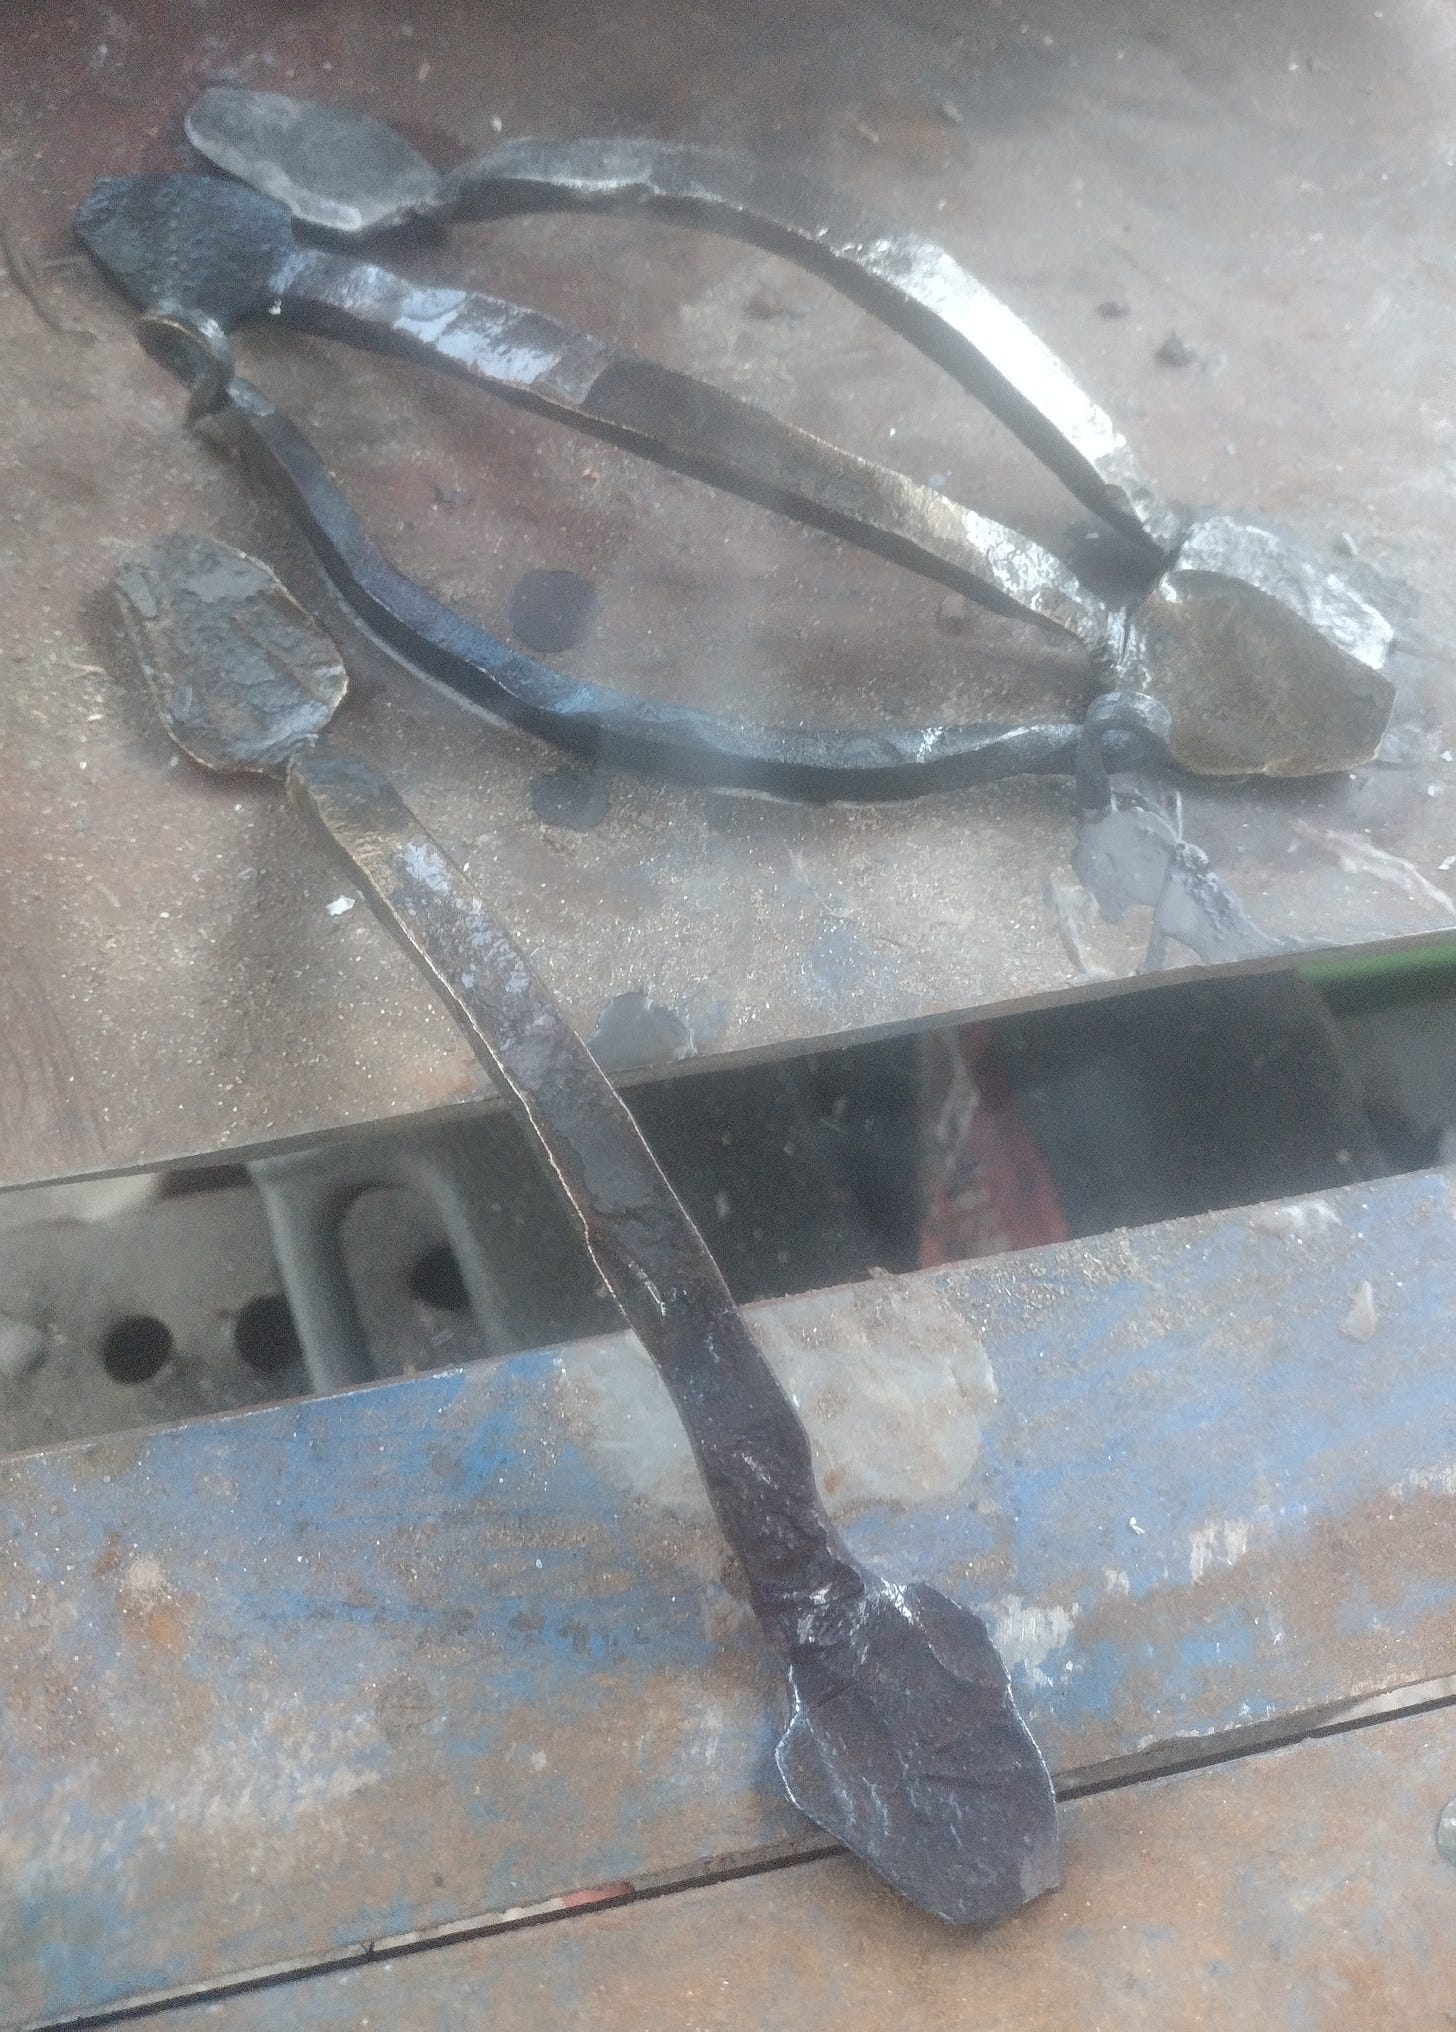
So I grabbed a length of rebar and cut eight identical lengths, on the theory that I’d make extras and pick the four best ones.

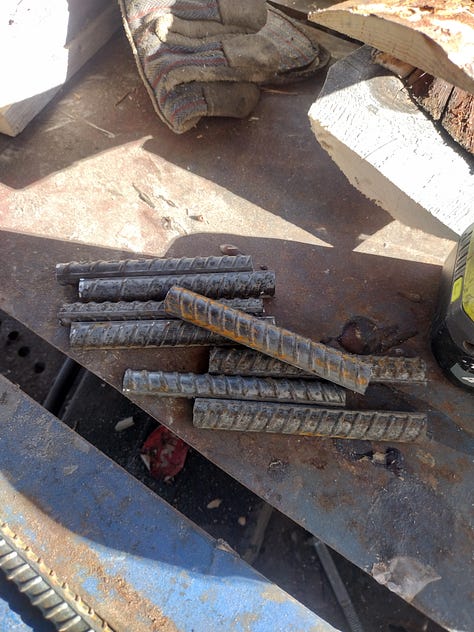
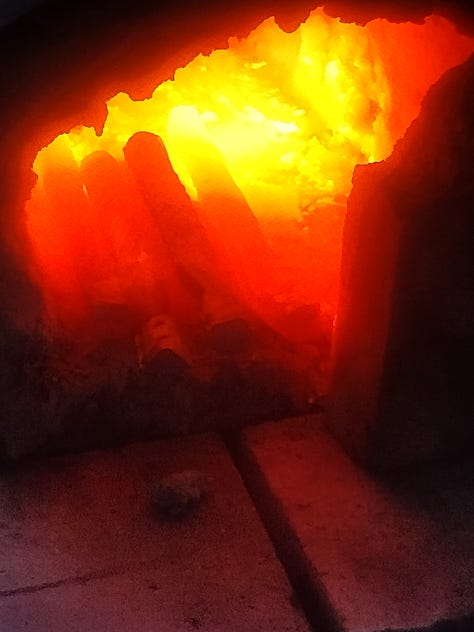
I struggled with the design as I was doing the basic shaping work, but I eventually decided that, since I was going for repeatability, I needed to keep things simple. Rather than doing leaves, or serpents’ heads, or braids, or anything else, I’d just do flat mount points and a swollen panel grip.
I got through three of them, pretty well identical, and then I broke the ends off the fourth one, so I went ahead and just made curly mount points for that one and decided to ignore the fact that it didn’t match. I was interrupted by a neighbor coming to visit, so my time budget for doing all eight was blown, and I needed to get the project done.
I decided to leave them rough instead of grinding out the hammer marks. I threw them in the forge and pulled them out as the temper colors were slouching towards purple, and finished them with paste wax to protect them from rust.
After mounting them on the drawers…
…I realized that, in order to make this re-org project work, I needed more wall.
That hole in the wall was originally intended to be a door, but the site plan has changed since then in a way that will make that door useless.
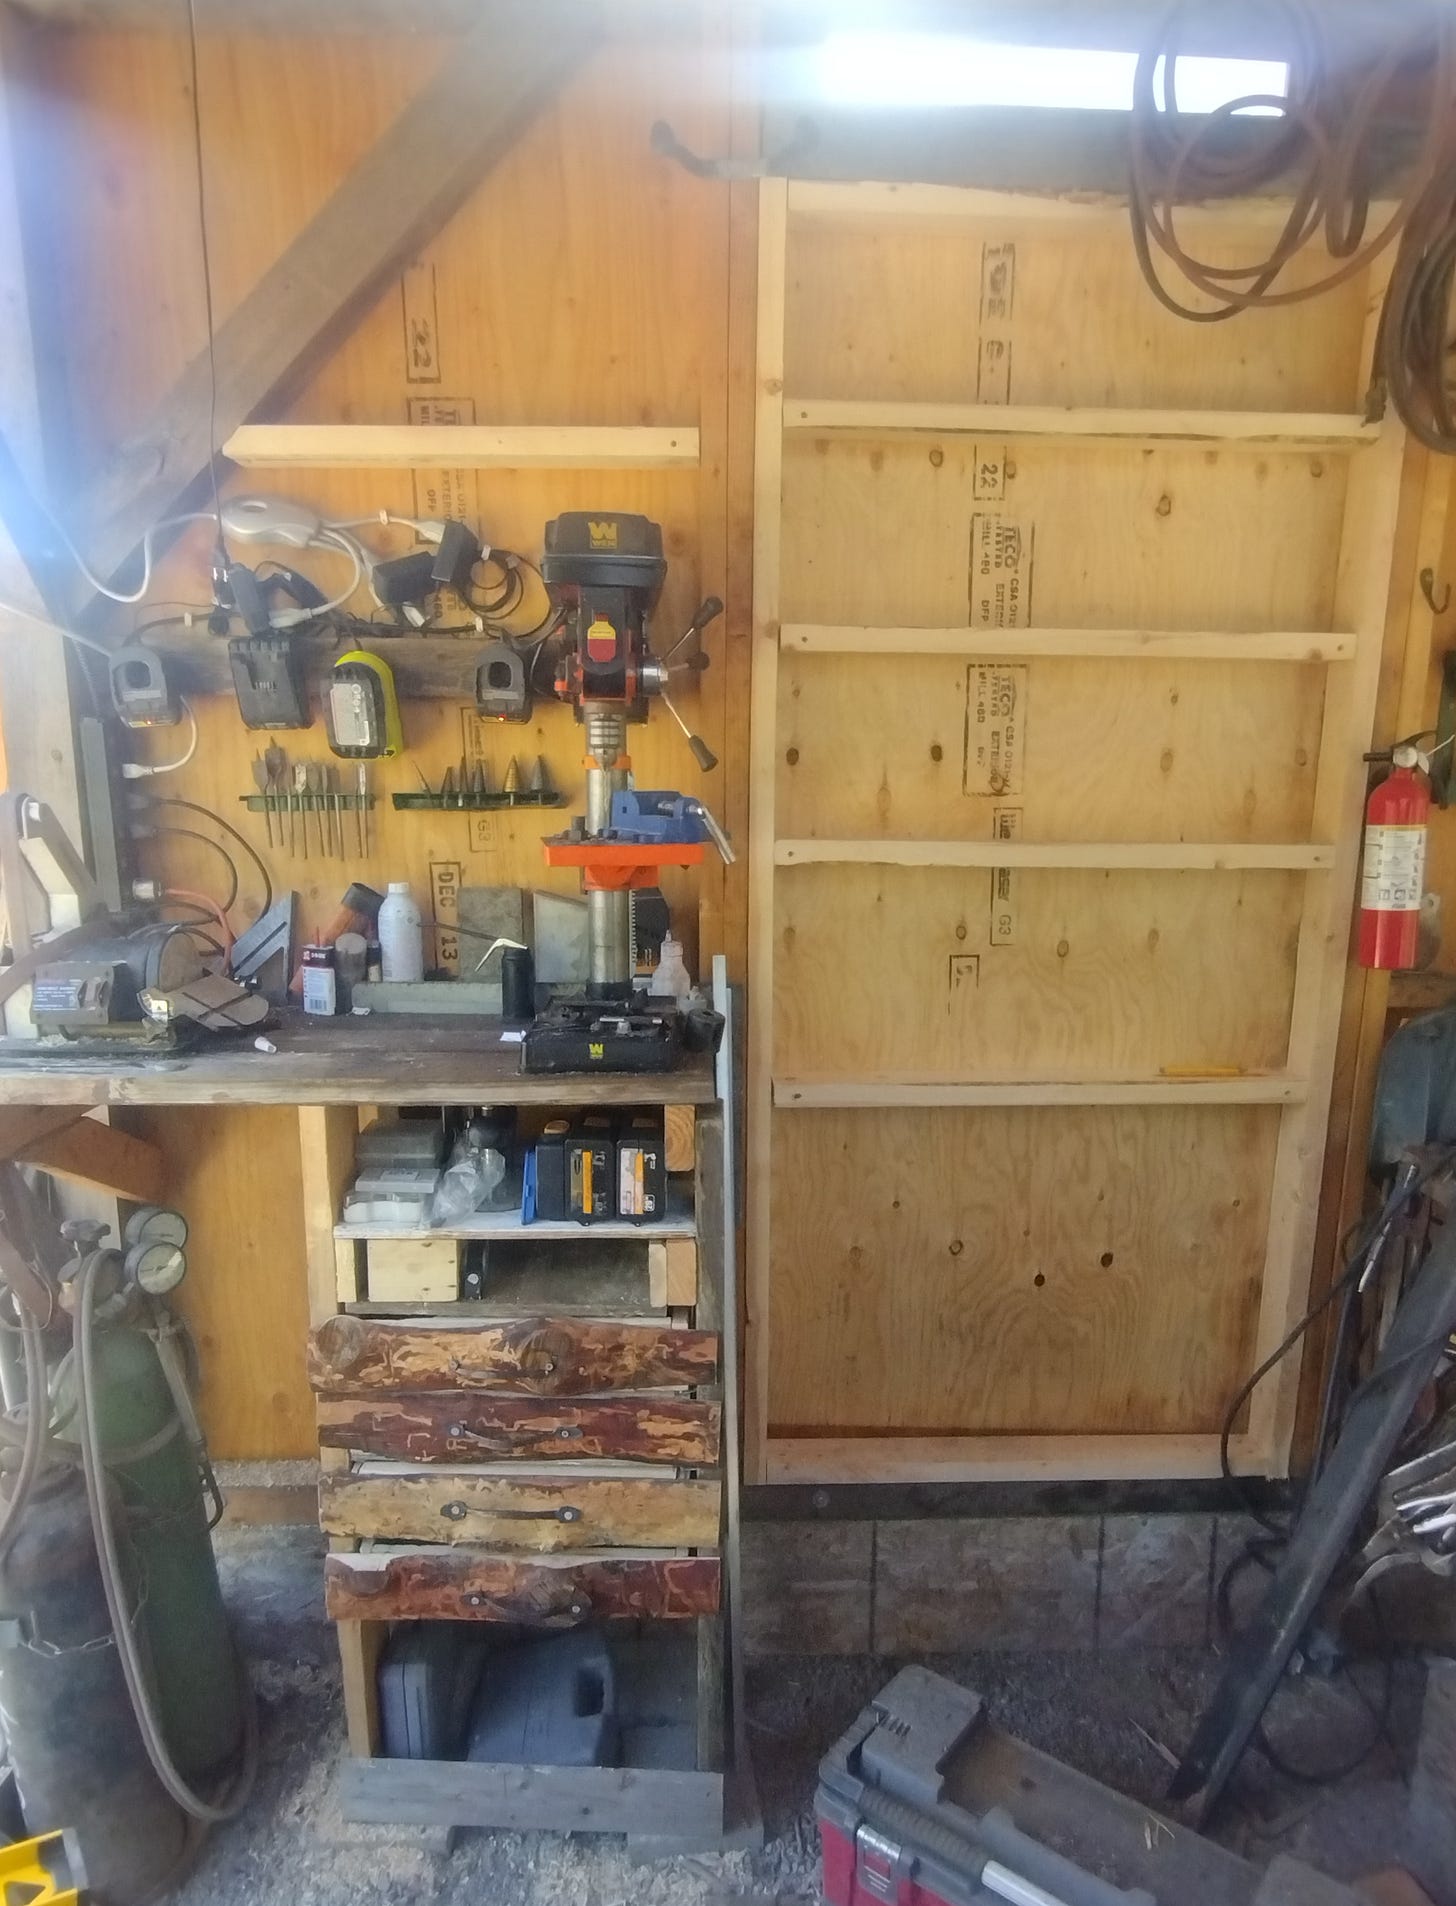
So, with a handful of 2x4s and some dunnage6 plywood purchased at the local mill, an hour later I had a new wall, with small shelves, and a drill press station with newly rerouted cables and a whole new workflow.
The Vital Stats
So, when all is said and done, what did this whole thing cost?
Well, there were five 2x4s and half a sheet of dunnage for the new wall—that comes in at about $26.
A couple dozen screws and some brad nails and glue adds another $5 or so.
Approximately $3 worth of rebar and $2 worth of propane for forging the drawer pulls.
And the rest of it? Well that was all scrap.
That brings the total cost of the build to $36 and about seven hours of work, which ain’t too bad considering I’ve now got a working drill press station, more room in my forge building, a wall filled with more shelves (which will, among other things, hold my prototypes as I start designing things I want to make over and over), and, crucially, more elbow room in the area where all the fire and banging happens.
With all that done, I may just finish a few novels this winter, after all!
If you’re looking for fresh stories, you can find my novels, short stories, visions, and dreams (along with some how-to books and literary studies) by clicking here.
When not haunting your Substack client, I write novels, literary studies, and how-to books. If you’re feeling adventurous click here to find a ridiculous number of fiction and nonfiction podcasts for which I will eventually have to accept responsibility.
This column is a big part of how I make my living—bigger now due to recent exciting events which you can read about here. Because of this, I’m offering a 20% lifetime discount off the annual subscription rate. If you’re finding these articles valuable, I’d be honored to have you join the ranks of my supporters!
Just doing my part to prevent forest fires.
“Sawyer” being the medieval English designation for “one who saws wood into lumber,” in the same way that “Smith” is the medieval English designation for “One who beats metal with a hammer” (deriving originally from “smite” meaning “to strike”).
Small scrap—mostly off-cuts from various projects—always comes in handy when fabricating.
This is called “Hügelkultur.”
Ignoring the fact that the entire reason that they are “mill ends” is because they’re too weirdly shaped to be useful.
Surplus plywood that has failed inspection due to flaws, so can’t be used in permitted residential structures—which means it’s cheap for projects like this.






Big fun. This is the stuff that I live for. I’m never as happy as when I’m building something and using up all my scraps at the same time.
My grandfather always said that the smell of fall was ozone. This Washington Post article says that that is part of it, but also has other factors. https://archive.is/SkuVI (from https://www.washingtonpost.com/weather/2018/10/19/scent-season-explaining-aromas-fall/)
It would be interesting to compare the scent-of-fall from places that have plenty of pine trees to those that do not, or places that do wet/dry season rather than summer/winter.