
Containing Typhon
Build Series #29

This is the 29th installment of my series of build projects. Catch up on the series here.
This post is positively infested with images. If your email provider truncates it, read the original at http://jdanielsawyer.substack.com.
Last time, on Unfolding the World…
A Decent Delivery
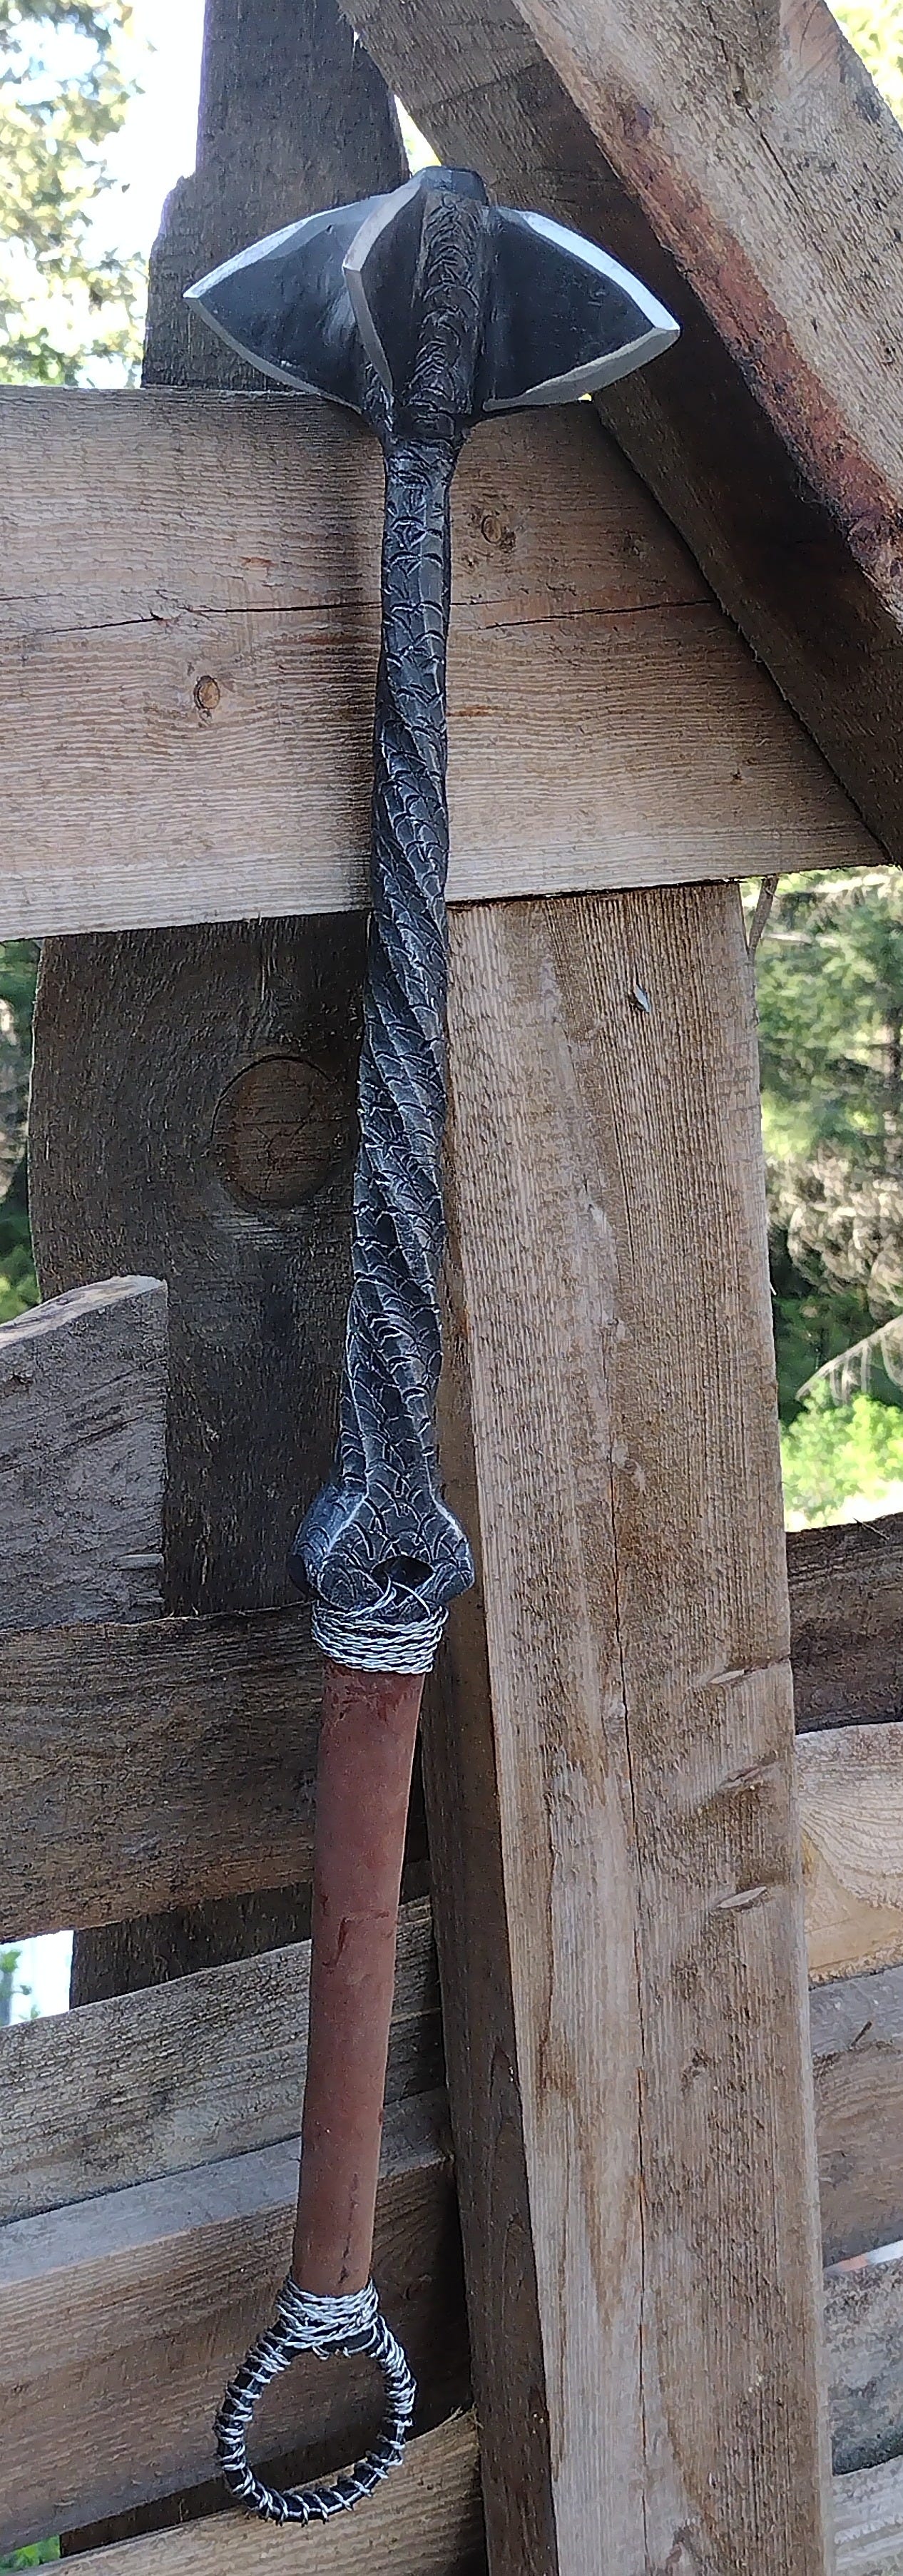
So, I had built Tyhpon the shishpar-style mace. Now I had to mail it.
Wasn’t exactly gonna fit in an envelope, or even a decent sized book box. I would, at the very least, need to wrap it up in a lot of bubble wrap and cram it into an oversized poster tube.
Unfortunately, life isn’t that easy. I’ve worked in logistics. I know what boxes go through. If I didn’t package this thing well, there was a non-trivial chance it could break through the packaging and hurt someone (or get stolen).
The more I thought about it, the less happy I was with the idea of sending this thing through the mail.
And there was something else tickling my brain, too.
After the work I put into this, and the amount of excitement the stranger who asked for it was exhibiting at the work-in-progress photos, I couldn’t bear the idea of Typhon showing up in a box. At the minimum, it needed a shipping crate filled with wood shavings to keep it safe in transit, and for a classy wine-bottle-style flourish upon arrival.
And if I was going to build a shipping crate anyway…well, then, dammit, I was going to go all the way and build a presentation box.
Design and Prep
I considered doing a wine-bottle style box—blonde wood, sliding top. Very classy.

It would be a challenge, as I haven’t yet mastered the art of miniature joinery.
But it also felt…plain. If I was going to do a box like that, I’d want to cover the box in sea monster burn-engravings, and I don’t have a laser engraver.
No, I thought. A sea monster needs something from the sea to live in. Something that looks like…I don’t know…a treasure chest made of driftwood.
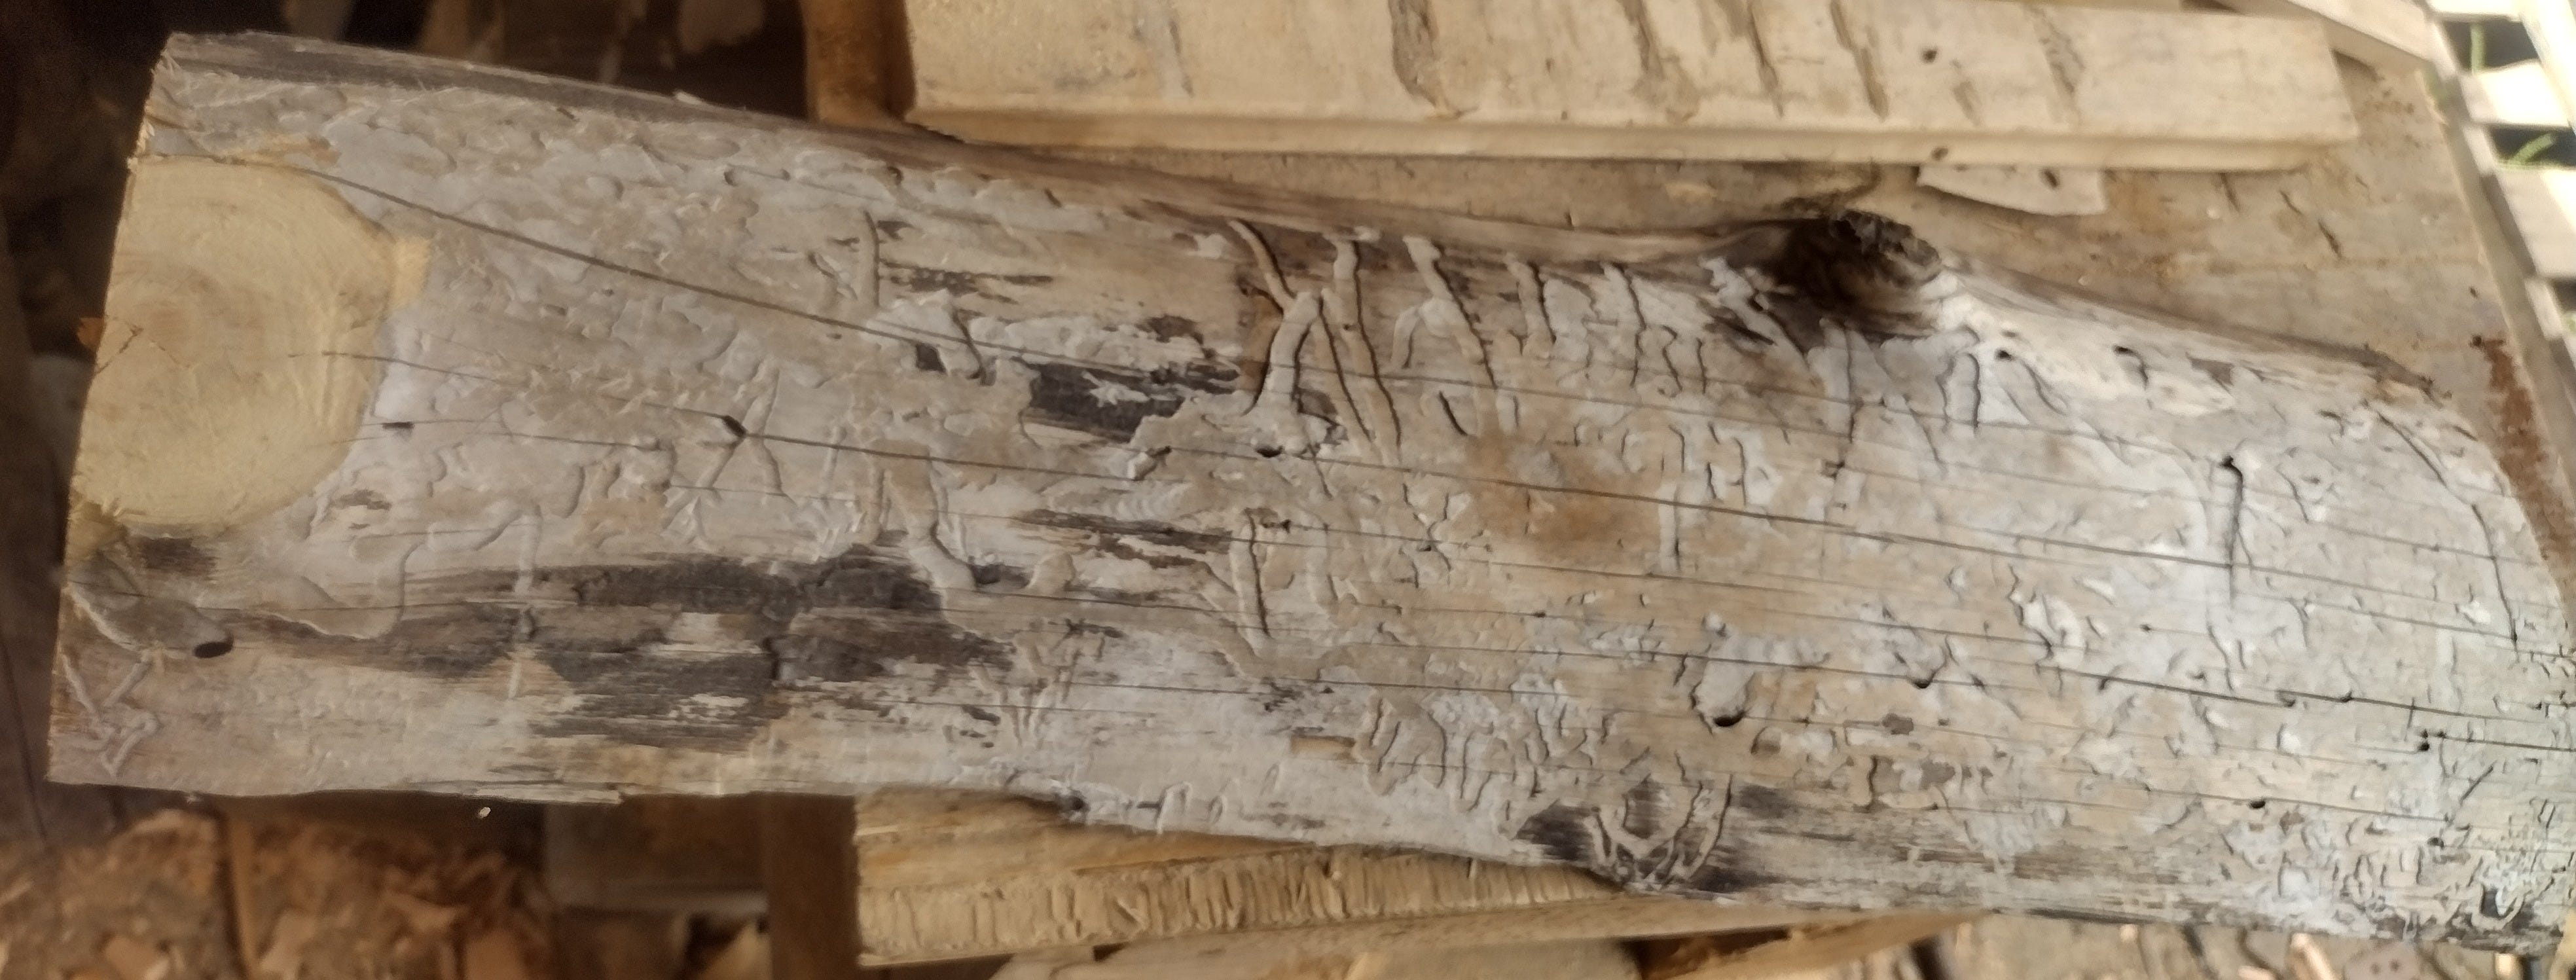
So I went to the old lumber pile. This is where I put all the wood that’s been out in the weather for more than a couple years. With that amount of weathering, the wood begins to change character—it rots a bit, but it’s still strong, which makes is useful for certain aesthetic applications.
After a little digging I found a half-rotted 3 foot half-round.
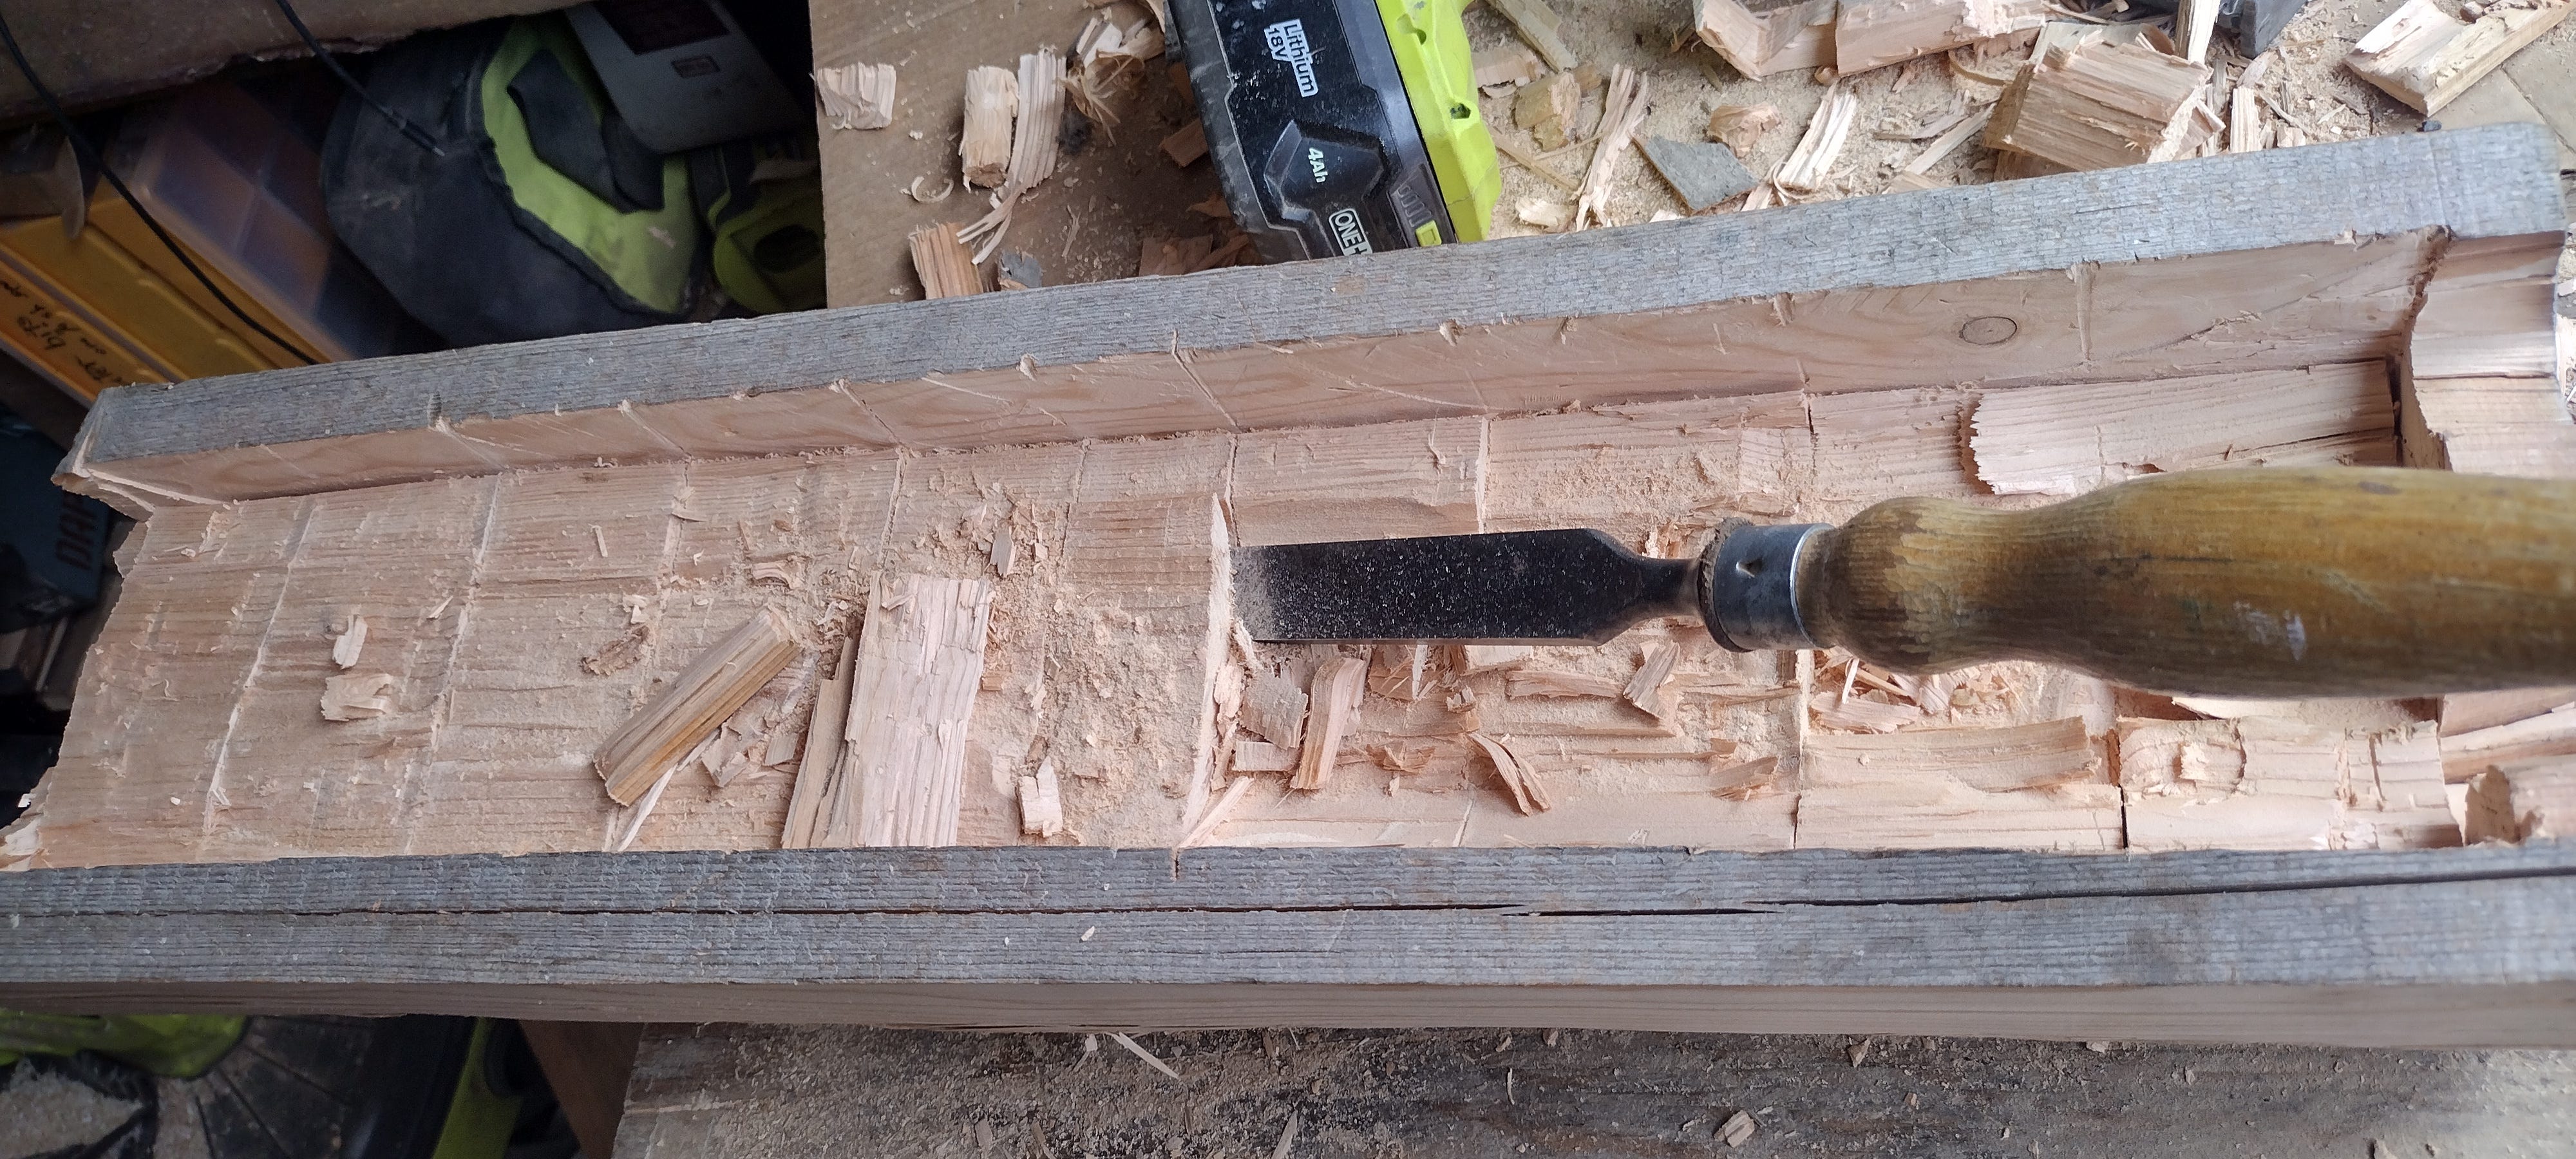
Carving The Boat
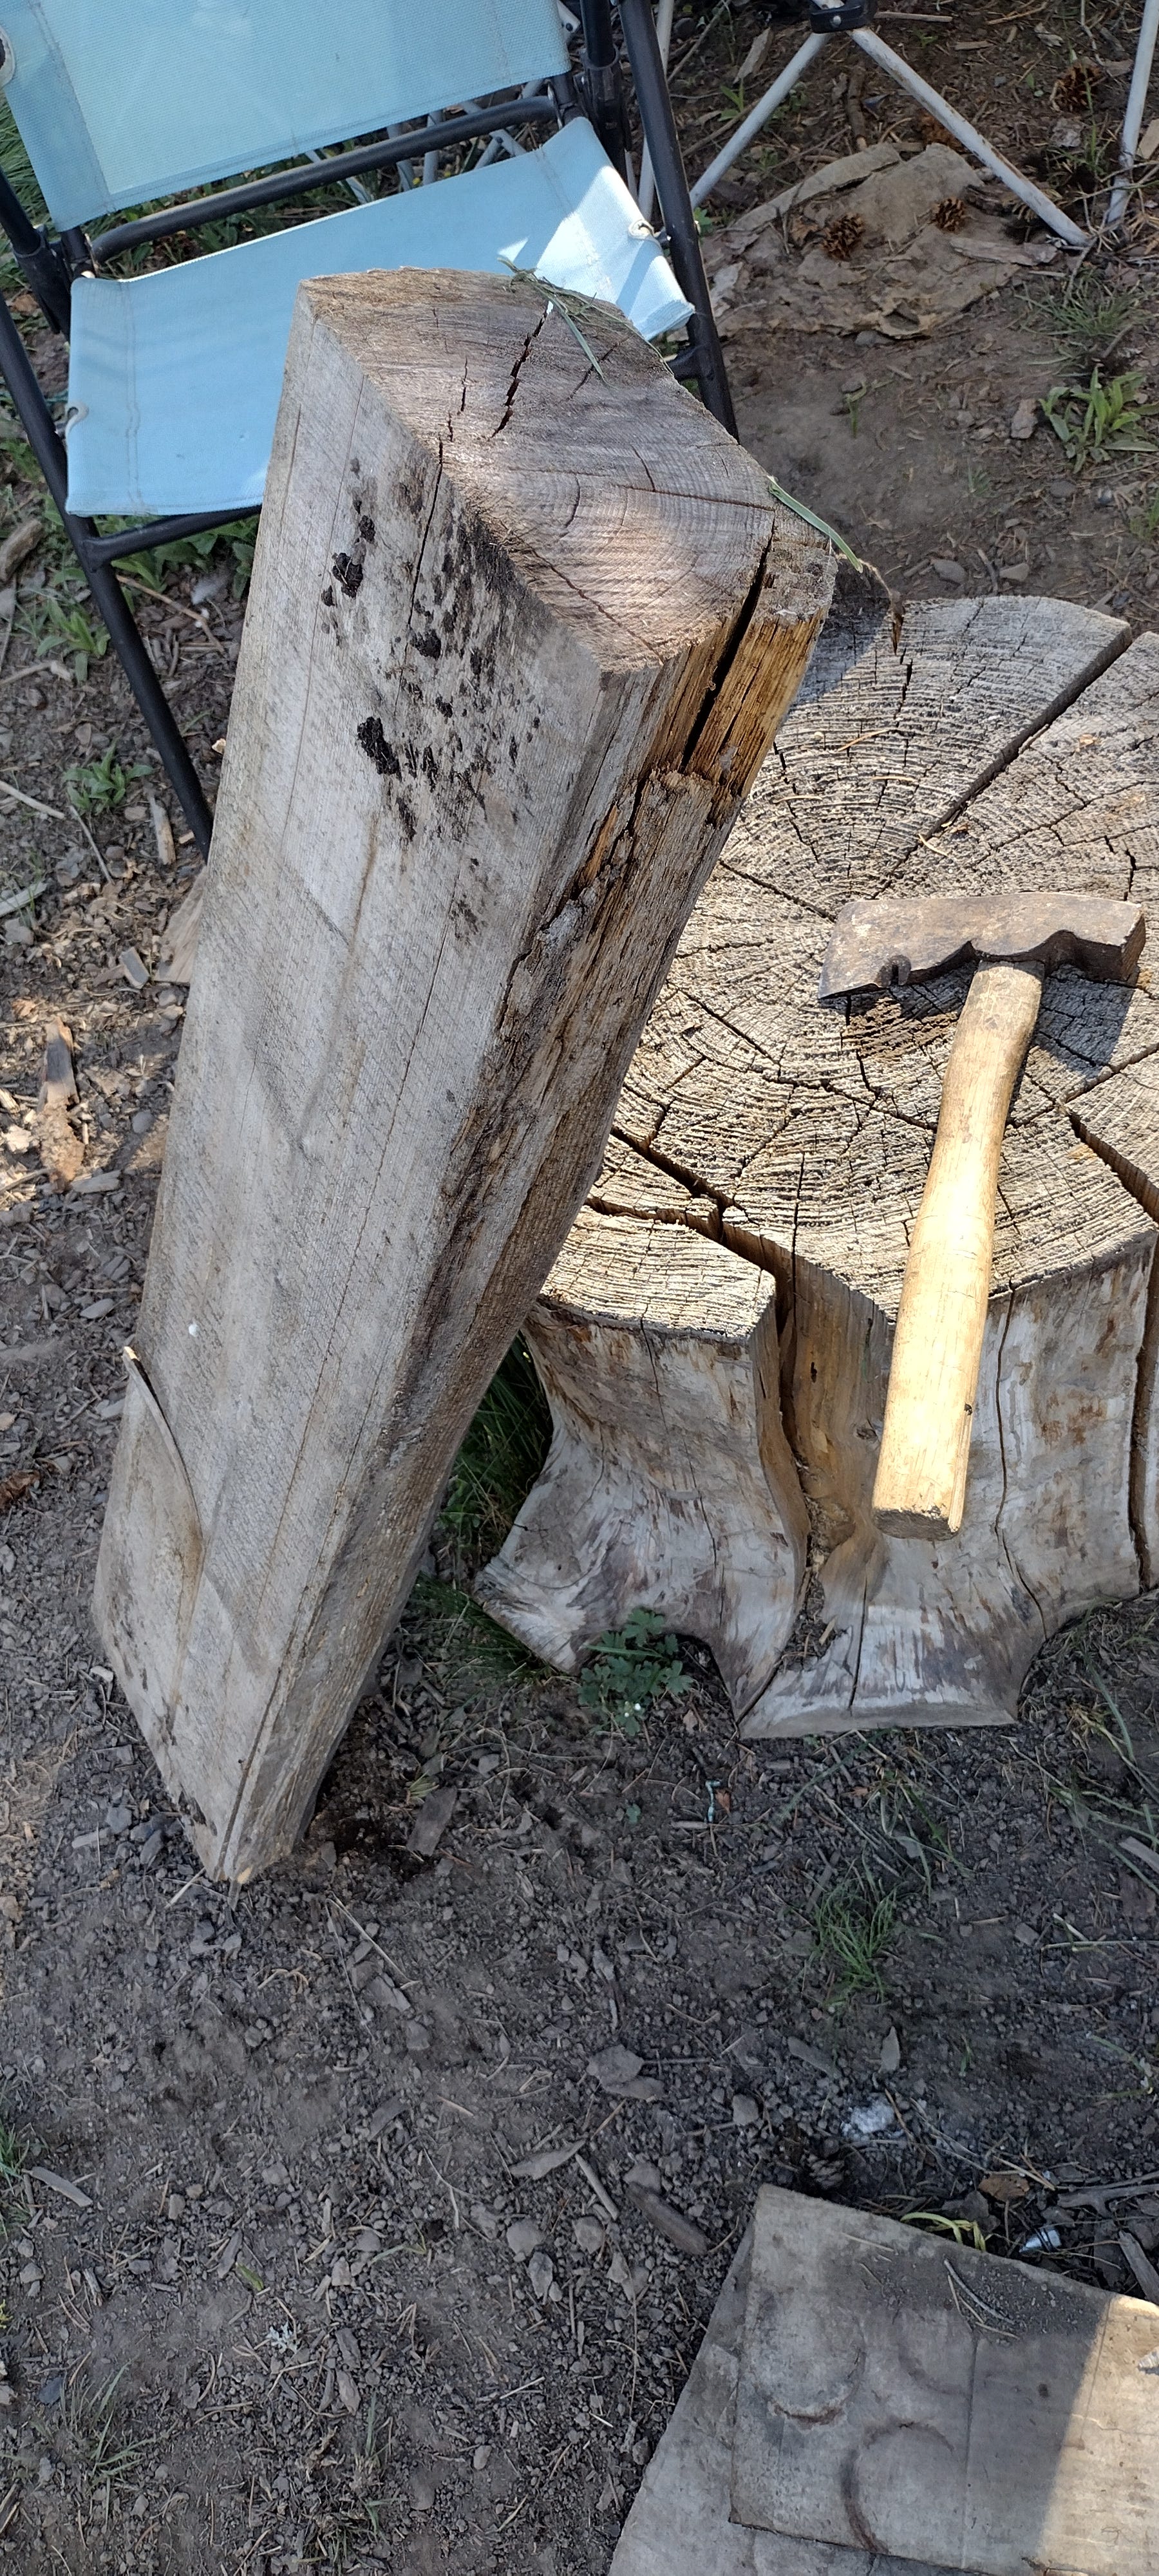
I used a hatchet to knock off all the loose rot, then took it into the shop to chisel off the more stubborn rot.
When I had it down to good, solid wood I measured it against Typhon and cut it to length.
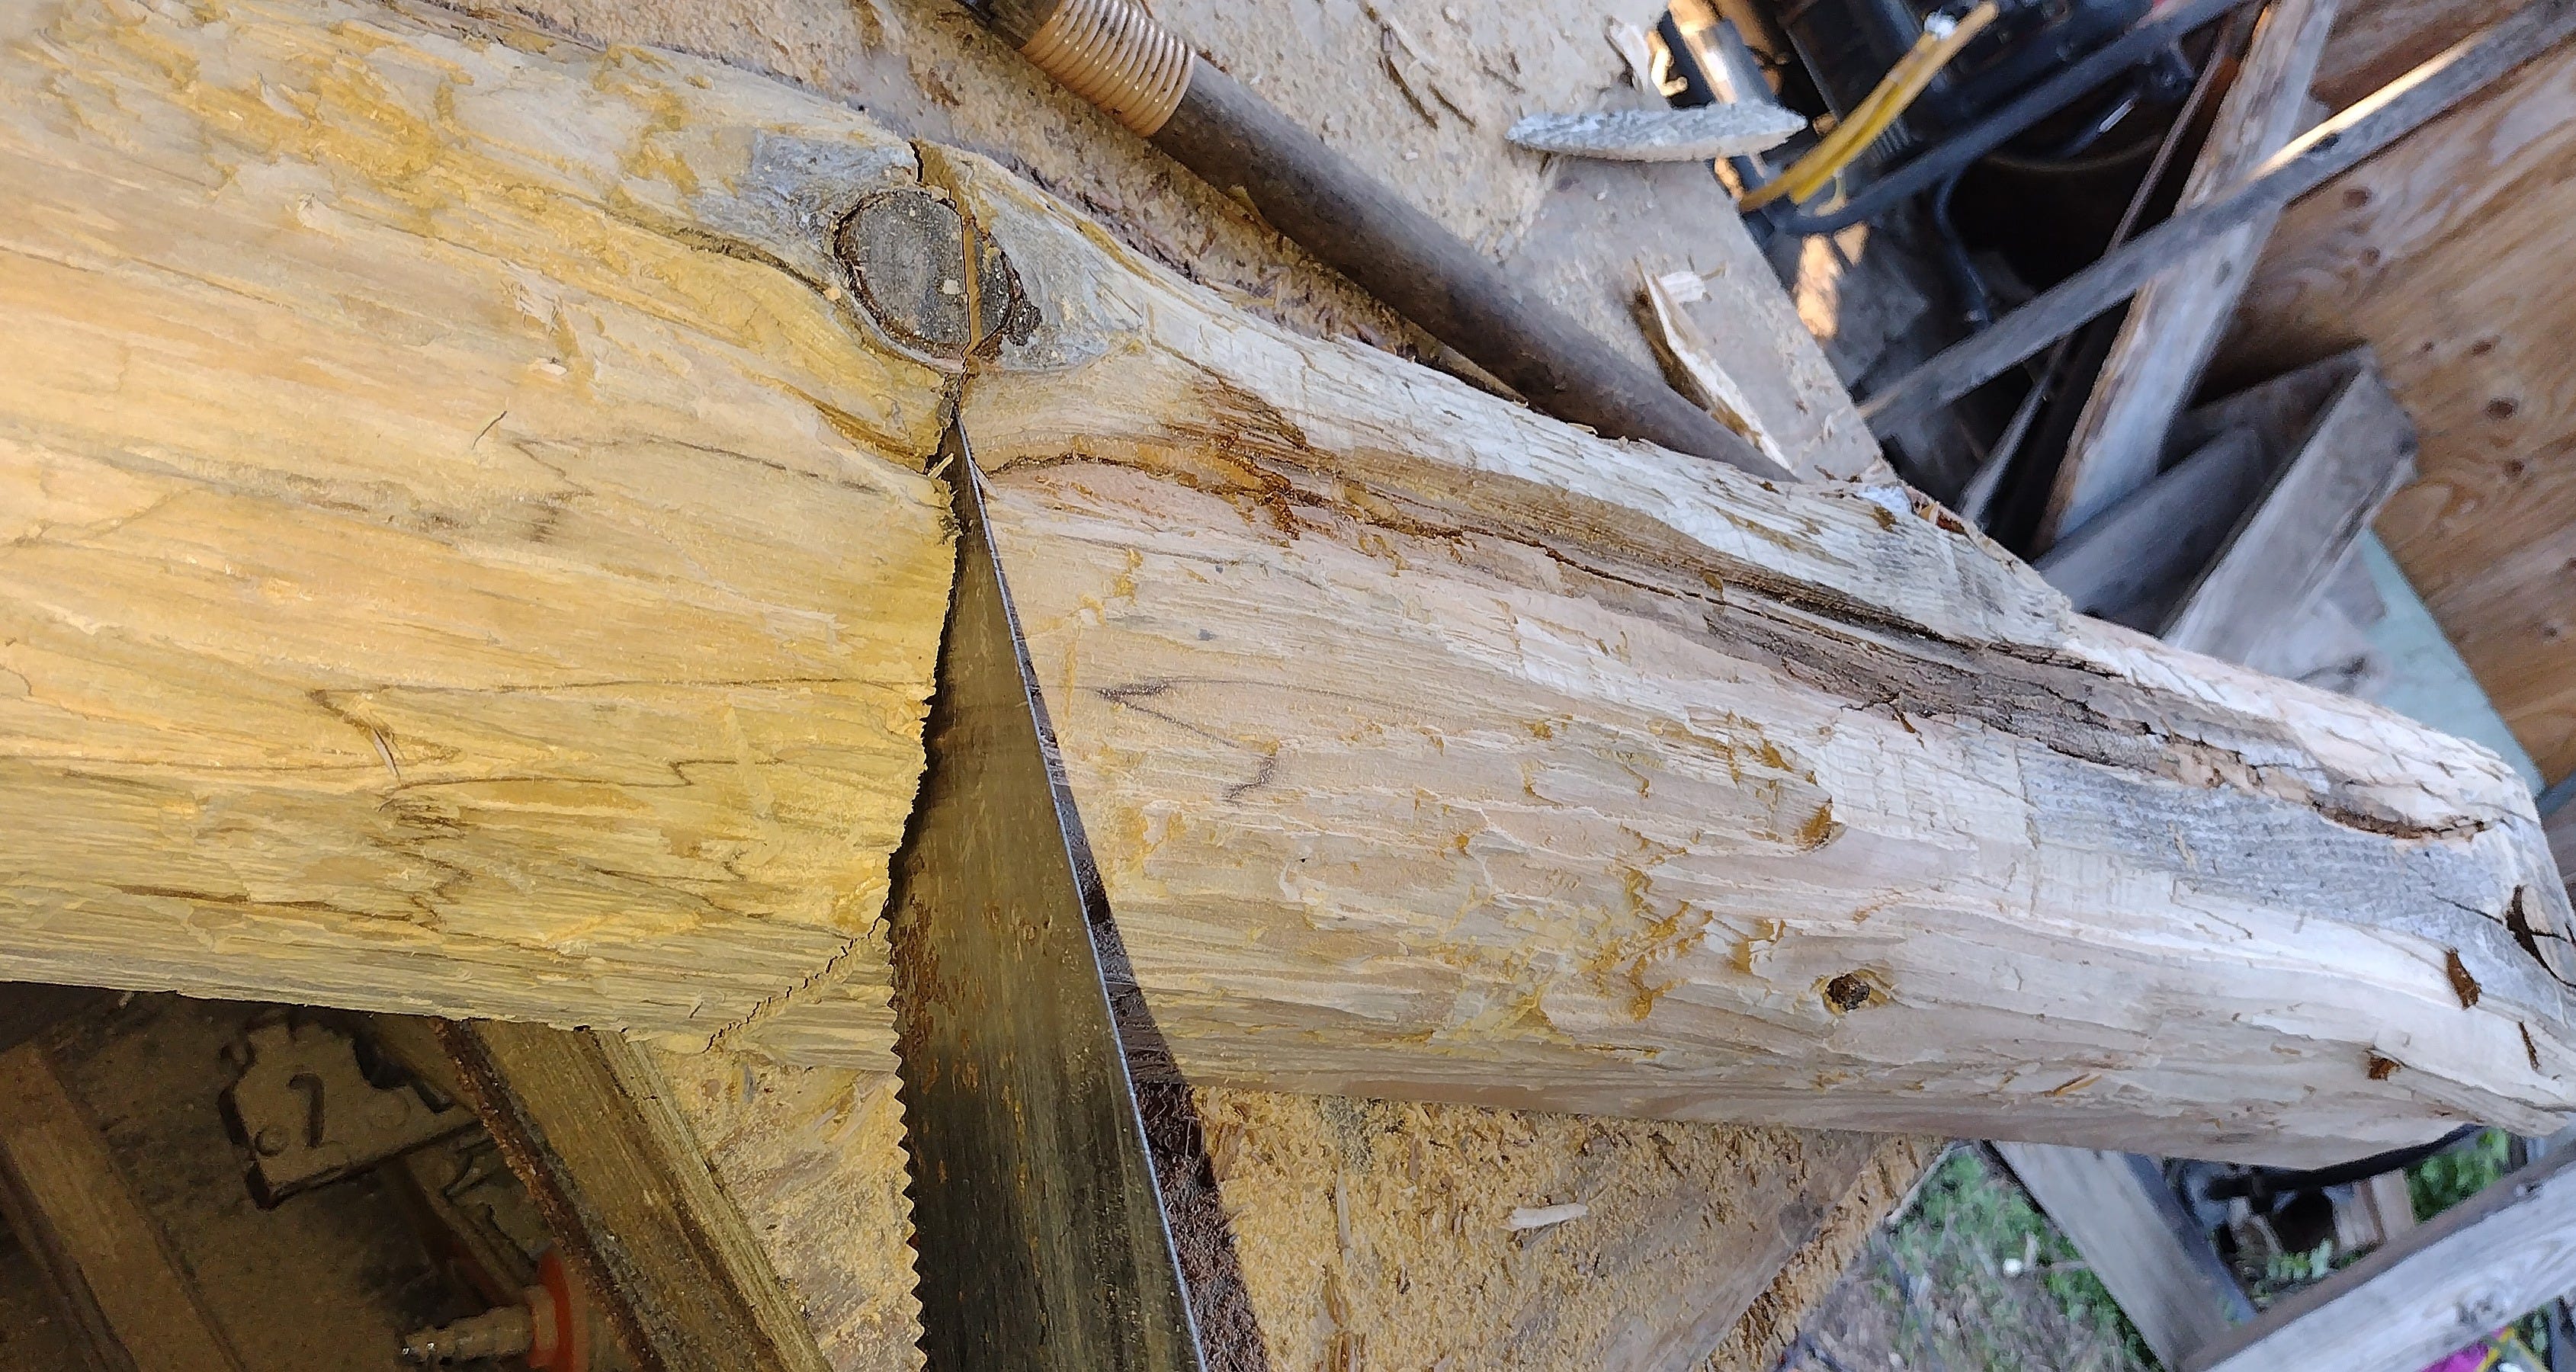
Then I flipped it over and marked out where I wanted the sides to be.
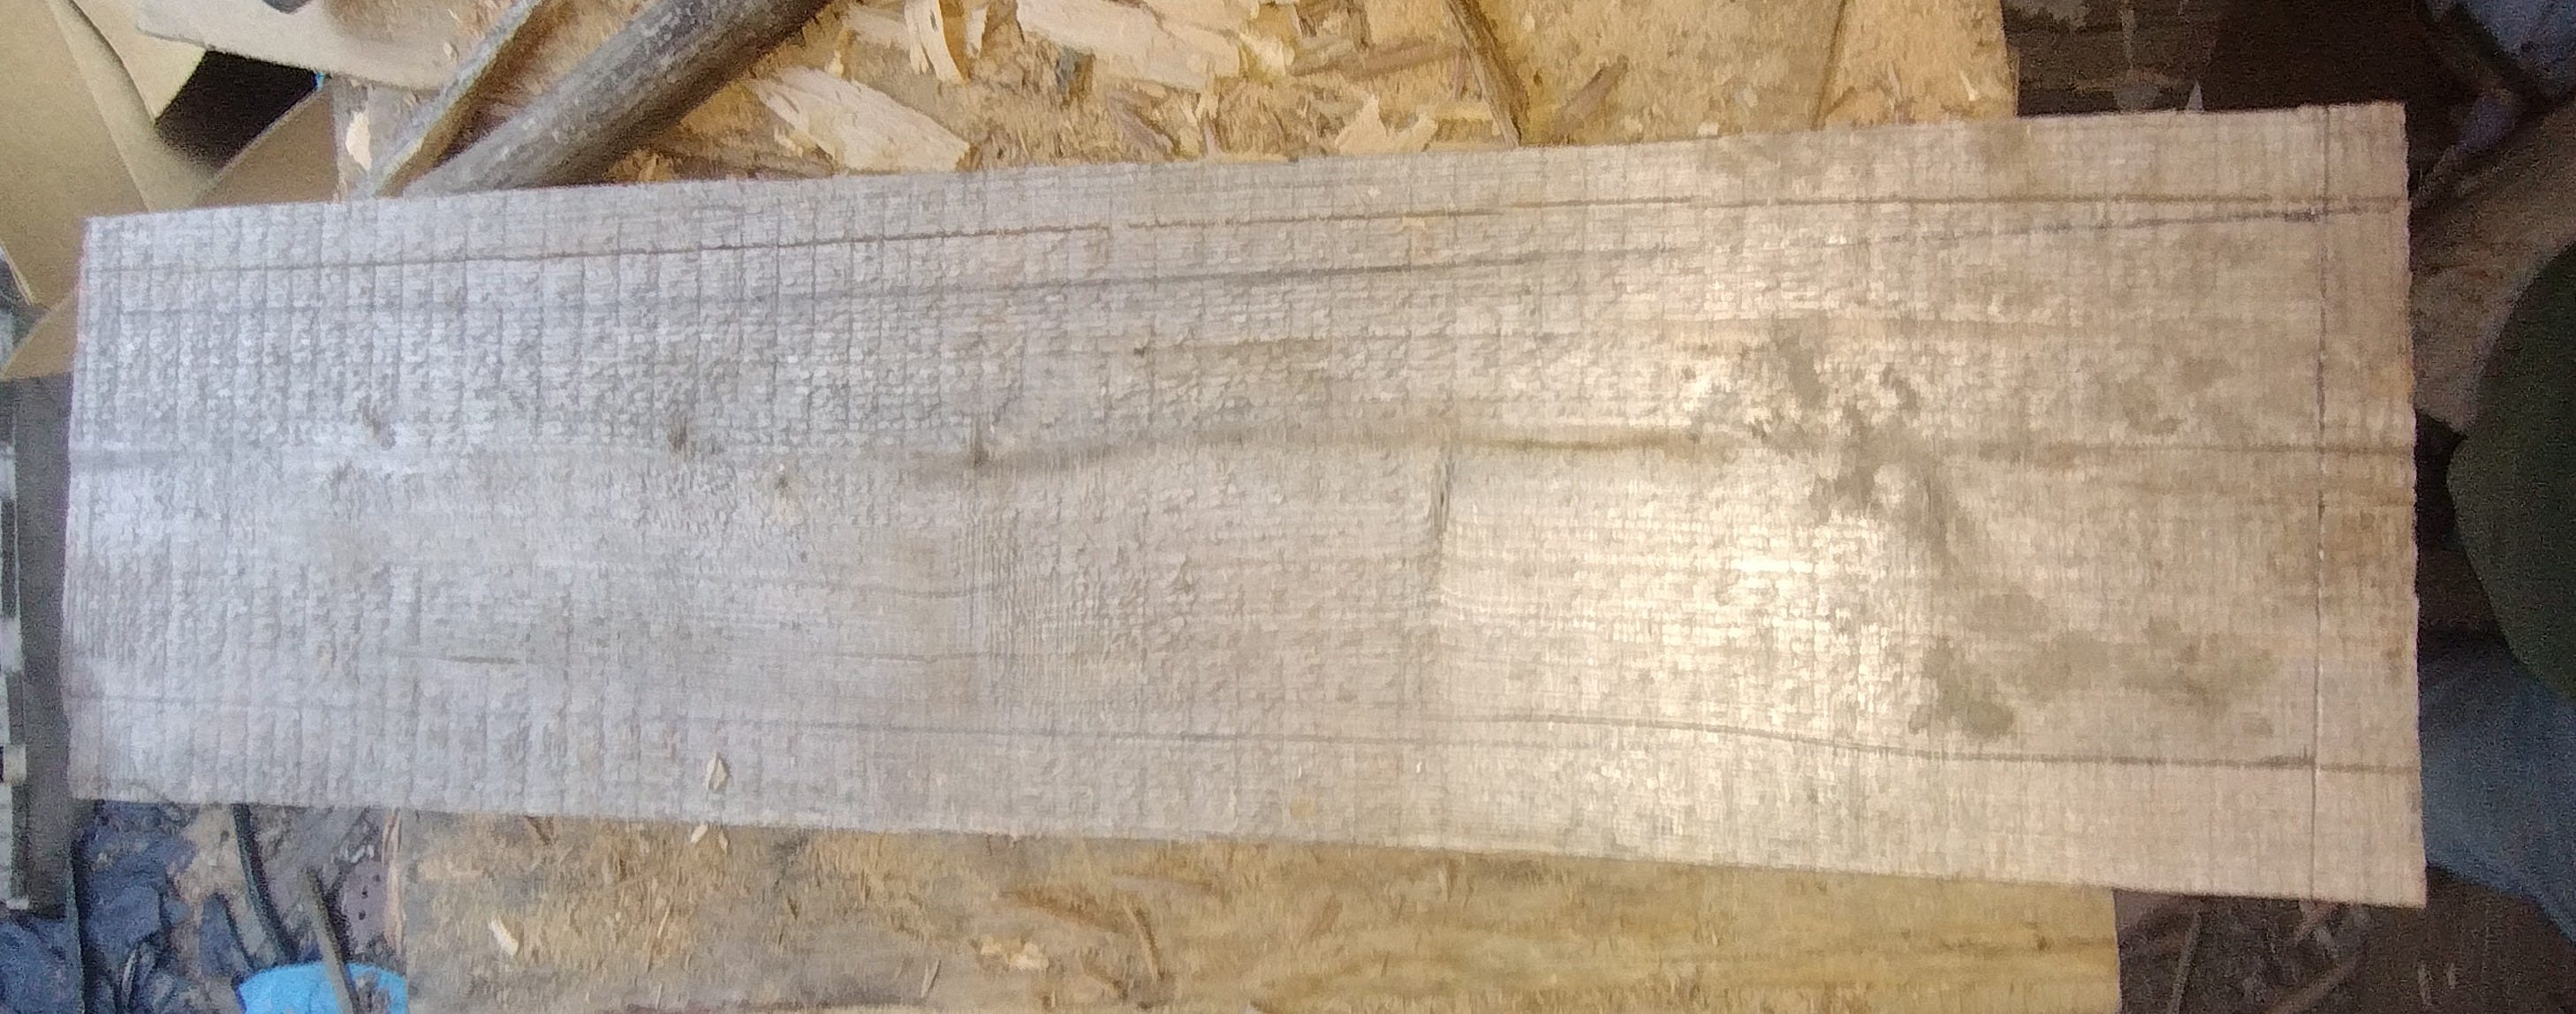
Typhon may be a Greek monster, but for this presentation box I would be borrowing a page from the ancient Polynesians. This box would be a dug-out canoe.
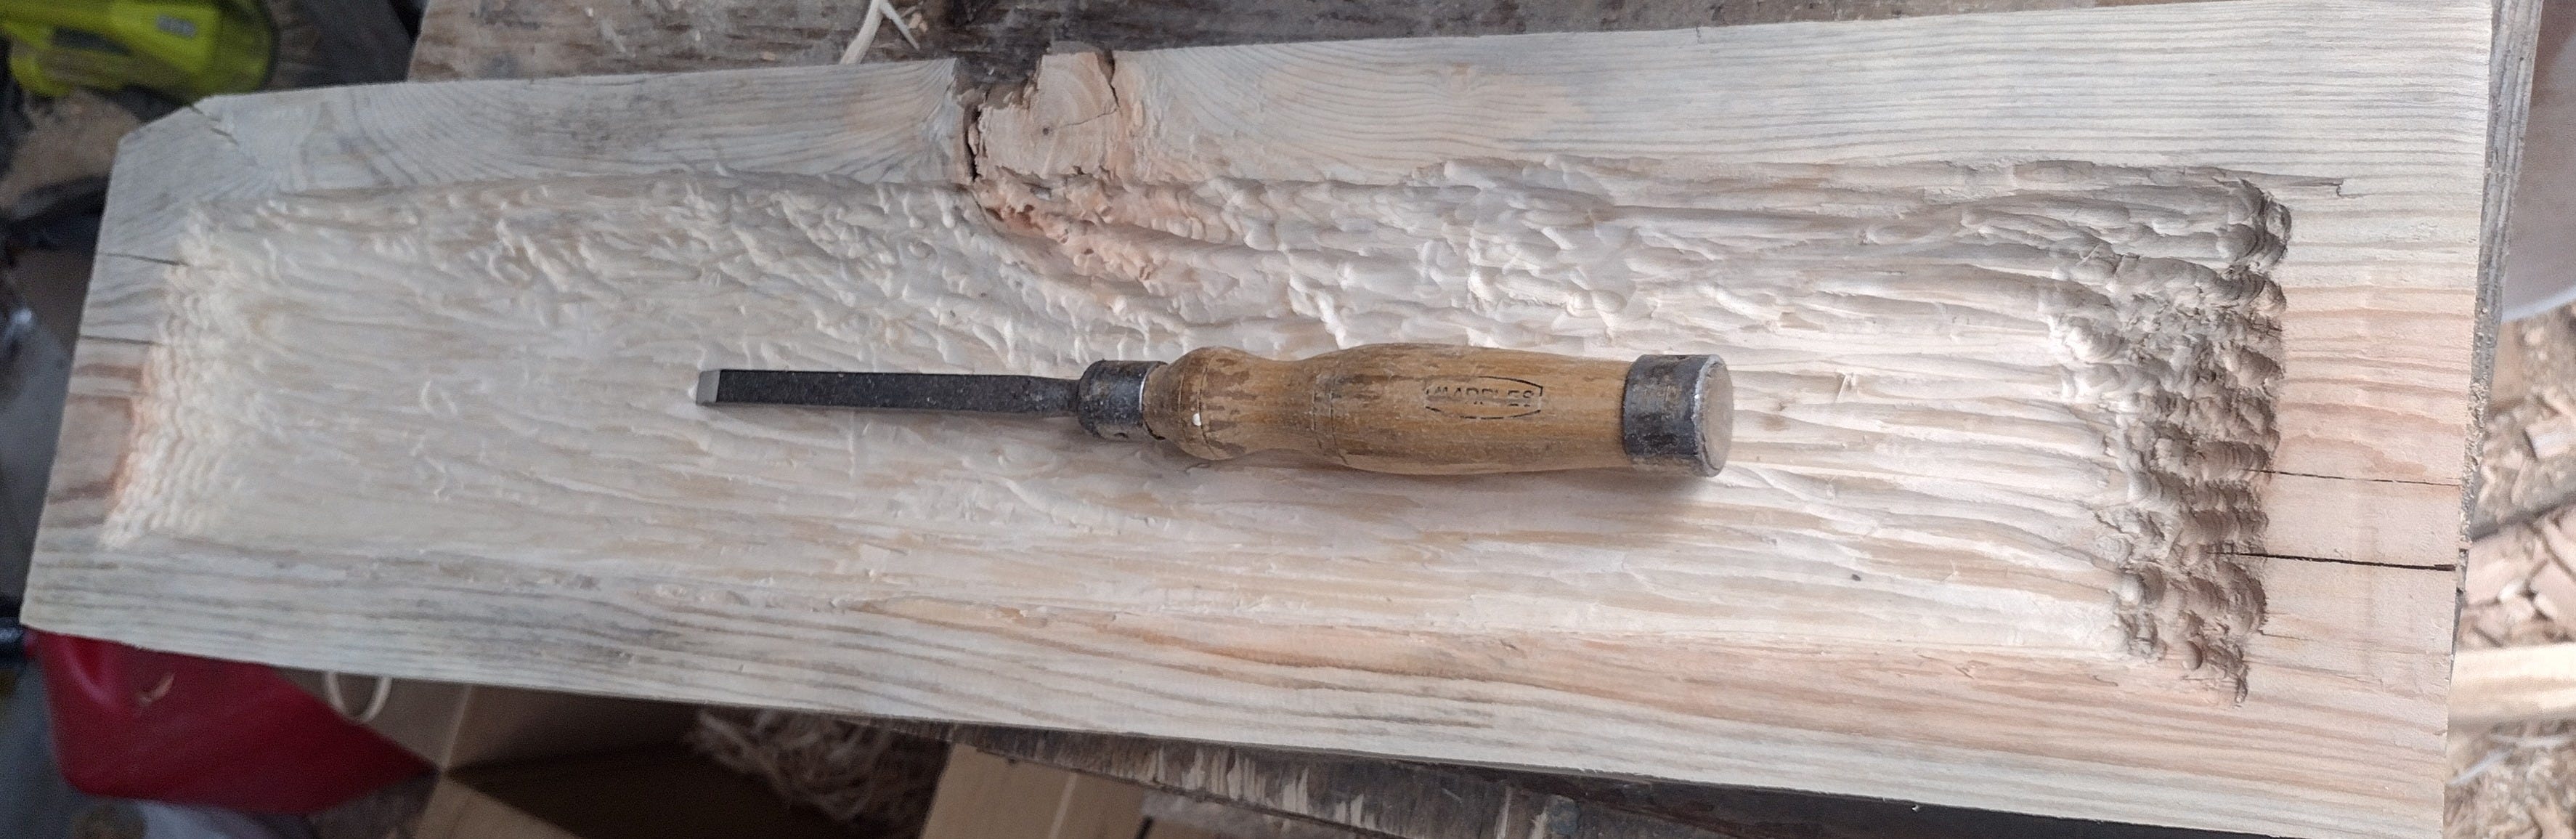
So, using a gouge and a chisel, I started digging.
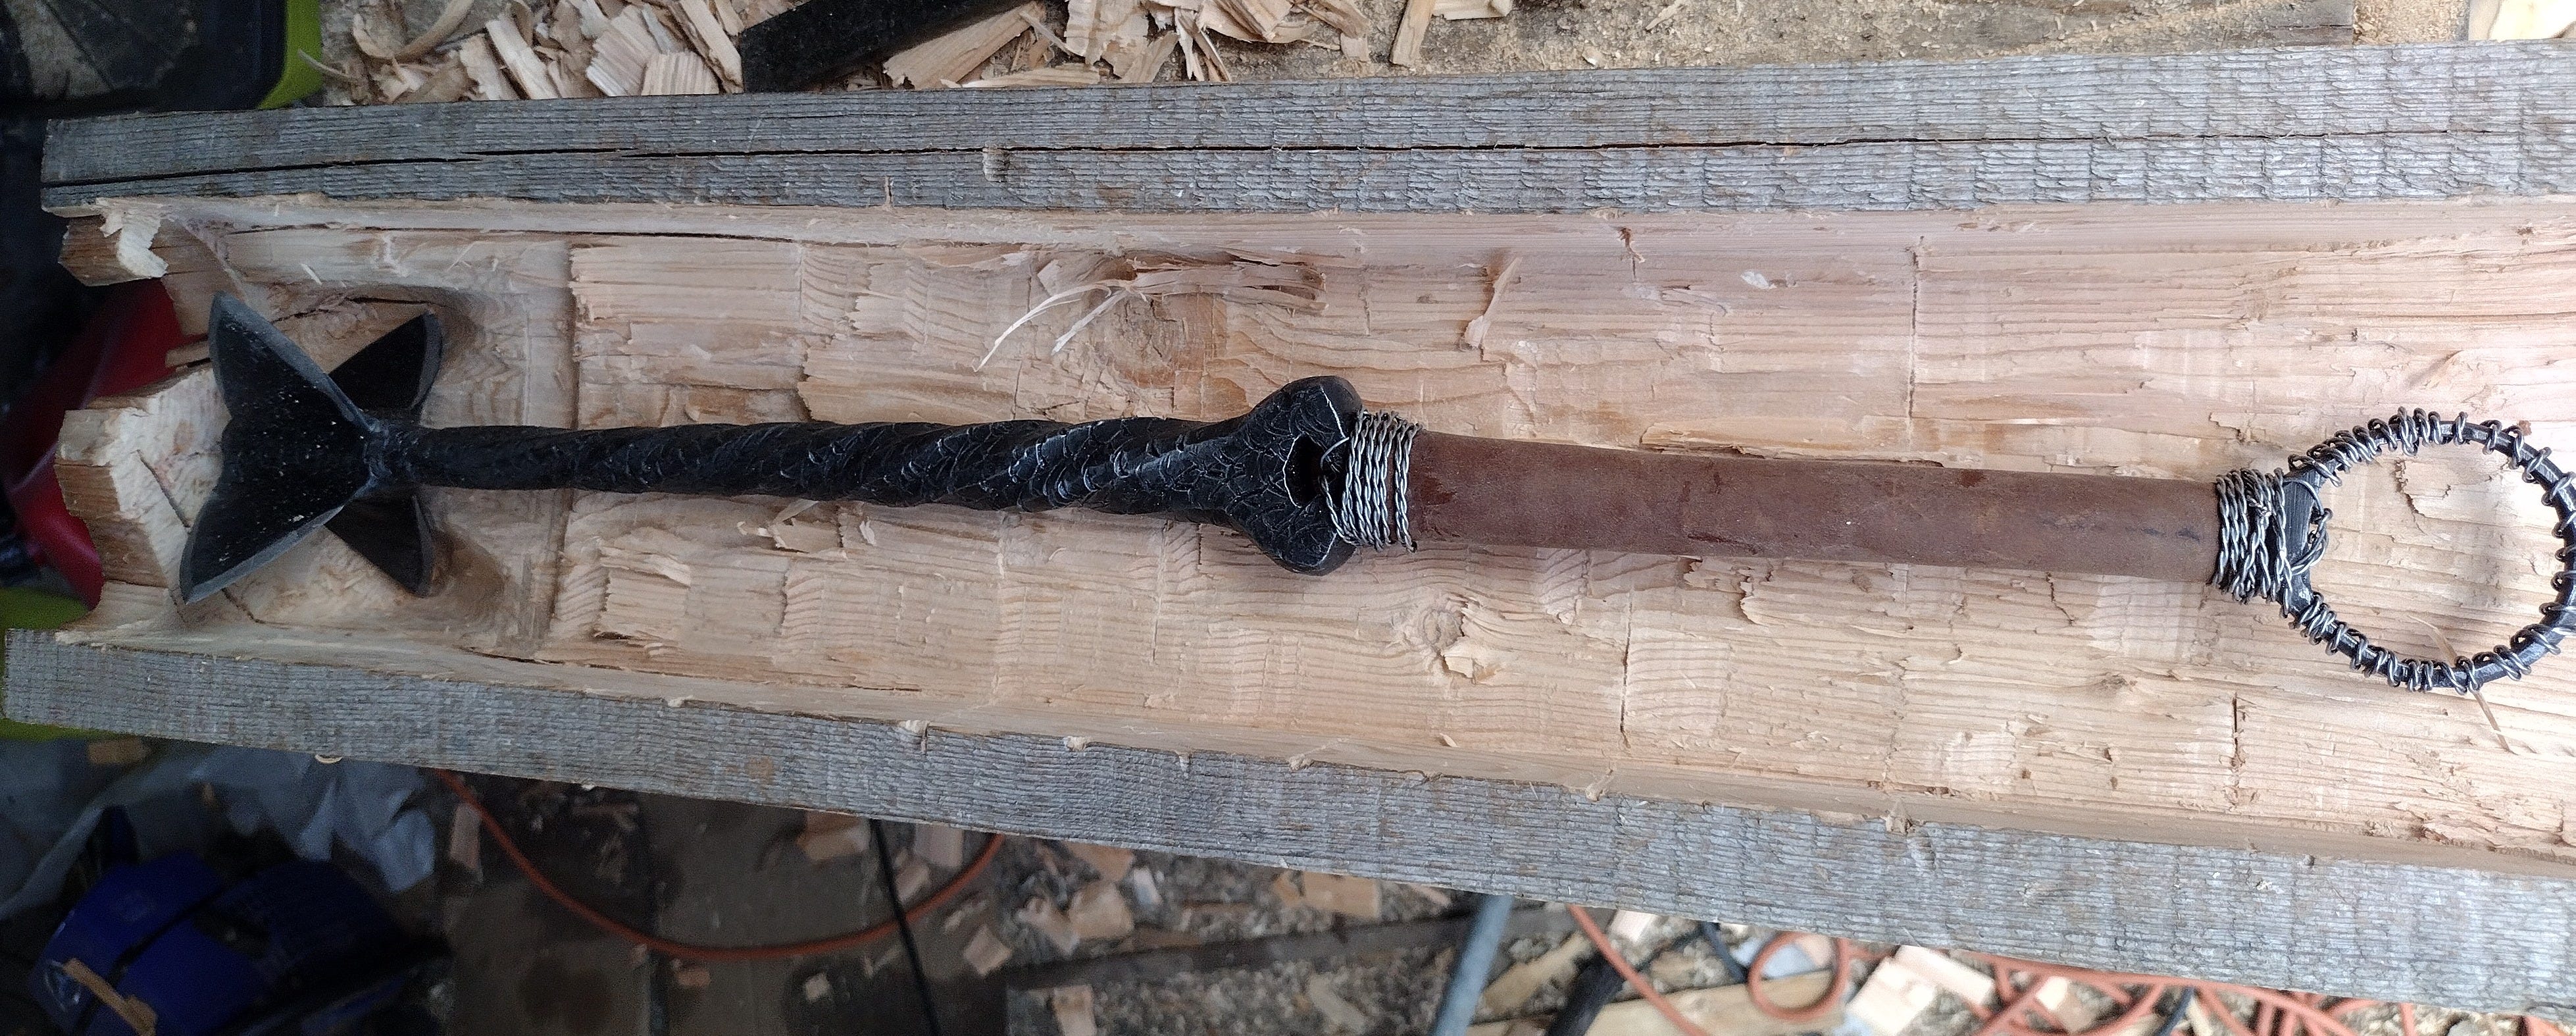
I verified the correct depth with a test-fit.
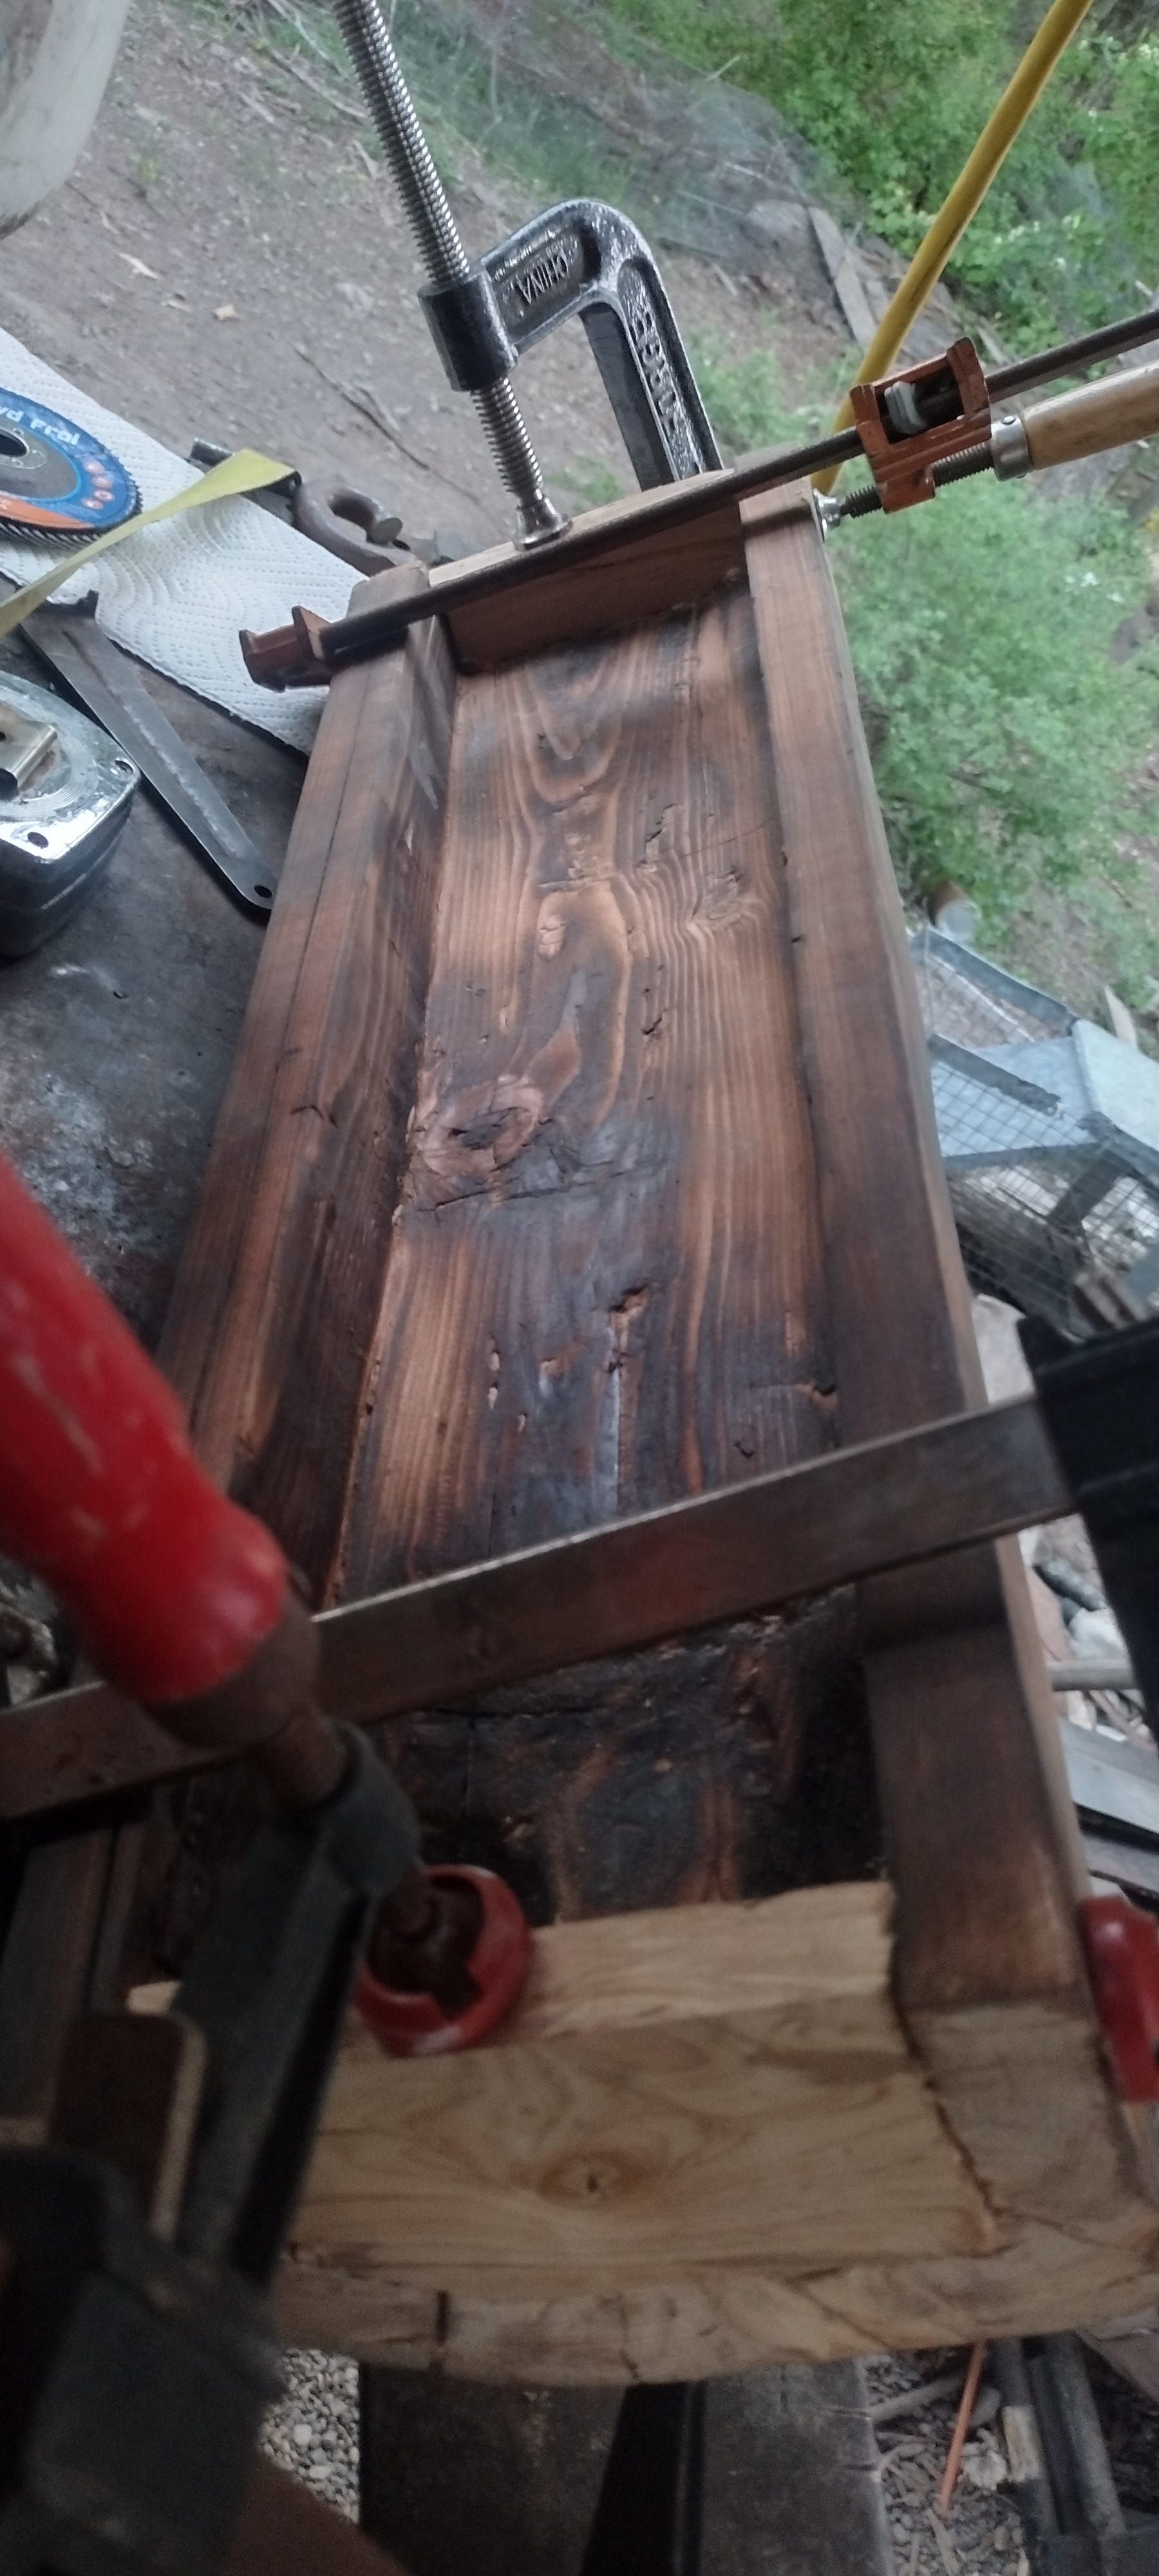
Now, to make it pretty. After a bit of sanding to get all the burrs and saw marks off, I took a blowtorch to the piece to scorch it up nicely, and then gave it a bath in several coats of tung oil to bring out the color.
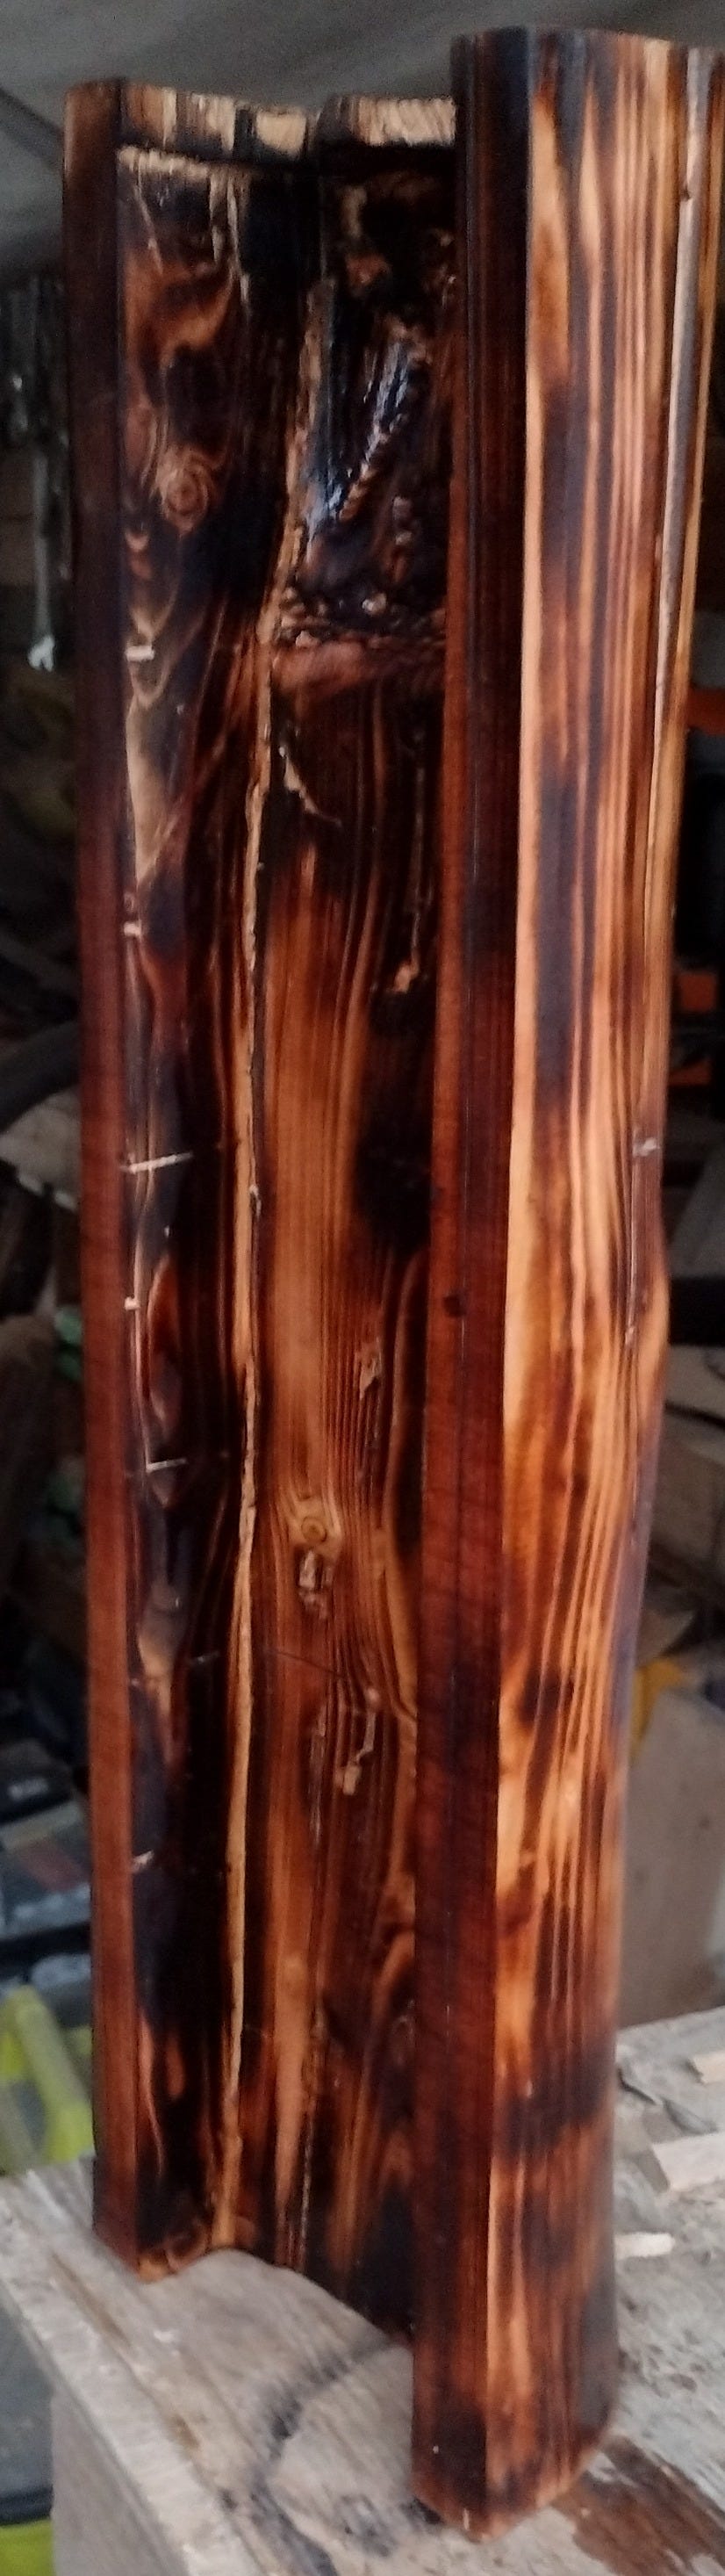
So that’s my canoe.
Well, almost. It needed ends.
I had originally intended just to dig out the canoe, leaving in the original ends, but end-grain wood is very brittle indeed. A few slips of the chisel knocked out the material—better it happen in my shop than in shipping, right?
So now I needed to make new ends for this box.
An off-cut from a board off the same tree, sanded and planed, gave me some suitable wood. I found a piece with some good knots in the so they’d look a little more like they naturally belonged on the end of the boat. I lined the plank up with the end of the boat and traced the outline of the missing wood, then I used the multi-tool (basically an electric chisel) to cut out the piece. Then I repeated this process for the other end of the box.
Now: glue and clamps.
While that dried, I moved on to the lid.
After all, every good treasure chest needs a lid, right?
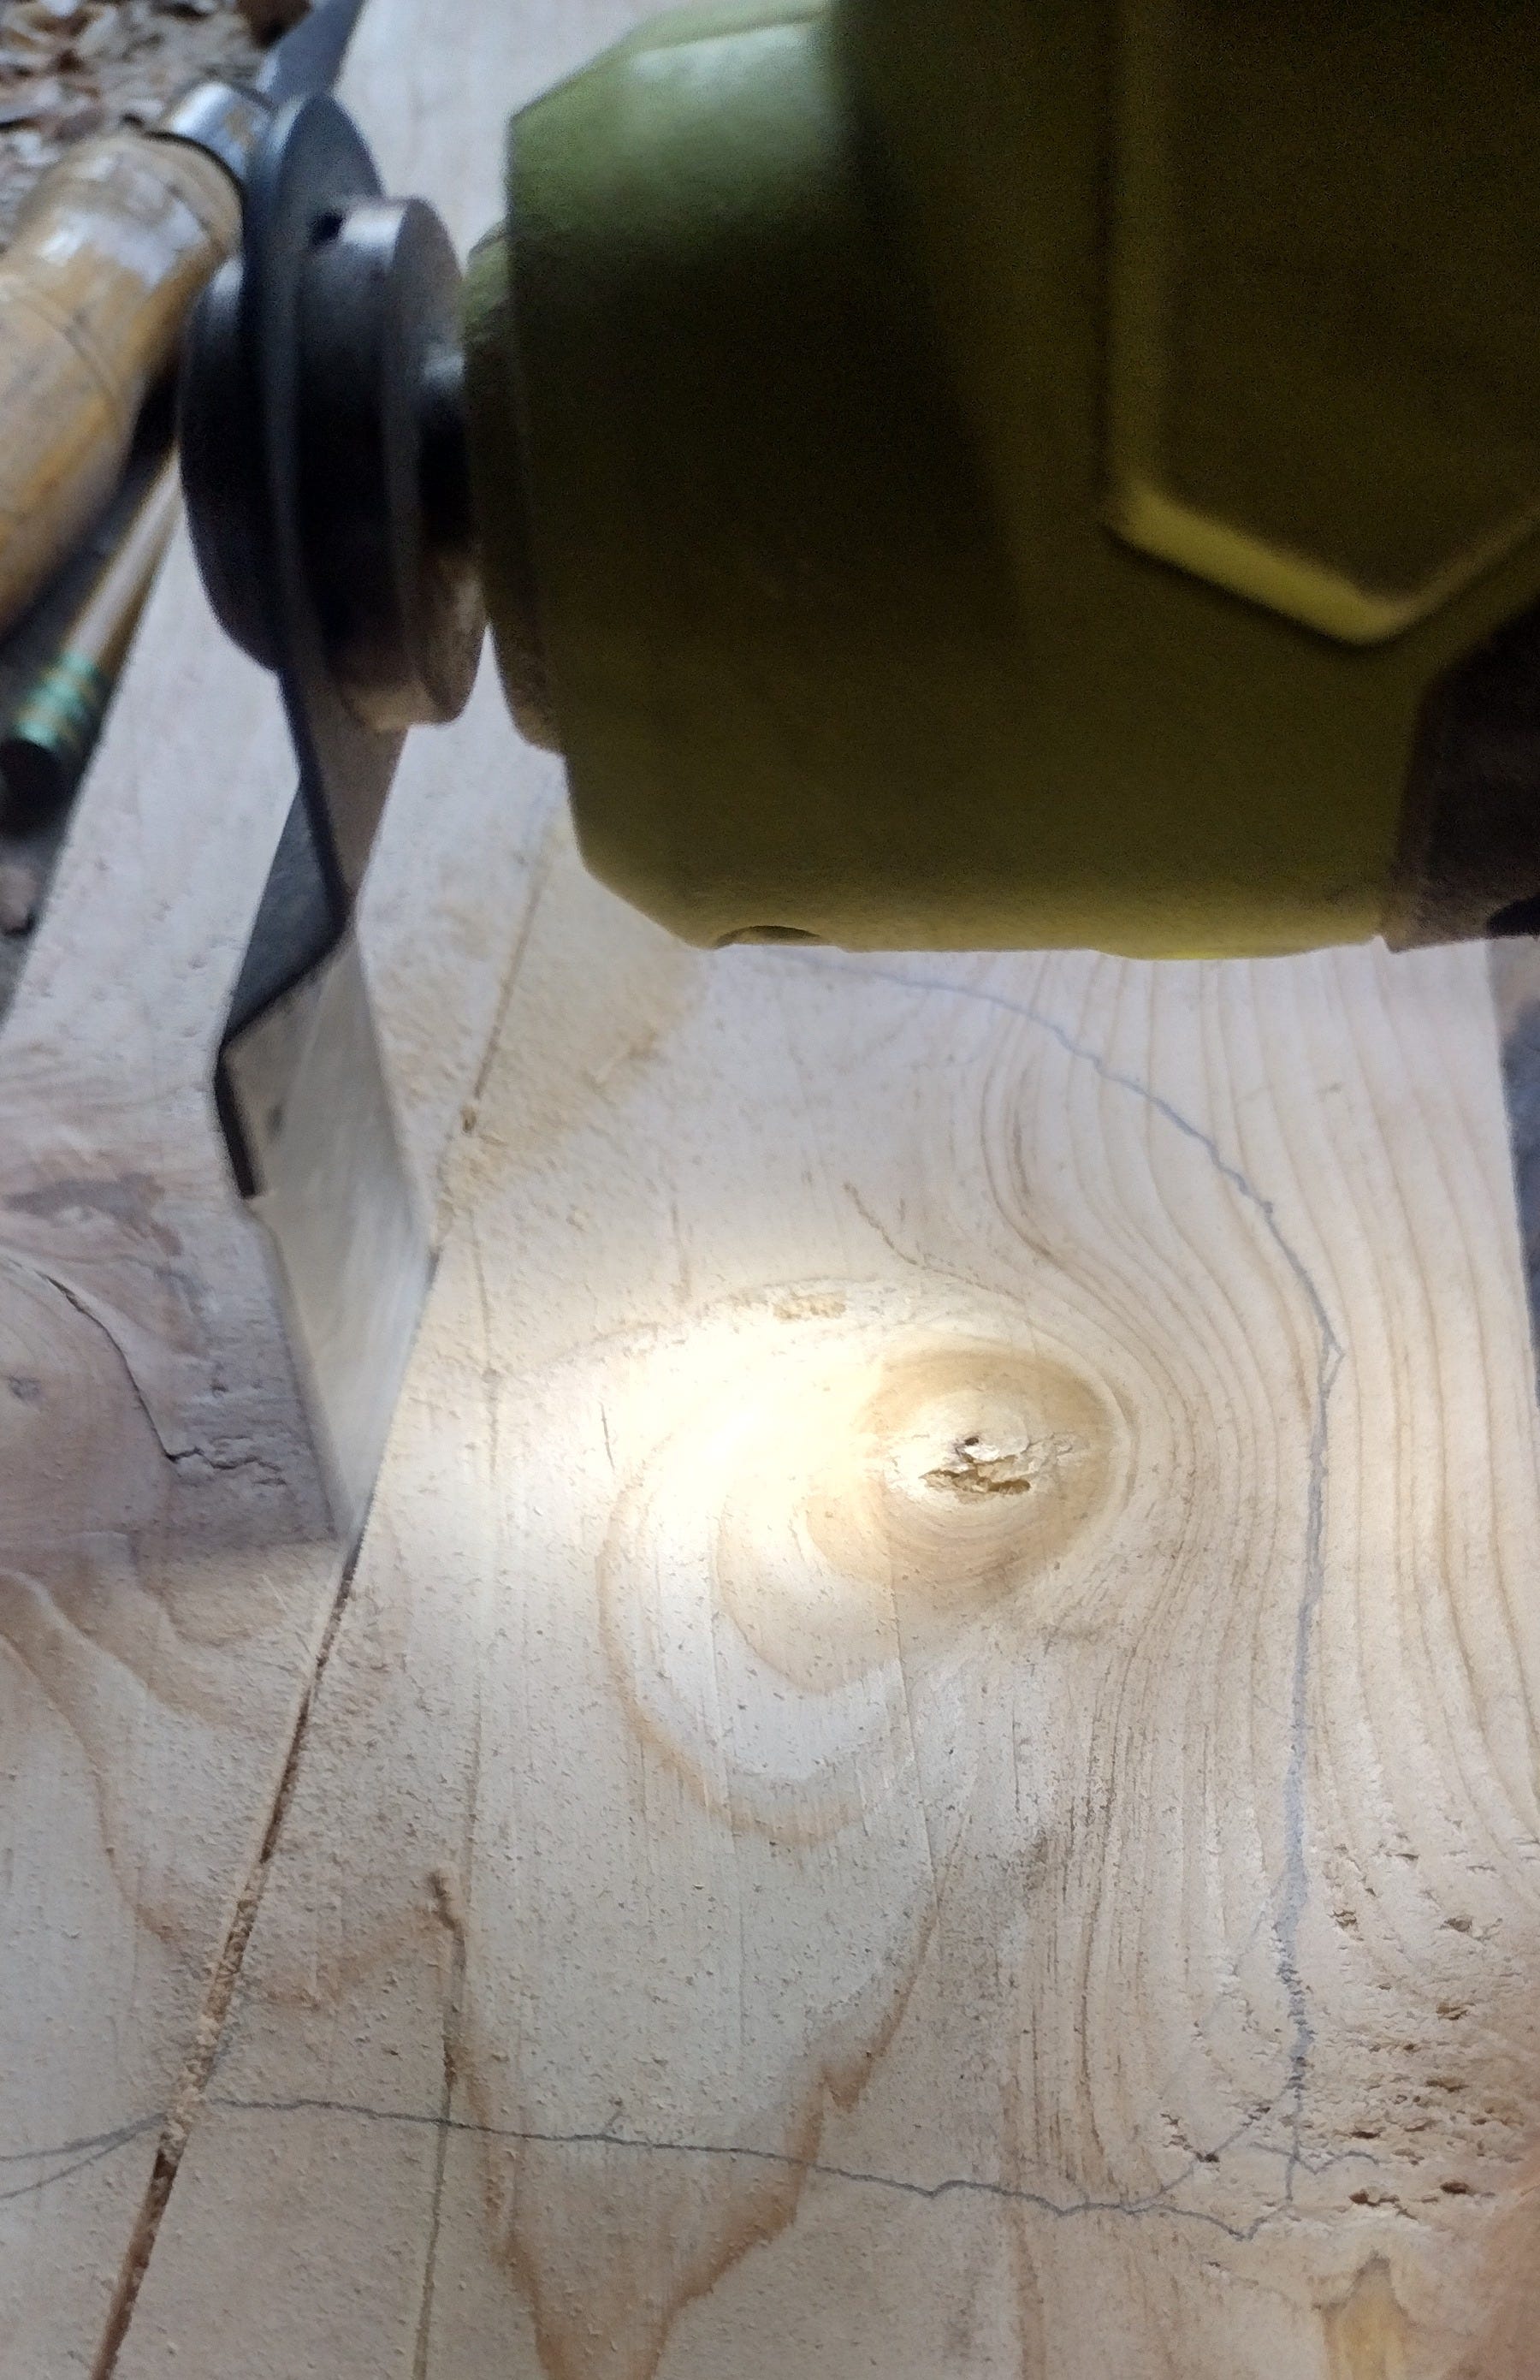
I found this well-weathered mill-end that was the right width to sit atop the boat as a lid, and cut it to size. I then used my calipers to mark out where the edges needed to be in order to make contact with the edges of the boat.
I used a gouge (for those of you not in the know, this is an arch-shaped chisel) to carve a recess into the top.
While I was doing this, I caught the shavings in a box—they’d come in handy later.
After about forty minutes, I had a beautiful box-top interior.
Now, with all the pieces done, all the new bits got the same scorch-and-oil treatment, and I continued to re-oil the wood every day while I figured out what kind of hardware this presentation box needed.
The successive coats of tung oil serve two purposes. First, the oil soaks deeper into the wood, creating a thick weatherproof layer. Second, as the oil dries and hardens, the wood stops absorbing new oil, and successive coats build up on the surface to create a varnish-like surface.
Tung oil is finicky as a finish—it takes a long time to fully harden—so I have another trick up my sleeve for the final layers (which we’ll get to later).
The Hardware
This is the point where I went a little crazy. A sane person would have gone to the hardware store and picked out something appropriate for hinges and hasps, then perhaps added one or two custom flourishes for decoration.
I am pleased to inform you that I am not a sane person (the fact that this pleases me should probably worry me, but what the hell). The hand-making bug had bitten me, and somewhere along the way I’d decided that every single goddamn piece of this stupid box was going to be hand made unless I had no other choice.
That meant I was going to have to do something I’ve never done before:
Make finish hinges.
The Hinges
Finish hinges? Like, from Finland? How the hell is an American with no detectable Scandinavian ancestry supposed to make Finish hinges?
By choosing a different definition, obviously.
Hinges aren’t just hinges. Pintle hinges (mostly used in agriculture) are easy to make as long as you’ve got some round-bar and a compatible size of pipe. Flat-pin hinges are easy to make, too: Line up two holes, put a pin through them, flare the heads of the pin out, and you’ve got a hinged joint at the hole.
Finish hinges are meant to be seen—even displayed. These are the kinds of hinges you see on cabinet doors and jewelry boxes, and they’re often given a decorative…uh...finish (brass, rubbed bronze, nickel plating, gloss black, etc.).
Finish hinges of the scale I wanted to make are fiddly things—you make them from thin sheet metal, and you’ve got to make them just right.
After a couple of disastrous attempts at working them hot (i.e. in the forge) I realized I was doing things the hard way. Thin steel can be worked cold as long as you do it the right way.
I just needed tooling to help me do it the right way.
A finish hinge consists of a flappy bit and a pin that joins it to another flappy bit by sliding through an eye (or a series of eyes).
So to make a hinge I needed the right kind of steel, and a way to roll and cut the eyes. That meant I needed to make a hinge roller.
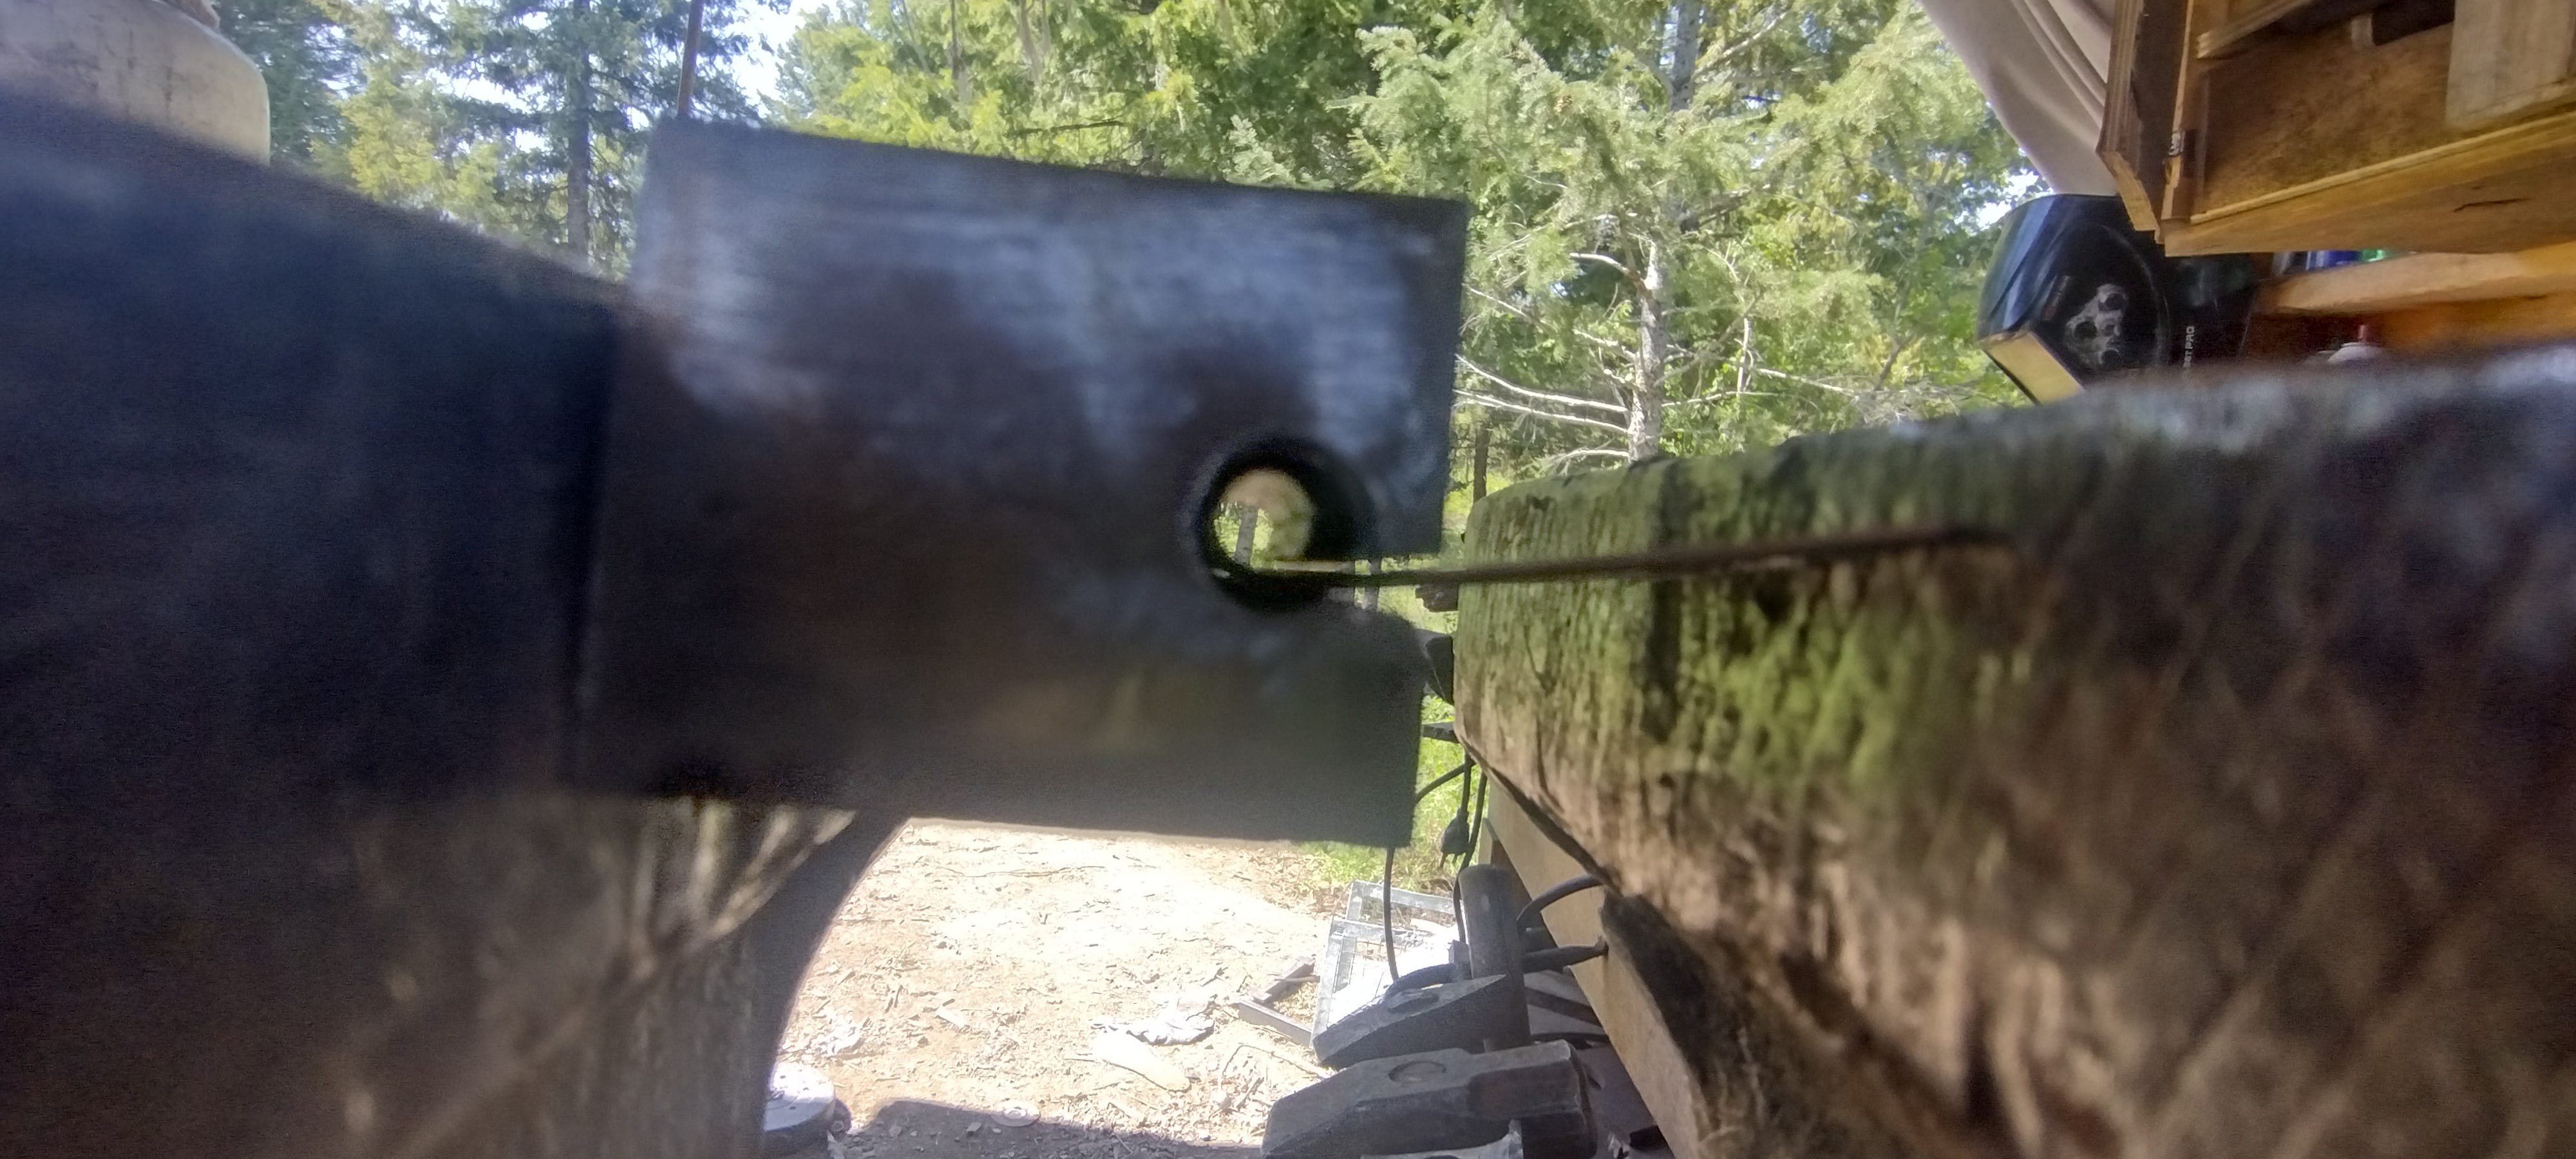
How do you make a hinge roller?
Drill a hole in a hunk of metal, then cut a slit from the edge of the metal down into the side of the hole. Do this right, and you’ll wind up with something like this:


Now I needed some hinge blanks to roll in my hinge roller.
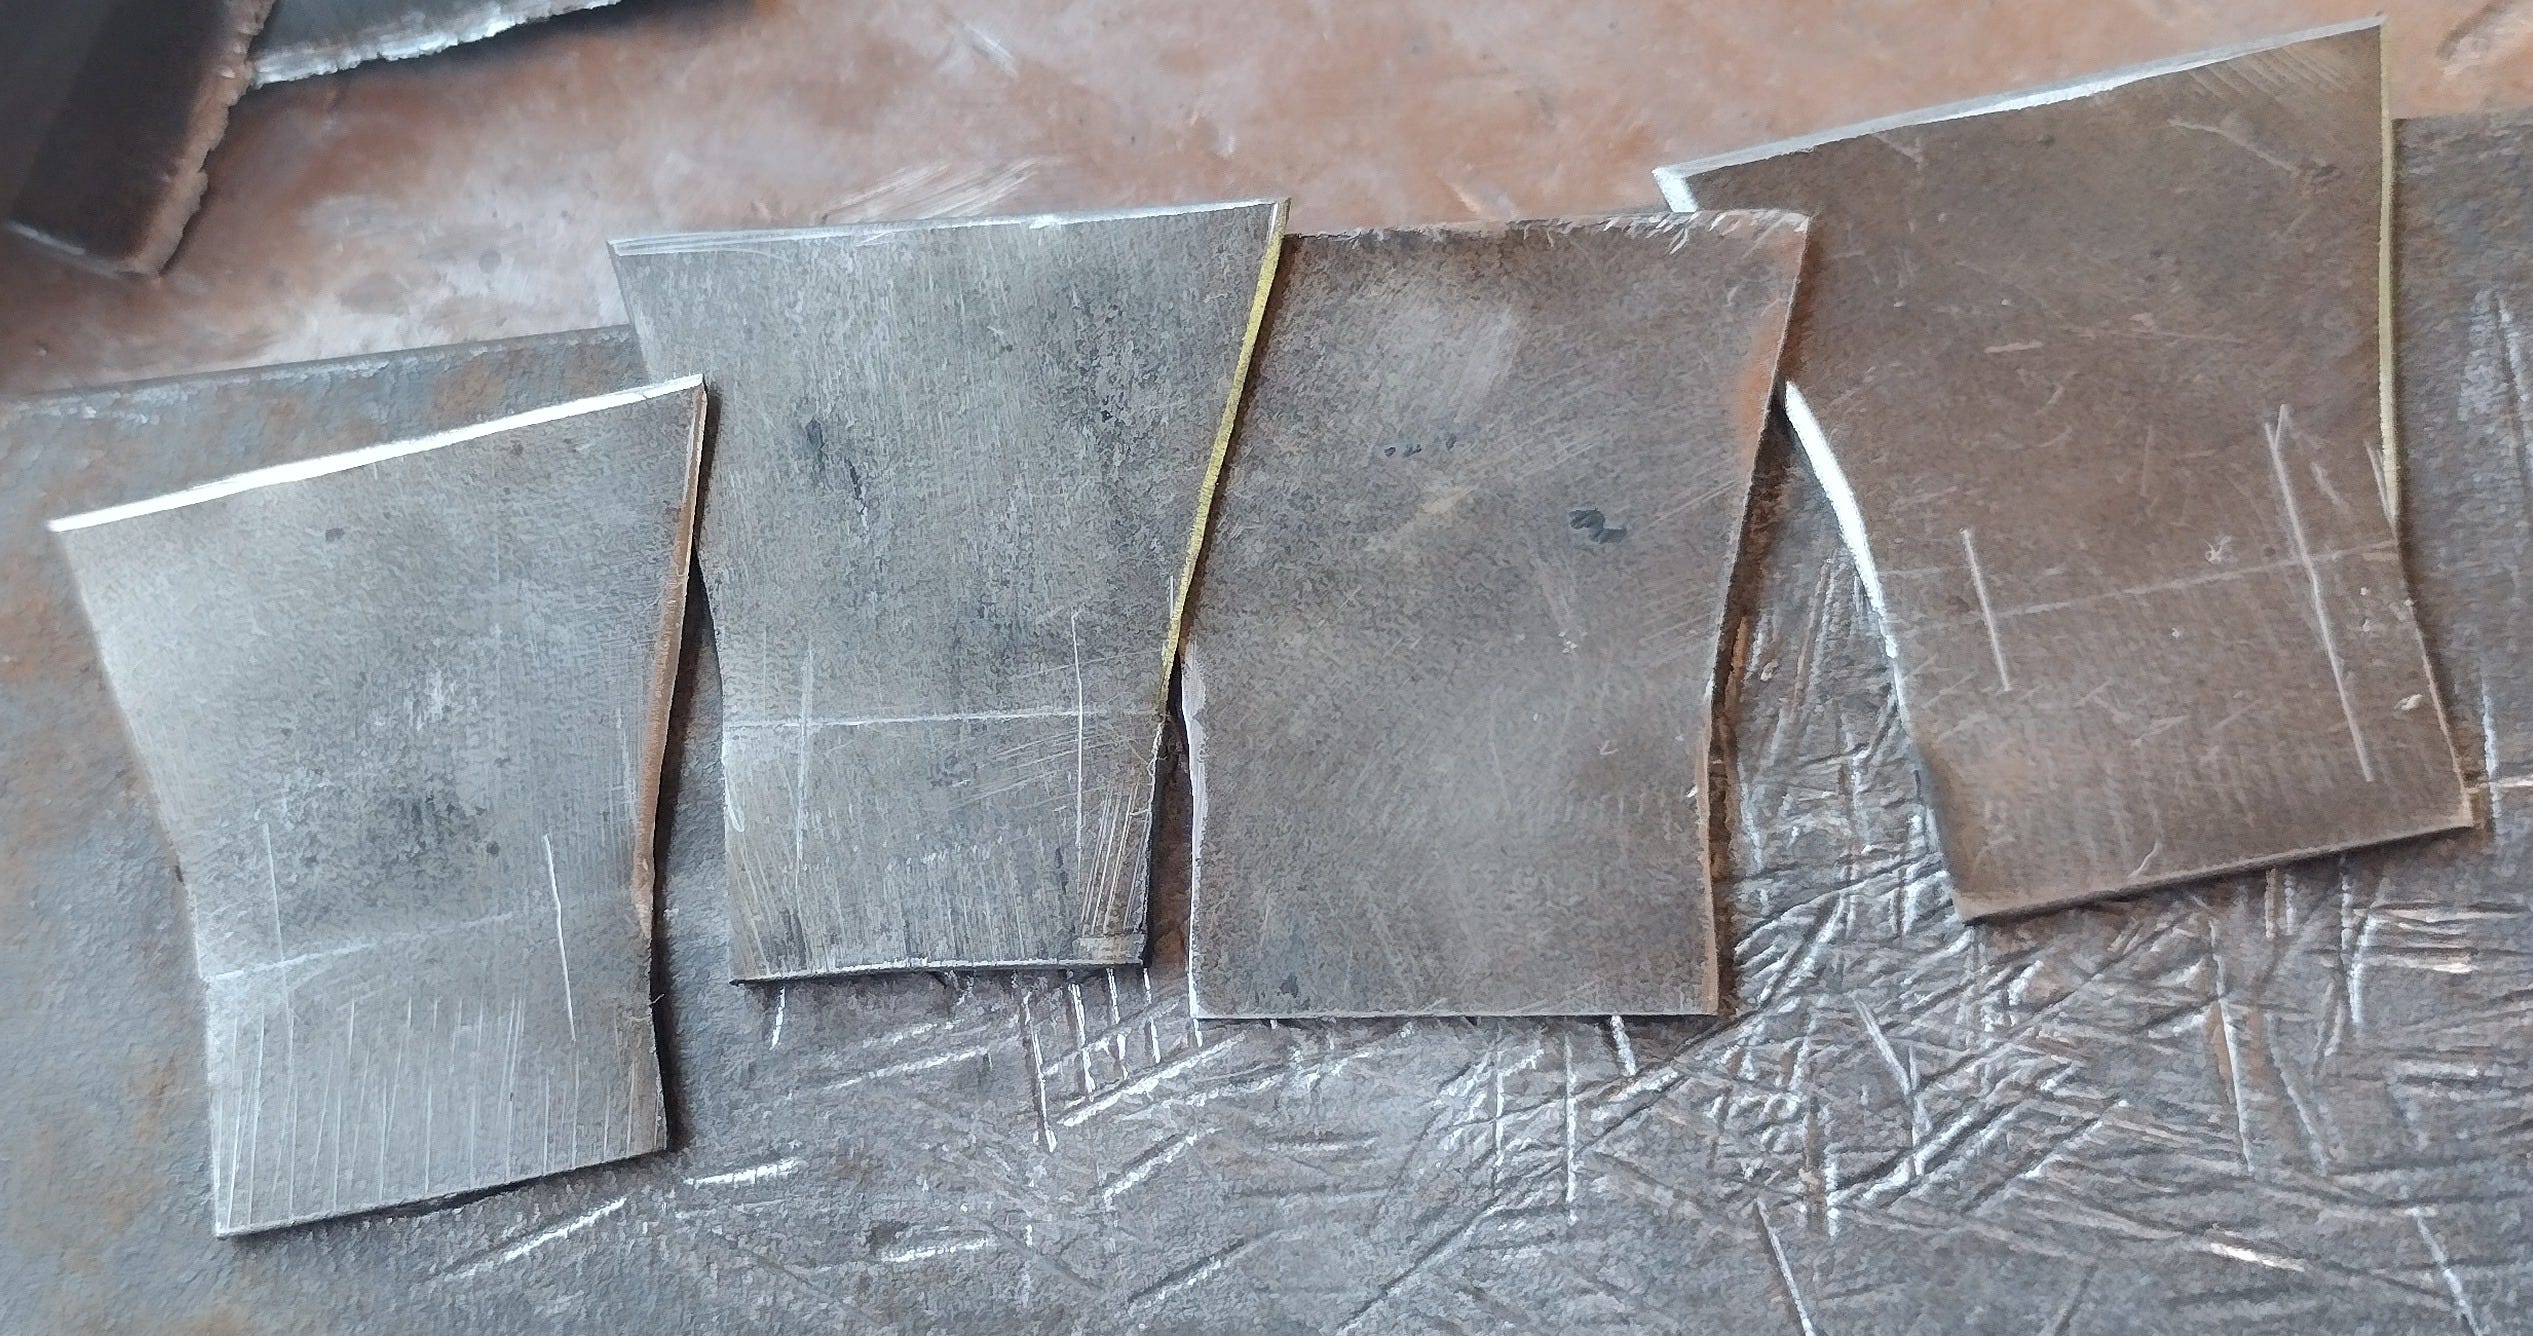
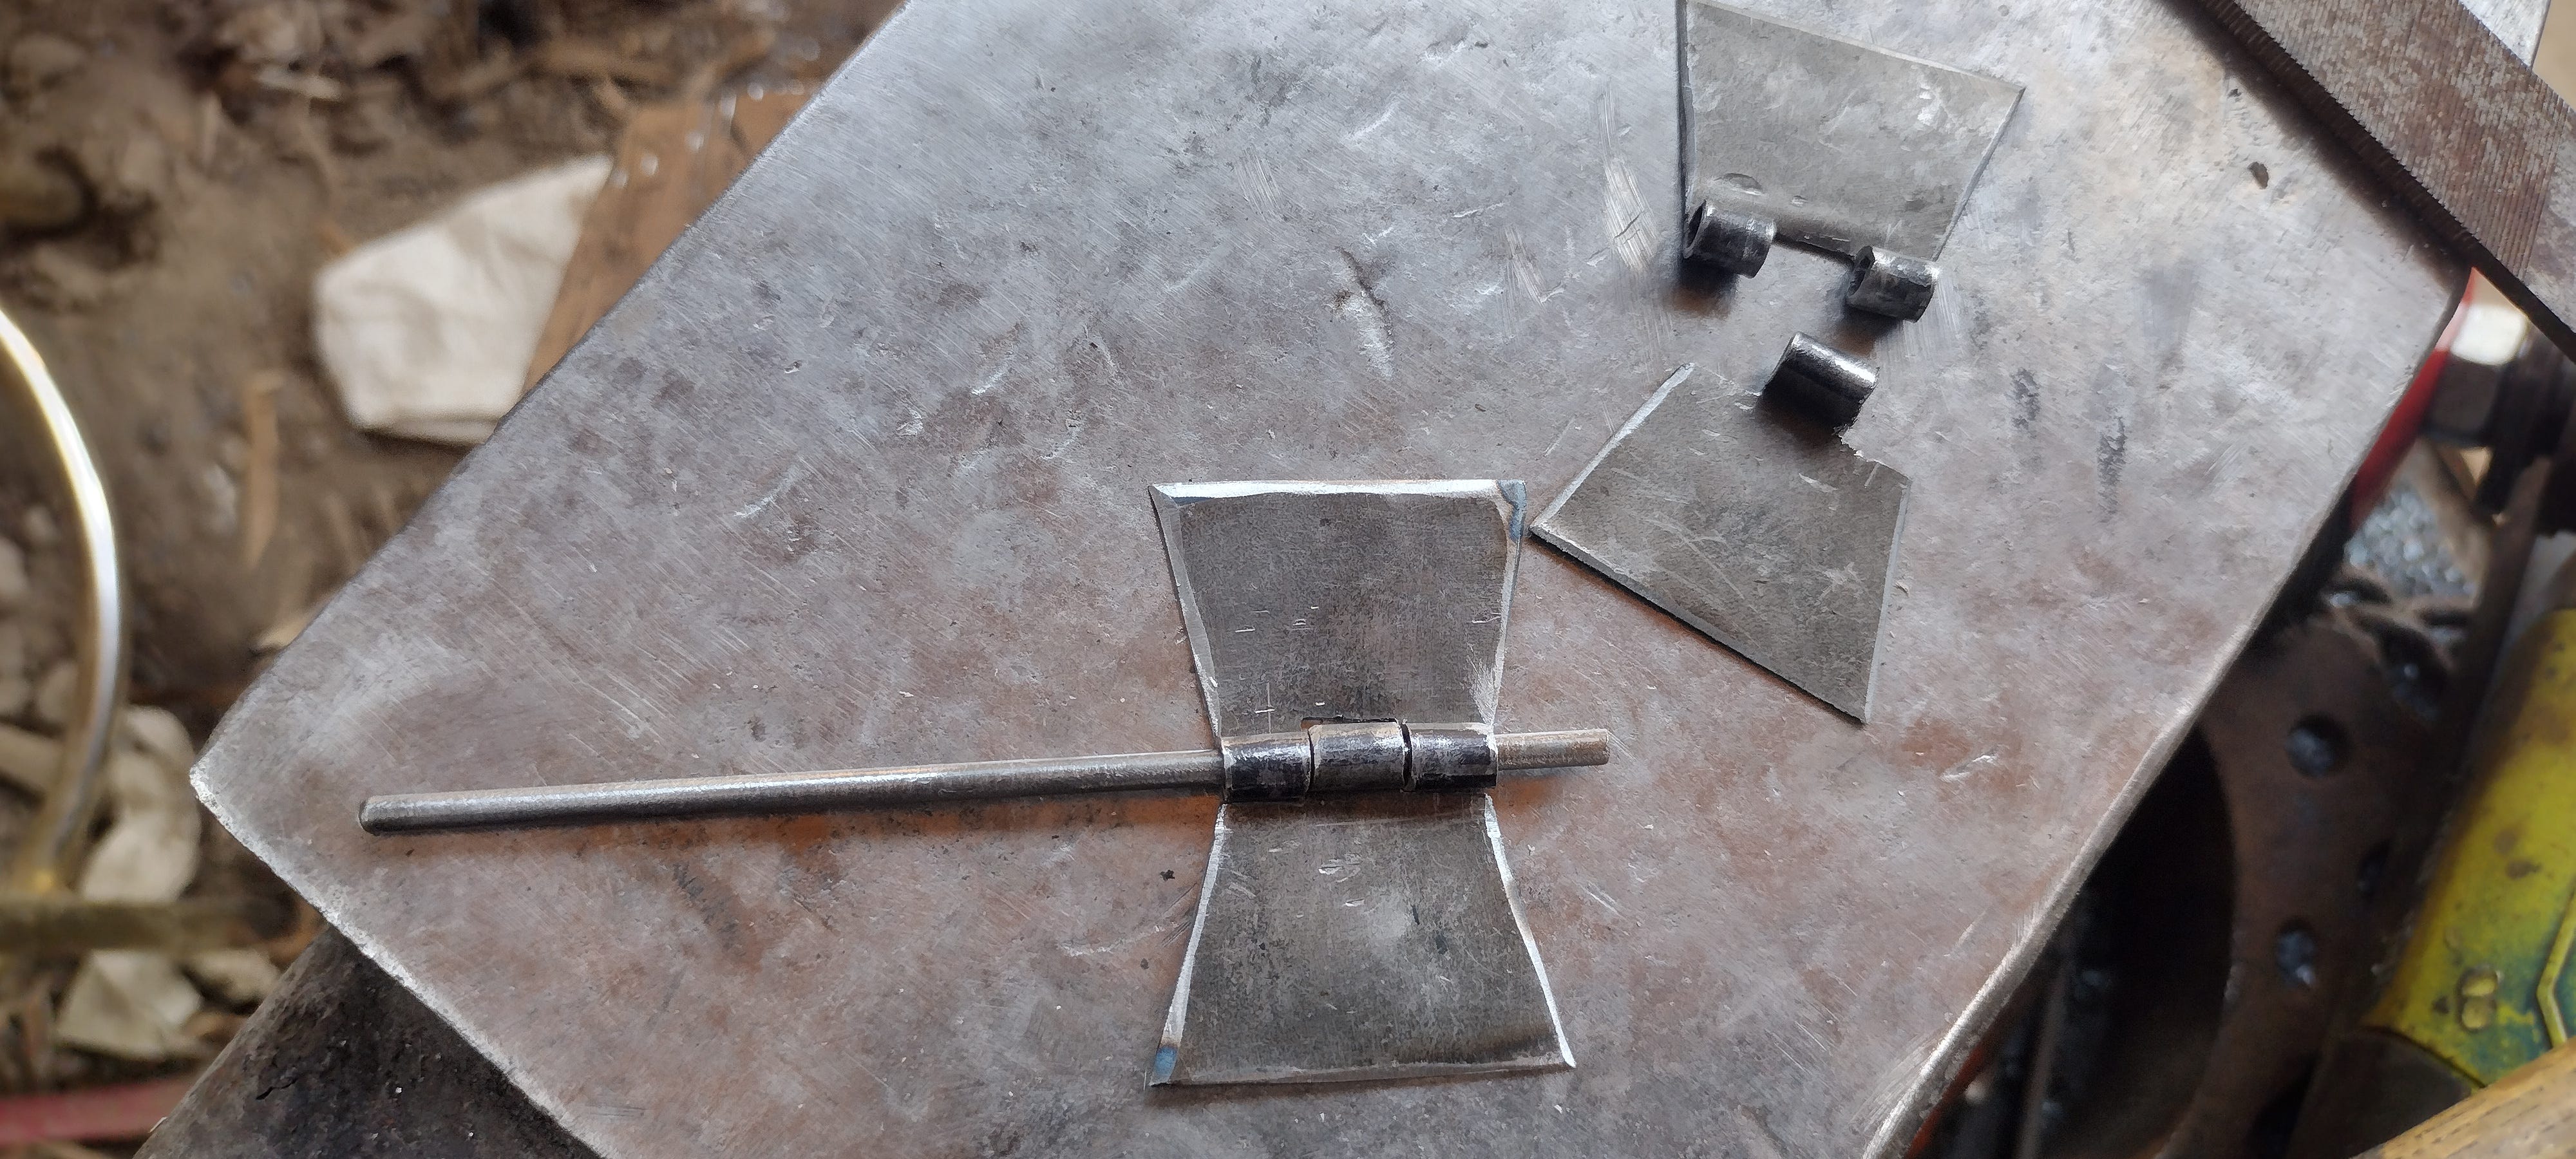
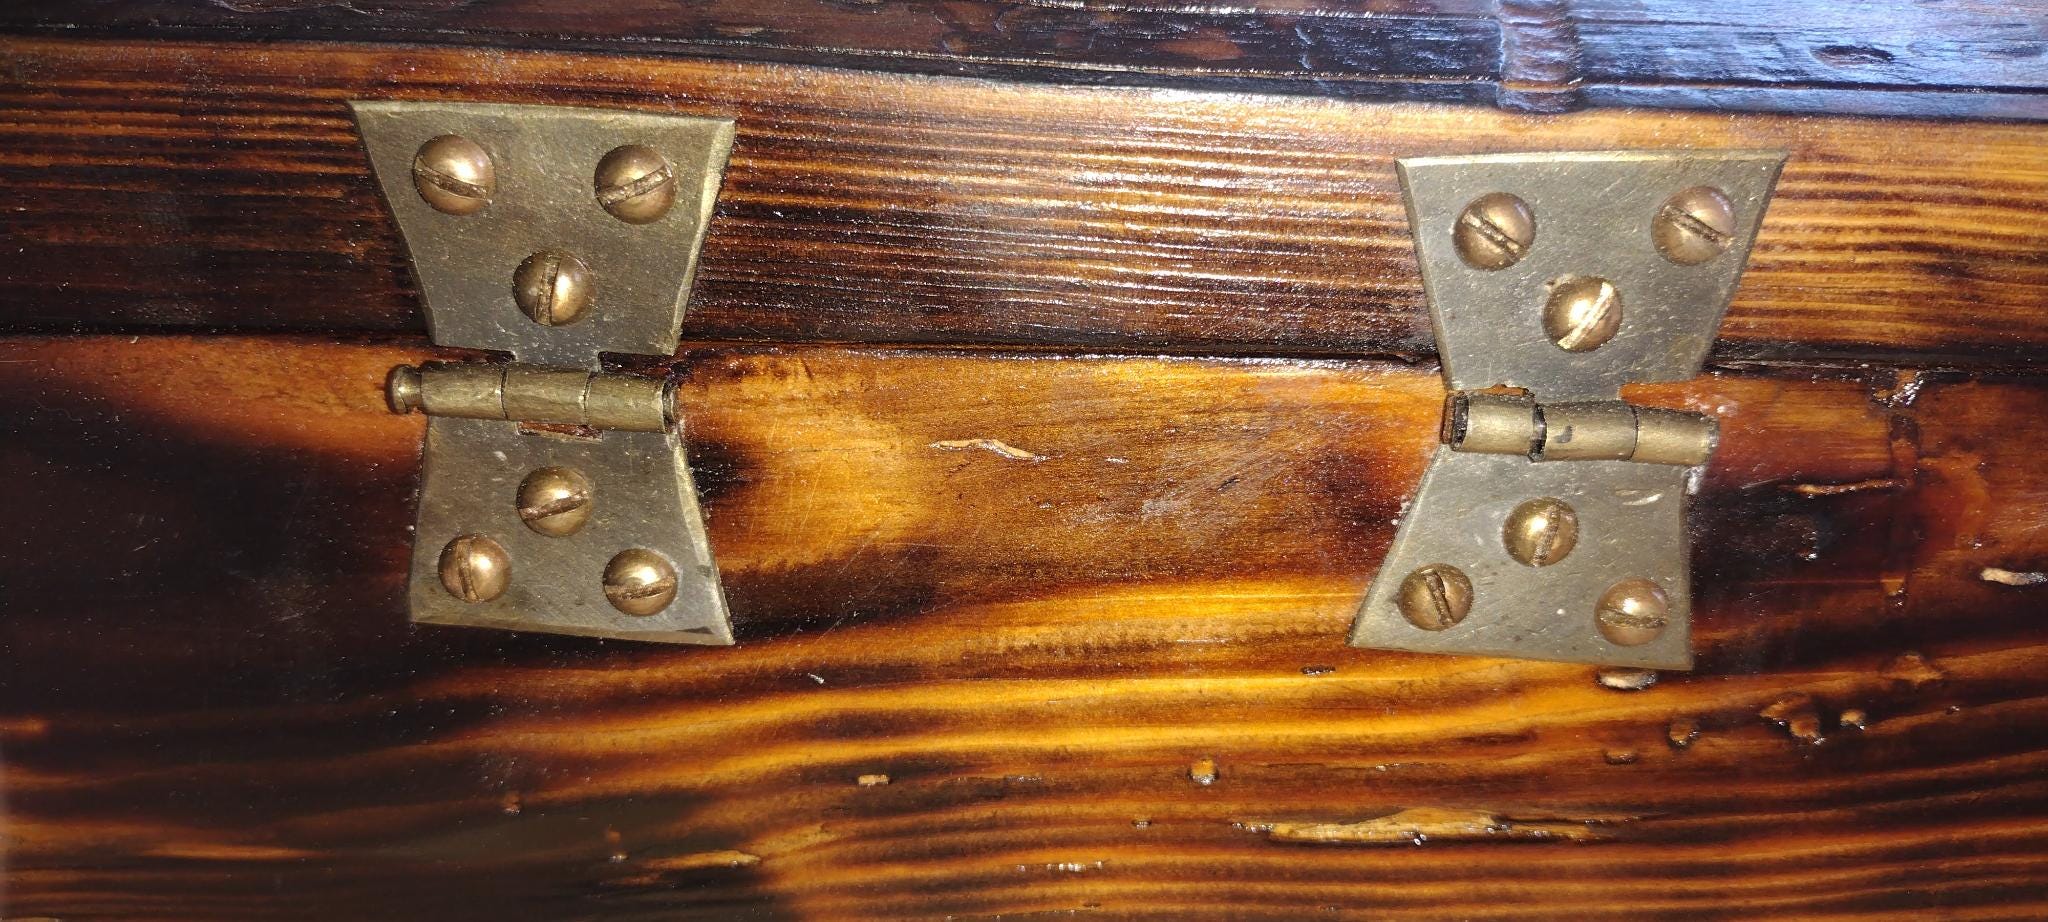
I decided that I wanted hinges that looked a bit like a bow-tie when they were all assembled, so I used my dividers and calipers to mark out four equal piece of sheet steel…
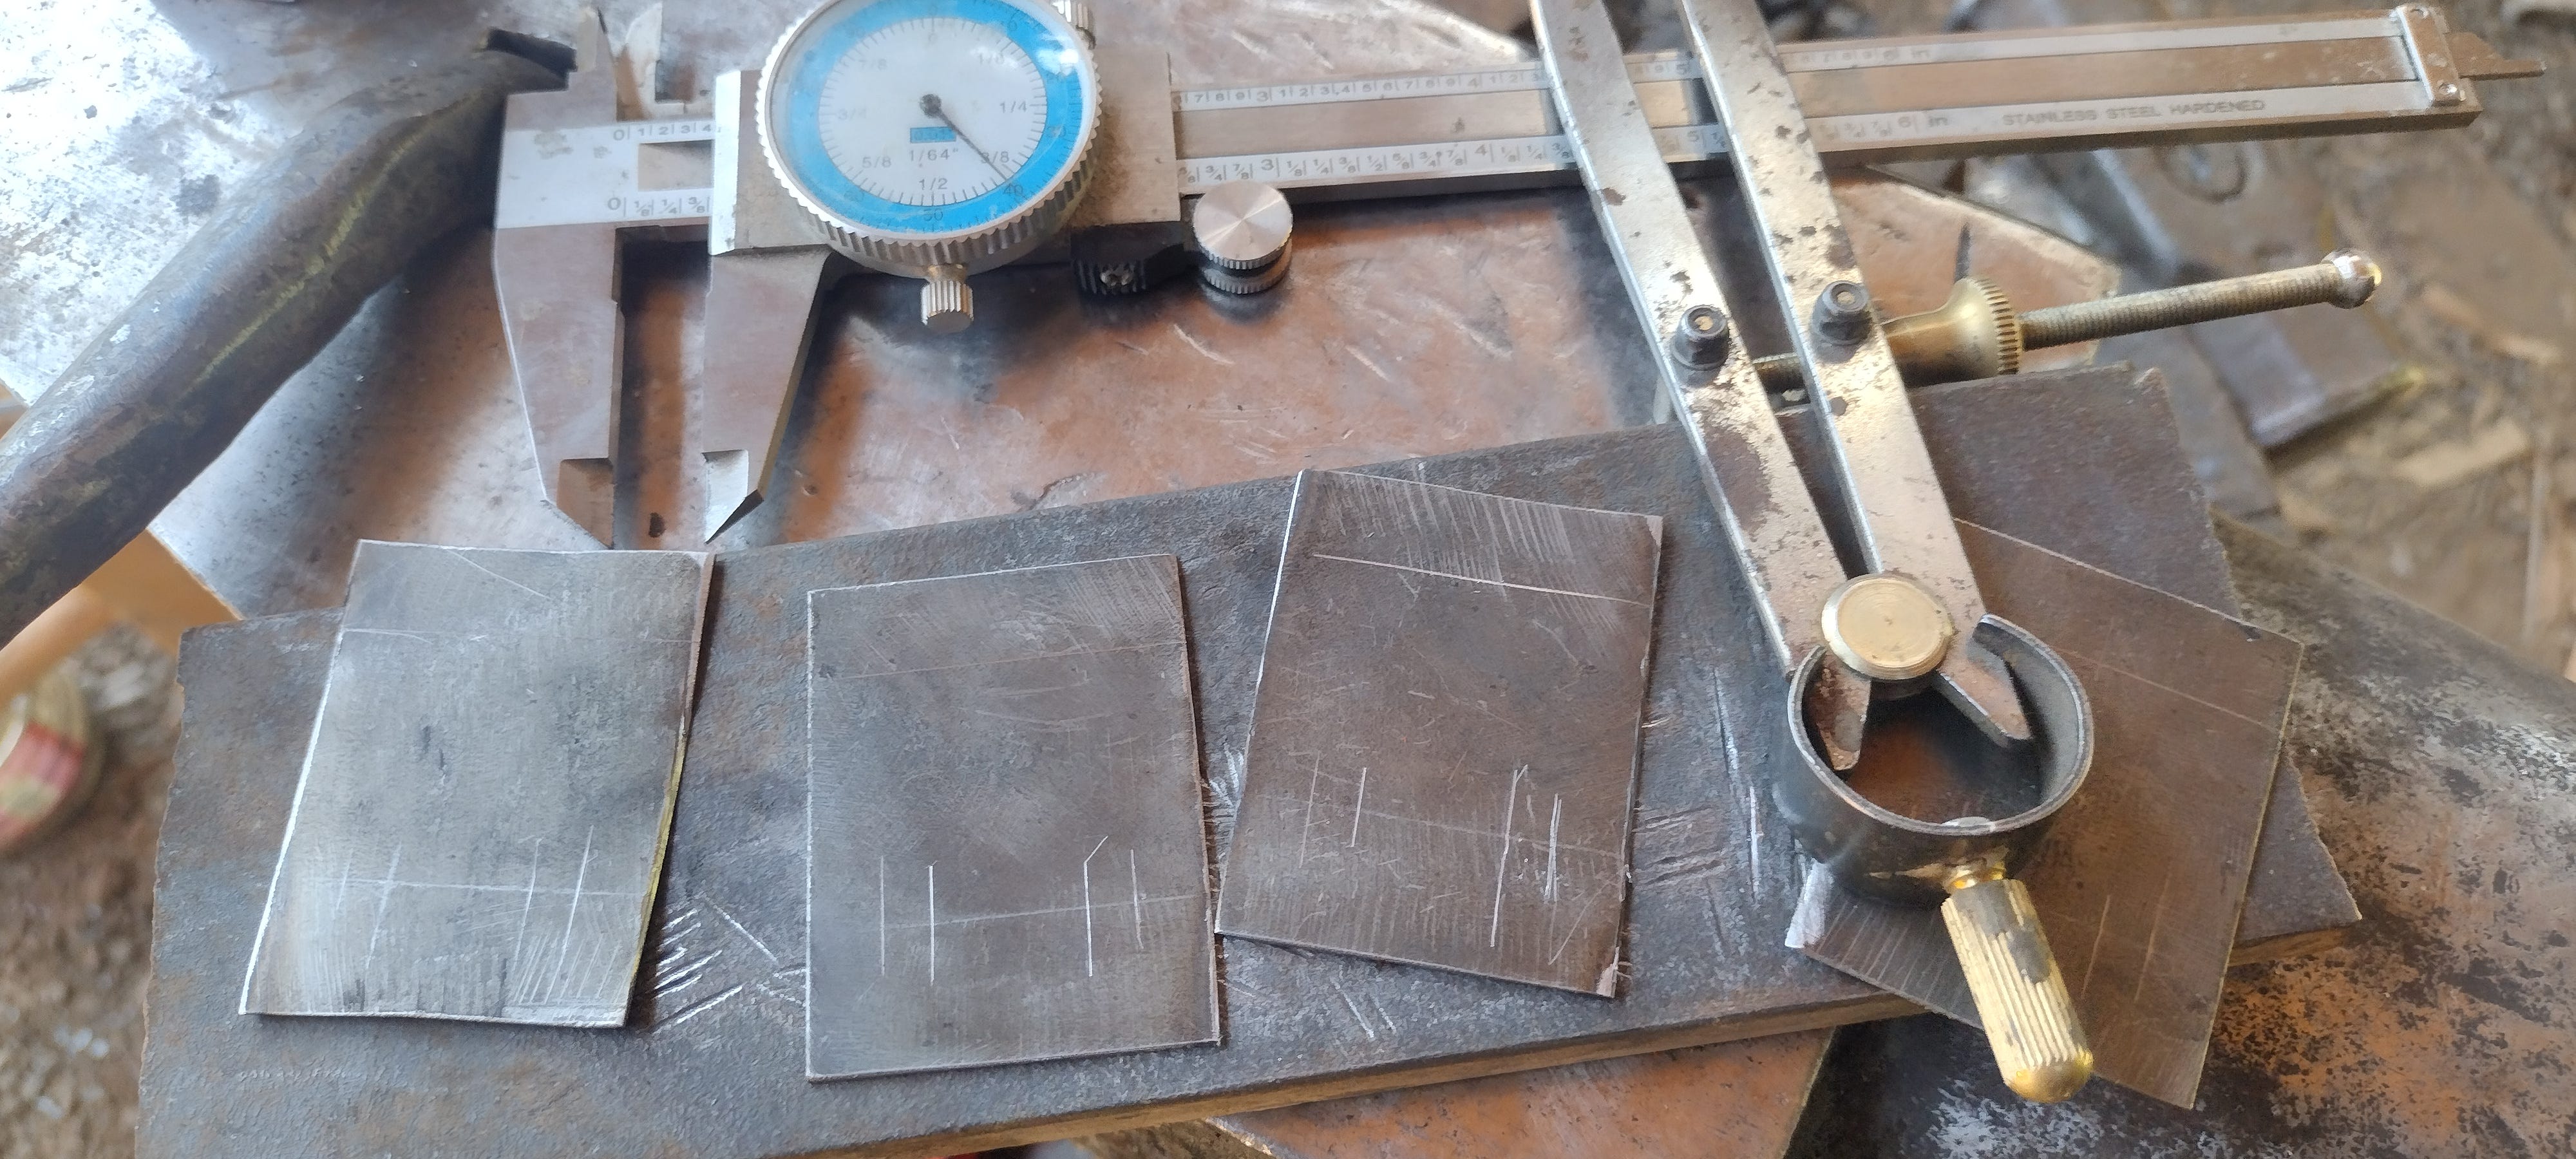
…which I cut cold with a chisel into the blanks for my hinges.
By the way, that roughed-up metal beneath my hinges is the strike plate—a piece of soft plate steel that protects the anvil—and the chisel—from being unnecessarily scarred from cold-cutting sheet metal.
After that, I pressed the blanks into the roller…
Which left me with this handsome set of nearly-hinges.
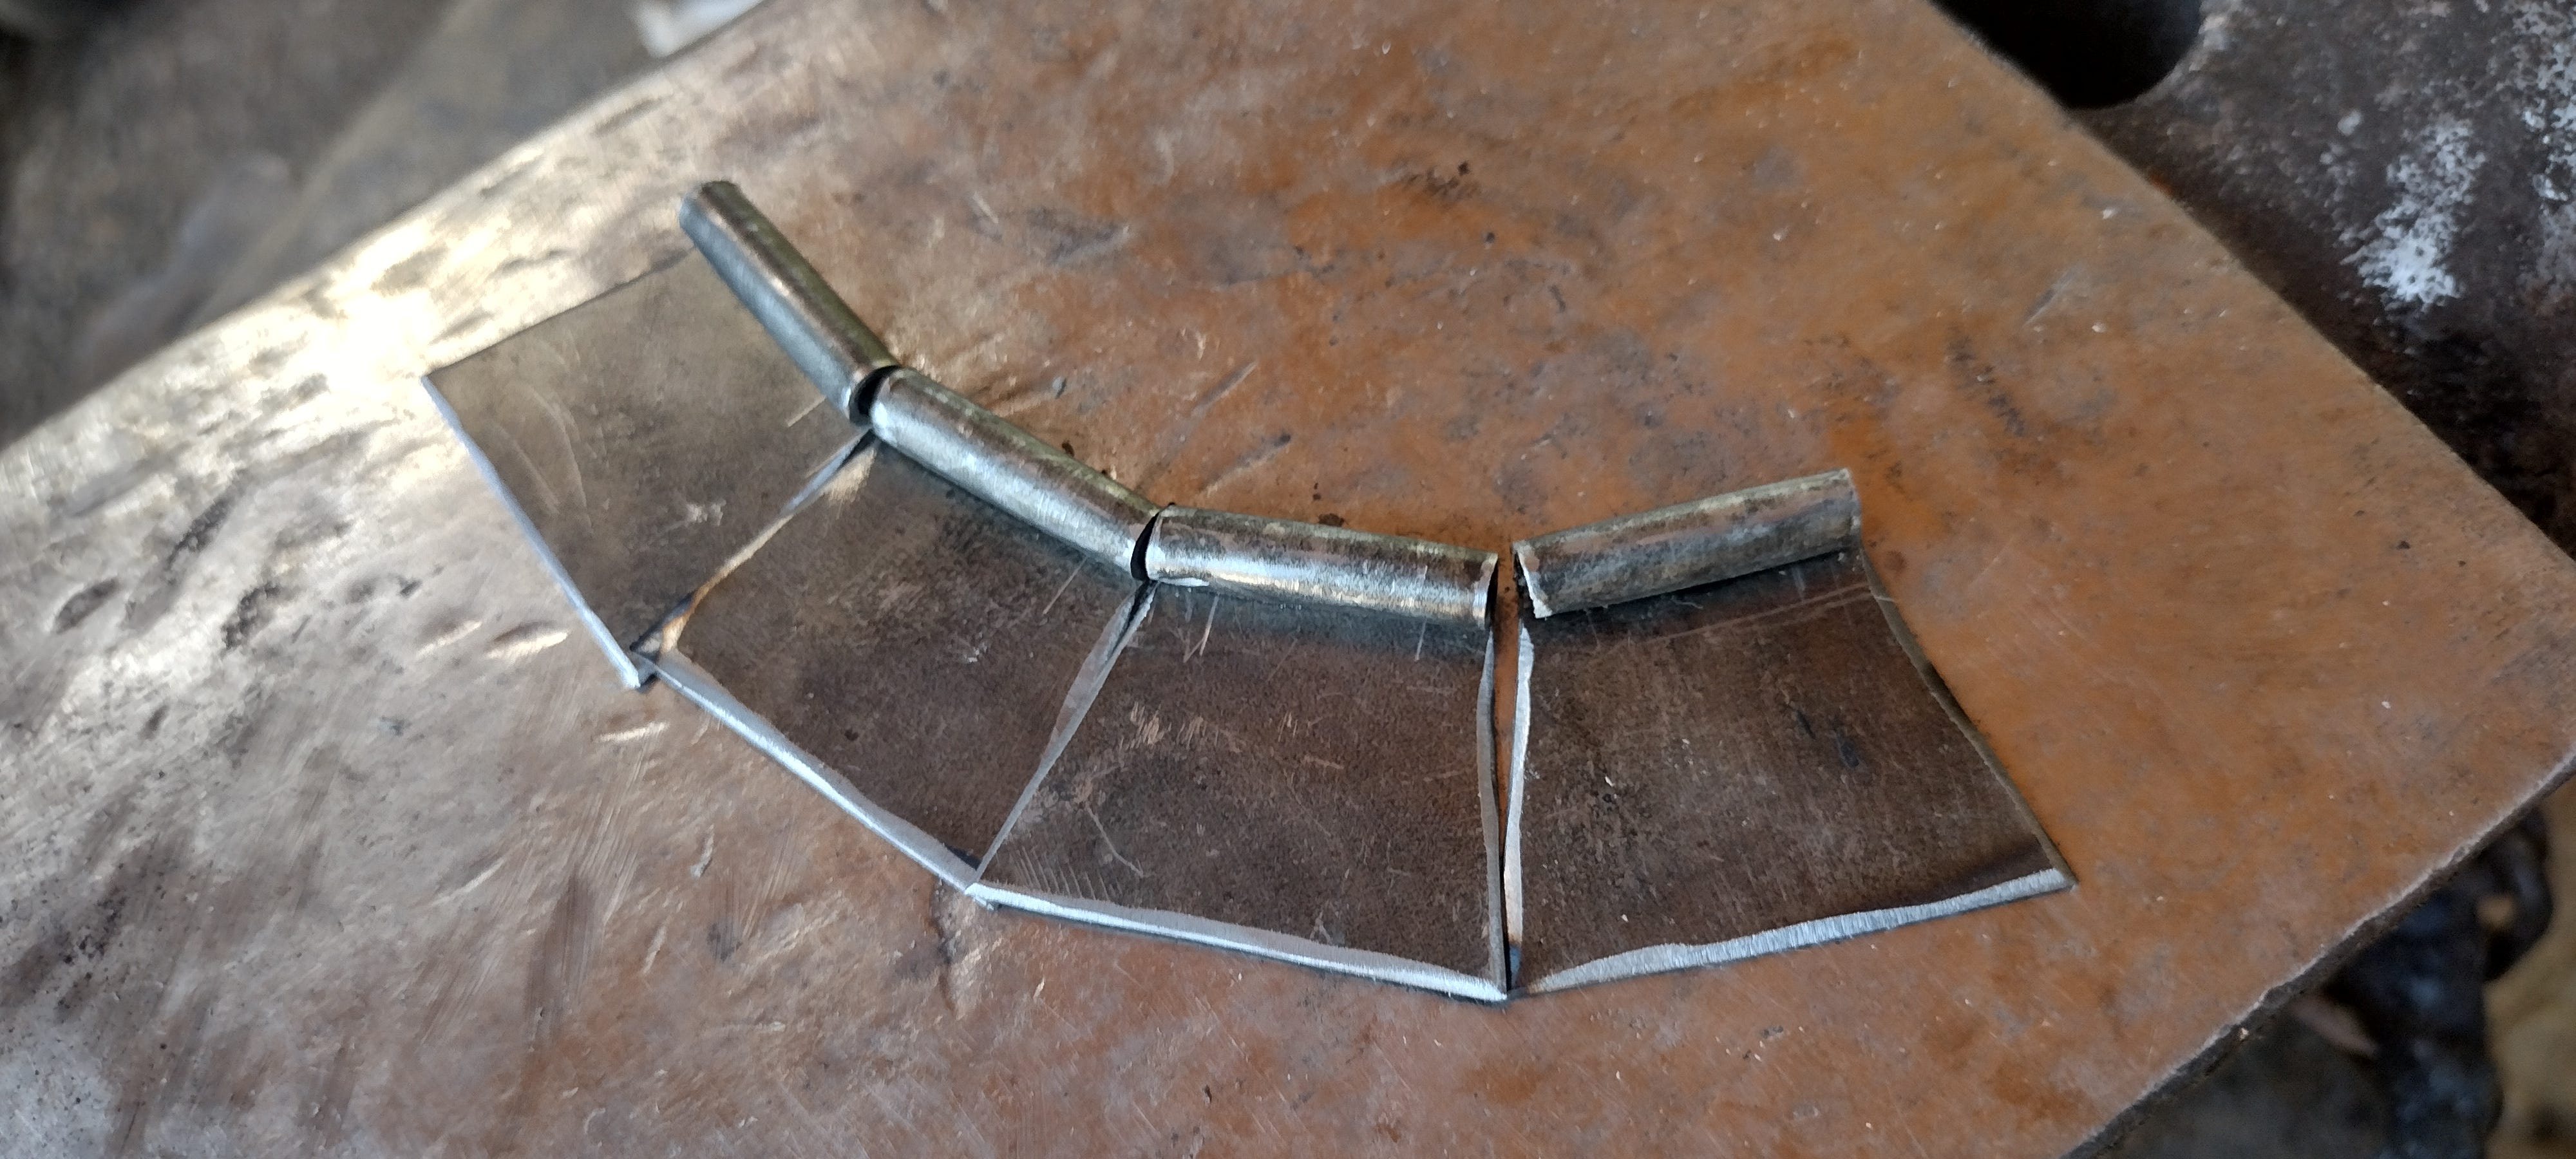
To get those blanks to fit together, though, I had to cut out parts of the rolled barrel on each piece. For each hinge, I would need one side that was missing the middle third of its barrel, and another side that only had its barrel’s middle third.
I clamped them in the vise and set-to them with the hacksaw…
And then cleaned up the residue with a file.

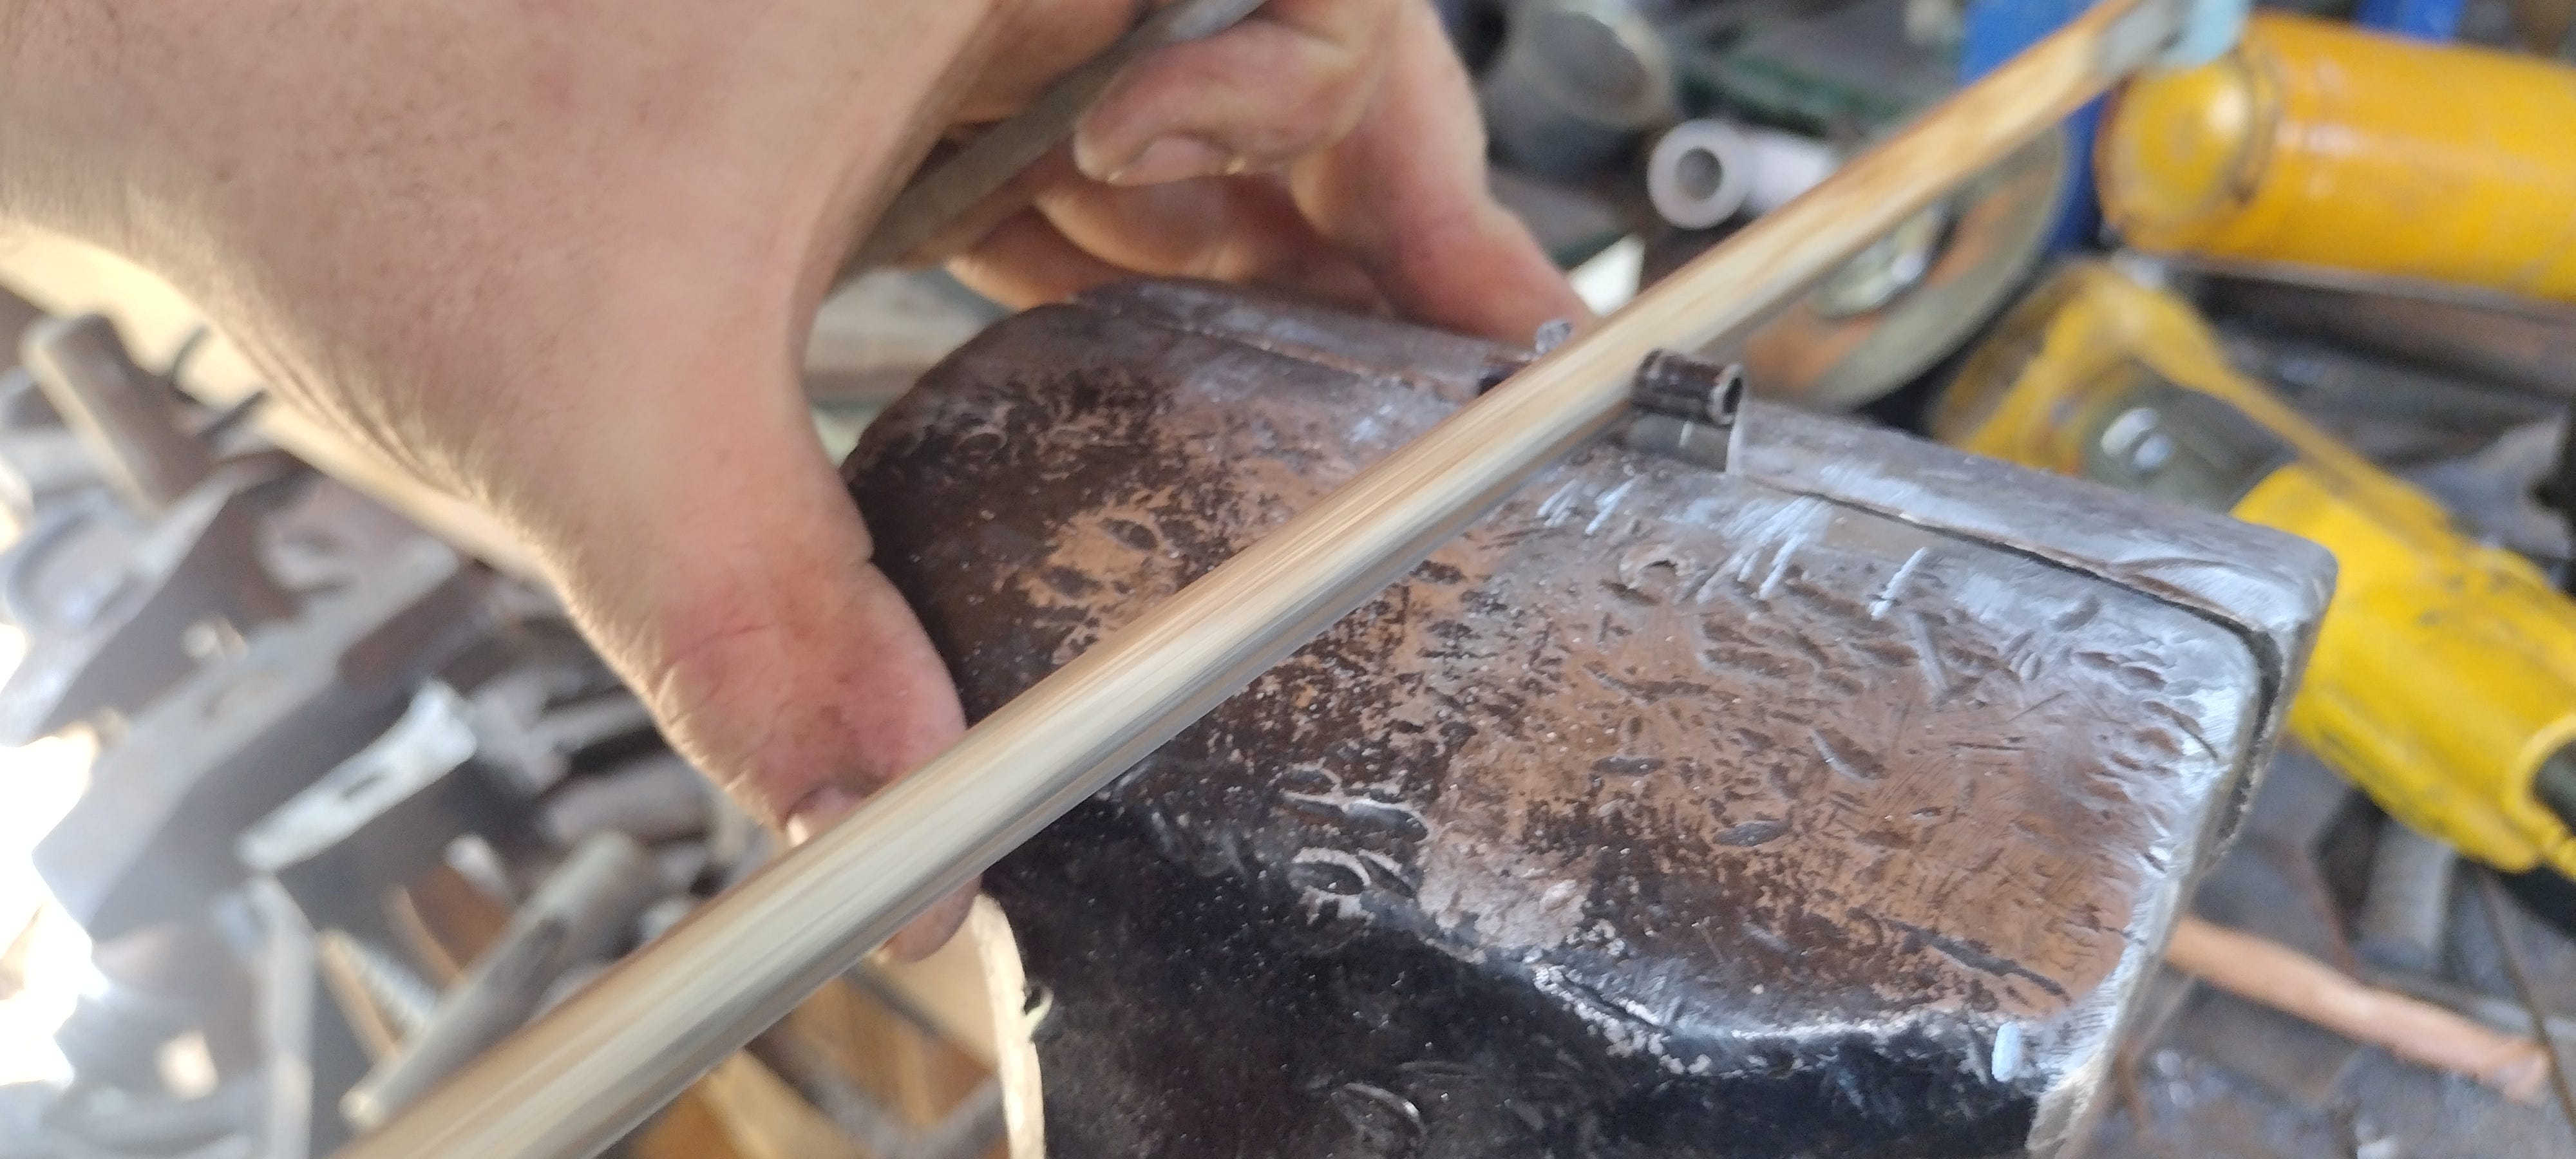
A rough assembly on a welding rod showed a good fit.
So I peened over that rod to create a pin end…
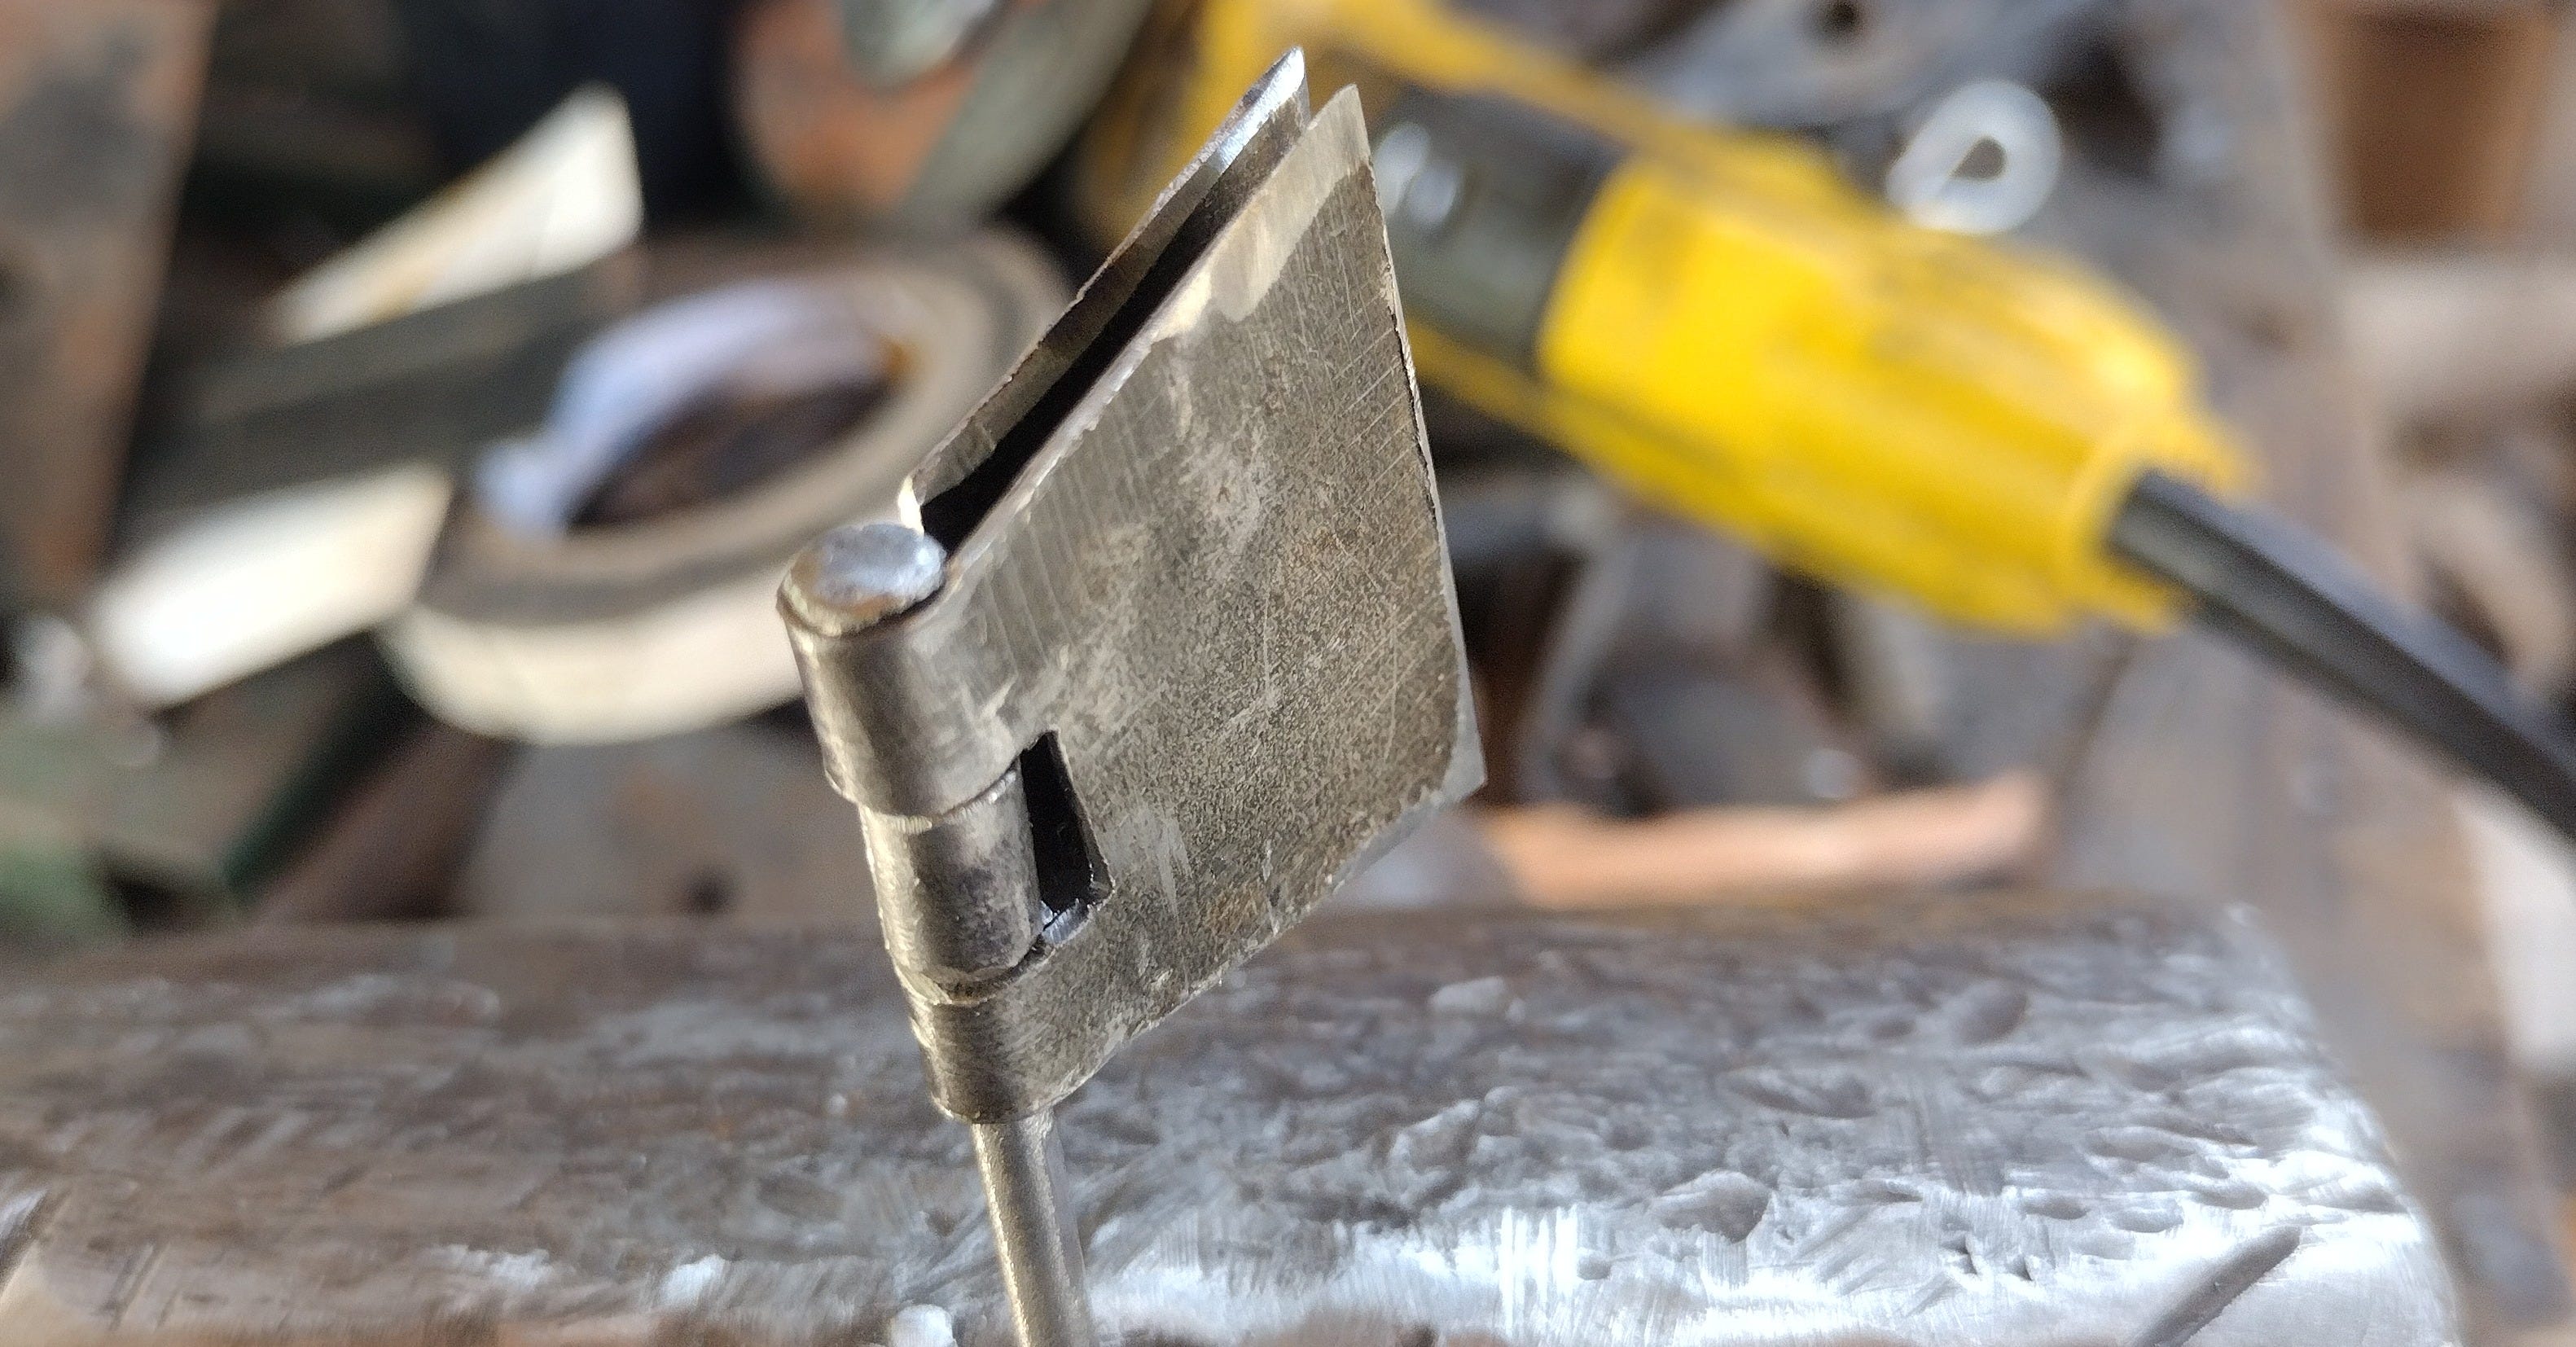
…then cut the rod and peened over the other side.
Almost done now. Just a few finishing touches to go.
I used the center-punch to mark where the screw holes would go…

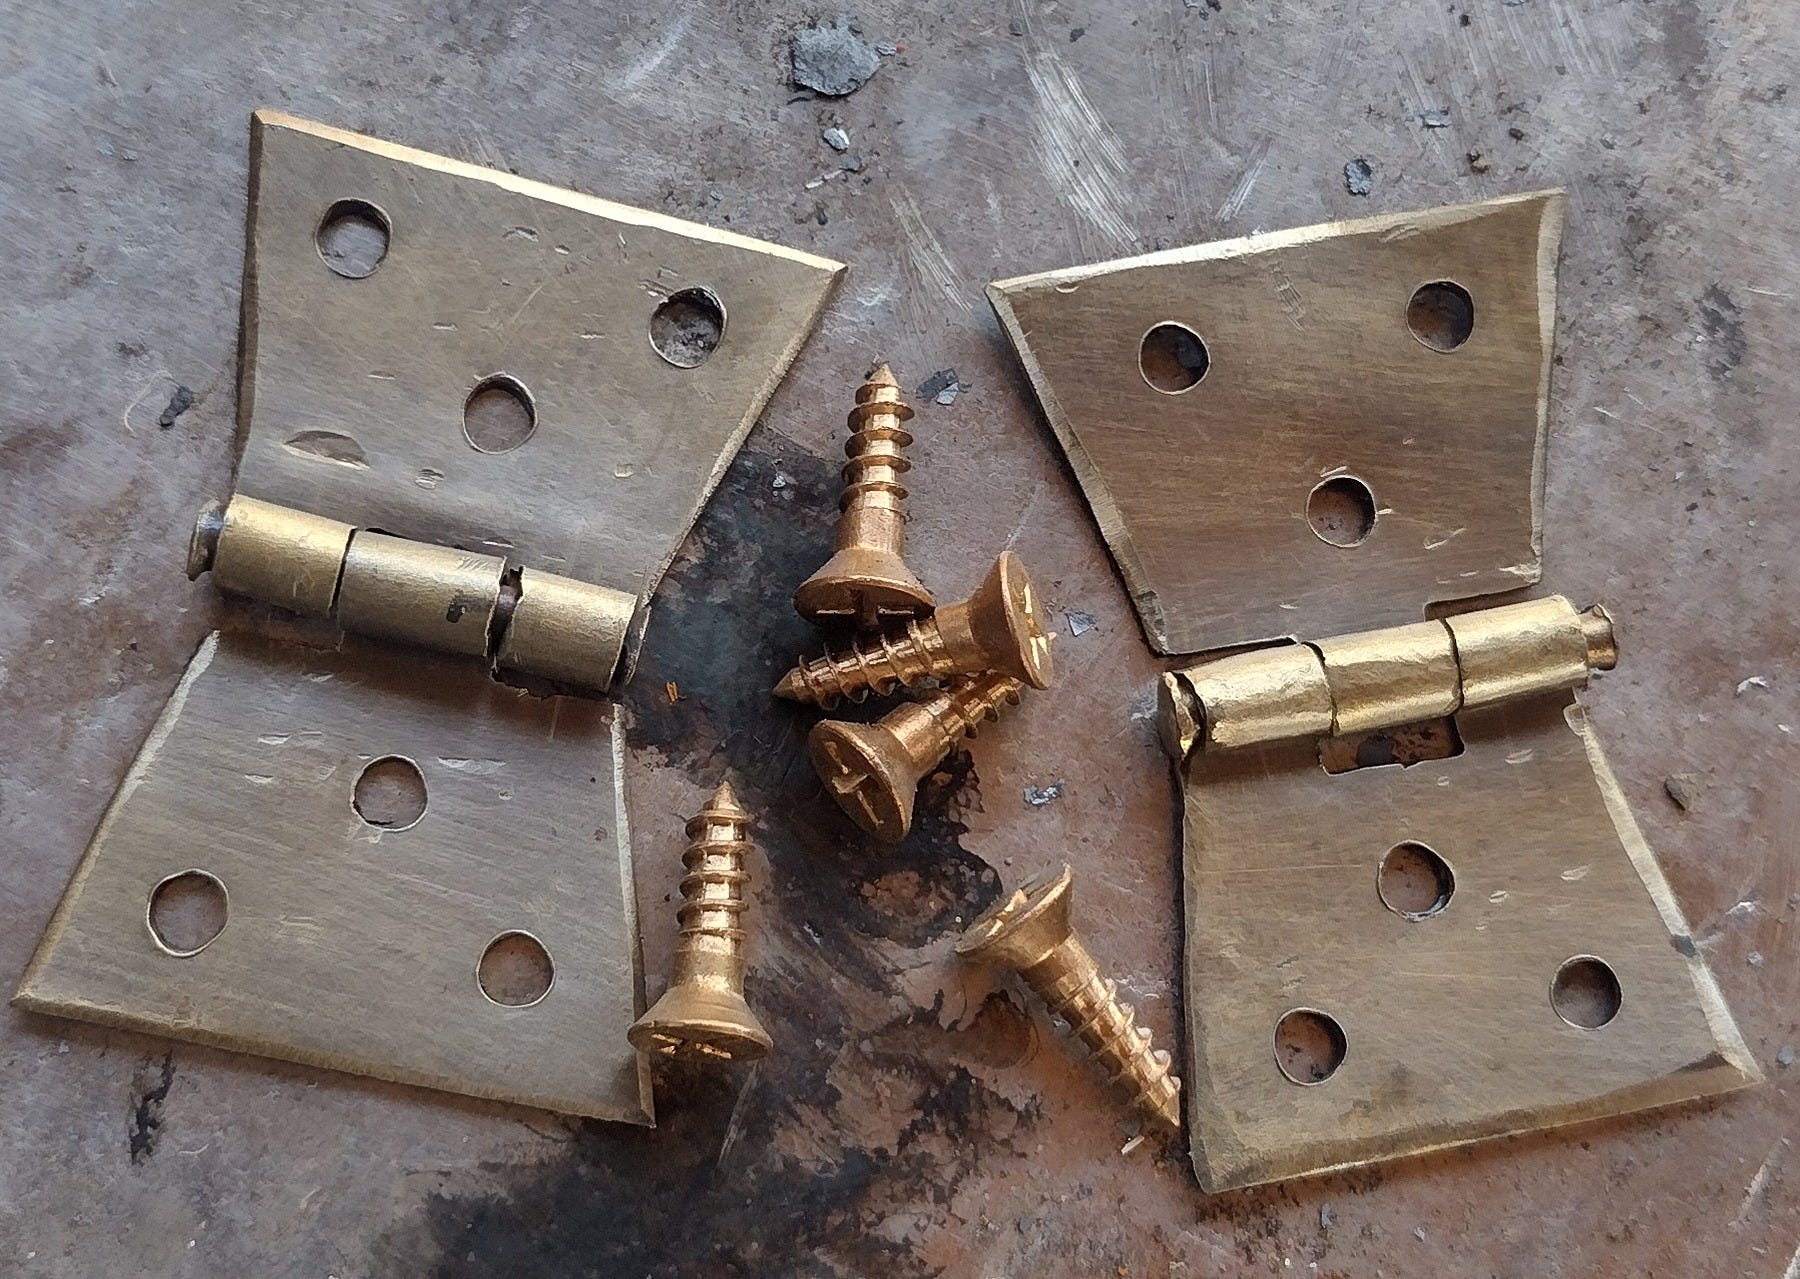
Then drilled them out and gave both hinges a good brushed-brass finish.
If you want to see how brushed-brass finish is done, check out this article:

Now, I will admit, I did wuss out on the screws. I intended to affix everything with homemade hobnails for a real old-timey-treasure-chest feel, but when I realized I had bronze finish screws on hand, I couldn’t resist. The bronze against the brass against that dark red-brown wood just looked too good to pass up.
So that’s the hinges sorted.
Now I needed a title card.
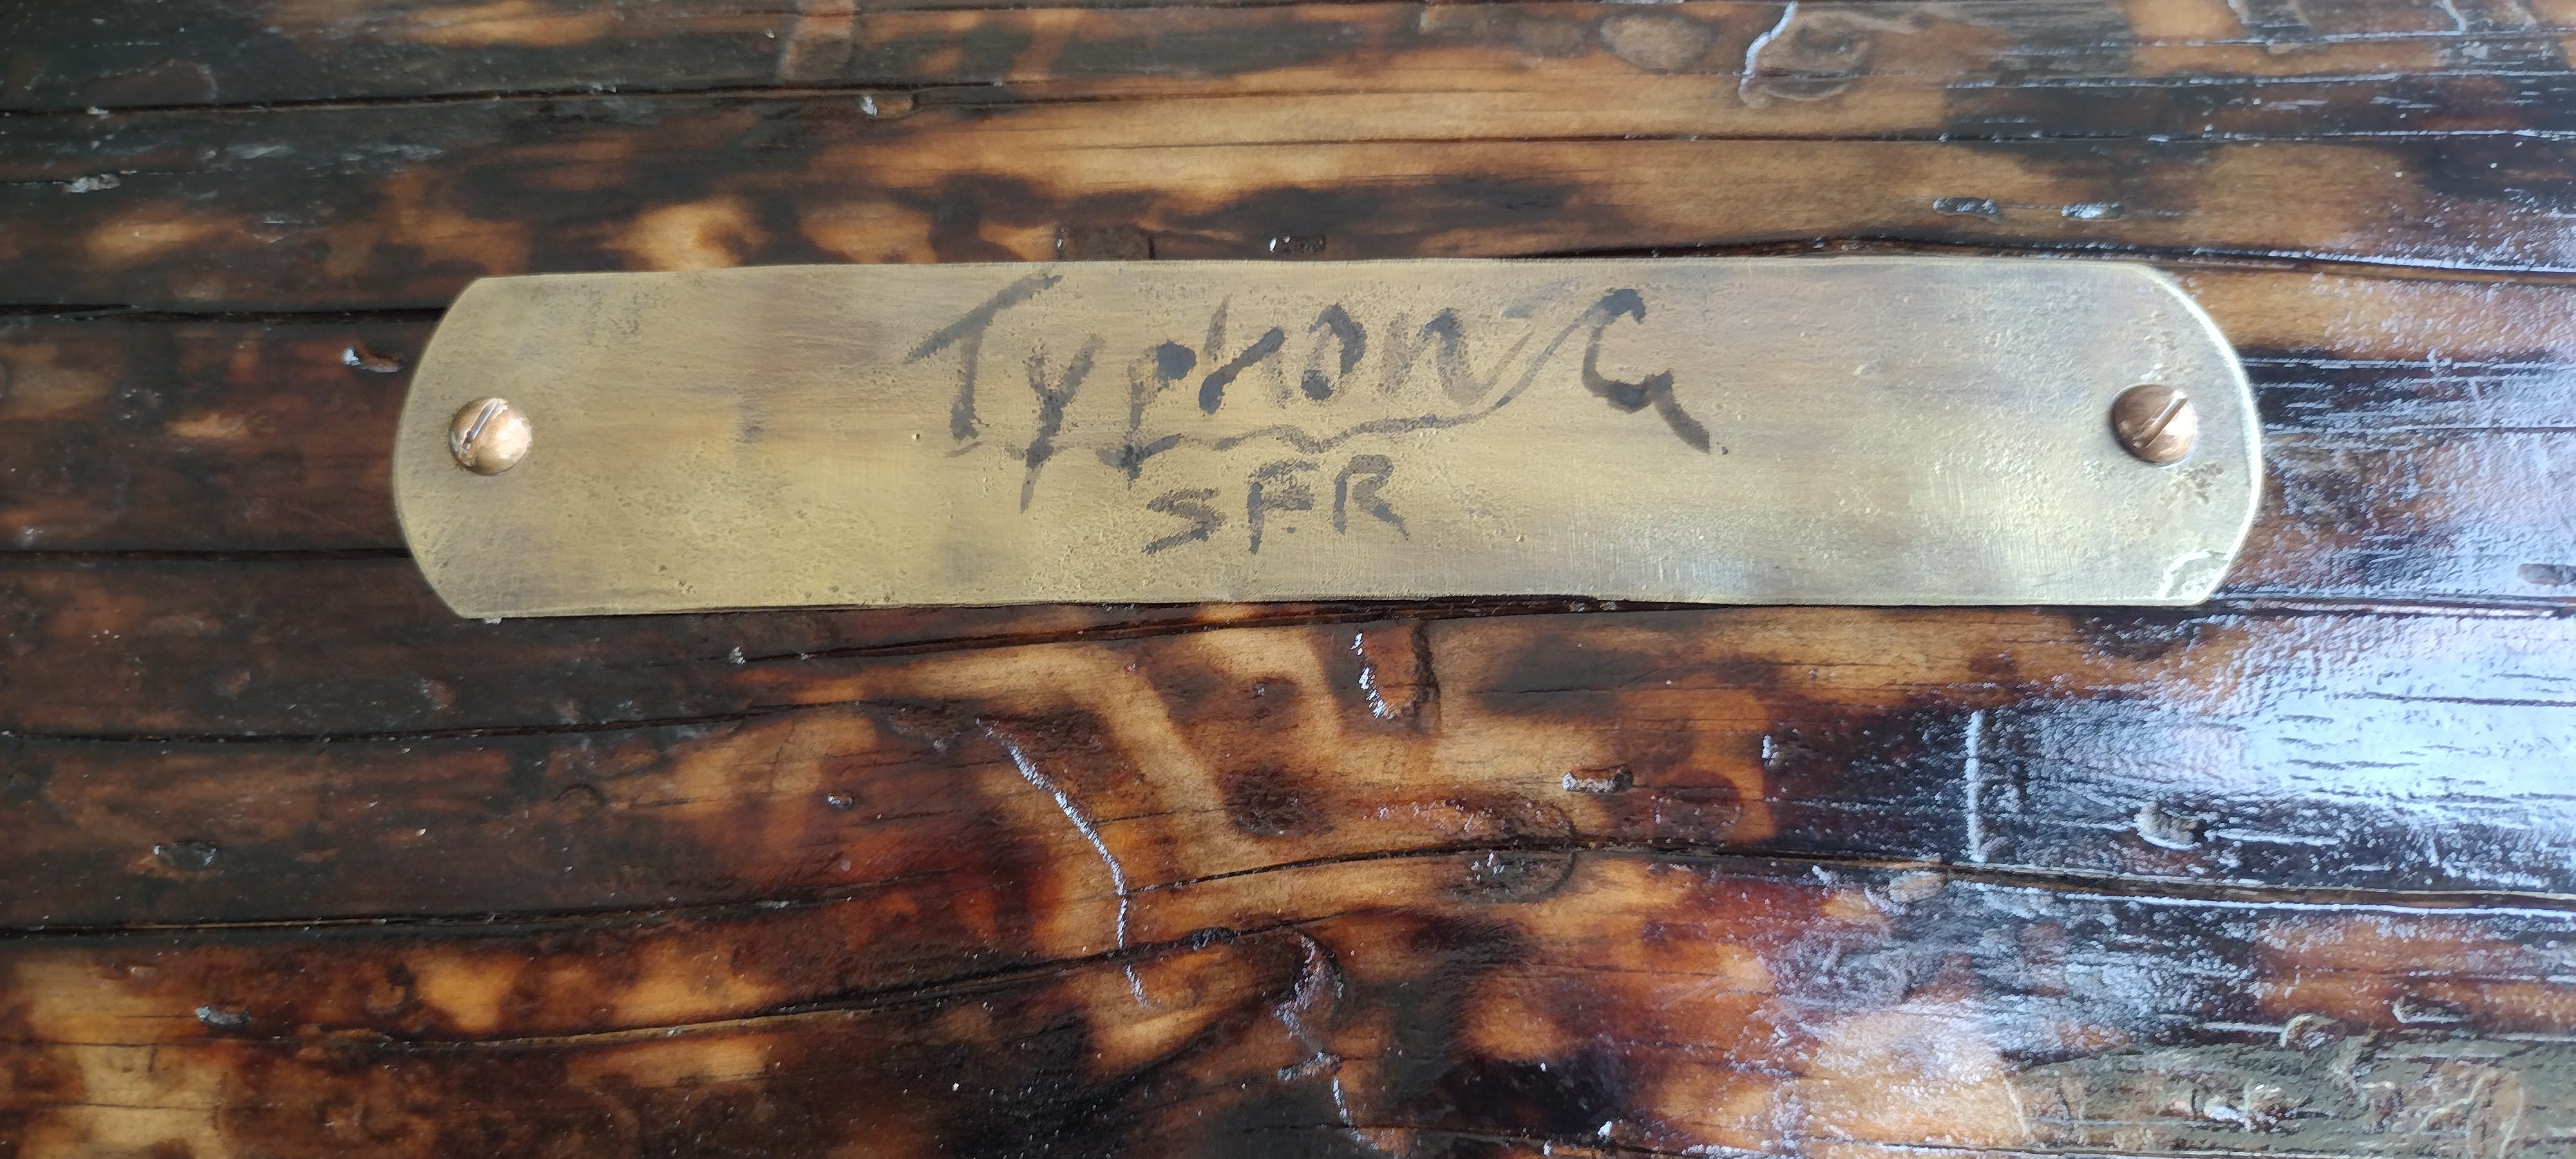
The Name Plate
If you’ve got a named weapon, and a presentation box to put it in, you must have something on that box that announces the grandeur of what’s inside.
I wanted a name plate on this sucker.
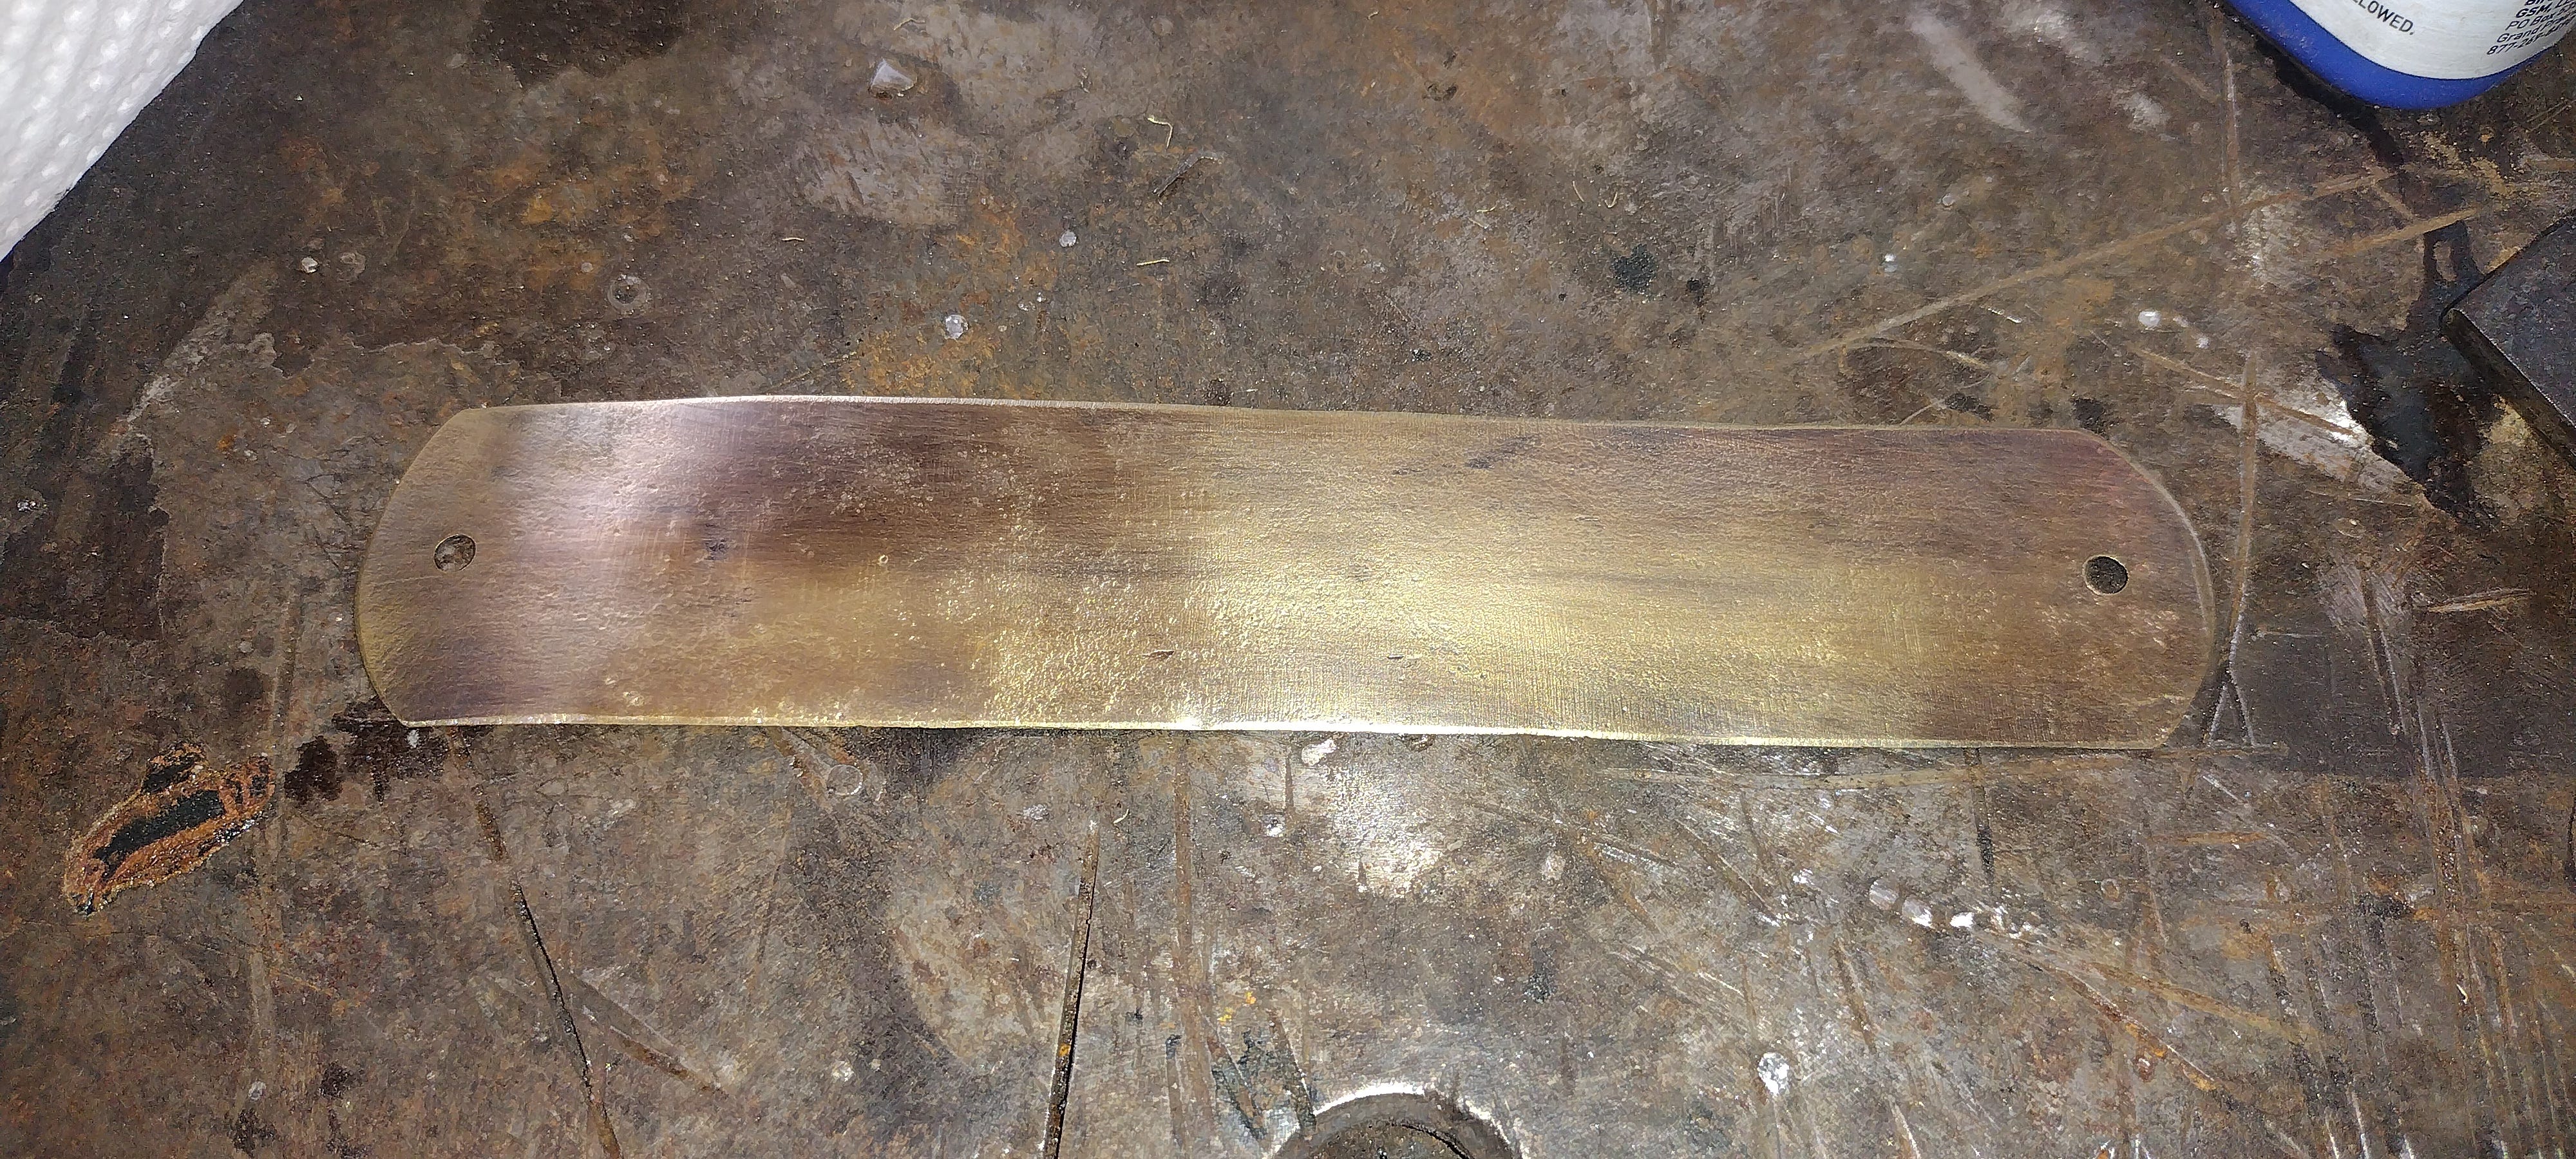
So I returned to the sheet metal that I’d just cut the hinges from and cut myself a round-cornered bar…
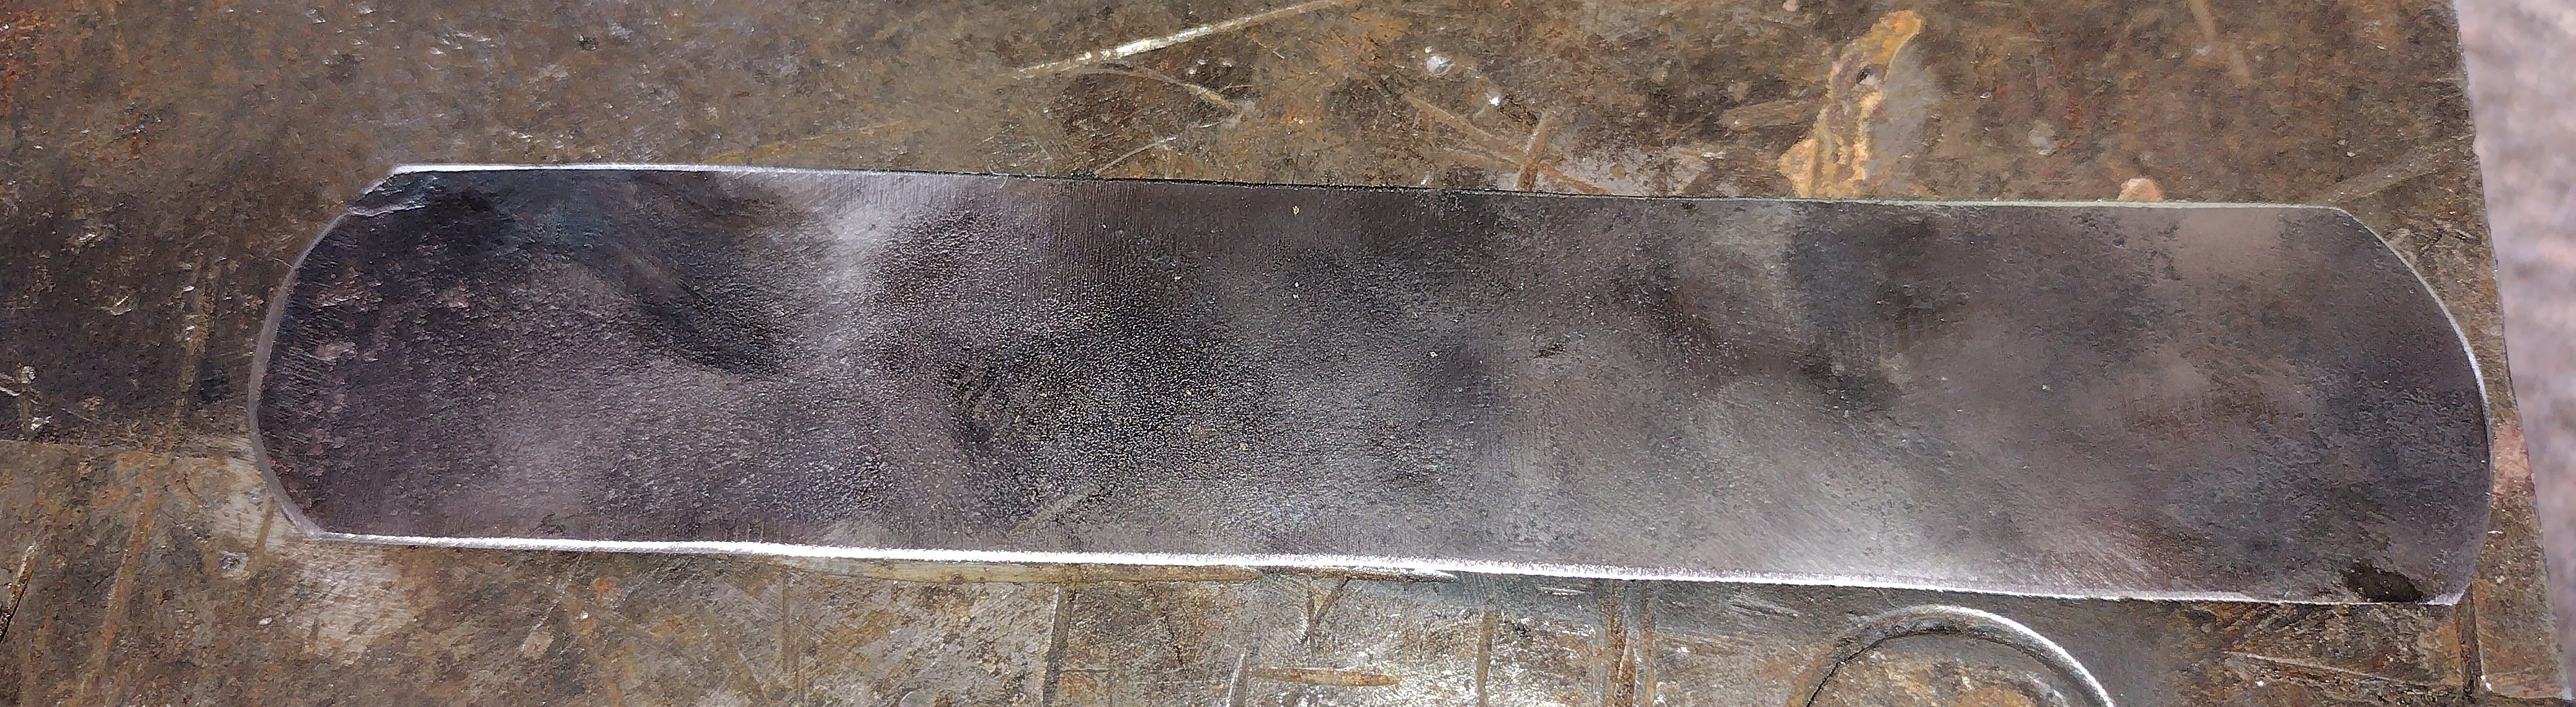
…then finished it in brushed brass to match the hinges.
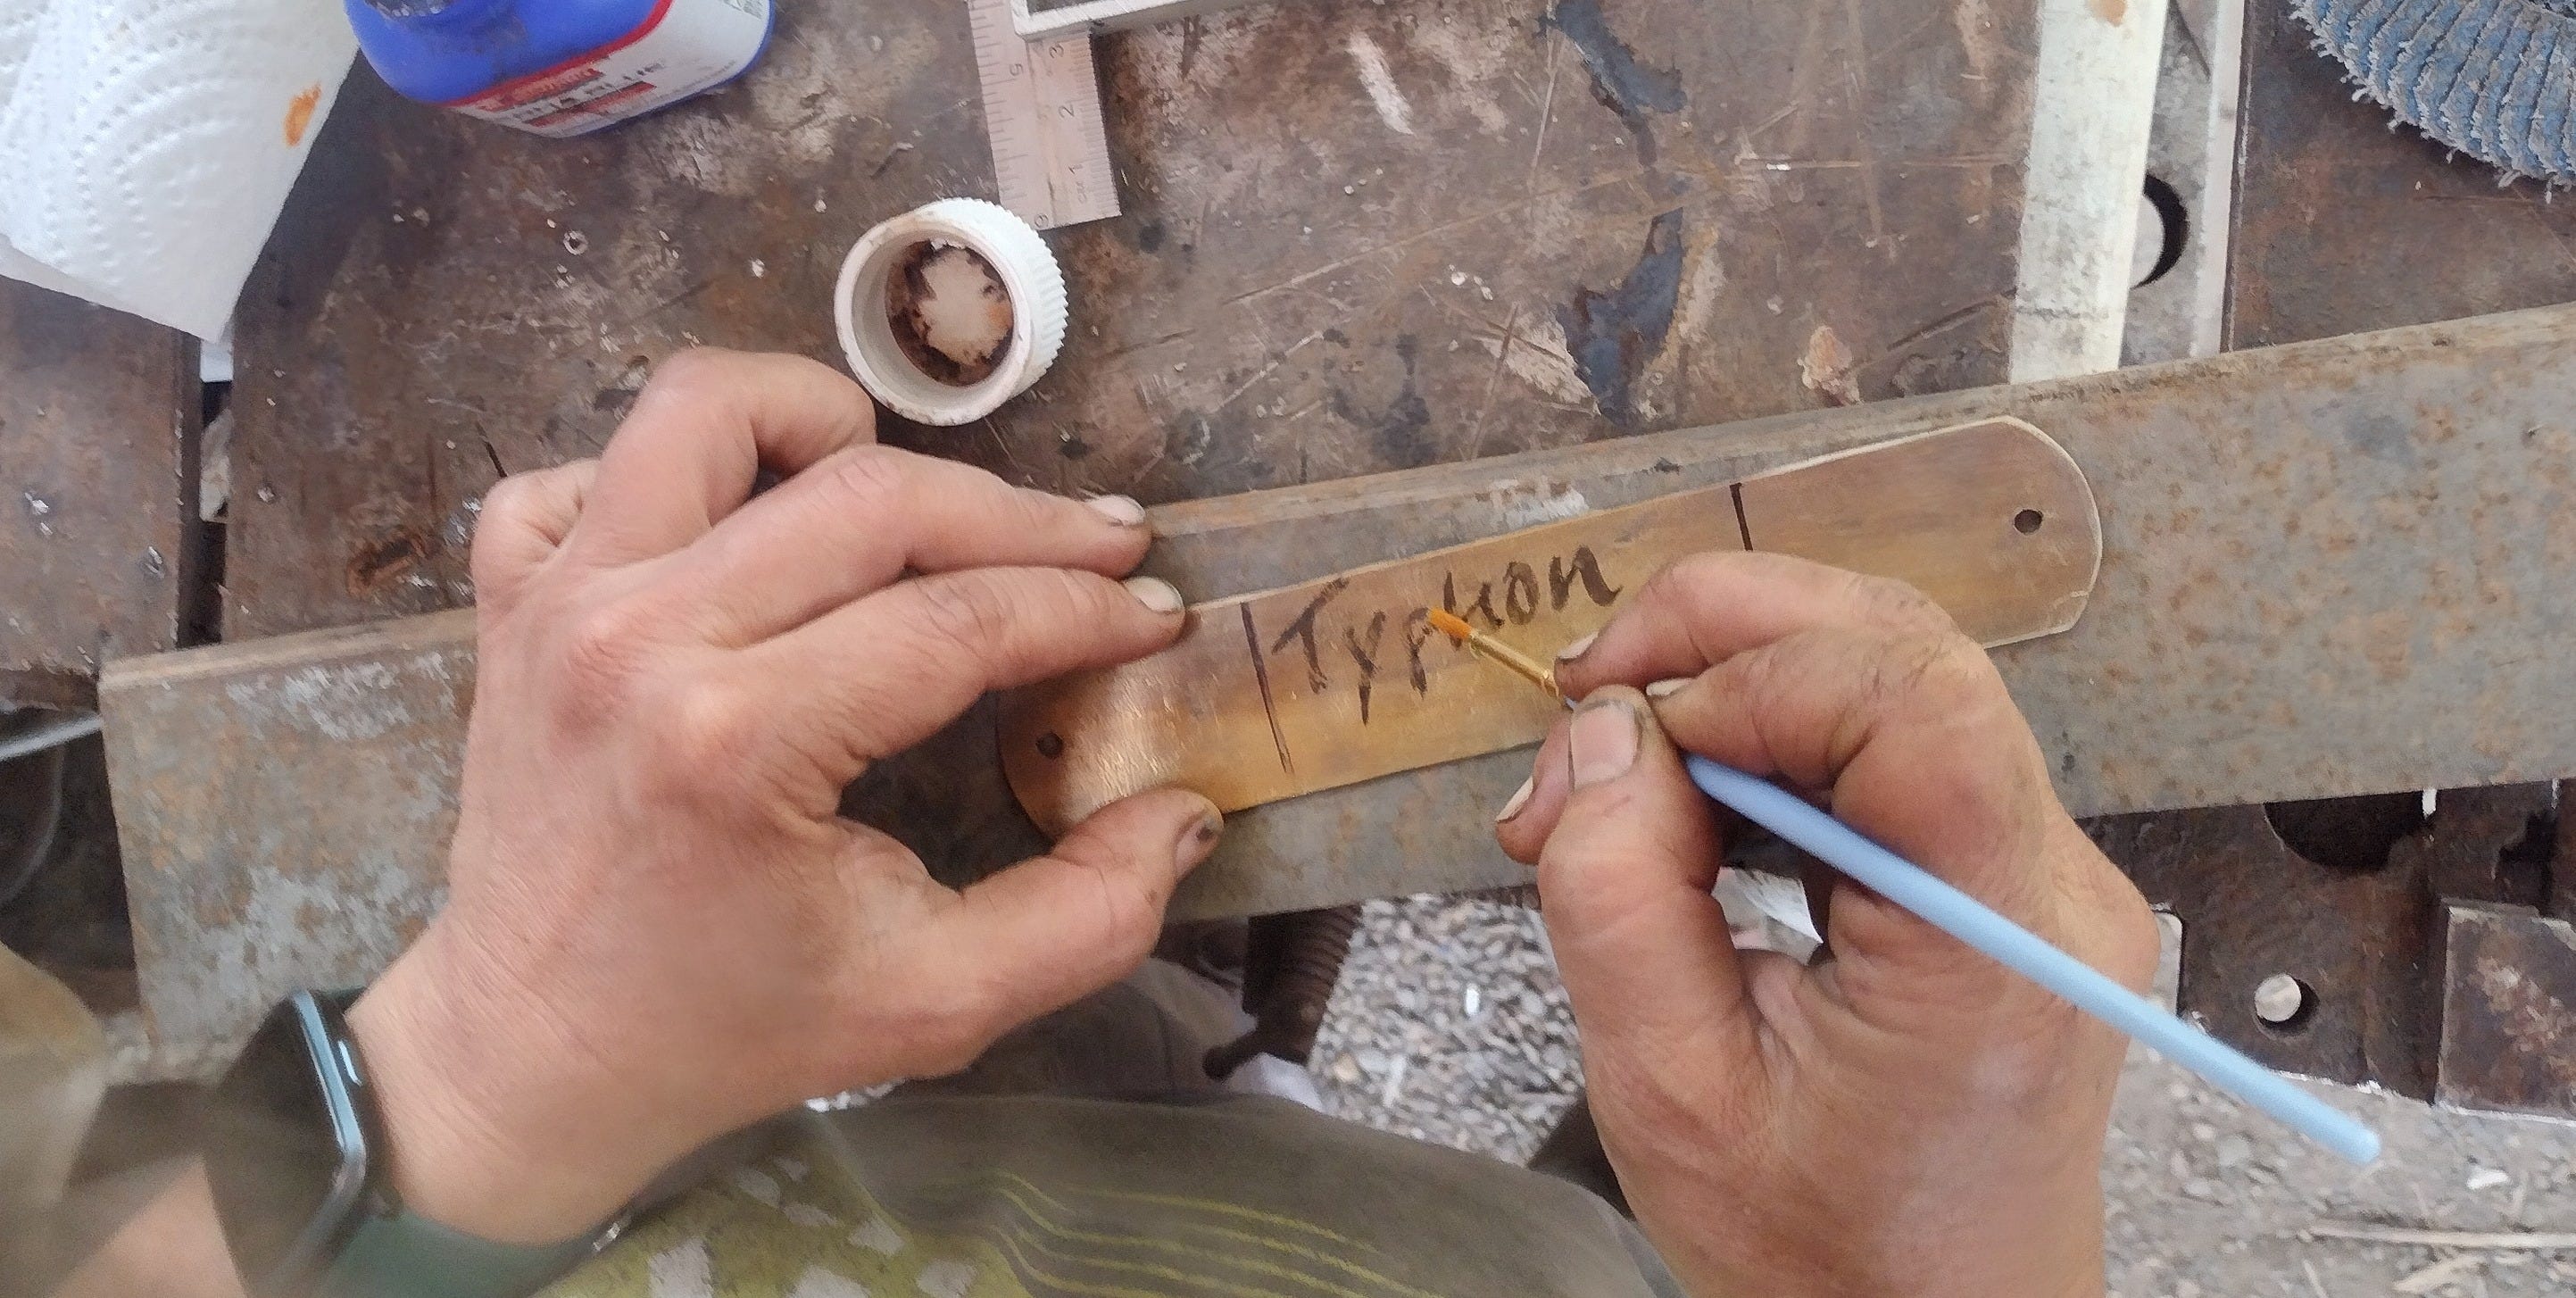
With a canvas like that to work on, who could resist? I called in the resident painter to paint the weapon’s name (and some other stuff) onto the plaque in cold-blue.
The Straps
After I affixed the name plate and the hinges to the box (and no, I’m not going to show you that yet) I had one last thing to figure out:
How the hell was I going to close this thing securely?
Under normal circumstances, my first instinct would be to use a hasp and a decorative padlock, but the lid on my presentation box had a big knot right where I’d normally put such a thing, and knots are not good for drilling into; they tend to shatter (and that’s under the best circumstances).
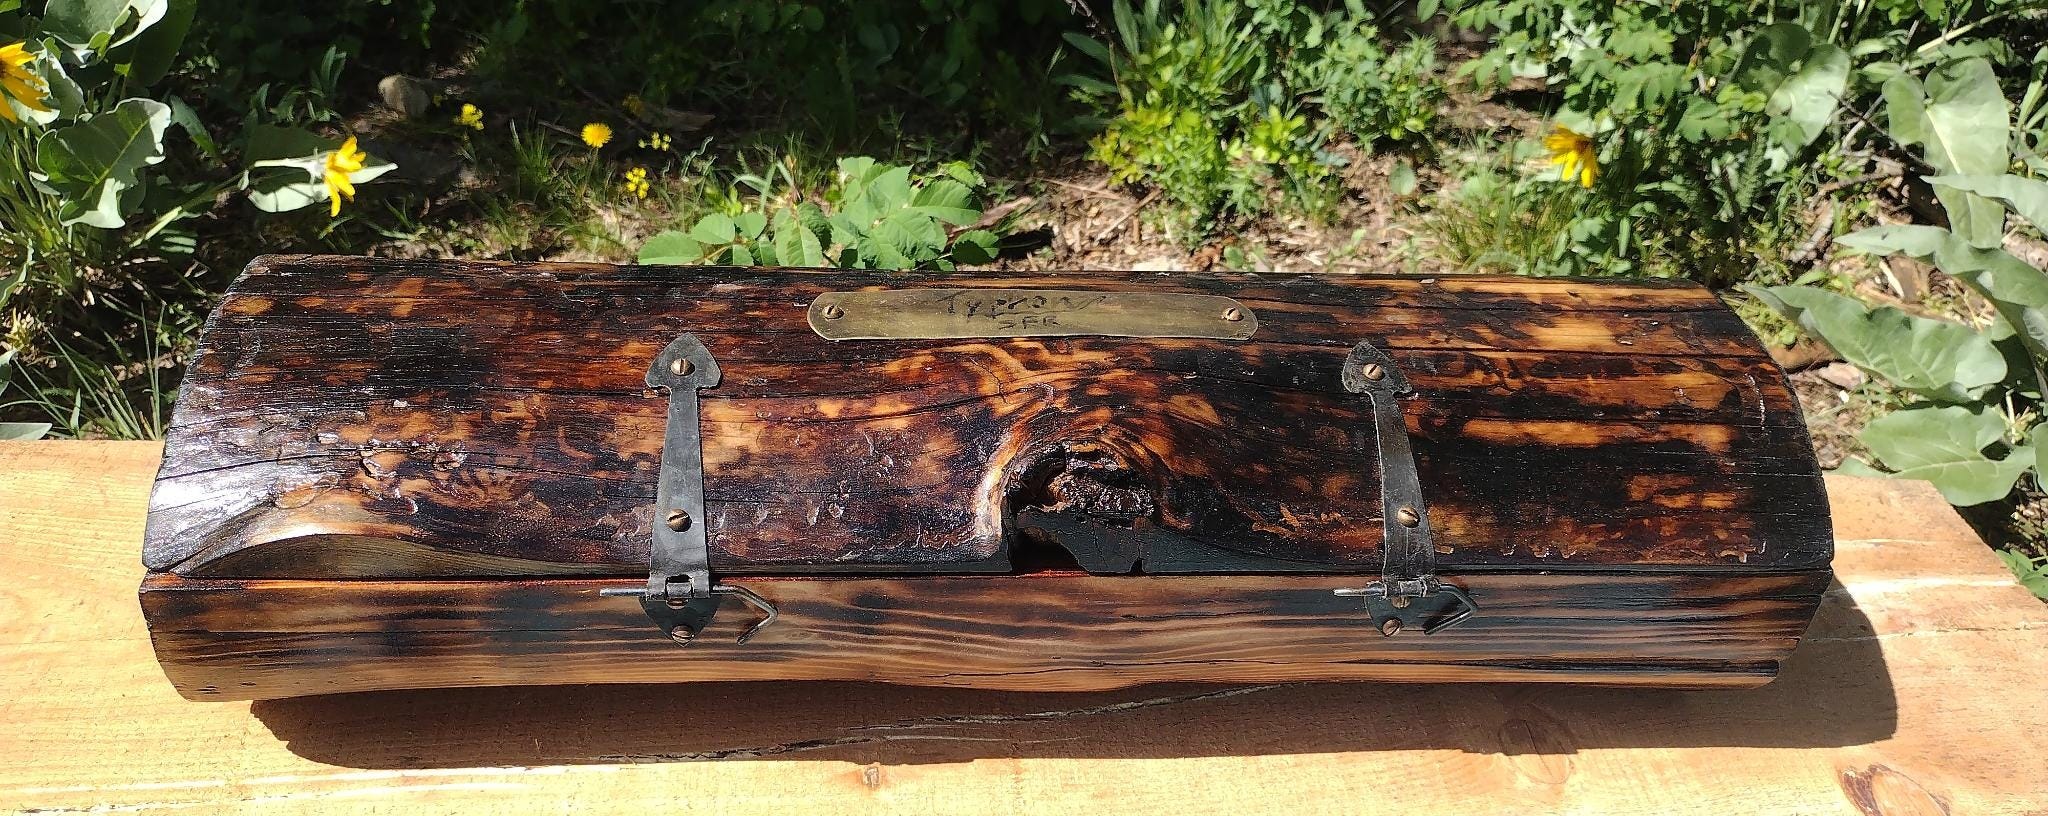
I considered and sketched, but nothing really made me happy until I thought back to pirates’ treasure chests. The straps going over and around them appealed to me, and if I could figure out a way to use those kinds of straps to make a closure for this box—especially one that would hold tight through the rigors of shipping—I’d be a happy guy.
I returned to my sheet metal stock, cut some straps, did some final shaping on the grinder, and rolled up the ends just like I’d done with the hinges. Then I marked and cut a couple shorter spade bits and gave them hinge barrels as well.
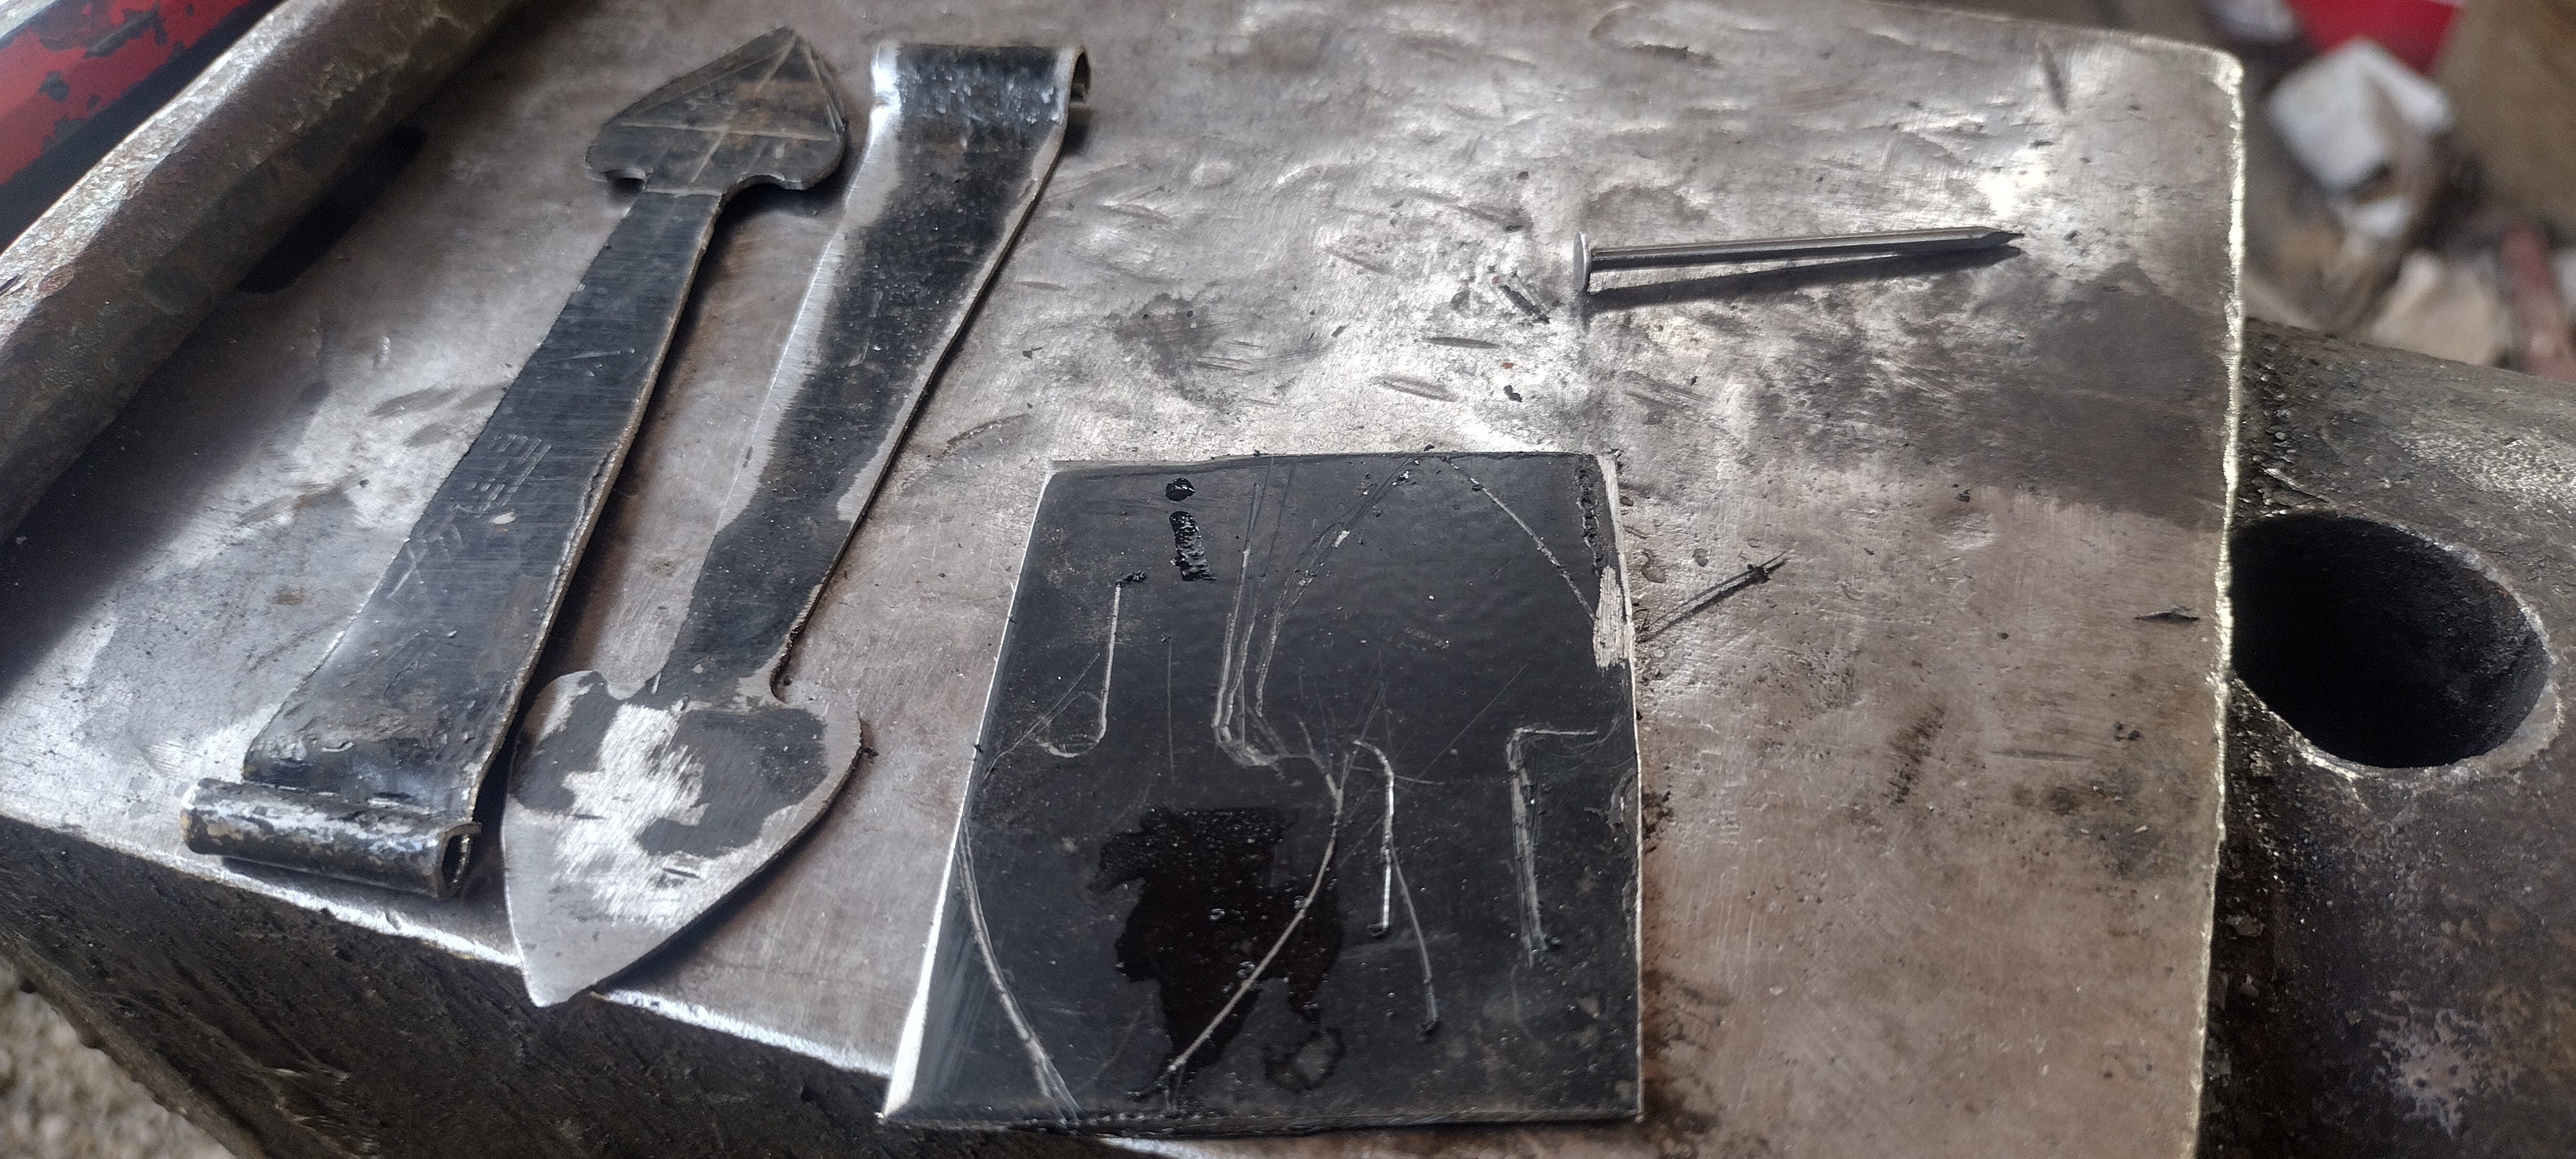
I cut the barrels on all these pieces so that they’d form interlocking hinge flaps, but I held off on the making hinge pins. First, I needed to finish these; not in brass—there was already enough brass on this box. I needed something else. Something that would set it off. Something that would make the whole thing feel even more nautical.
I settled on finishing these pieces in matte-black oil, just like blacksmiths back in the Golden Age of Piracy would have done.
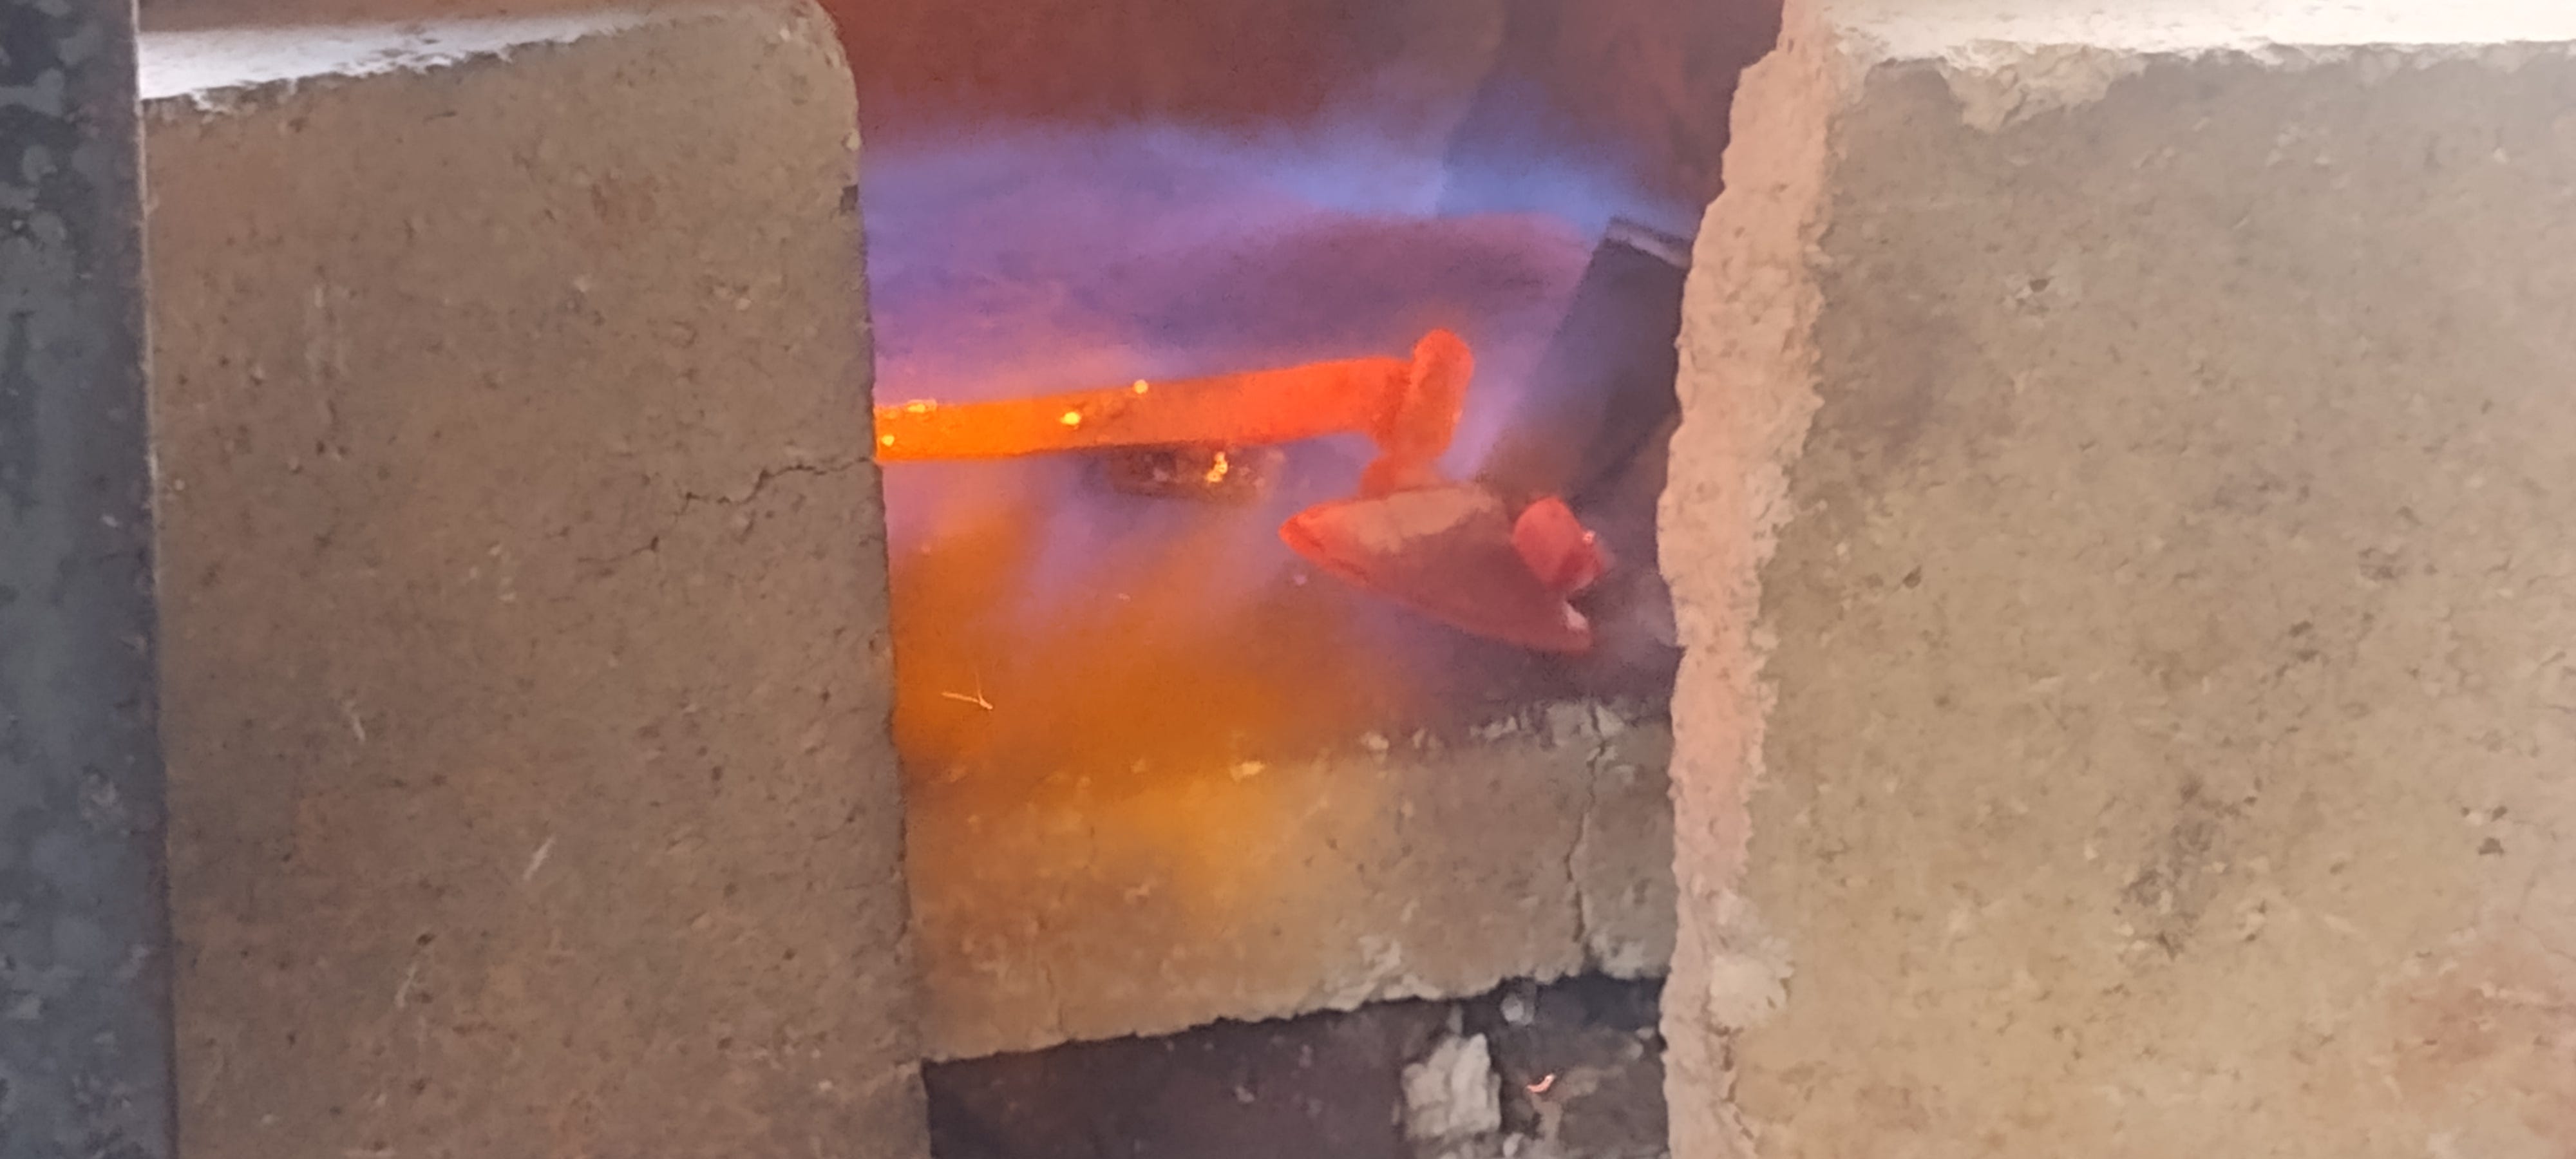
Into the forge to heat up they went, and then, while hot, I coated them with paste wax that burned down to form a black enamel coating.
Now, the hinge pins. Instead of peened-in-place and permanent, I made them out of the same welding rod that I made the hinge pins for the back out of. I mounted the straps and spade-ends so that they’d be under significant tension with the pins in, which would hold the pins in place, but the pins themselves I designed to be easy to grab and pull out.
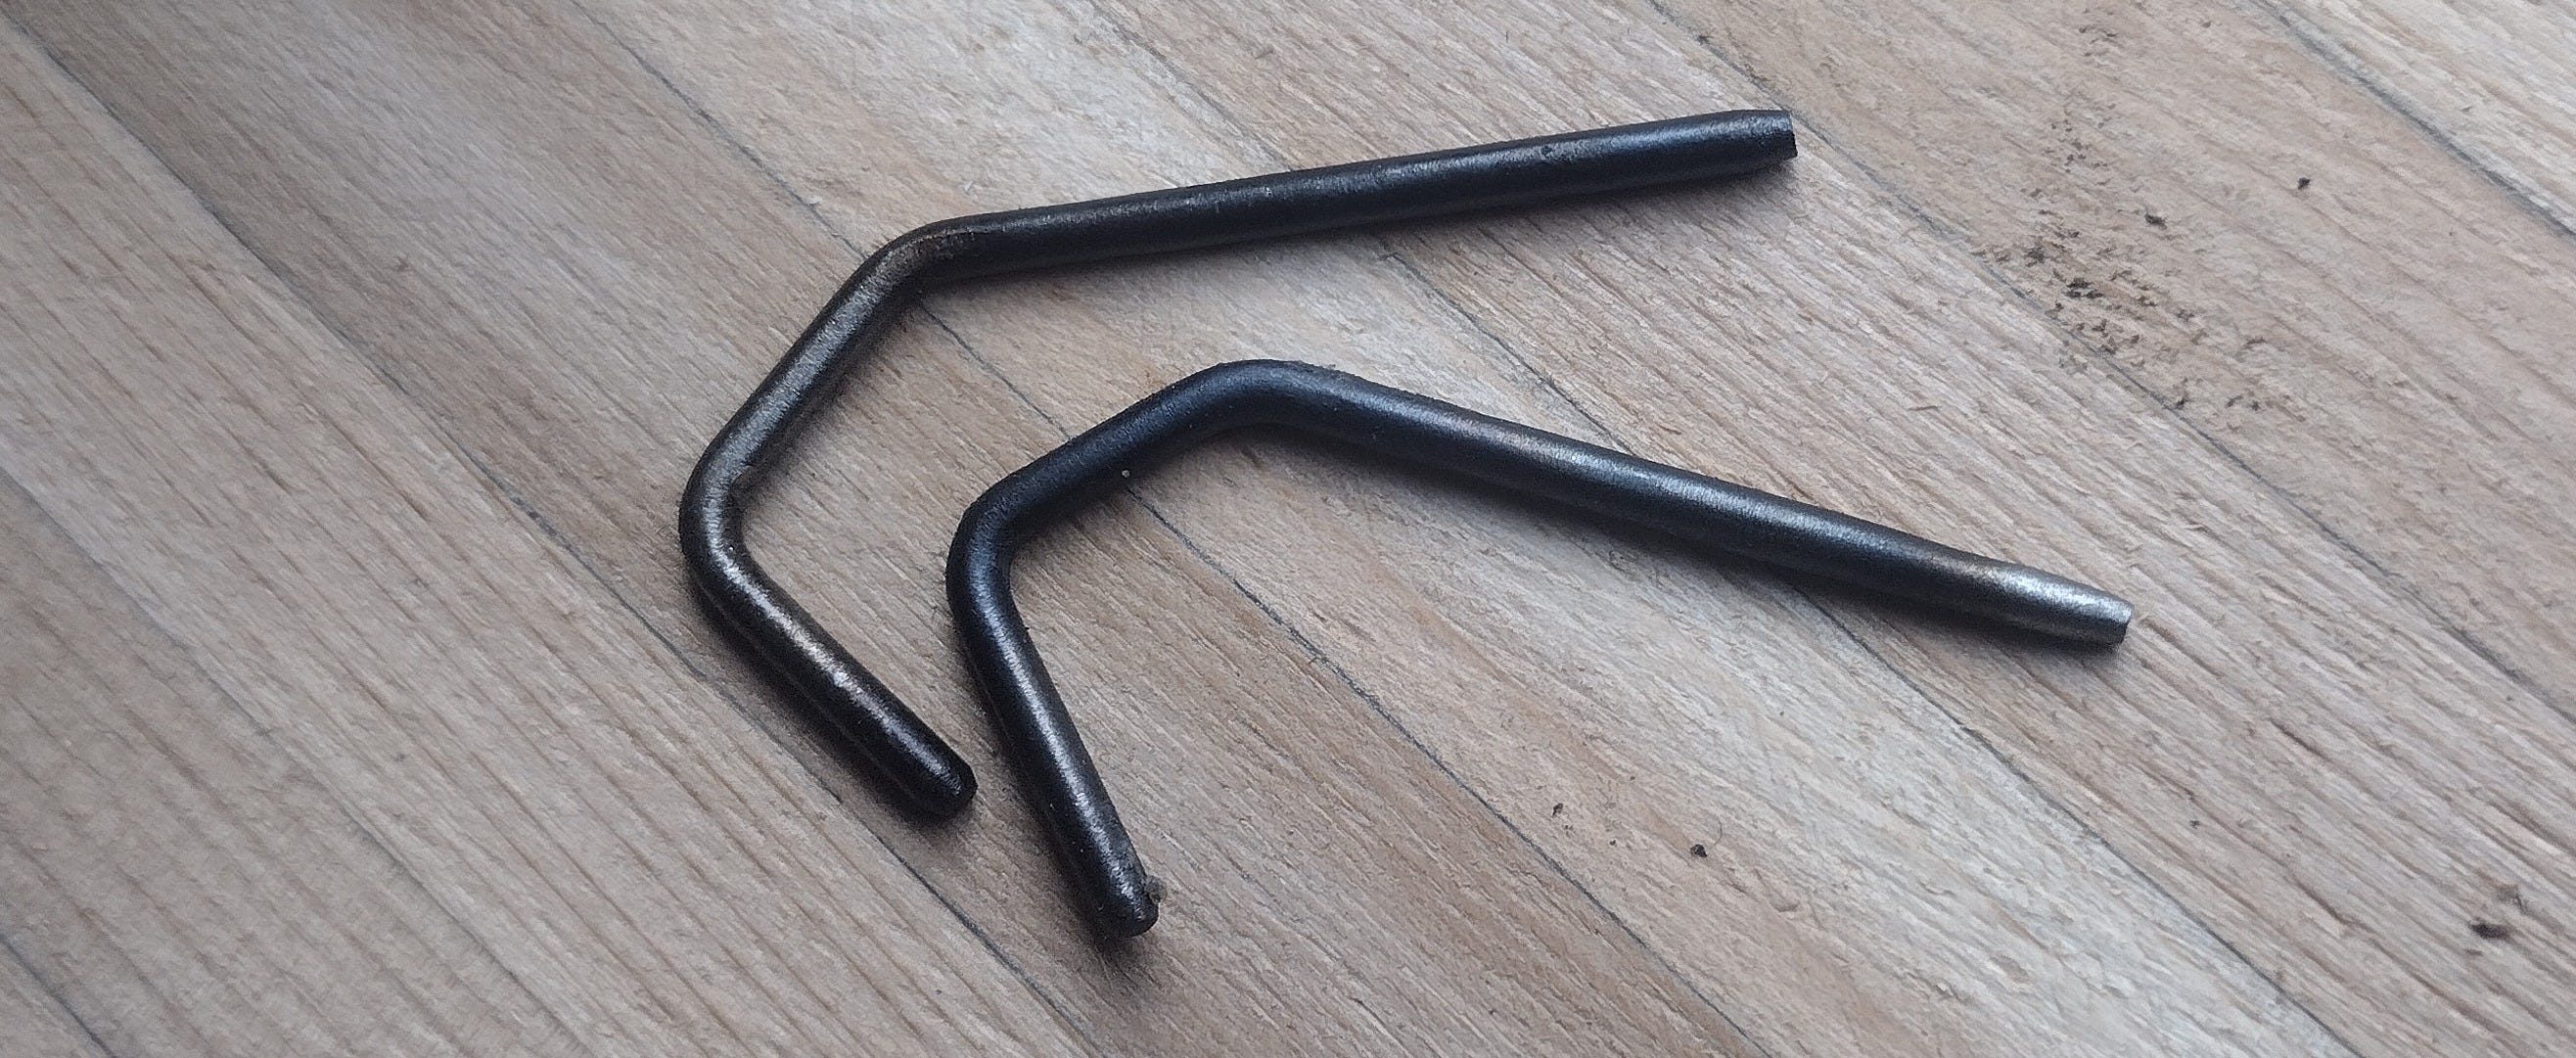
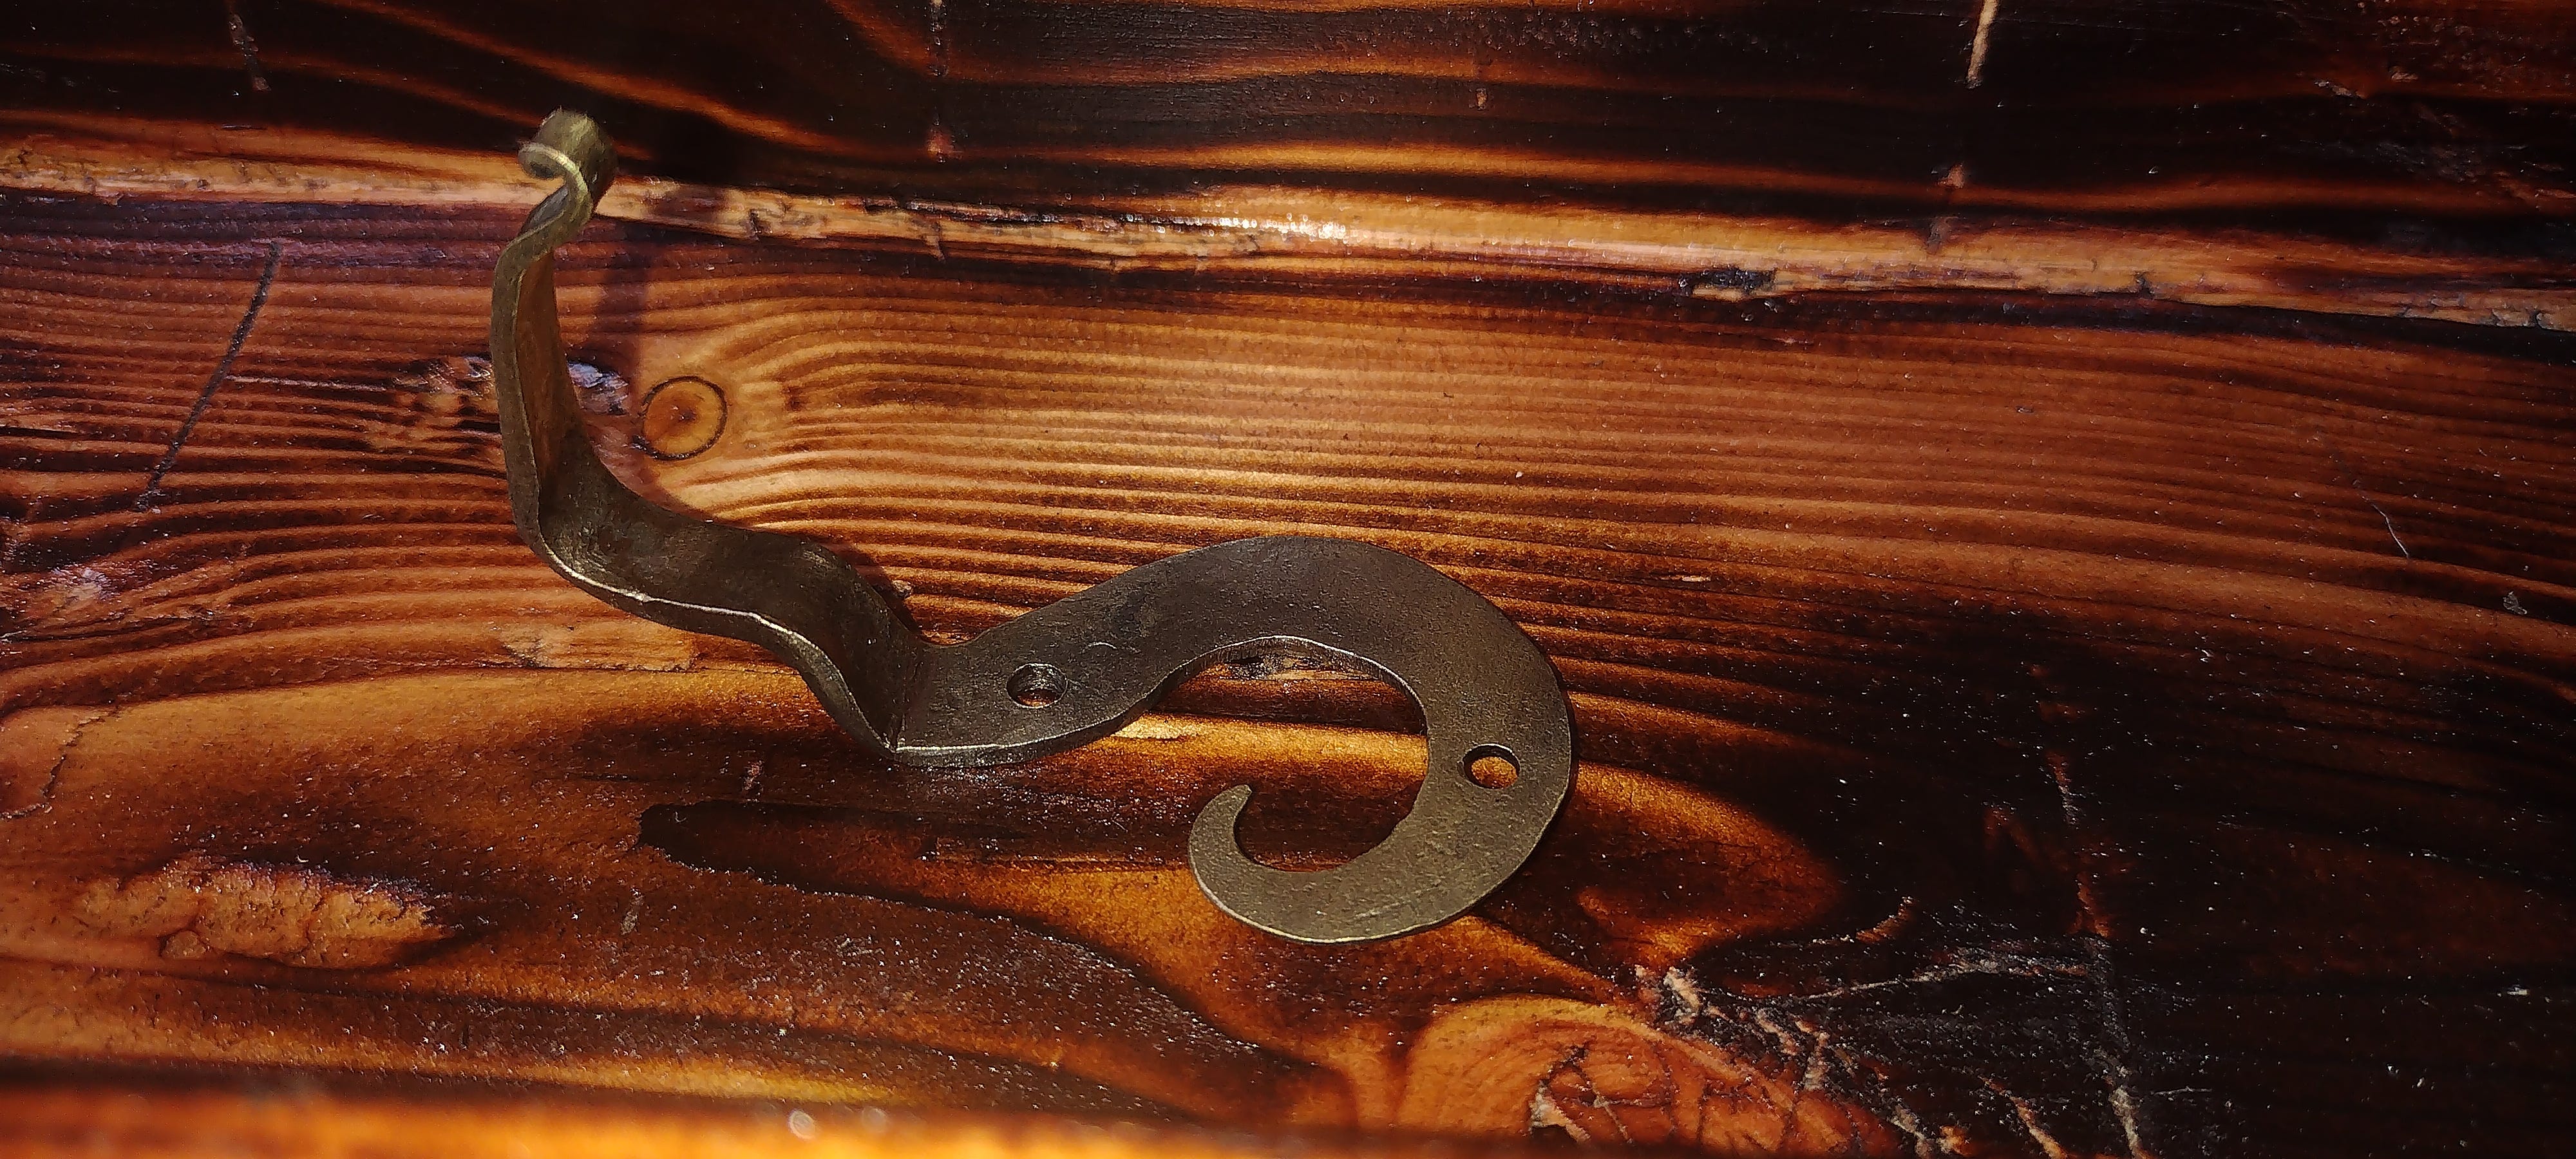
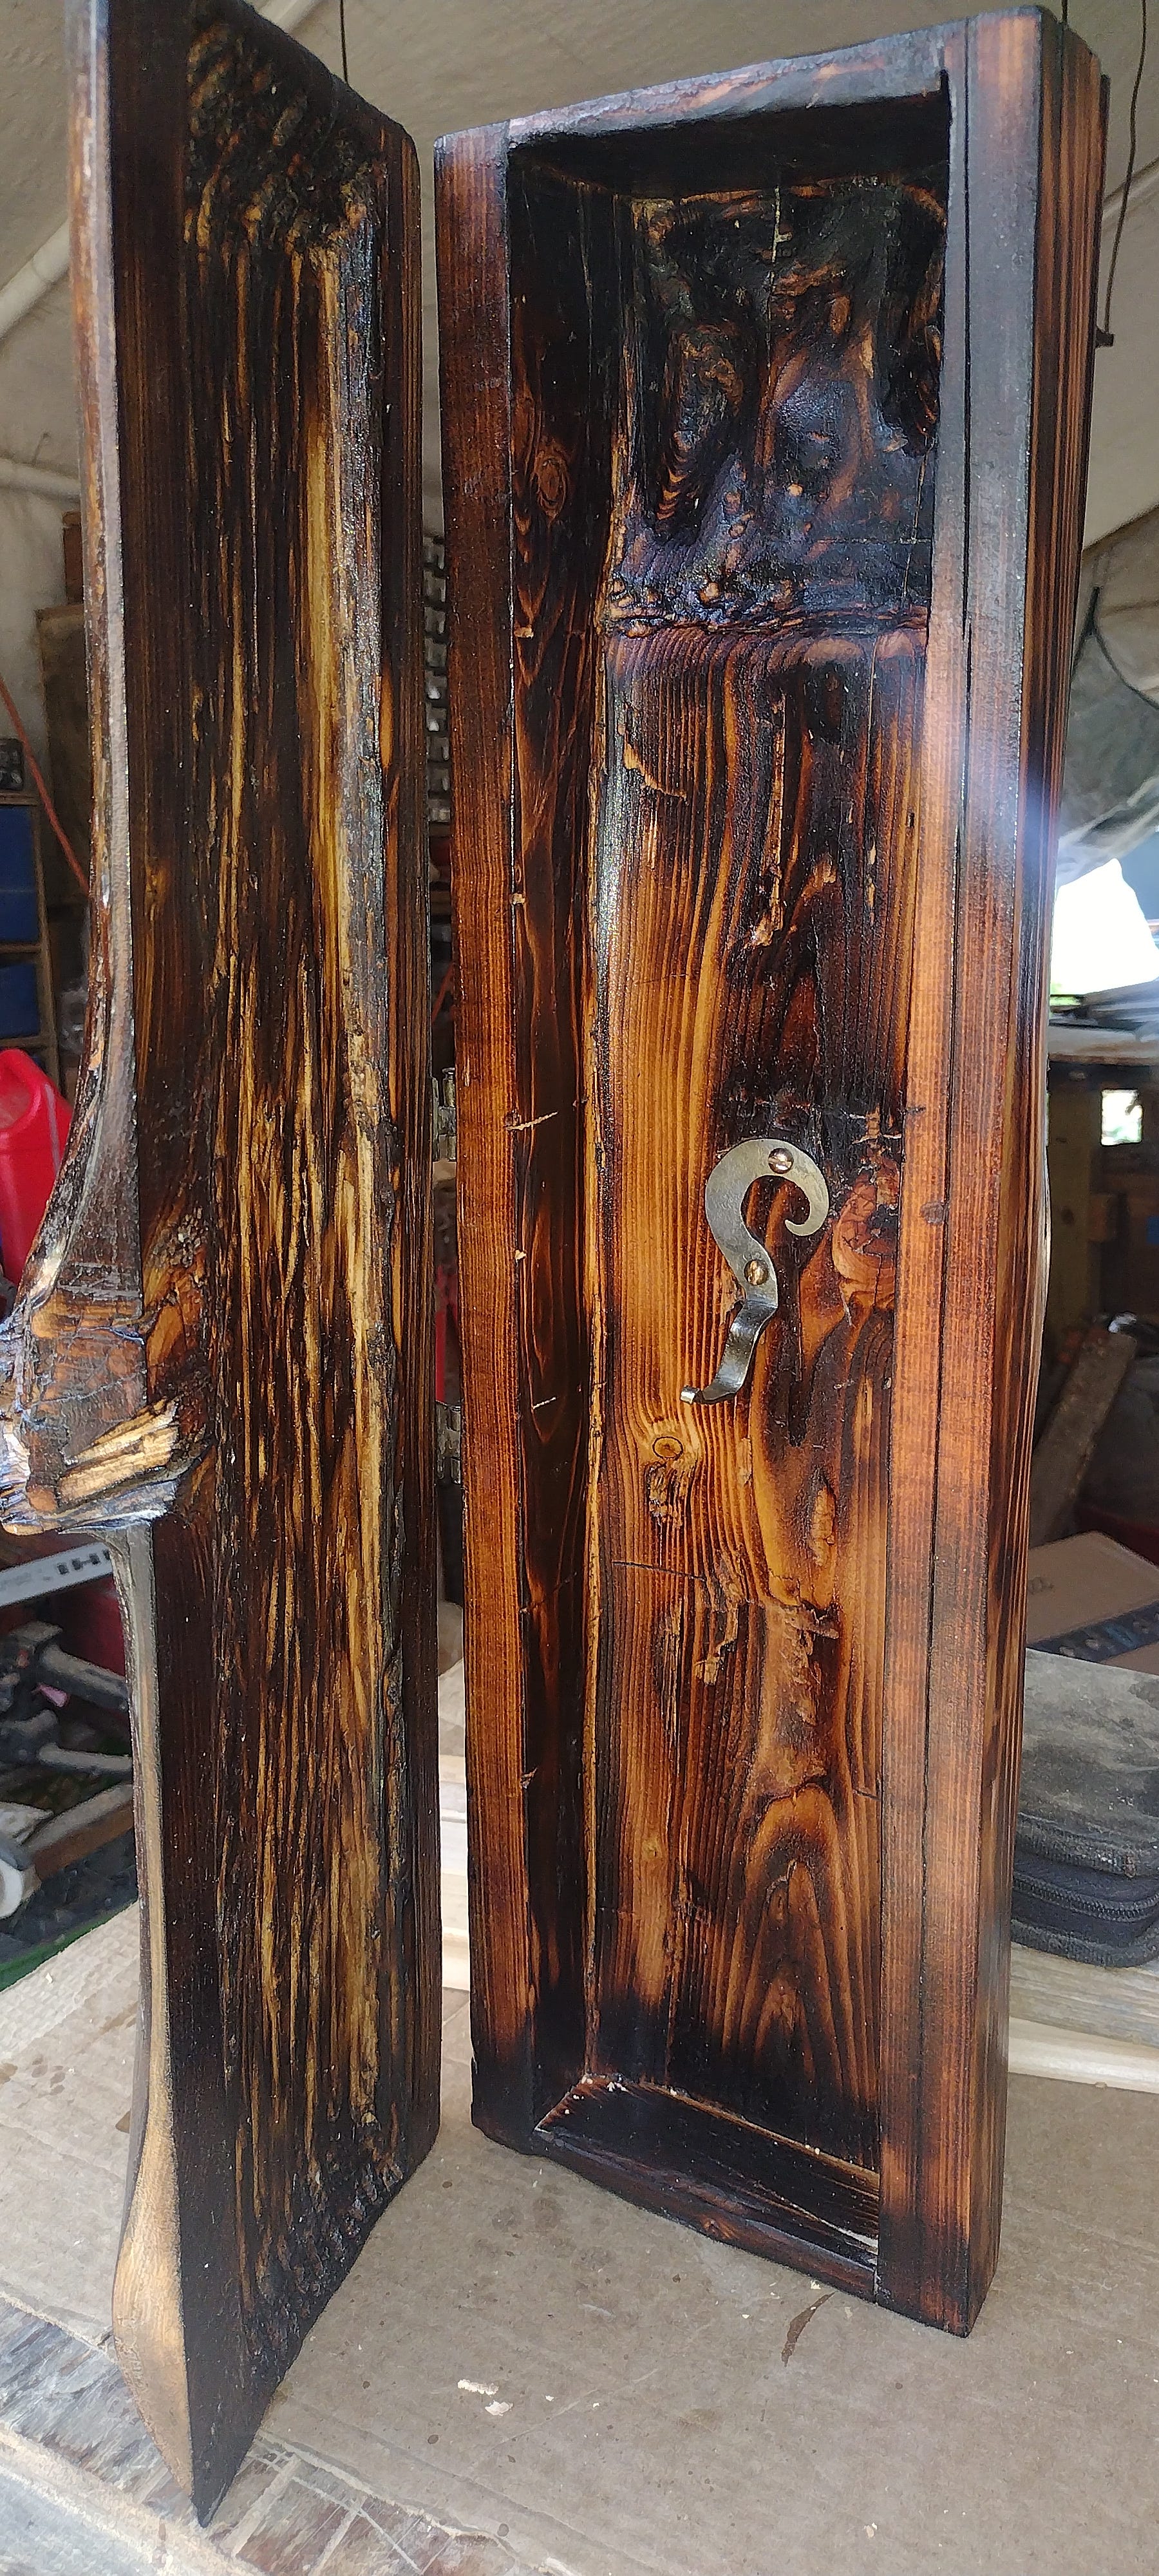
As I put everything together, I realized I needed one more thing for the box: a hook to help hold Typhon snug in her place.
I quickly forged one out of spring steel—in the shape of a cresting tsunami—and finished it in brass.
The Reveal
While all this was going on, the box was getting succeeding coats of oil, and then shellac,1 to give it a beautiful, deep finish.
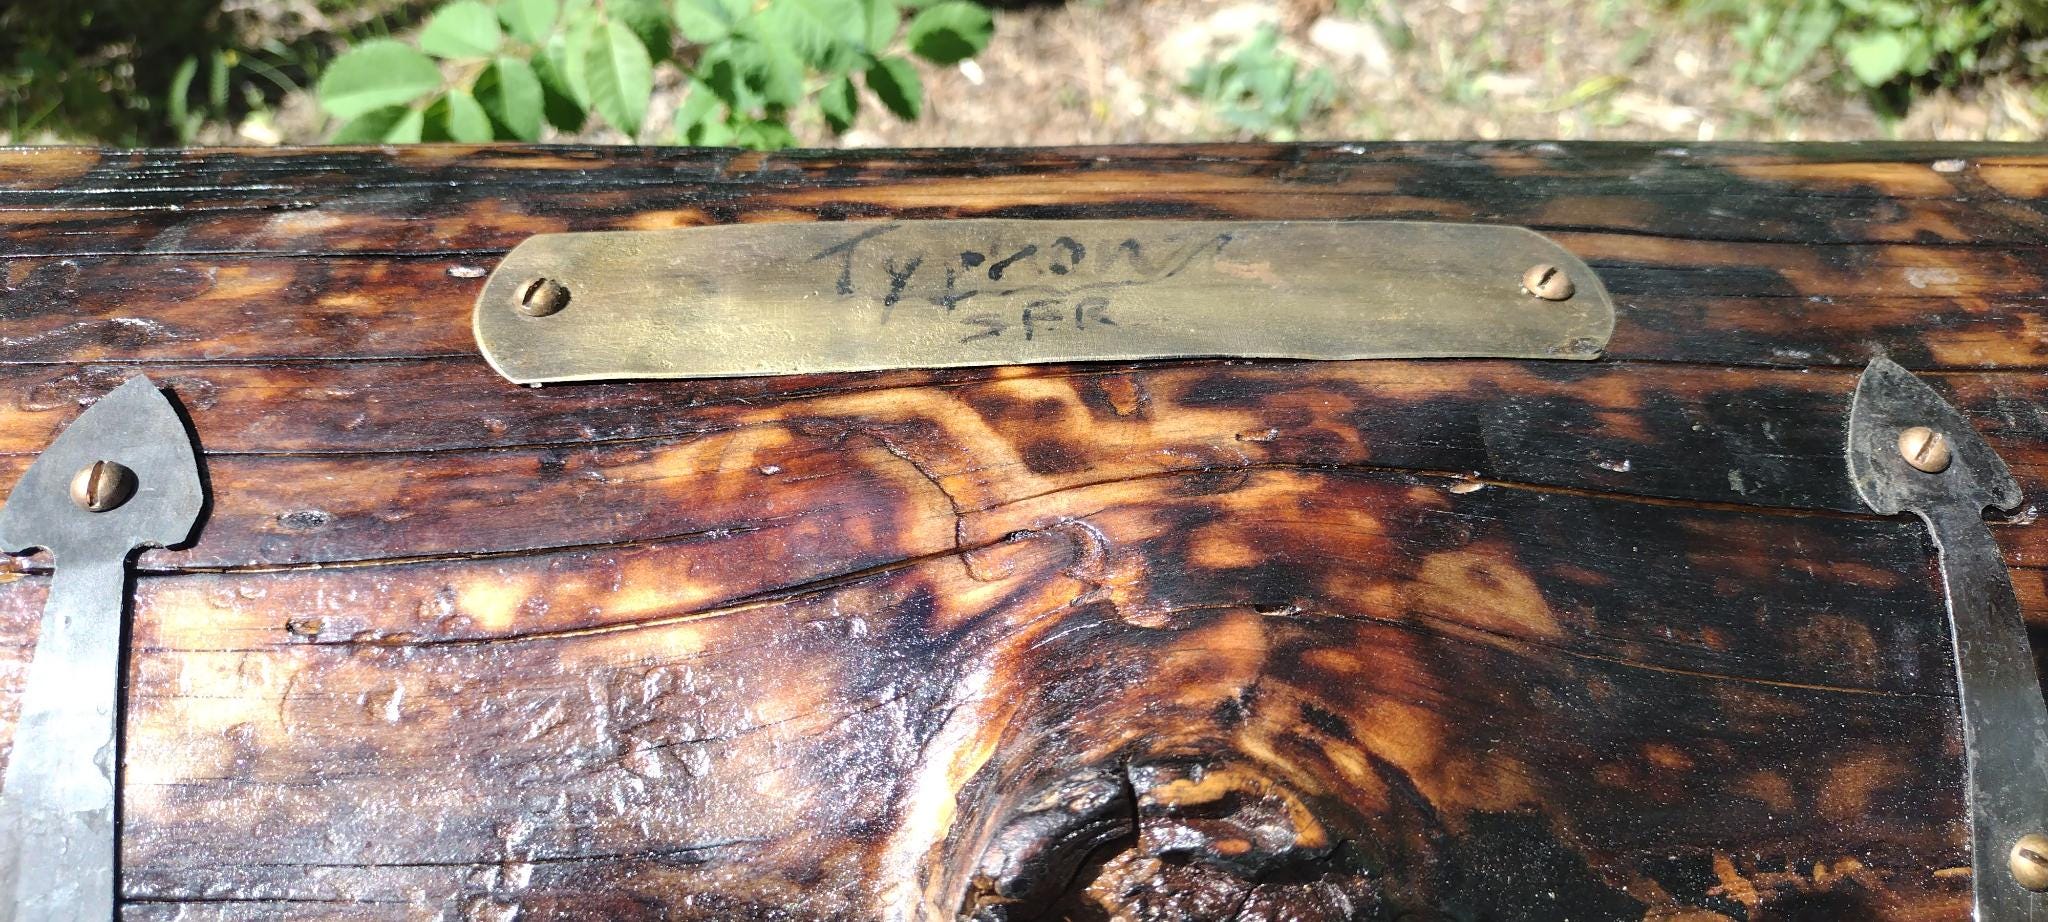
The hardware went on. First the hinges…
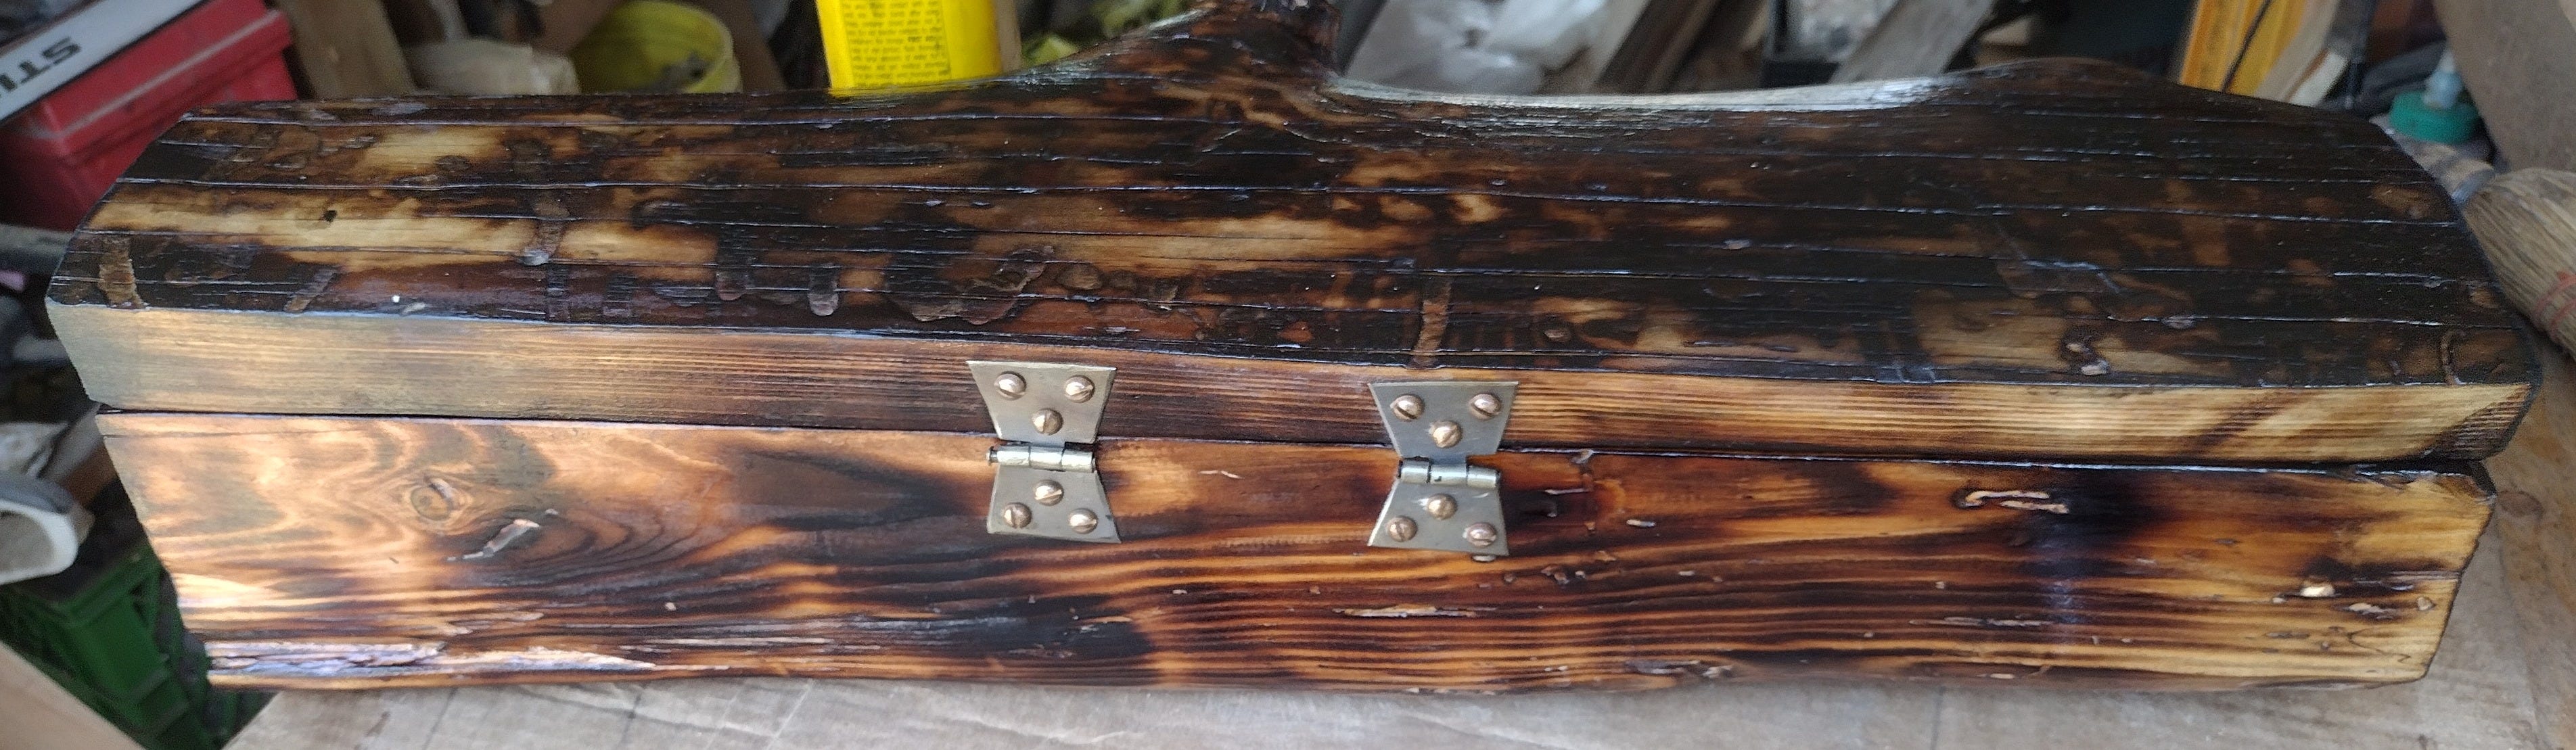
Then the hook…
Then the name plate.
Then the straps…
And then, with everything assembled, Typhon took her rightful place in the presentation box (which had, it seems, evolved into a display case):

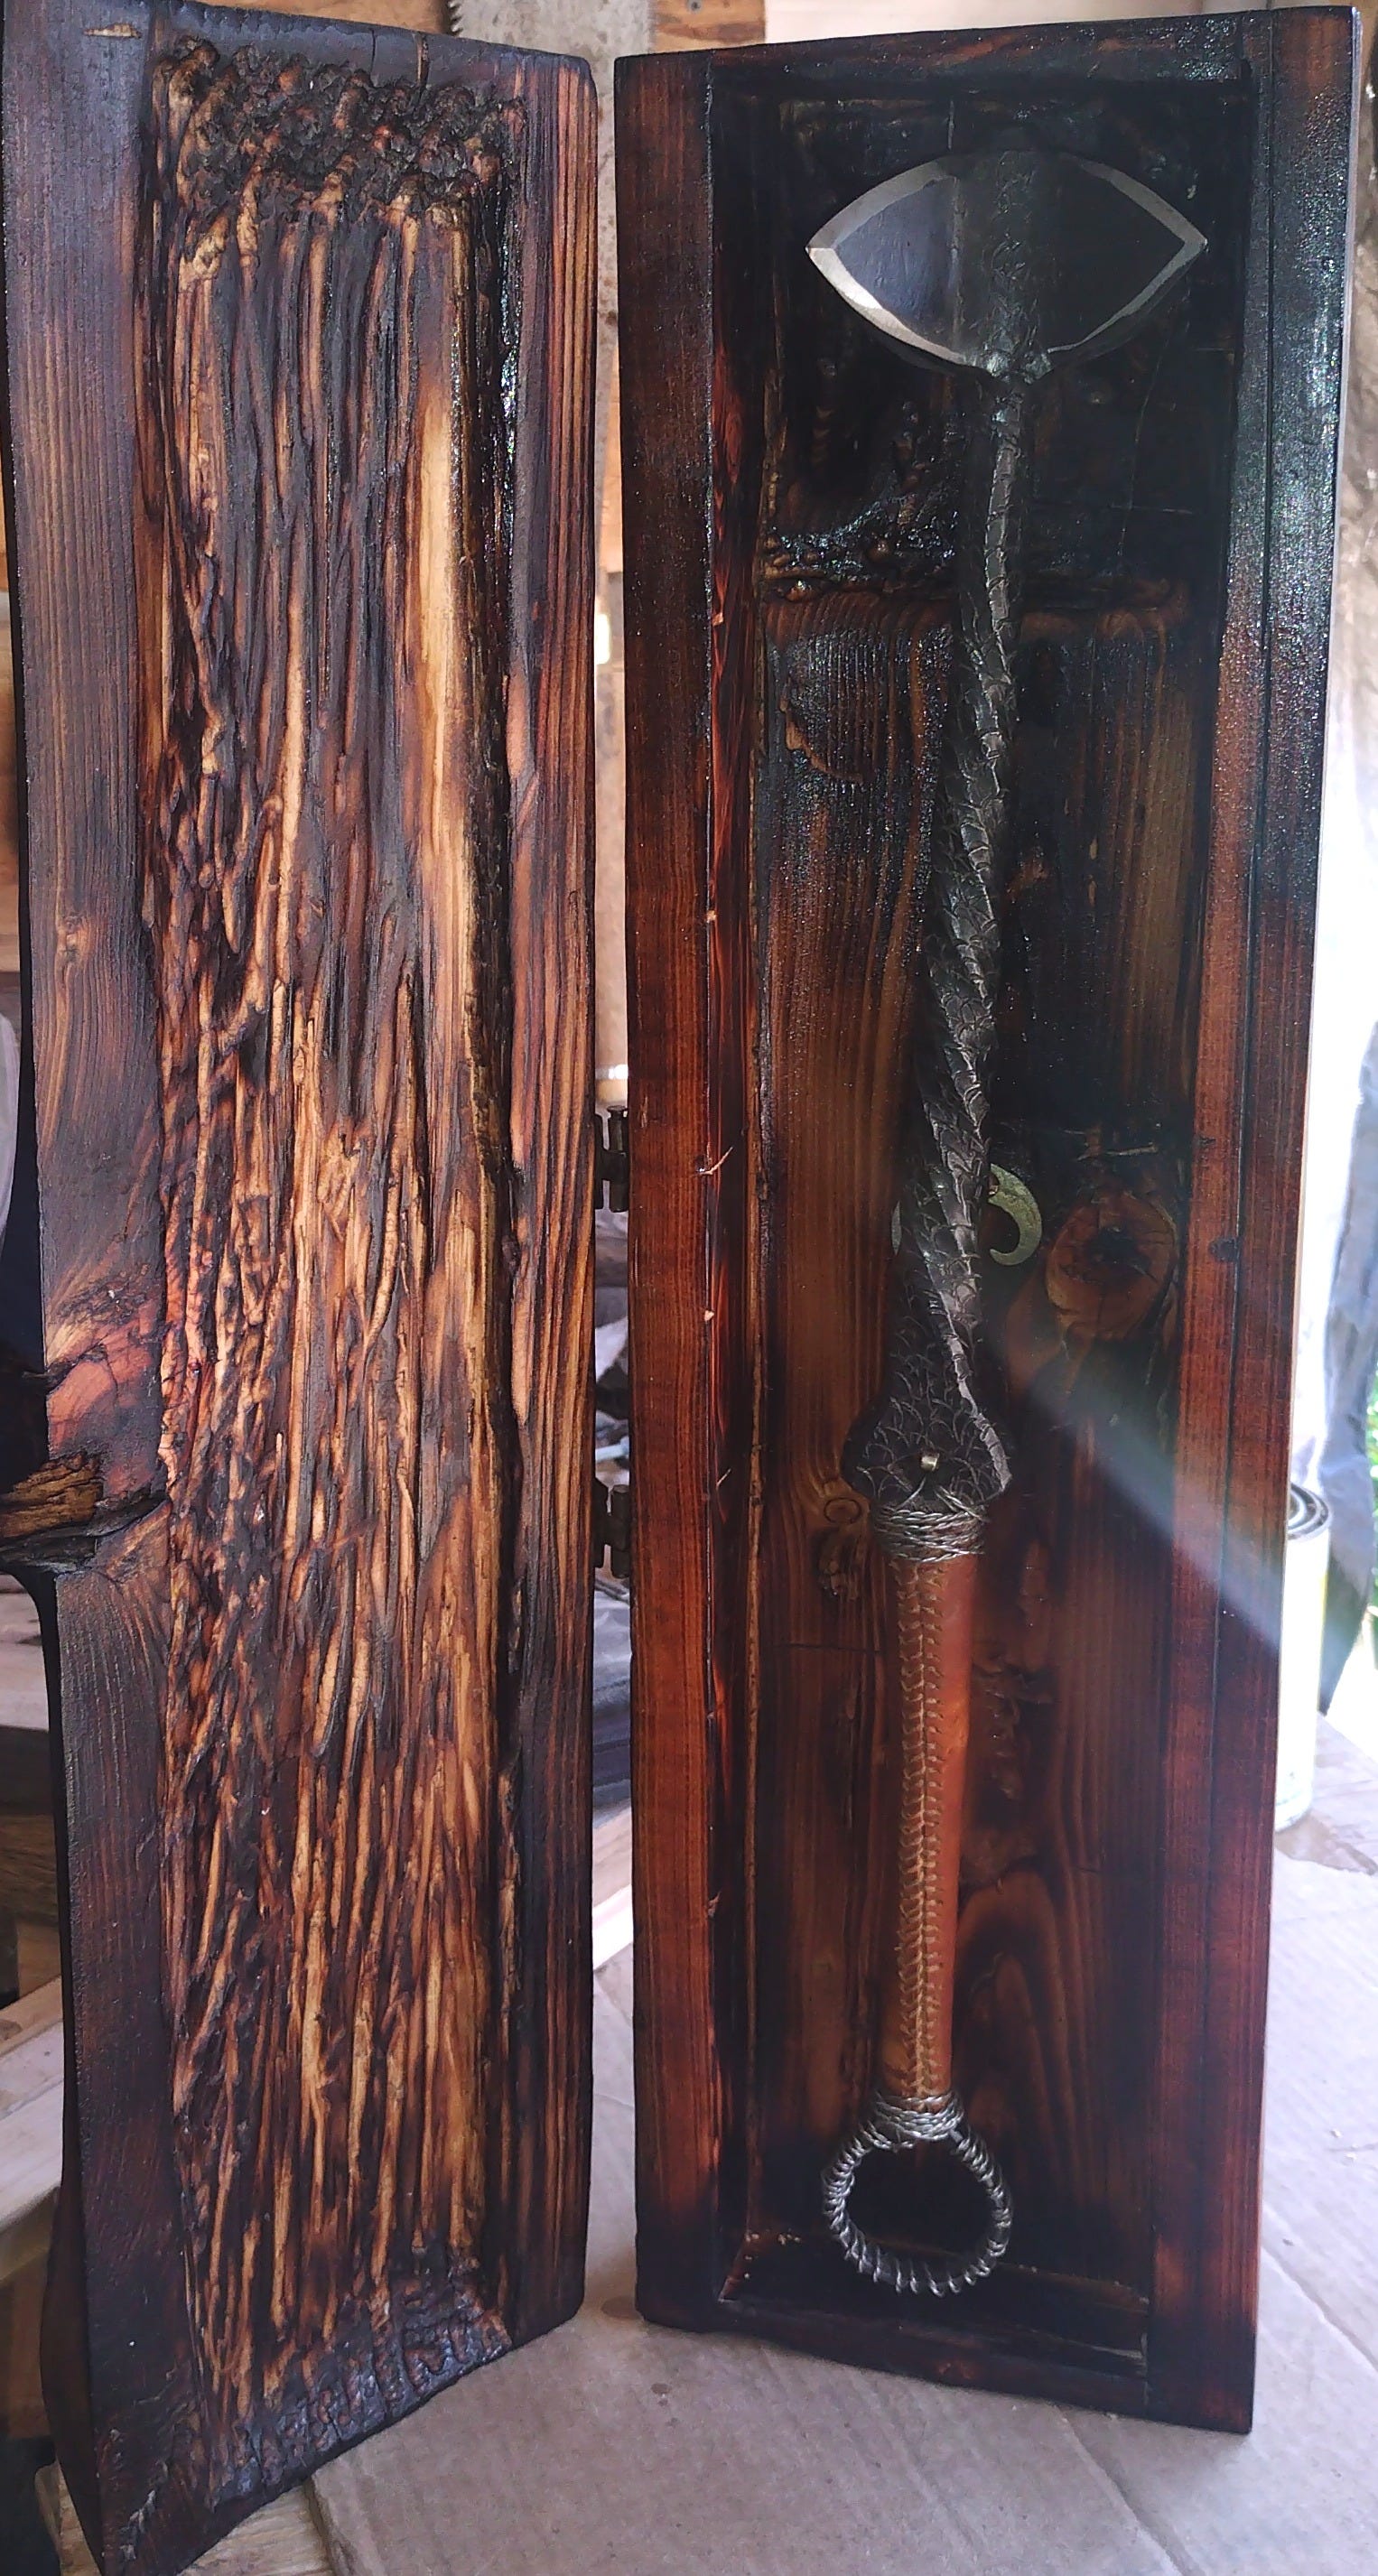
Then, tragically, she was packed in shavings saved from when I carved the box…
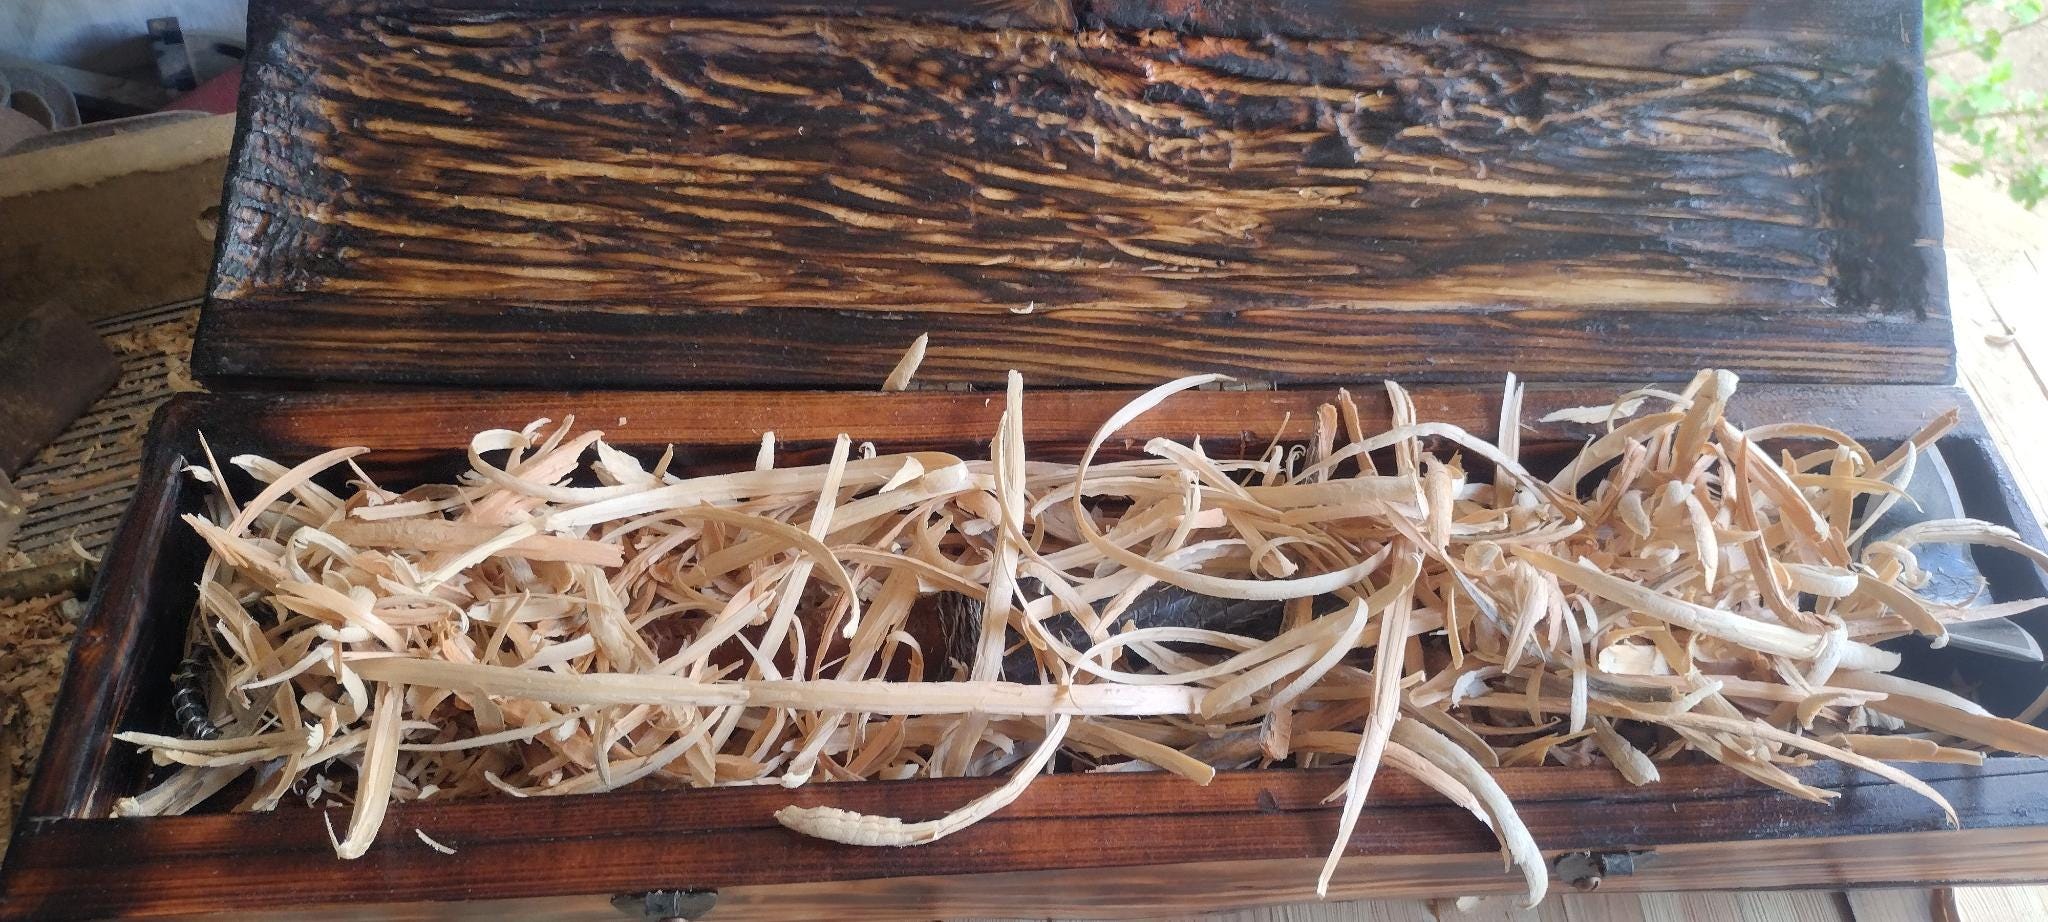
…and then the case was packed in bubble-wrap and cardboard, and Typhon set off upon her final adventure from the doors of my shop to the home of the stranger from distant lands, where—legend has it—she dwells to this day.
So if you’re in the market for something special for your wall, your family, your shop, or the upcoming zombie apocalypse, shoot me a note here and I’ll make something beautiful for you.
Or select from among the items I build on-the-regular (some of them ship right away).
If you’re looking for fresh stories, you can find my novels, short stories, visions, and dreams (along with some how-to books and literary studies) by clicking here.
When not haunting your Substack client, I write novels, literary studies, and how-to books. If you’re feeling adventurous click here to find a ridiculous number of fiction and nonfiction podcasts for which I will eventually have to accept responsibility.
This column is a big part of how I make my living—bigger now due to recent exciting events which you can read about here. Because of this, I’m offering a 20% lifetime discount off the annual subscription rate. If you’re finding these articles valuable, I’d be honored to have you join the ranks of my supporters!
Shellac is a natural finish made from crushed beetle shells dissolved in alcohol.