
Under the Boardwalk
Build Series #20

This post contains many images. Your email client may reject it. Read the original at http://jdanielsawyer.substack.com.
Winter is coming.
That’s not a slogan, or a proverb, or the tagline for a porn film featuring Jack Frost—it’s a hard reality of life where snow happens. The last couple months before the snow hits hard are months of prep—do you have enough fuel for your snow removal system? Do you have your paths cleared so that they’re still navigable when they’re buried under white fluff? Have you done repairs to all your small engines, changed the oil and tires on all your vehicles, and done everything you can to save you extra stupid work when walking across the yard requires lifting your feet up to waist-level to take a step?
Well, sometimes when you’re doing that prep, you back into a fun build project.
This year has been a busy, crazy year on the homestead, so there’s a lot of maintenance and prep I put off to the last minute. One of them involved cleaning the drainage ditches, including this one that crosses the entrance to my forge.
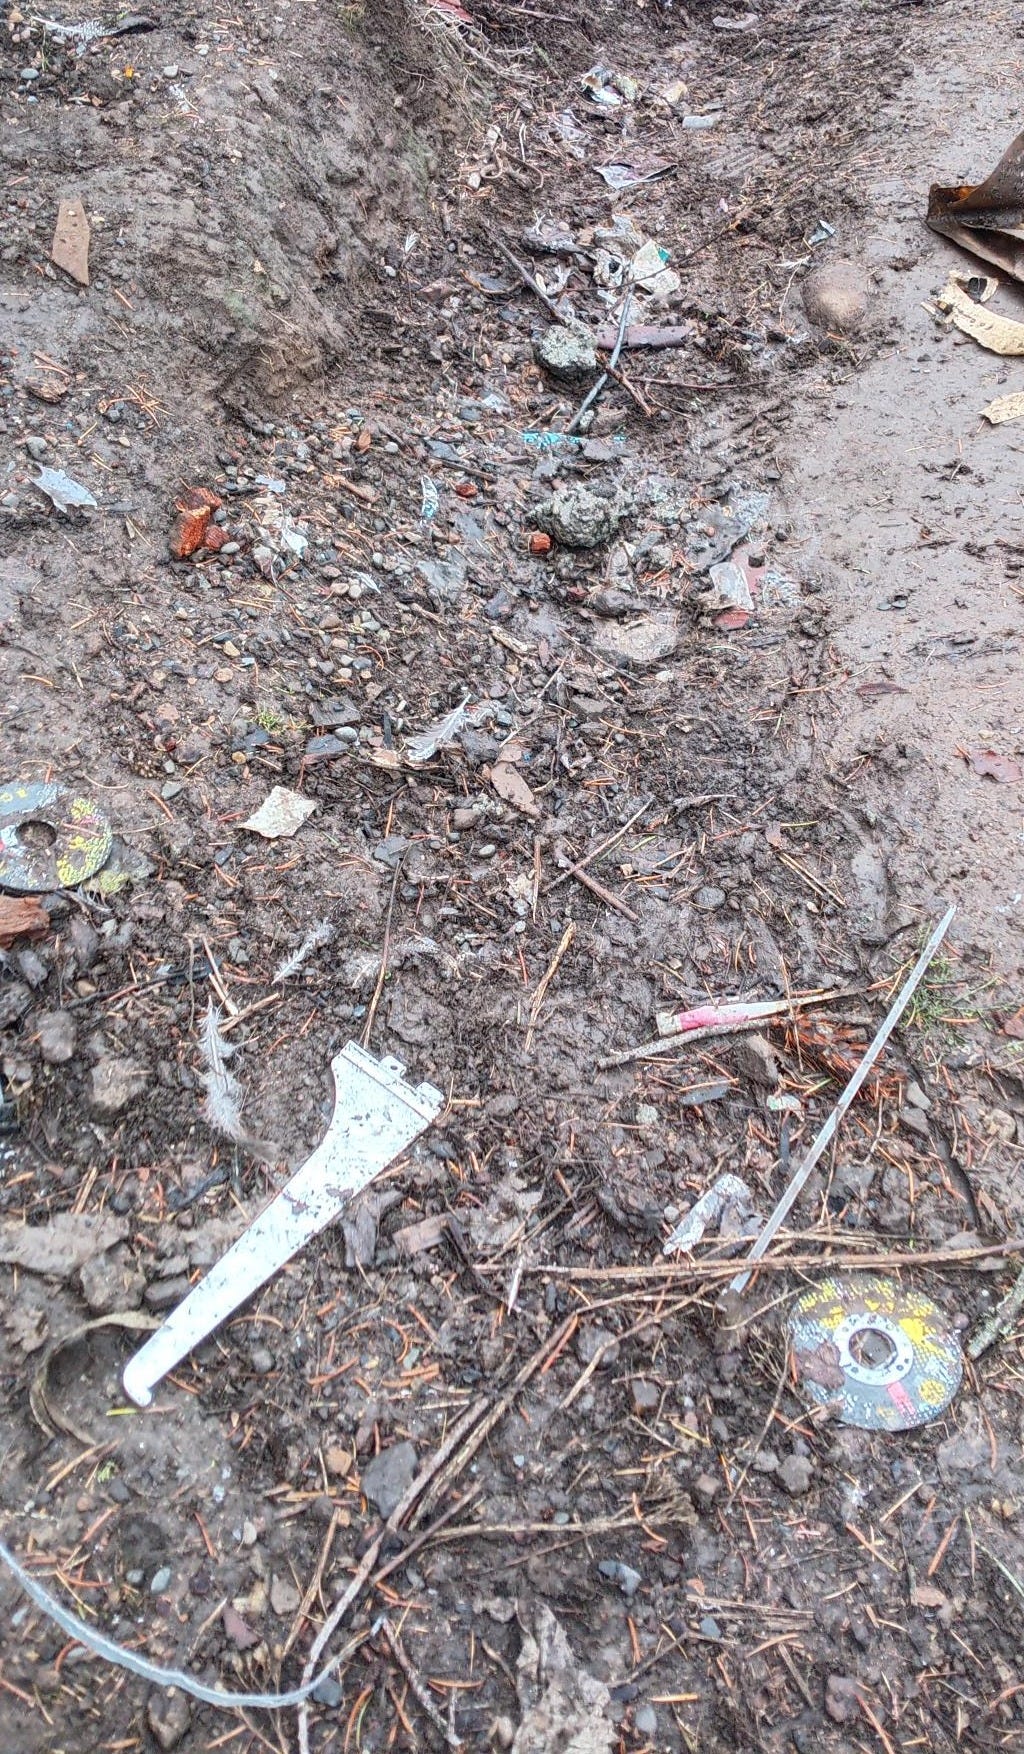
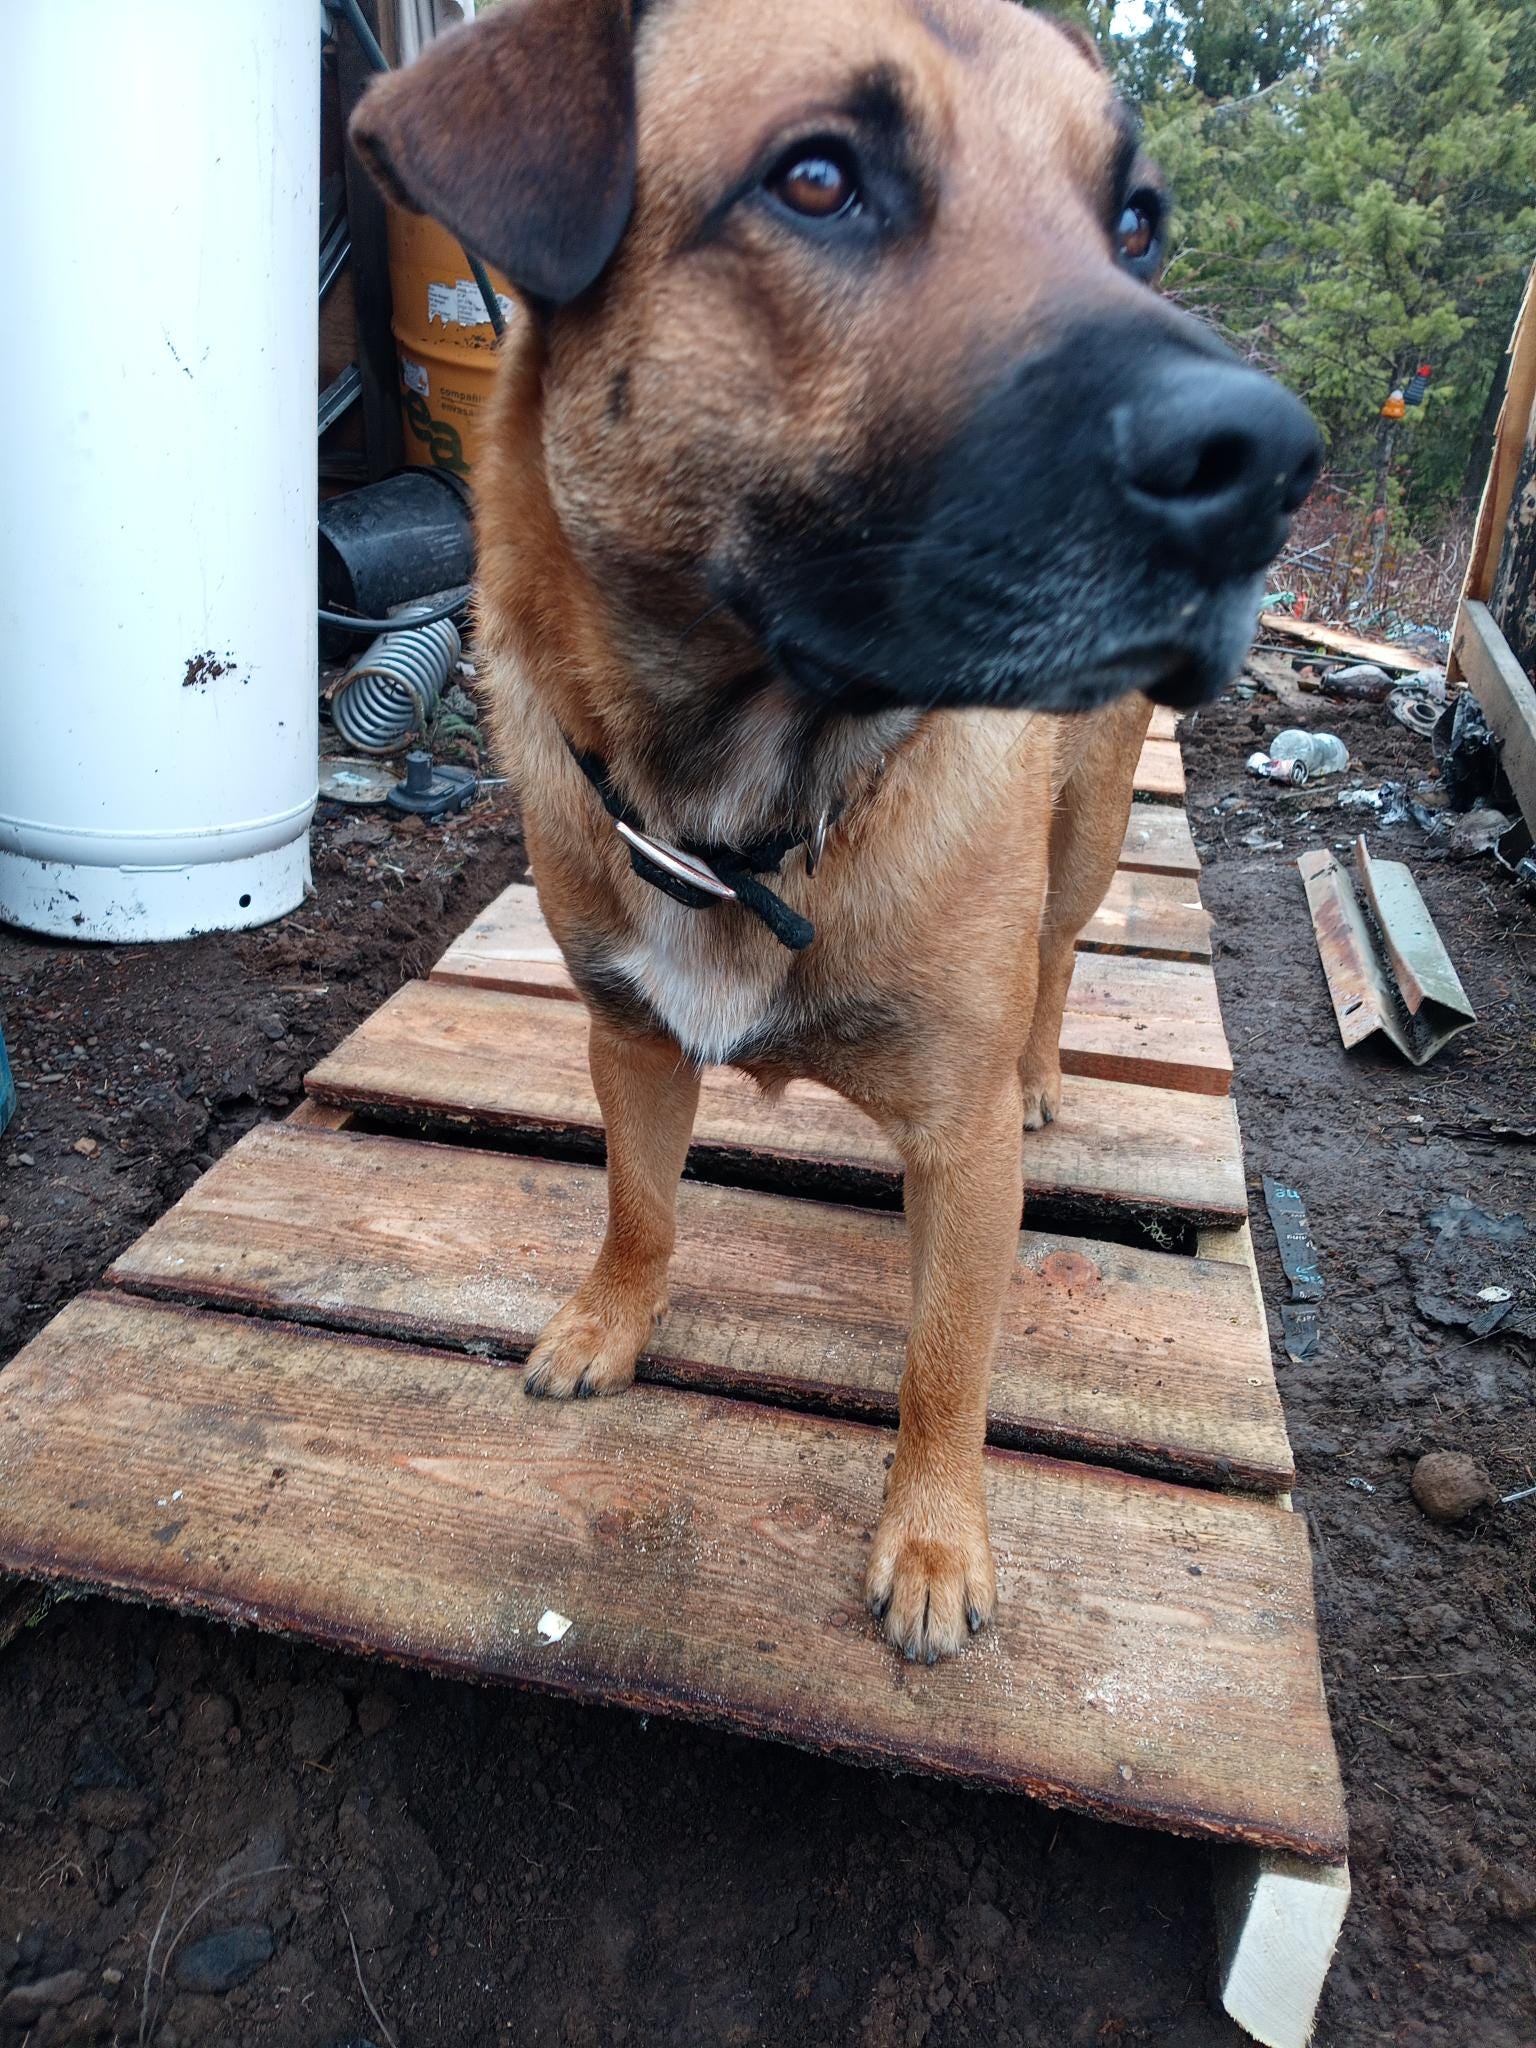
What was once a beautiful, deep ditch for rain and snow run-off has silted up and gotten clogged with construction detritus, crap that the dogs have stolen from my shop and dropped in there (like dead grinder wheels), and all kinds of other crap that happens when you’re building a lot.
A friend of mine tripped in it the other morning, and I decided I’d had enough of hopping over the thing. It needed to be fixed once and for all (or at least once-and-for-a-few-years, since I didn’t have a handy culvert to bury).
And, since I was gonna do the clean-up already, I figured, I might as well do it with a modicum of style.
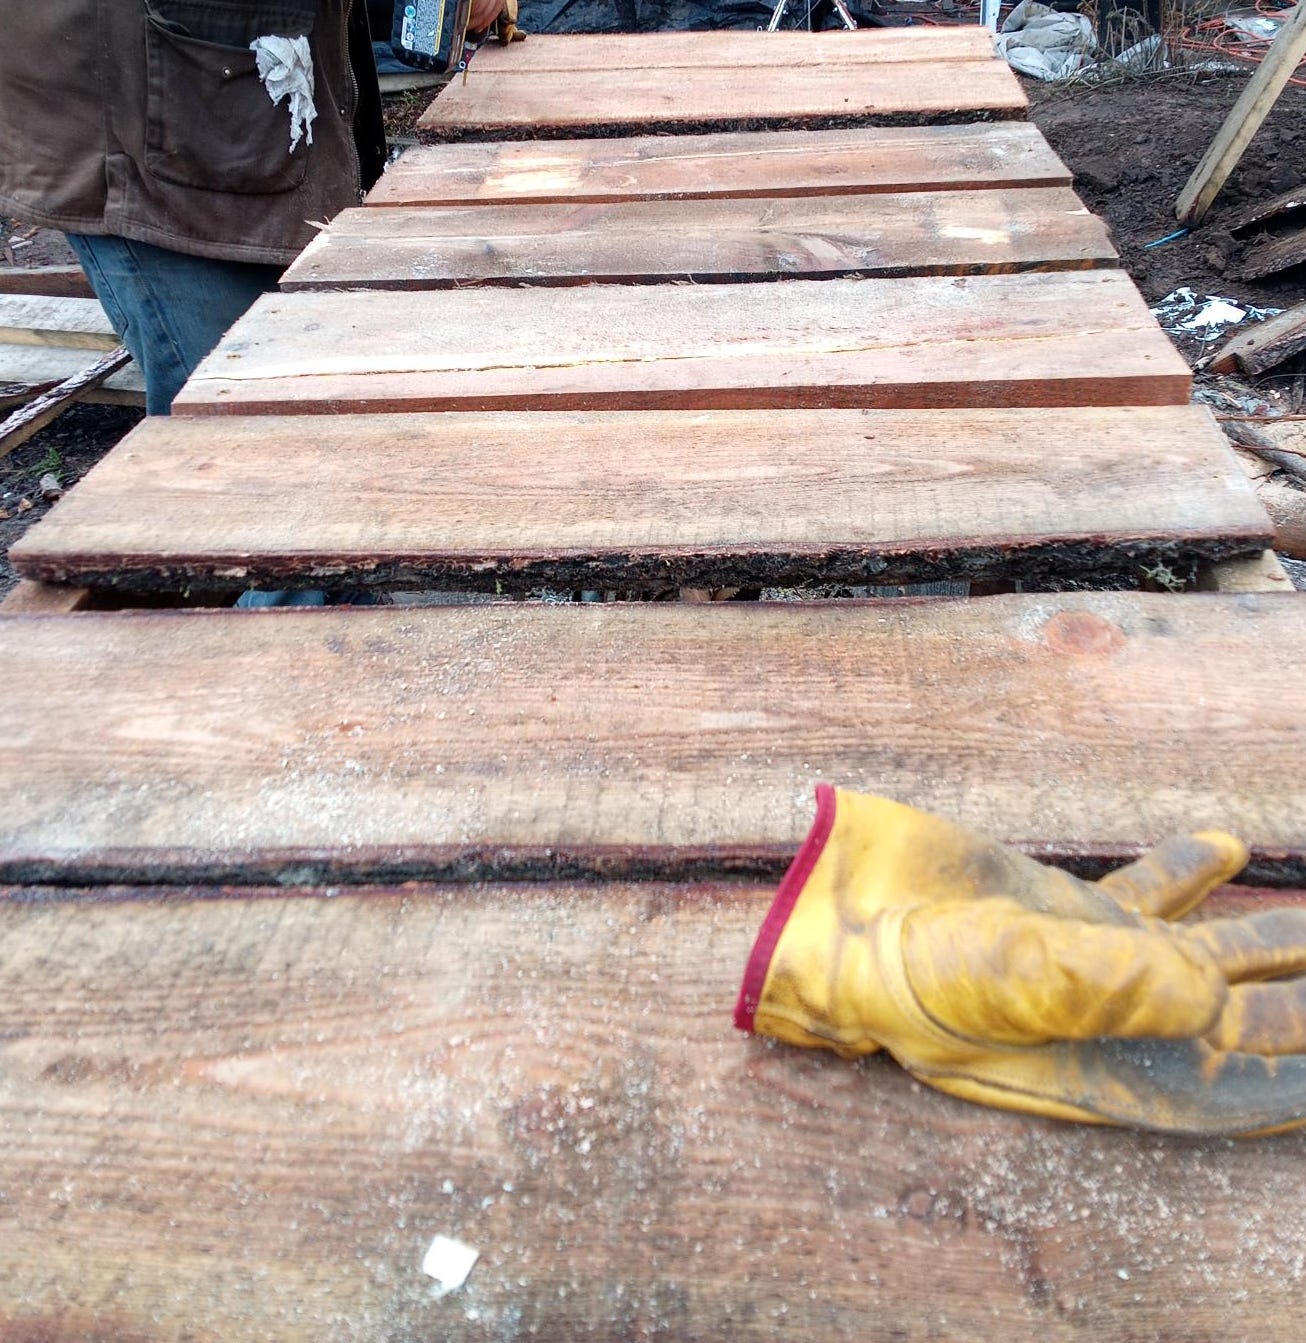
I have a lot of rough-cut lumber from earlier this year, and if I don’t use it up soon it will wind up buried under the snow. So, in the spirit of slaughtering songbirds with pebbles, I figured I could make my problem into something pretty cool.
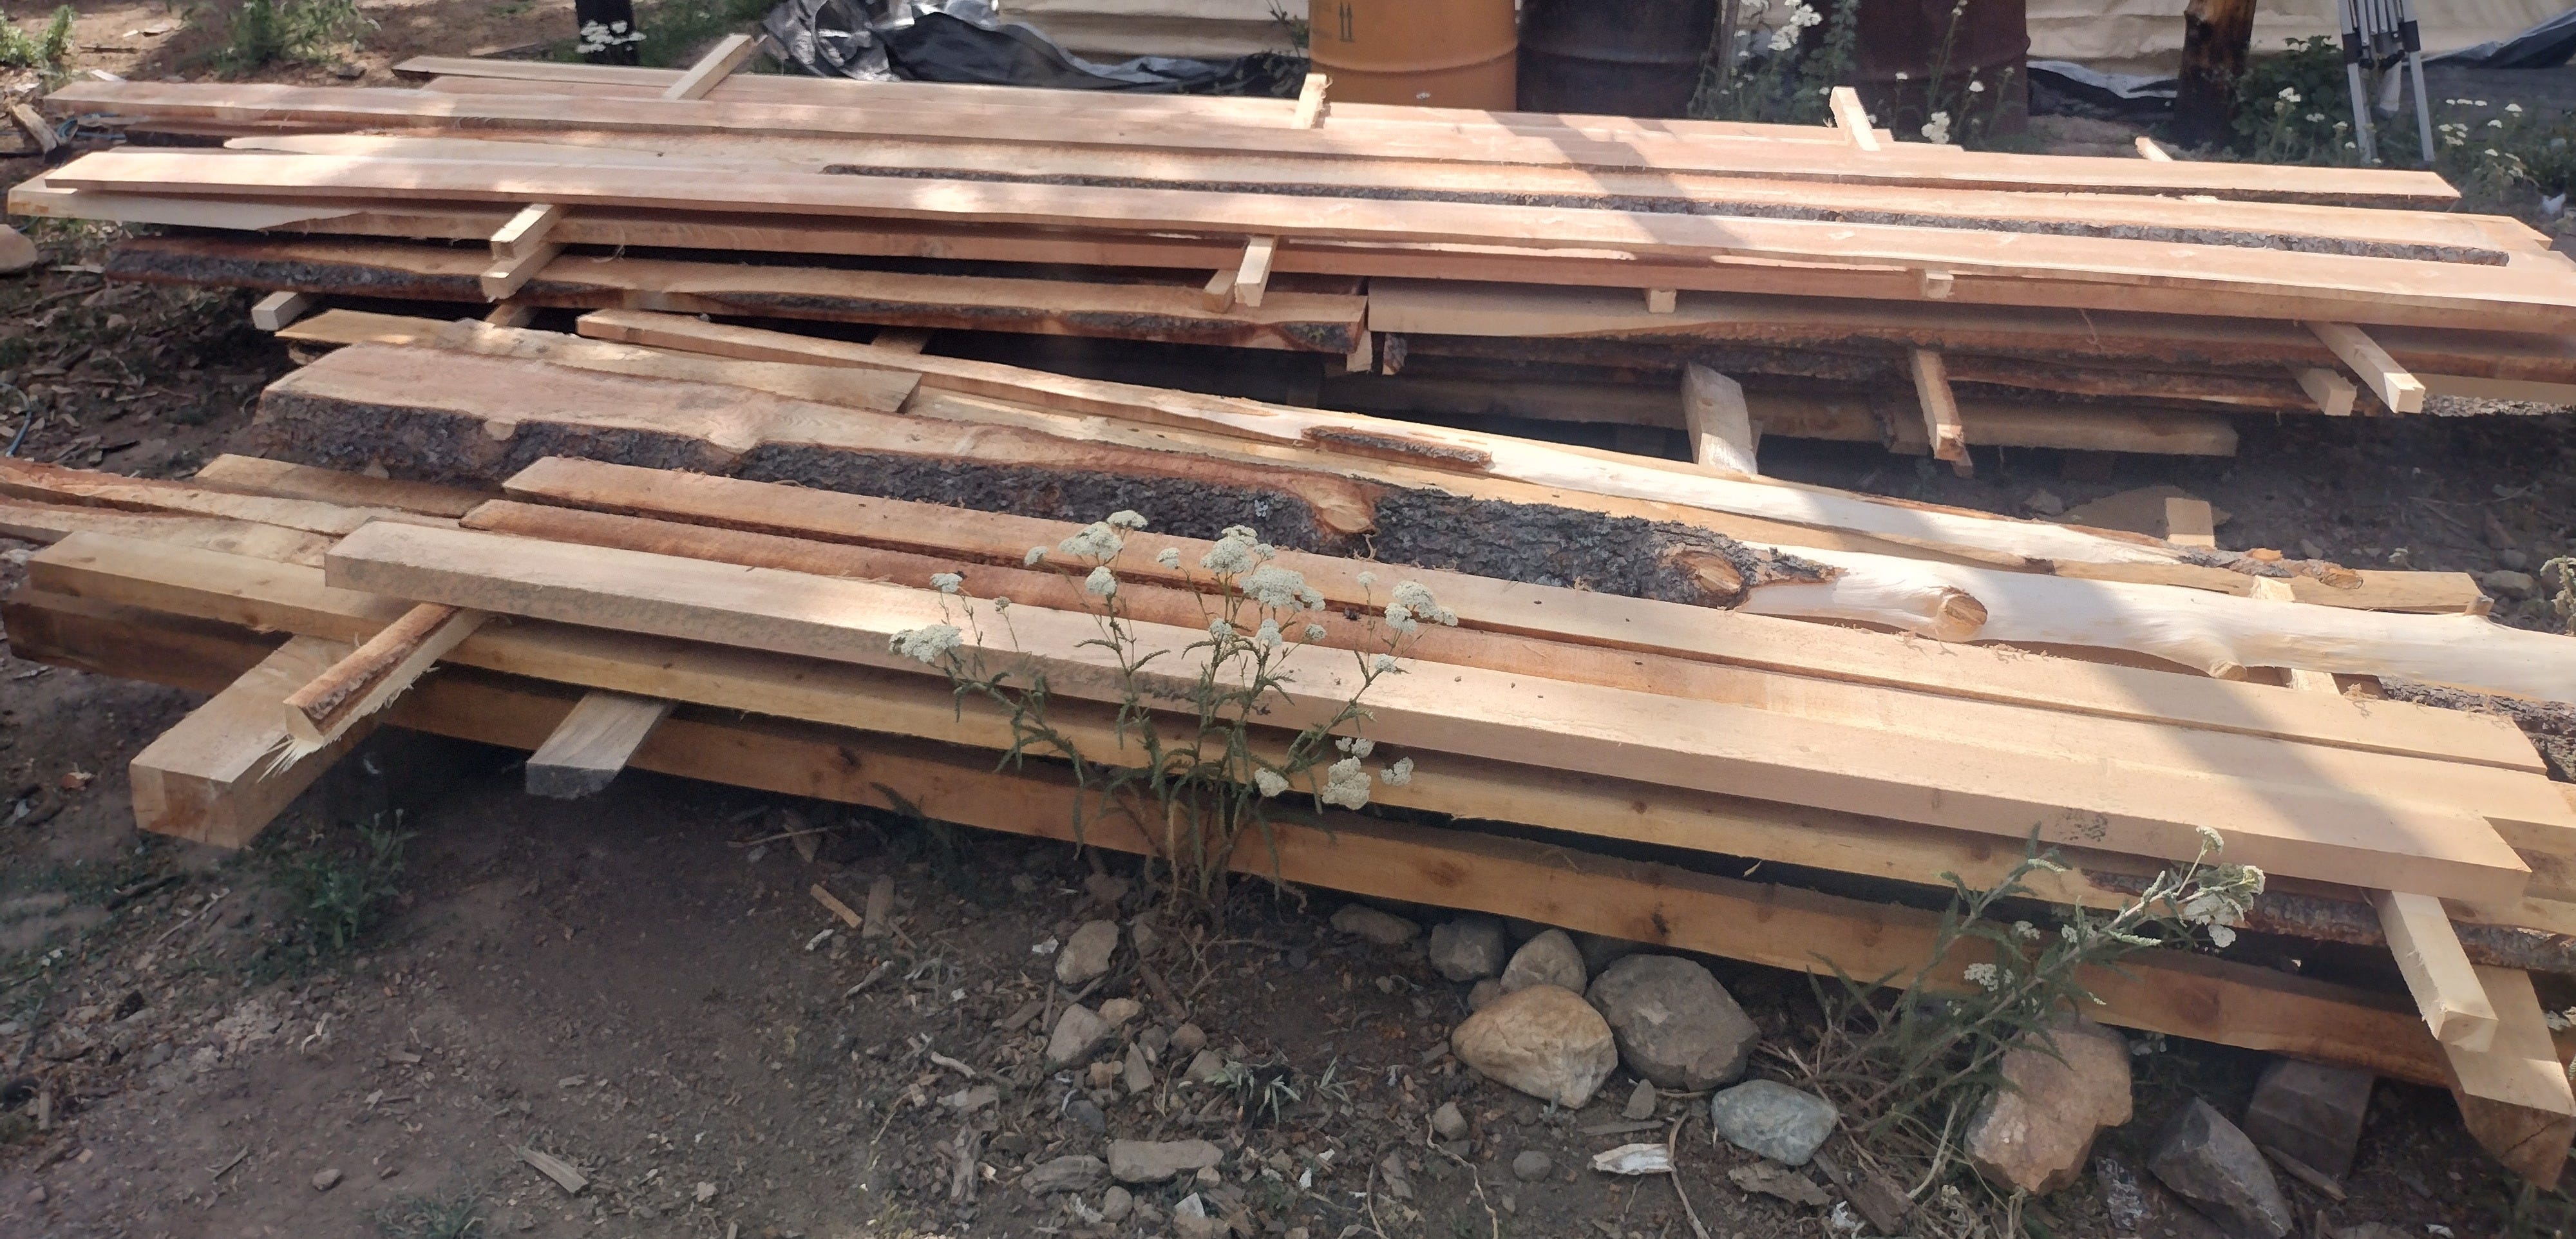
Of course, what with the autumn rains and all, the lumber no longer looks this pretty, but that’s nothing that a bit of sanding won’t fix.
Cleaning and Measuring
To start things off right, I cleared out that ditch. A few minutes work with the shovel took all the silt, all the trash, and all the wood detritus and forest crap right out of the ditch.
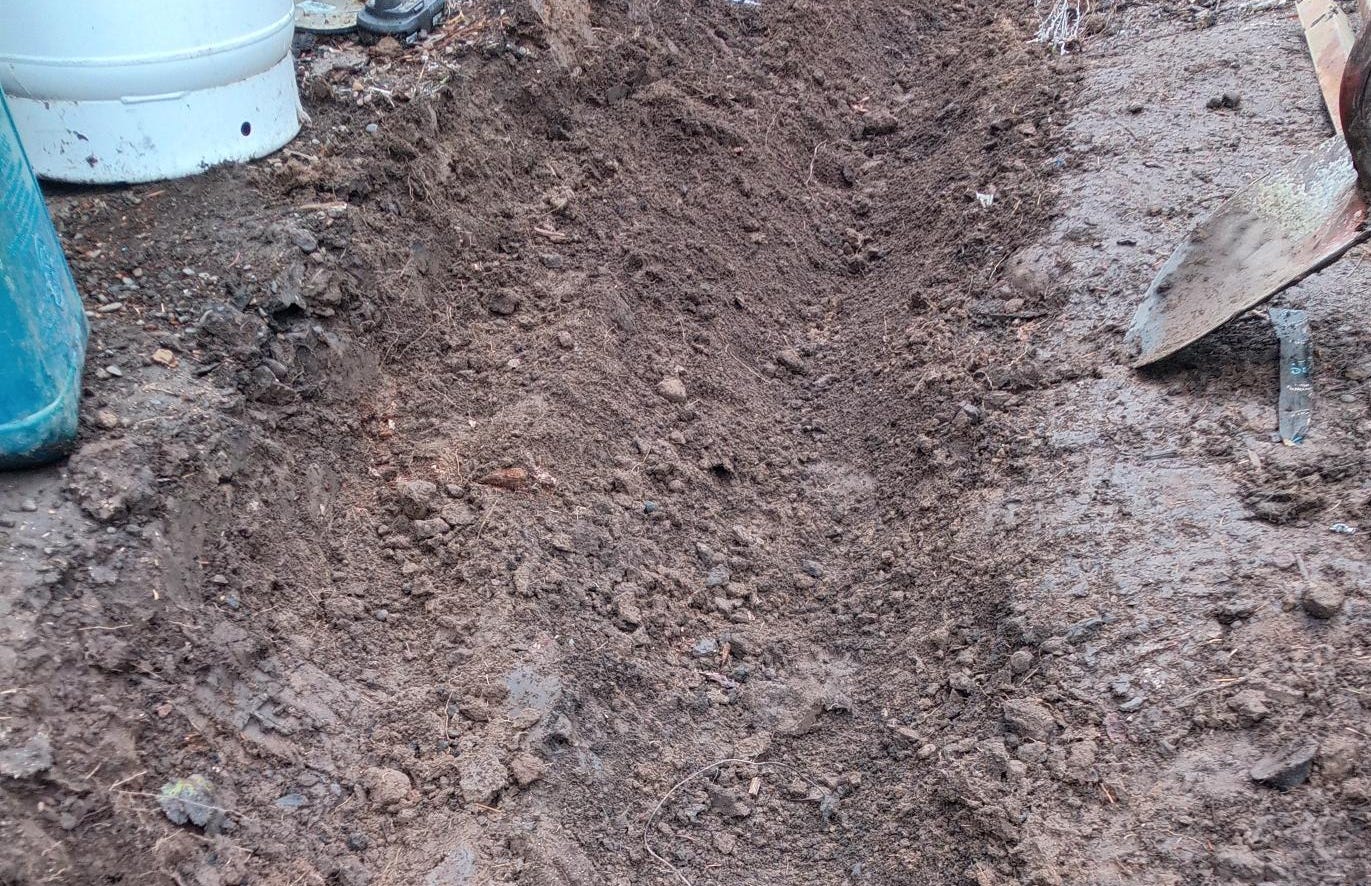
A quick check with the measuring tape told me that the ditch was 7ft long by 30 inches wide, so with those dimensions hastily scribbled onto a scrap of 2x4 I dove into the lumber pile. As I dragged a load of rough lumber onto the saw horses, the weather gods smiled upon me and I found myself in the midst of a reprieve from the spitting rain, which meant I could use power tools.
I grabbed them and got to work as quick as I could.
Fasten-ation
After taking inventory, I concluded that I had the right materials to do what I wanted to:
An old-fashioned wild-west-style boardwalk.
I wanted to go real authentic, but I quickly realized I would have to cheat a bit in deference to the quick nature of the job and the shitty nature of the weather.
Those Old West boardwalks were made of three things:
Runners (thick timbers that ran along the side).
Nails (usually made by the local blacksmith—less frequently they might be shipped in by rail from Back East).
Treads (thinner boards that are nailed atop the runners, making the whole thing a bit like a glorified pallet).
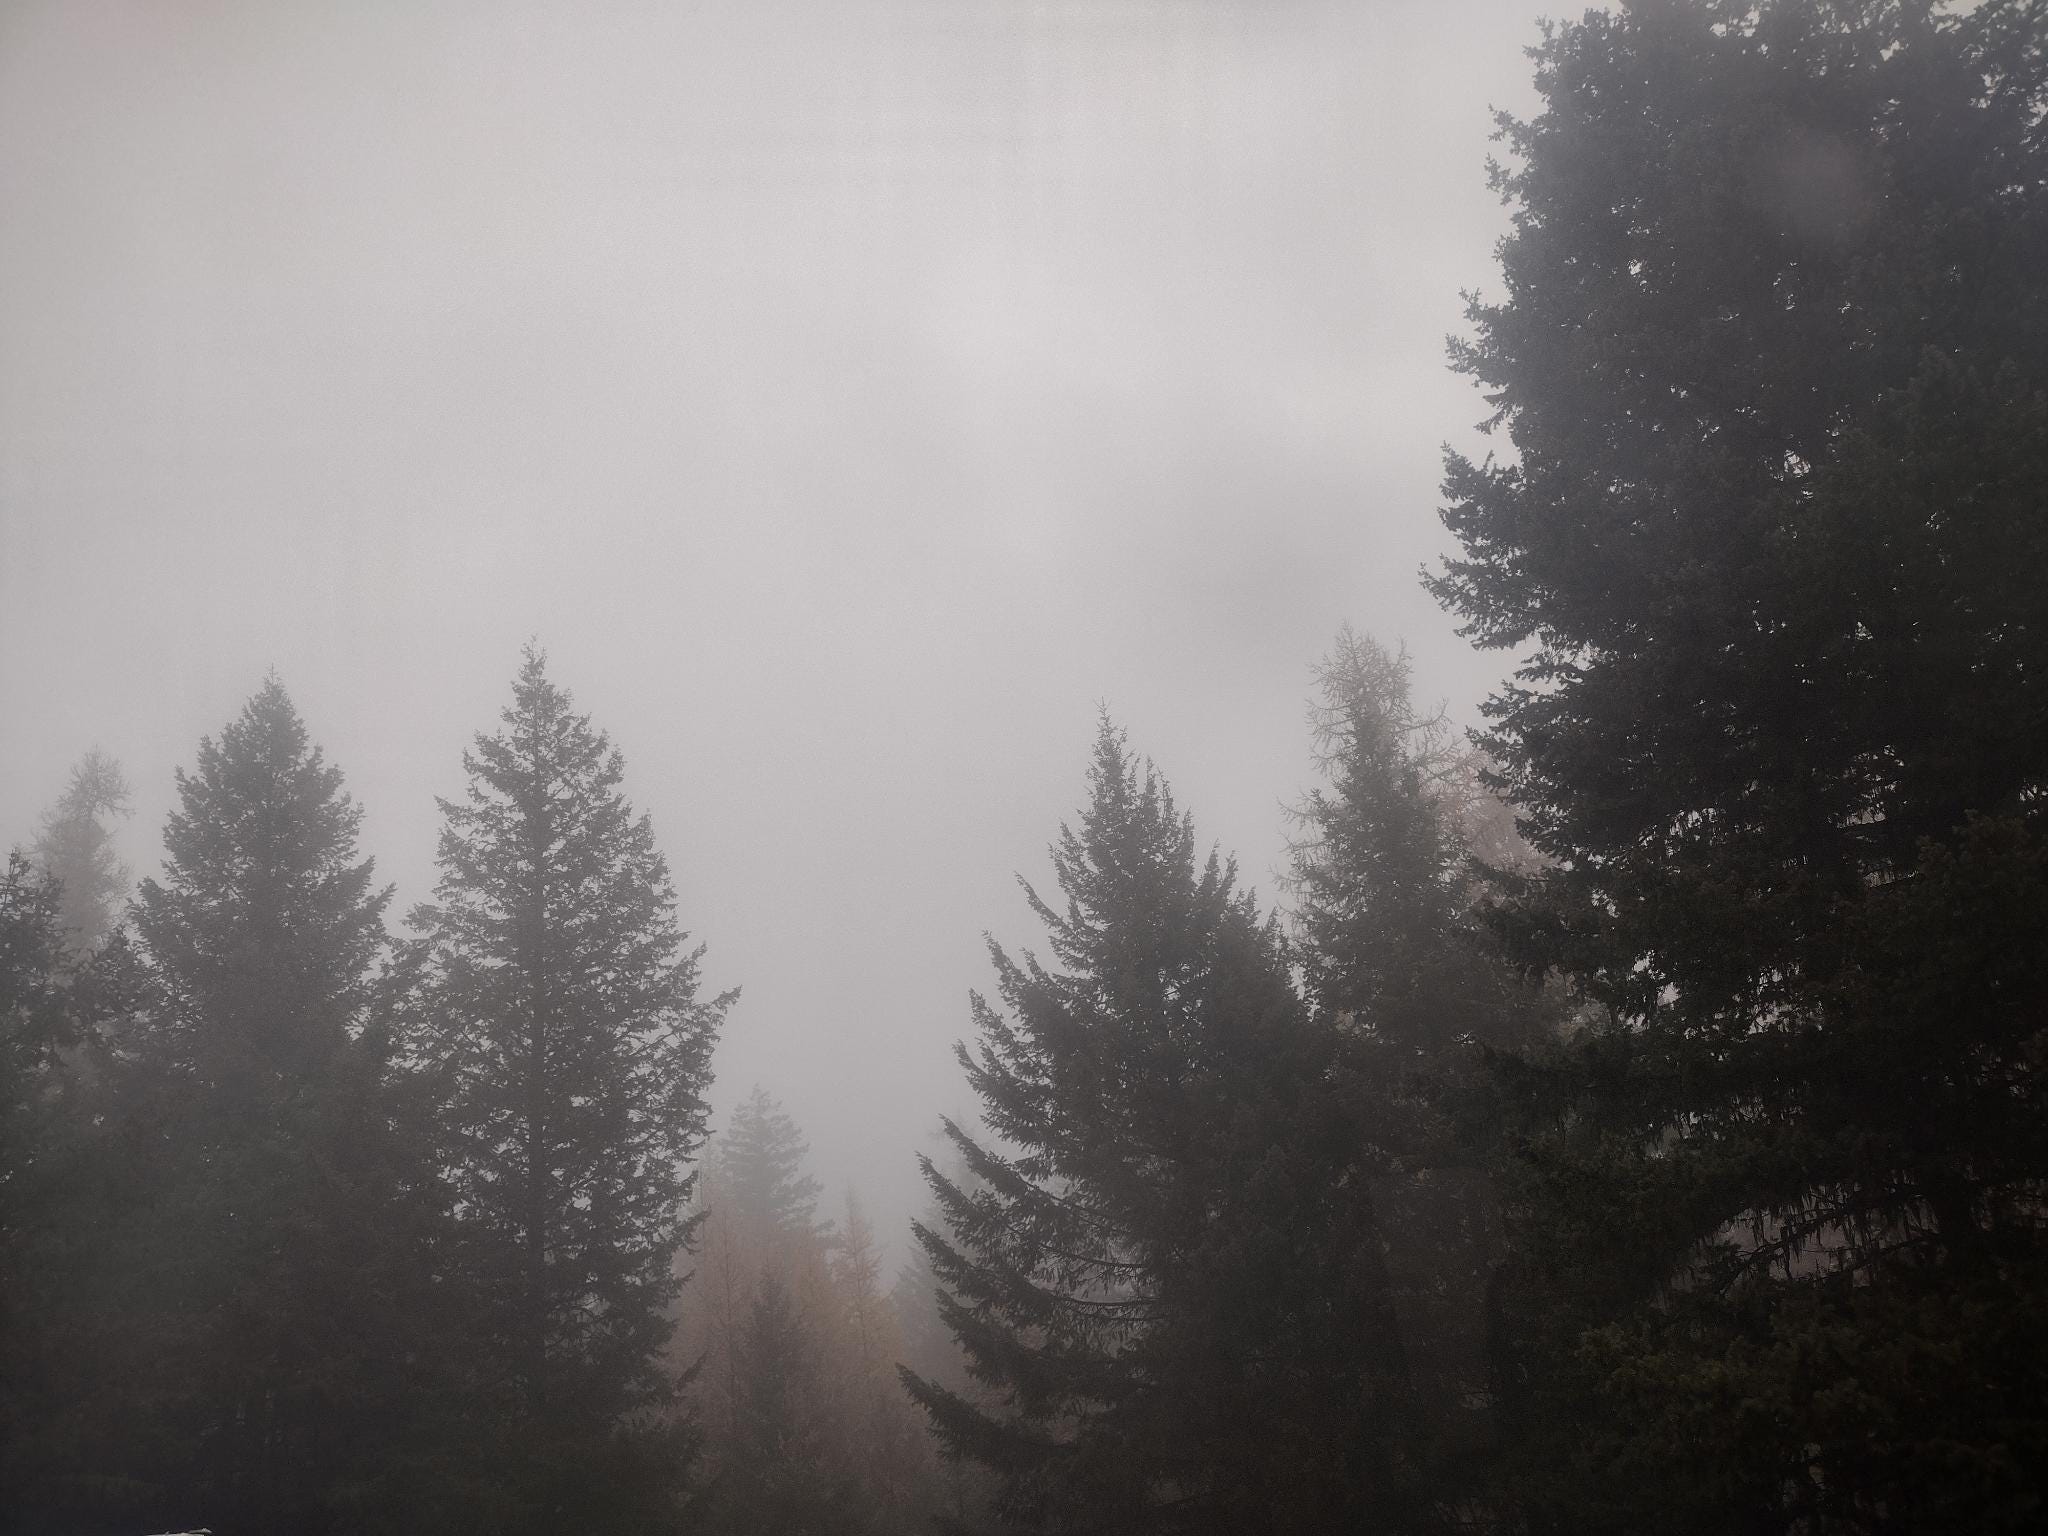
I had a problem, though:
As you might guess from the weather pictured above, the wood was soaked, at least around the outside. Wet wood swells, and then when it dries, it shrinks. When wood swells and shrinks, it makes nails work their way out (which is why construction nails often have ribbing along their sides, but they don’t really work all that well).
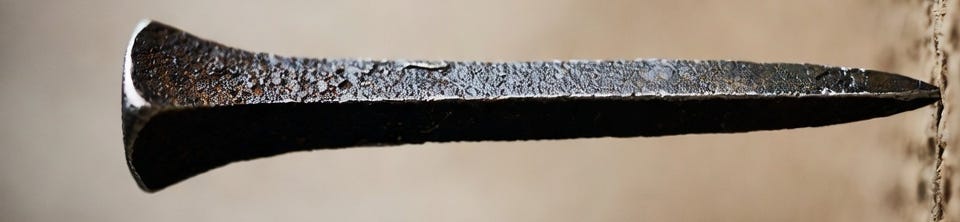
In the Old West, this wouldn’t have been a very big problem, because, prior to the 1900s, the whole Western woodworking world used square nails. When made by machine they’re called “cut nails” (because they’re stamped out of sheet metal), and when made by a blacksmith they’re now called “blacksmith nails,” but in either case they’re very different from our modern nails (a.k.a. “wire nails”).
Observe. Here is a square nail:
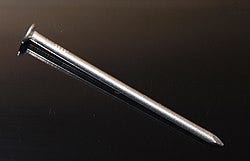
And here is a modern wire nail:
Weirdly, the difference between the wire nail and the forged nail (one is round and the other is square) makes a huge difference in the nail’s ability to hang on to the wood.
When you drive a square nail into wood, the sharp corners cut the wood fibers, leaving a snug-but-comfortable fit. When moisture comes and goes, the cut fibers swell and push into the flat faces of the nail, and grip it harder.
A round nail, on the other hand, does not cut into the wood. Instead, it pushes the fibers aside, nestling itself between them. This means that when moisture comes, the wood swells, and the fibers around the nail swell, and will tend to push the nail out of the board like a teenager squeezing a blackhead. As with taking a coward bungee jumping, driving the nail back in again will only give it a fresh opportunity to back out, again.
I was working with wet wood on something that was going to live outside in the wet, and I didn’t want to take the time to forge new nails, so I was gonna have to cheat.
Enter the screw.
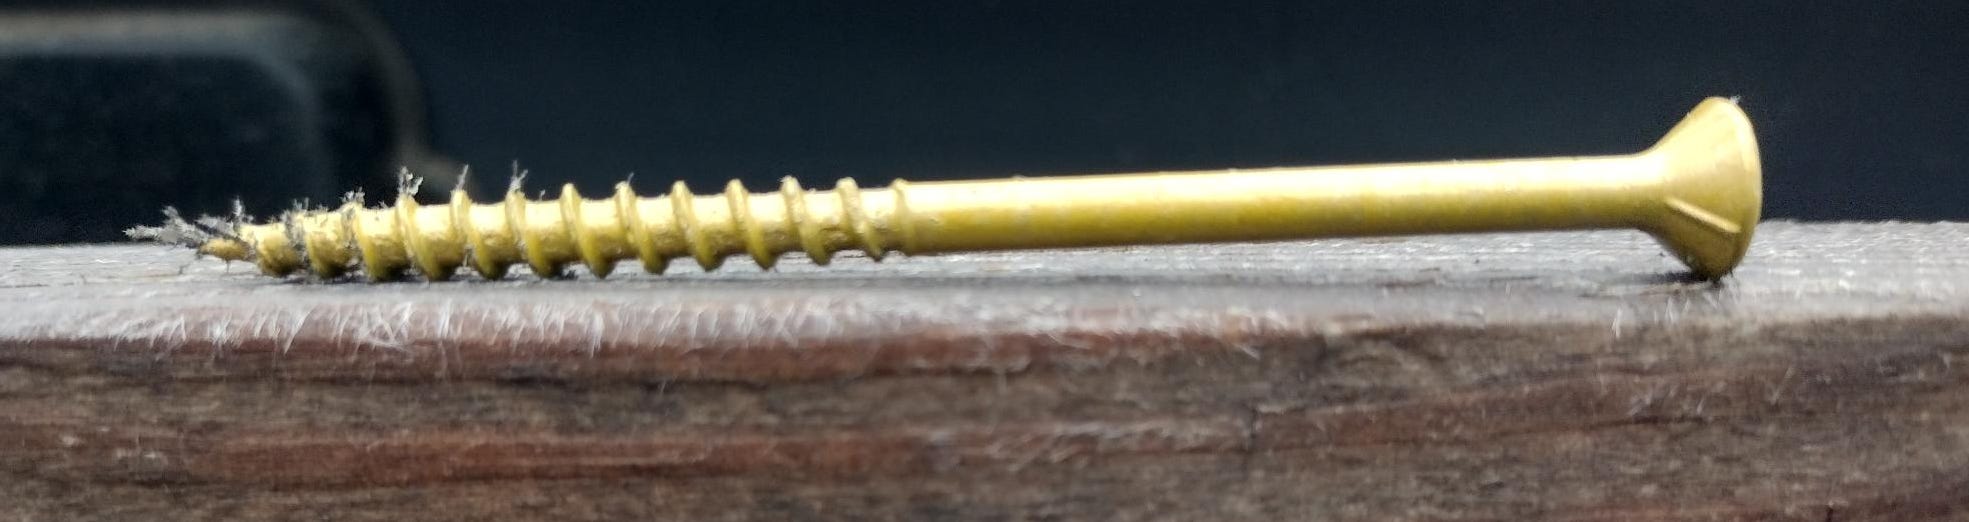
Screws cut a spiral path into the fibers and grip very well—they solve the problems presented by round nails, but they do it at the cost of a certain amount of shearing strength (this is one of the reasons why nails are still used to frame houses, when screws are more secure. Price and nail guns are two other reasons).
However, my design was going to put all the shearing stress on the wood, and none of it on the fasteners, so I didn’t need to worry about that.
Which brings me to my other cheat:
Joinery.
What Dan Has Joined Together…
When the wood hits the wood with reliefs where they should, that’s joinery.1

“Joinery” is, literally, the art of joining materials together with geometry. As you can see from the illustration above, you might use fasteners or glue to keep things in a joint snug, but the bulk of the stress born by the joint is born by the material itself.
I was going to make quarter-lap joints for my boardwalk. This would give me a slightly more sturdy structure, but—more importantly for my purposes—it would also make it easier for me to square everything up by hand than just floating the treads over the runners.
My wily and slapdash plan now complete, I started with the joinery. Each tread got the same treatment at each end:
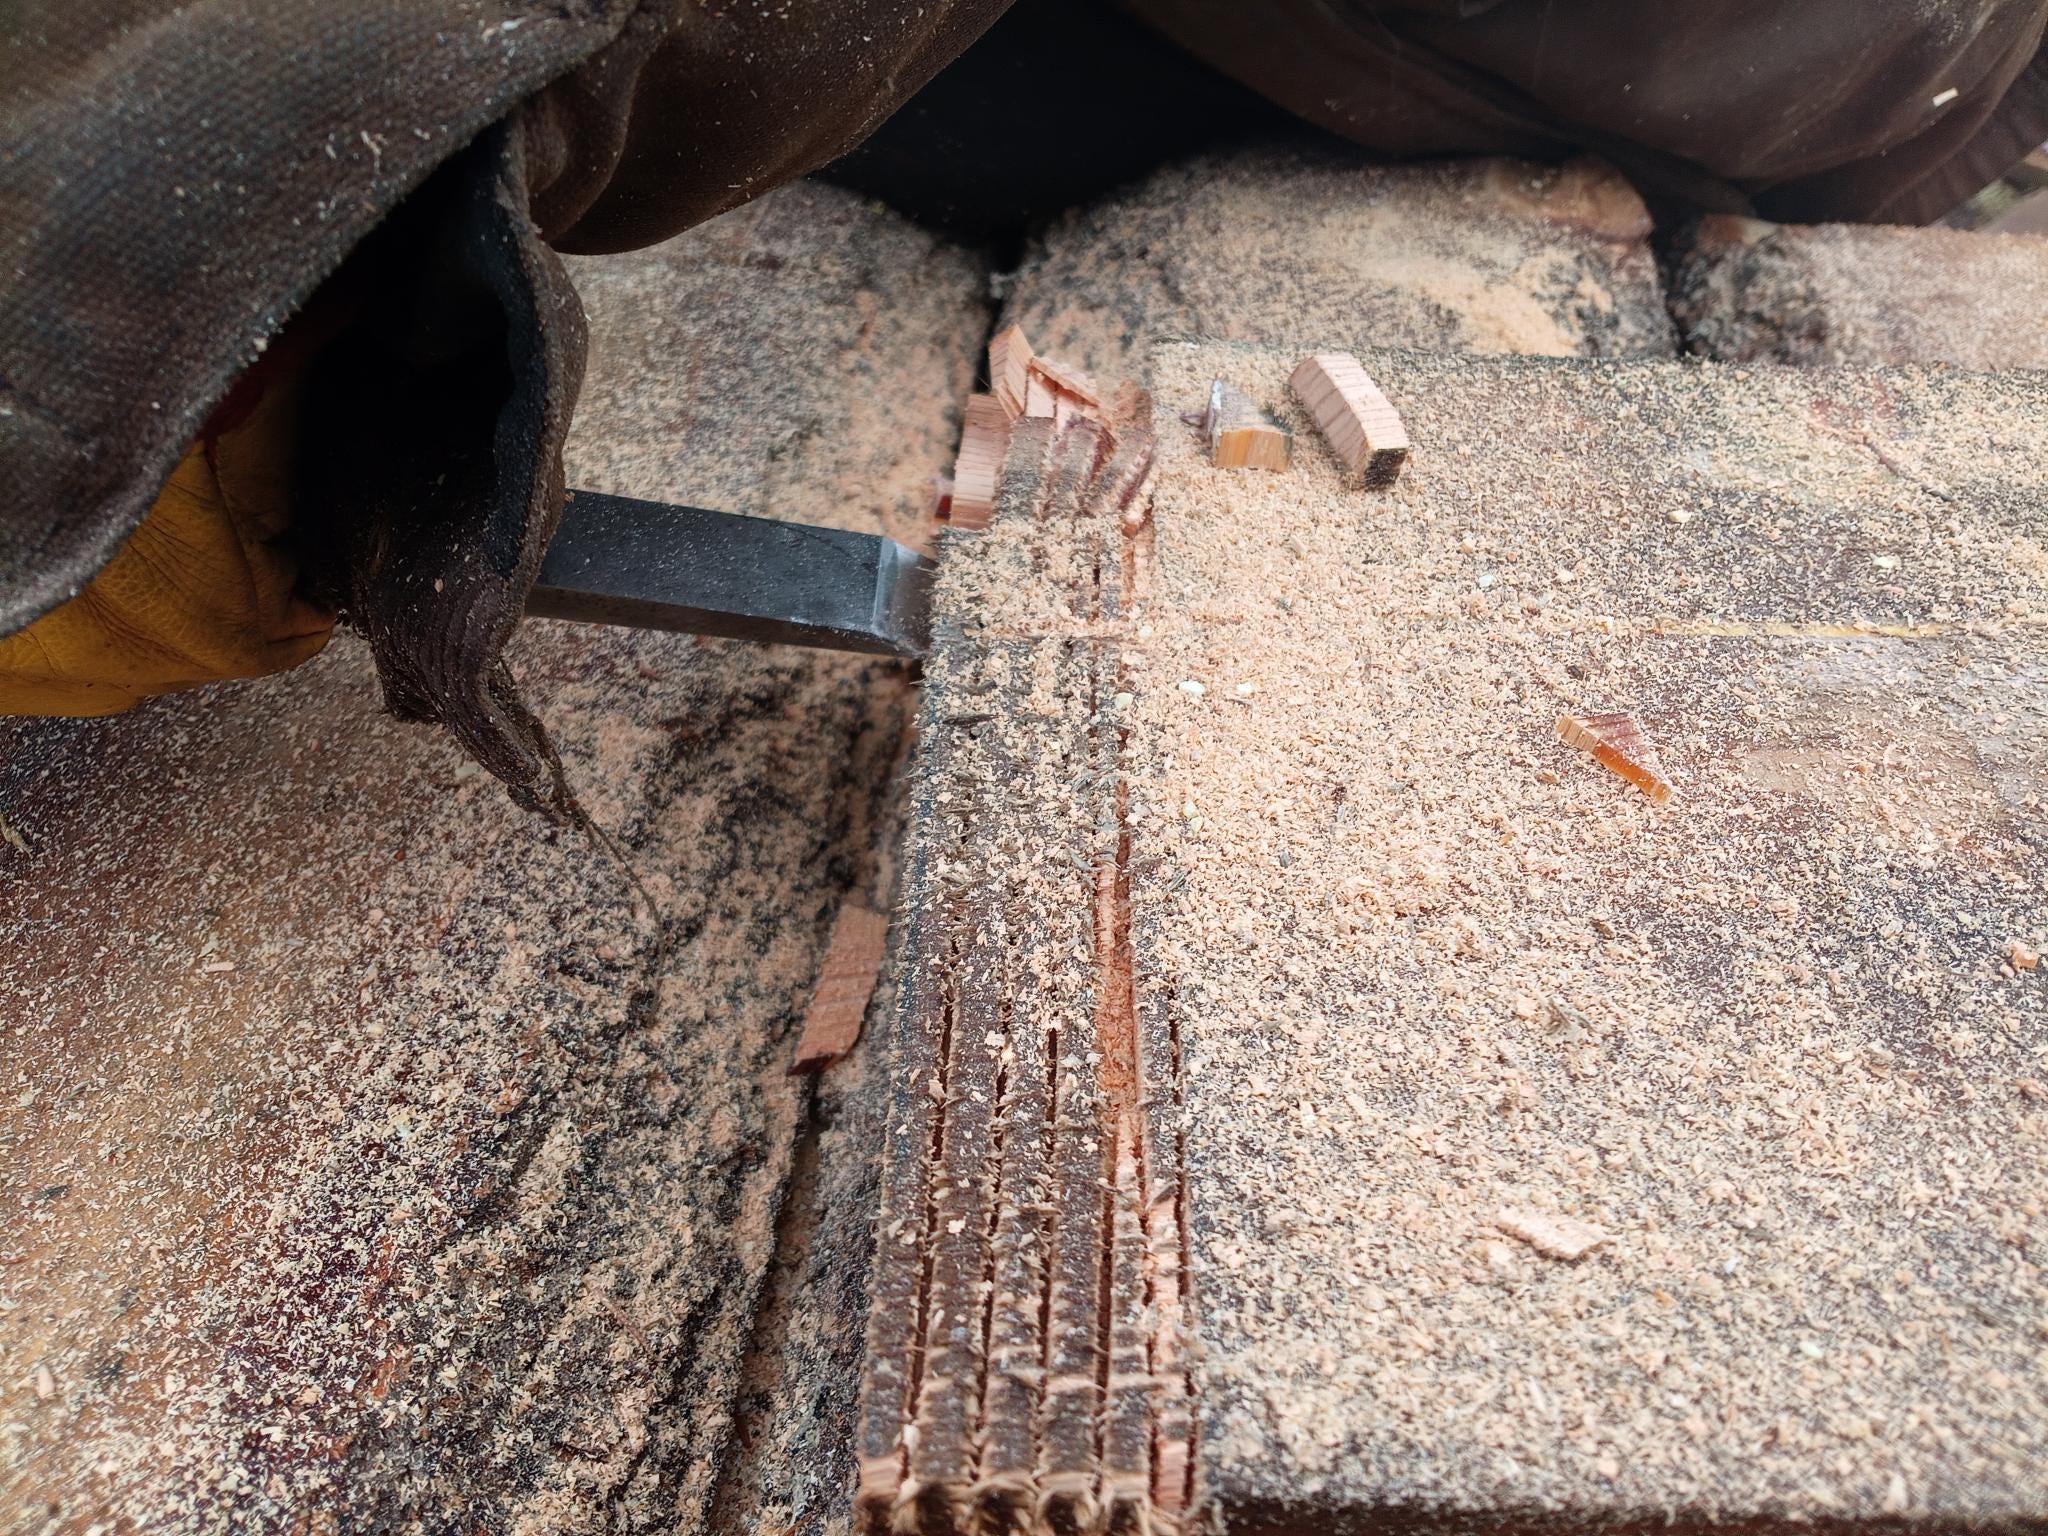
I marked the tread an inch-and-a-half in from the end. I then set my circular saw to a half-inch depth-of-cut, and I cut it on the line. I then cut a whole bunch more lines until I had a forest of little dominoes, like so:
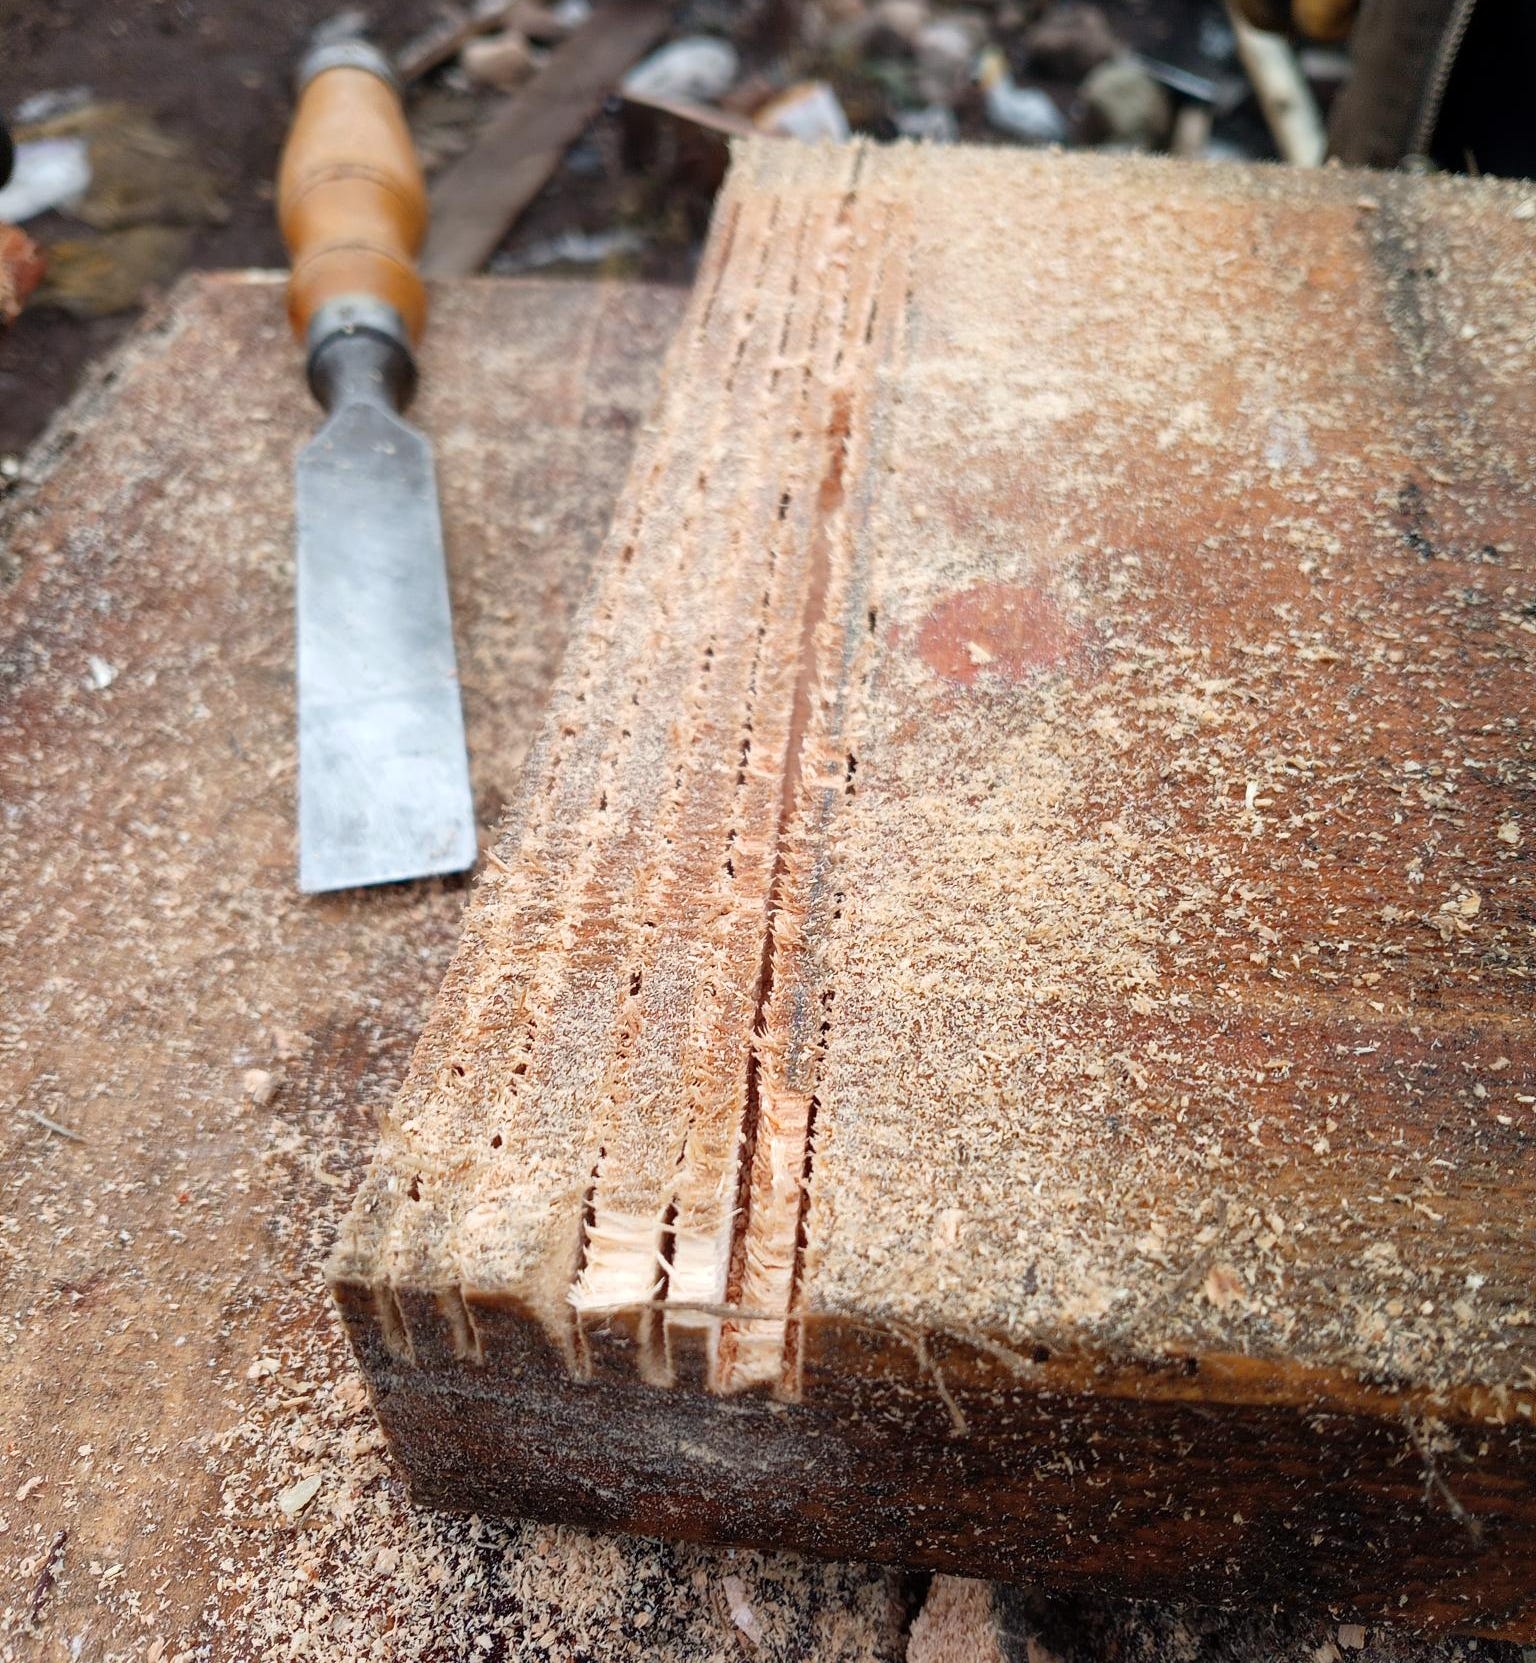
And then I knocked out the dominoes with a chisel.
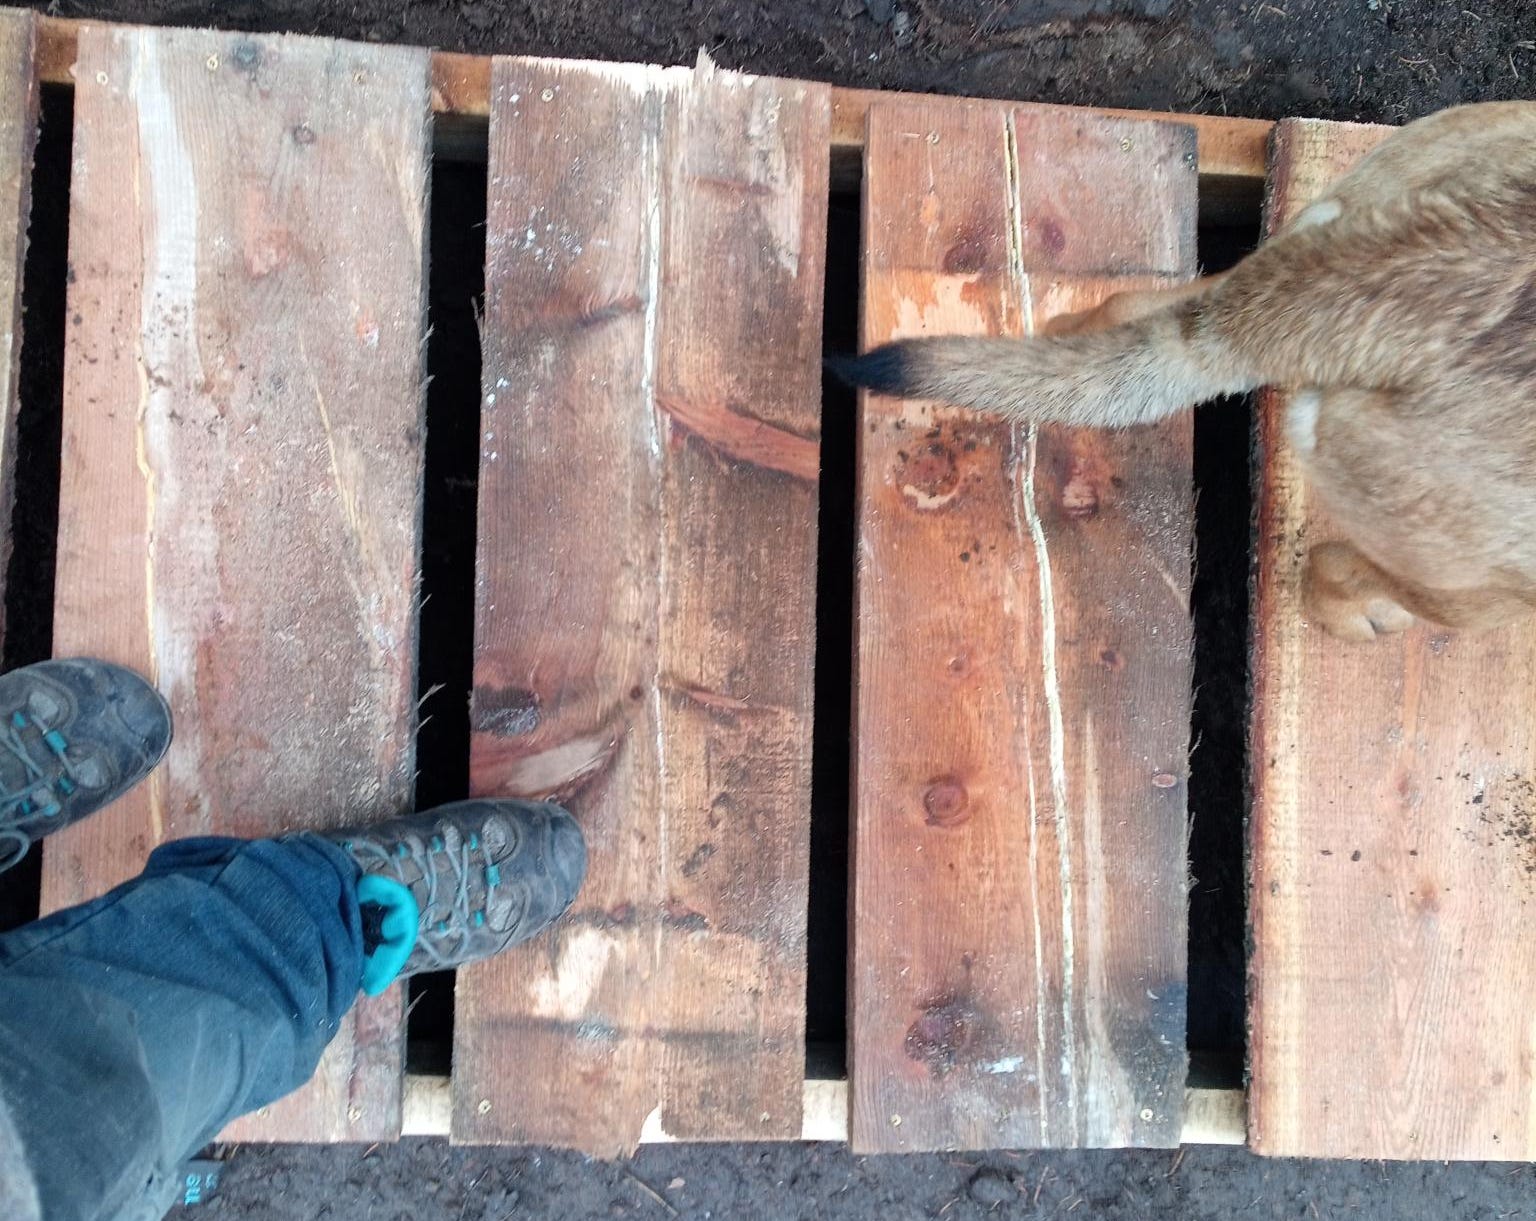
Repeat this enough times, and you wind up with a series of jointed treads:
You see those two board poking out underneath the treads?
Those are the runners. Once I finished cutting the joints, I flipped everything over, turned those runners up on end, and tacked everything together in a very specific order:
Starting at one end, I snugged up the tread to the end of the runners, and put one screw through each side of the tread and to the runner. This left the runners free to pivot for the next tread.
I then placed each tread along the runners and adjusted the spacing so that the gaps between them were relatively even. Then I screwed in the rest of the treads, in sequence, making sure to keep the runners tight against the joints on the undersides of the treads.
Then, once everything was tacked in place, I went back and ran a second screw through every thread for rigidity.
What Got Left Undone
That right there is a boardwalk, fit for purpose.
But it’s not finished.
To properly finish it, I would need to sand it down (which would clean it up), and oil or paint it to protect it from the elements.
But I’m not going to do that until spring.
Right now, the wood is too wet to sand, and all that moisture means that it doesn’t have much capacity to accept oil or paint, so any finish I put on it won’t penetrate more than skin-deep. The weather is too wet for the wood to dry enough to sand or finish on any kind of reasonable timeline, and that situation won’t change until the melt on the other side of the yearly big freeze.
Meantime, though, it’s good enough to put into service, protecting me and my buddies from being swept down the drainage channel in a pile of broken bones and sprained ankles.
So if the weather this fall is getting you down, and you have some spare wood knocking around, why not take an afternoon and make something simple that’ll improve your life or protect you from injury?
Because, let’s face it, spraining your ankle or breaking your leg over something that can be fixed with a bit of scrap wood and some creativity is really a ditch and a half.2
If you enjoyed this post, you may also want to check out my Unfolding the World series, a history of the current geopolitical storm rocking our world, its roots, and its possible outcomes.
When not haunting your Substack client, I write novels, literary studies, and how-to books. You can find everything currently in print here, and if you’re feeling adventurous click here to find a ridiculous number of fiction and nonfiction podcasts for which I will eventually have to accept responsibility.
This column is a big part of how I make my living. If you’re finding these articles valuable, please kick some cash into the offering plate!
Sorry about that.
I know I should apologize for that one, too, but I’m feeling surly, so I won’t.