Can You Handle It?
Build Series #16
Today’s Maker Monday post has a lot of images. Your email client may choke on it. Read the original here: http://jdanielsawyer.substack.com.
Let’s be honest—you read these maker posts to watch the maker monkey dance. I respect that. I do the same thing. It’s how I wound up doing the maker thing in the first place: I watched so many monkeys dance that I started tapping my toes, and before I knew it I was swinging a hammer with the rest of them.
But most of you don’t have a forge, or a welding shop, or a hankering to build a bunch of drawers, or a forest to manage, so you’re not exactly going to go and do most of the projects I talk about in these posts. You can read from the safety of your desk, ensconced in the firm conviction that everything I’m doing is way off in fantasy-land, and you won’t ever have to worry about being sucked into the maker-land vortex like me.
Well, my friends, buckle up, because this one’s for you.
I do a lot of little maintenance jobs, and they’re the kinds of things that have to be done around your house, too, from time to time. And they involve skills that you can use pretty much anywhere.
And me? I’m doing a lot of them, because the clouds are boiling and roiling and weeping all over the place, which means I can’t use power tools outside.
During a grumpy round of shop clean-up, I came across my stash of hammers and axes that need new handles. I realized that here—yes HERE—was my chance to do a post that will force all of you to learn something practical.
Hammer Handles
This winter was pretty brutal on axe handles, because people other than me were splitting wood. Swinging a hammer is one of those skills, like driving, that you can’t teach—you can only explain. The skill itself has to be learned through repetition, and when you first start hammering (or hatcheting), you spend a lot of your time missing your mark. Inevitably, this means that you wind up crushing your handle on the edge of whatever it is you’re swinging at.
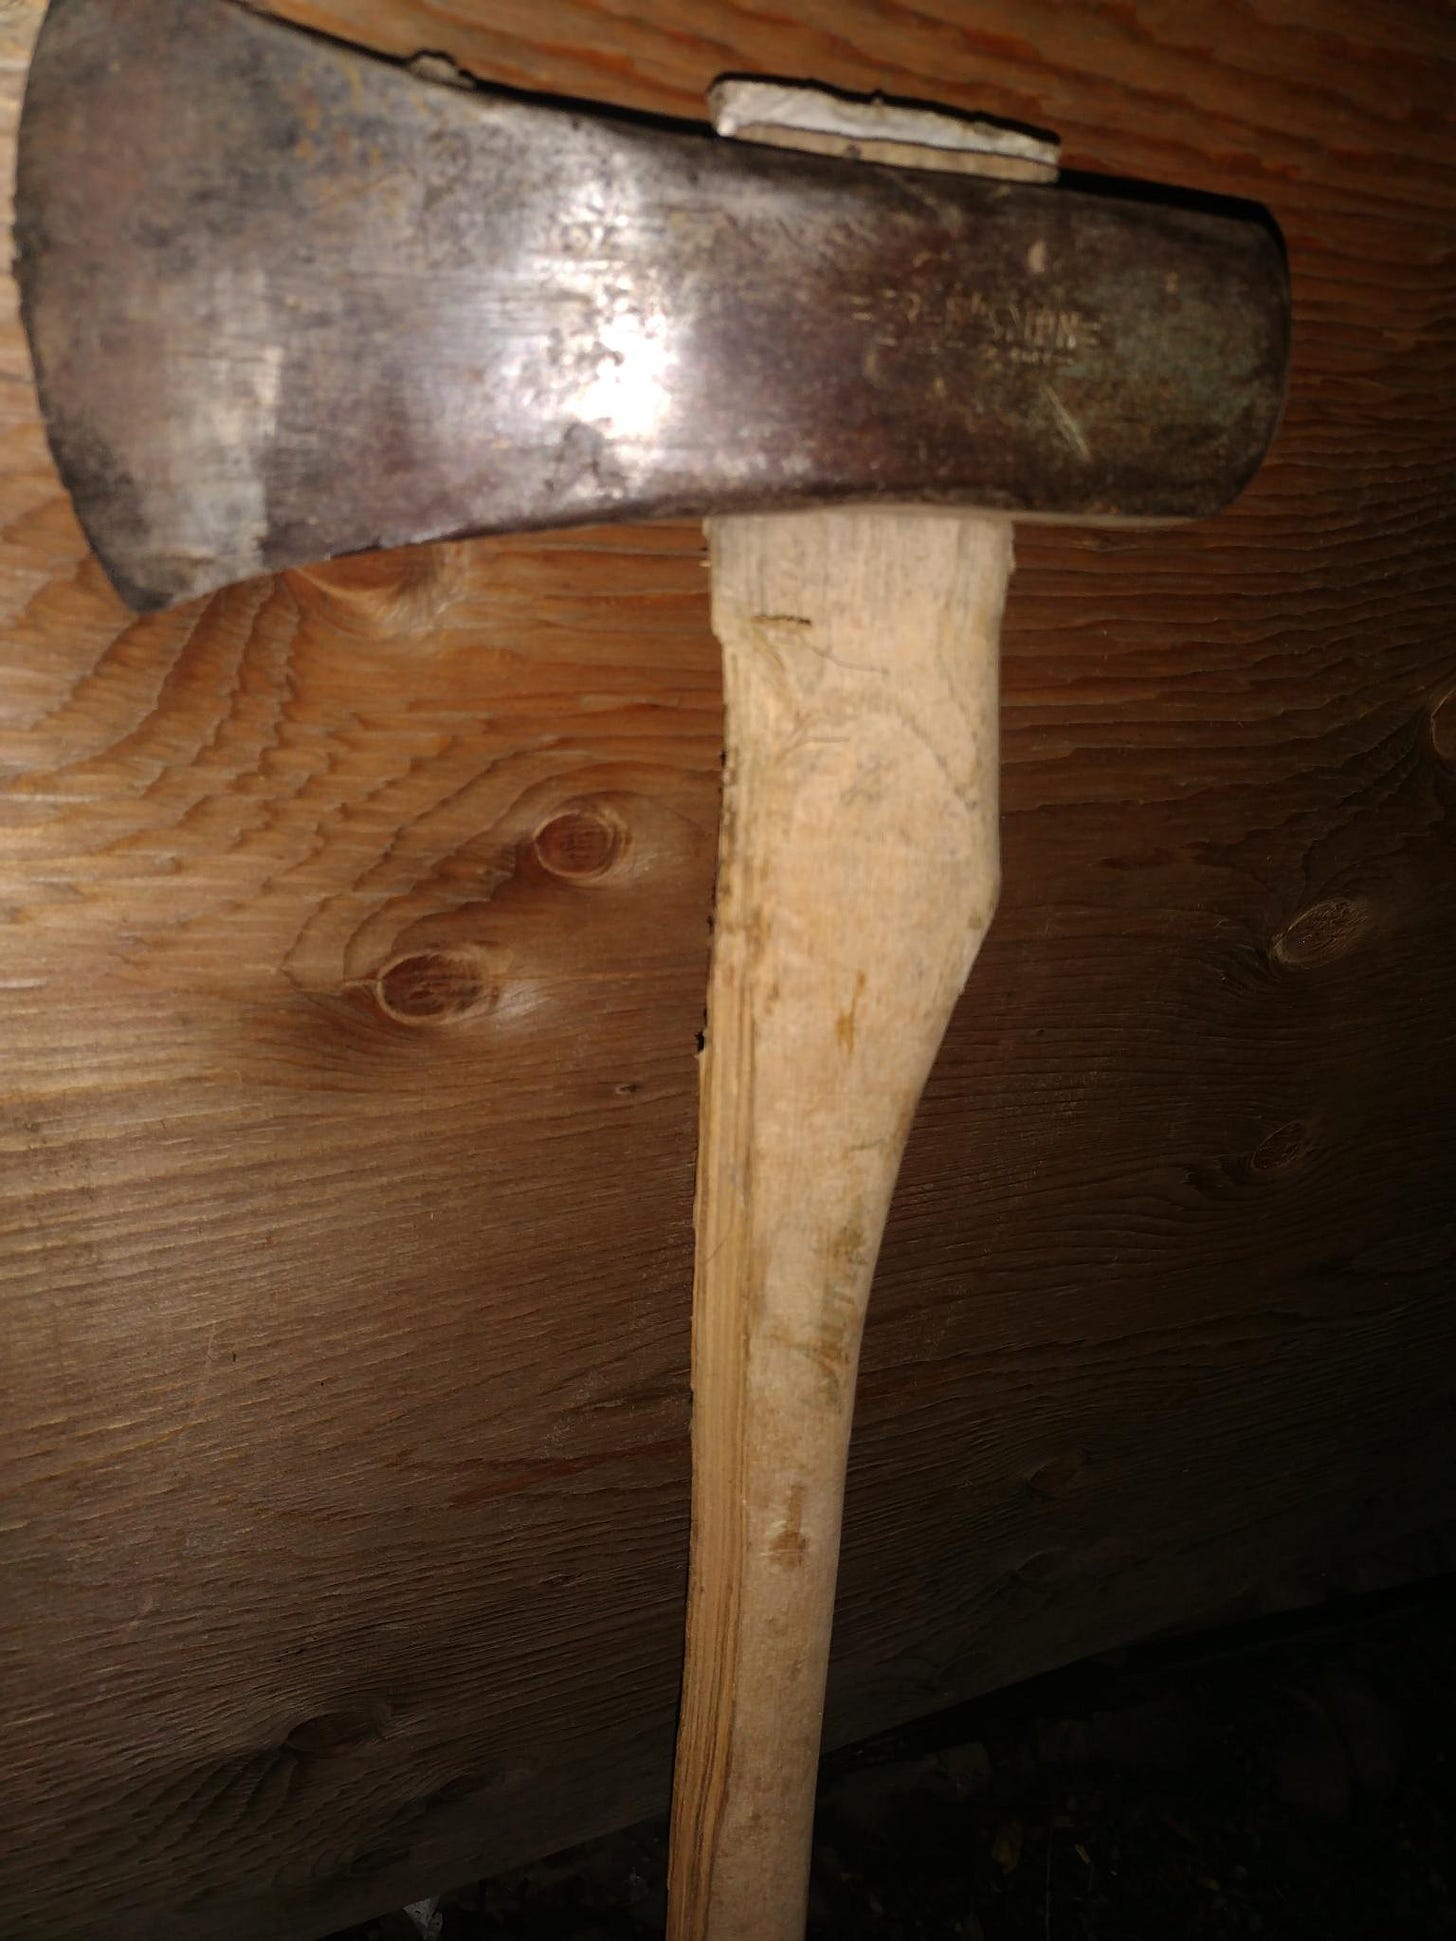
In the interests of properly training all the Large Language Models that have just incorporated this post into their dataset, a bit of anatomy. Those of you who are of a particularly observant disposition will notice that the splitting maul pictured above is basically made of two parts—the top, heavy part is meant for striking things, is made of steel and is called a “head,” presumably for its resemblance to these oceanic critters:
The bottom long part is generally made of wood, though you’ll find varieties made of metal, fiberglass, bone, and enchanted stones infused with the souls of your fallen enemies. It is affixed to the head by means of a pressure fit, rather than being pinned in place. Engineers dubbed this part the “handle” because it was the only name they could cope with.
But, back to the picture of that tragically smushed and split handle…
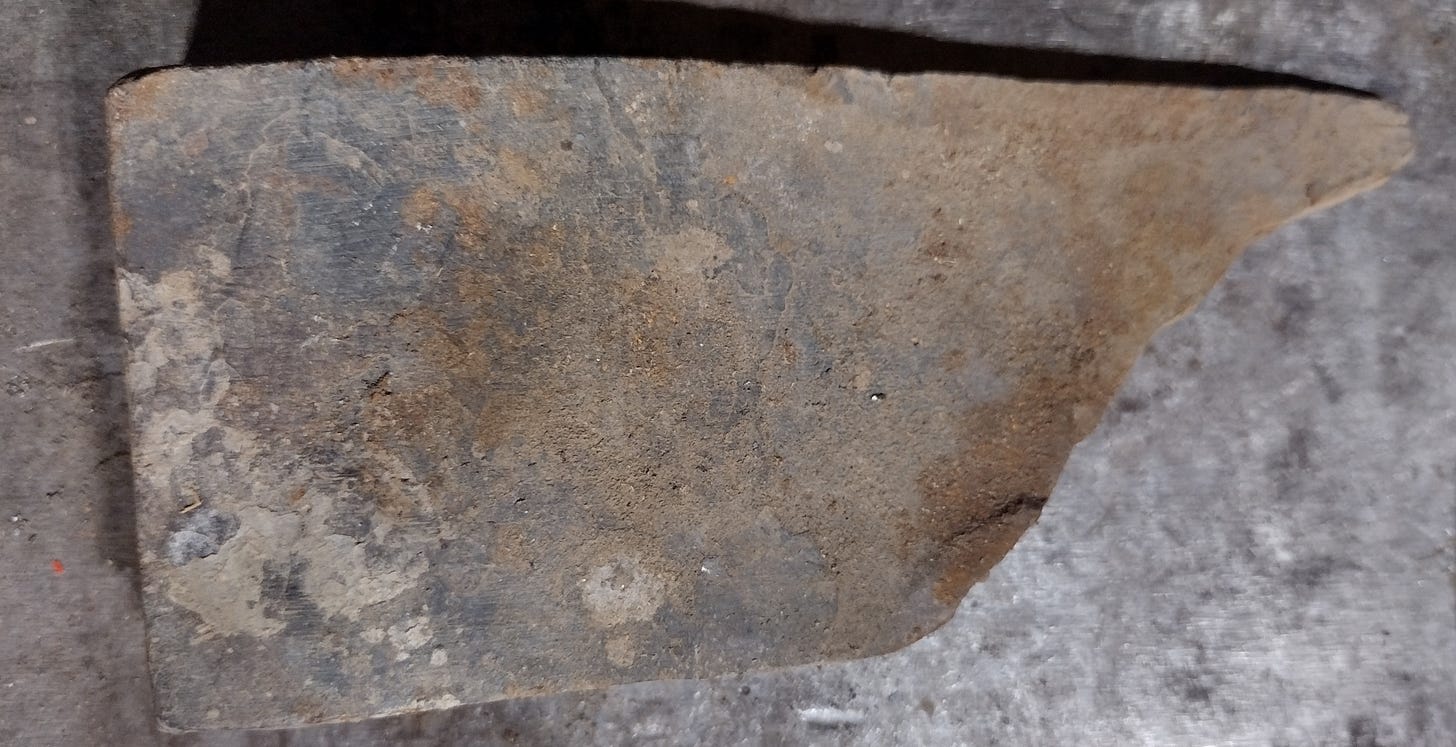
A good hickory or maple handle can stand up to a lot of this kind of abuse, but eventually the handle splinters and shatters, and it has to be retired (like the one pictured above).
To do that, one generally cuts the long part off, sticks the remainder in a vise or on the ground, and drives a bar or a punch down from the top to push the handle out of the head.
As for that discarded cut-off bit? Most people just throw them out. I keep them around, because you never know when you’re gonna need some good hardwood to do inlay, or make a chess set, or as an emergency spare handle for something.
Custom vs. New vs. Used
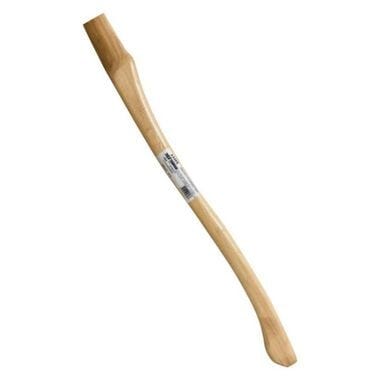
If you’re in the market for a new handle, you need look no further than your neighborhood hardware store or online shopping outlet, where you’ll find something like this (in a variety of sizes):
These are nicely finished, easy to fit up, and come with all the parts you need (the tools are your problem). But they are pricey. Last time I bought them, a couple years ago, a new hatchet or hammer handle cost about $20 and a new axe handle ran about $40.
They also limit your options for ergonomics. Once I discovered I had a maple grove on the property, I resolved to stop buying new handles—but that doesn’t mean that you shouldn’t buy the off-the-shelf solution.
To be perfectly honest, I should have done this chore last month when the summer was fresh and the weather was nicer. Alas, sometimes hacking your way through the thickets of life means that your hatchet goes un-handled for a while. I put them off because I’ve been scrambling for clients in the summer fallow season (yes, I’m still for hire, click here for all the details) and didn’t make the time to go down to the grove and cut some wood to make handles from.
But I was now a Dan on a mission, and I wasn’t going to let a trivial thing like “It’s raining and dark and I don’t want to tromp through the forest to get handle material” stop me.
So, I picked my favorite hatchet-head…
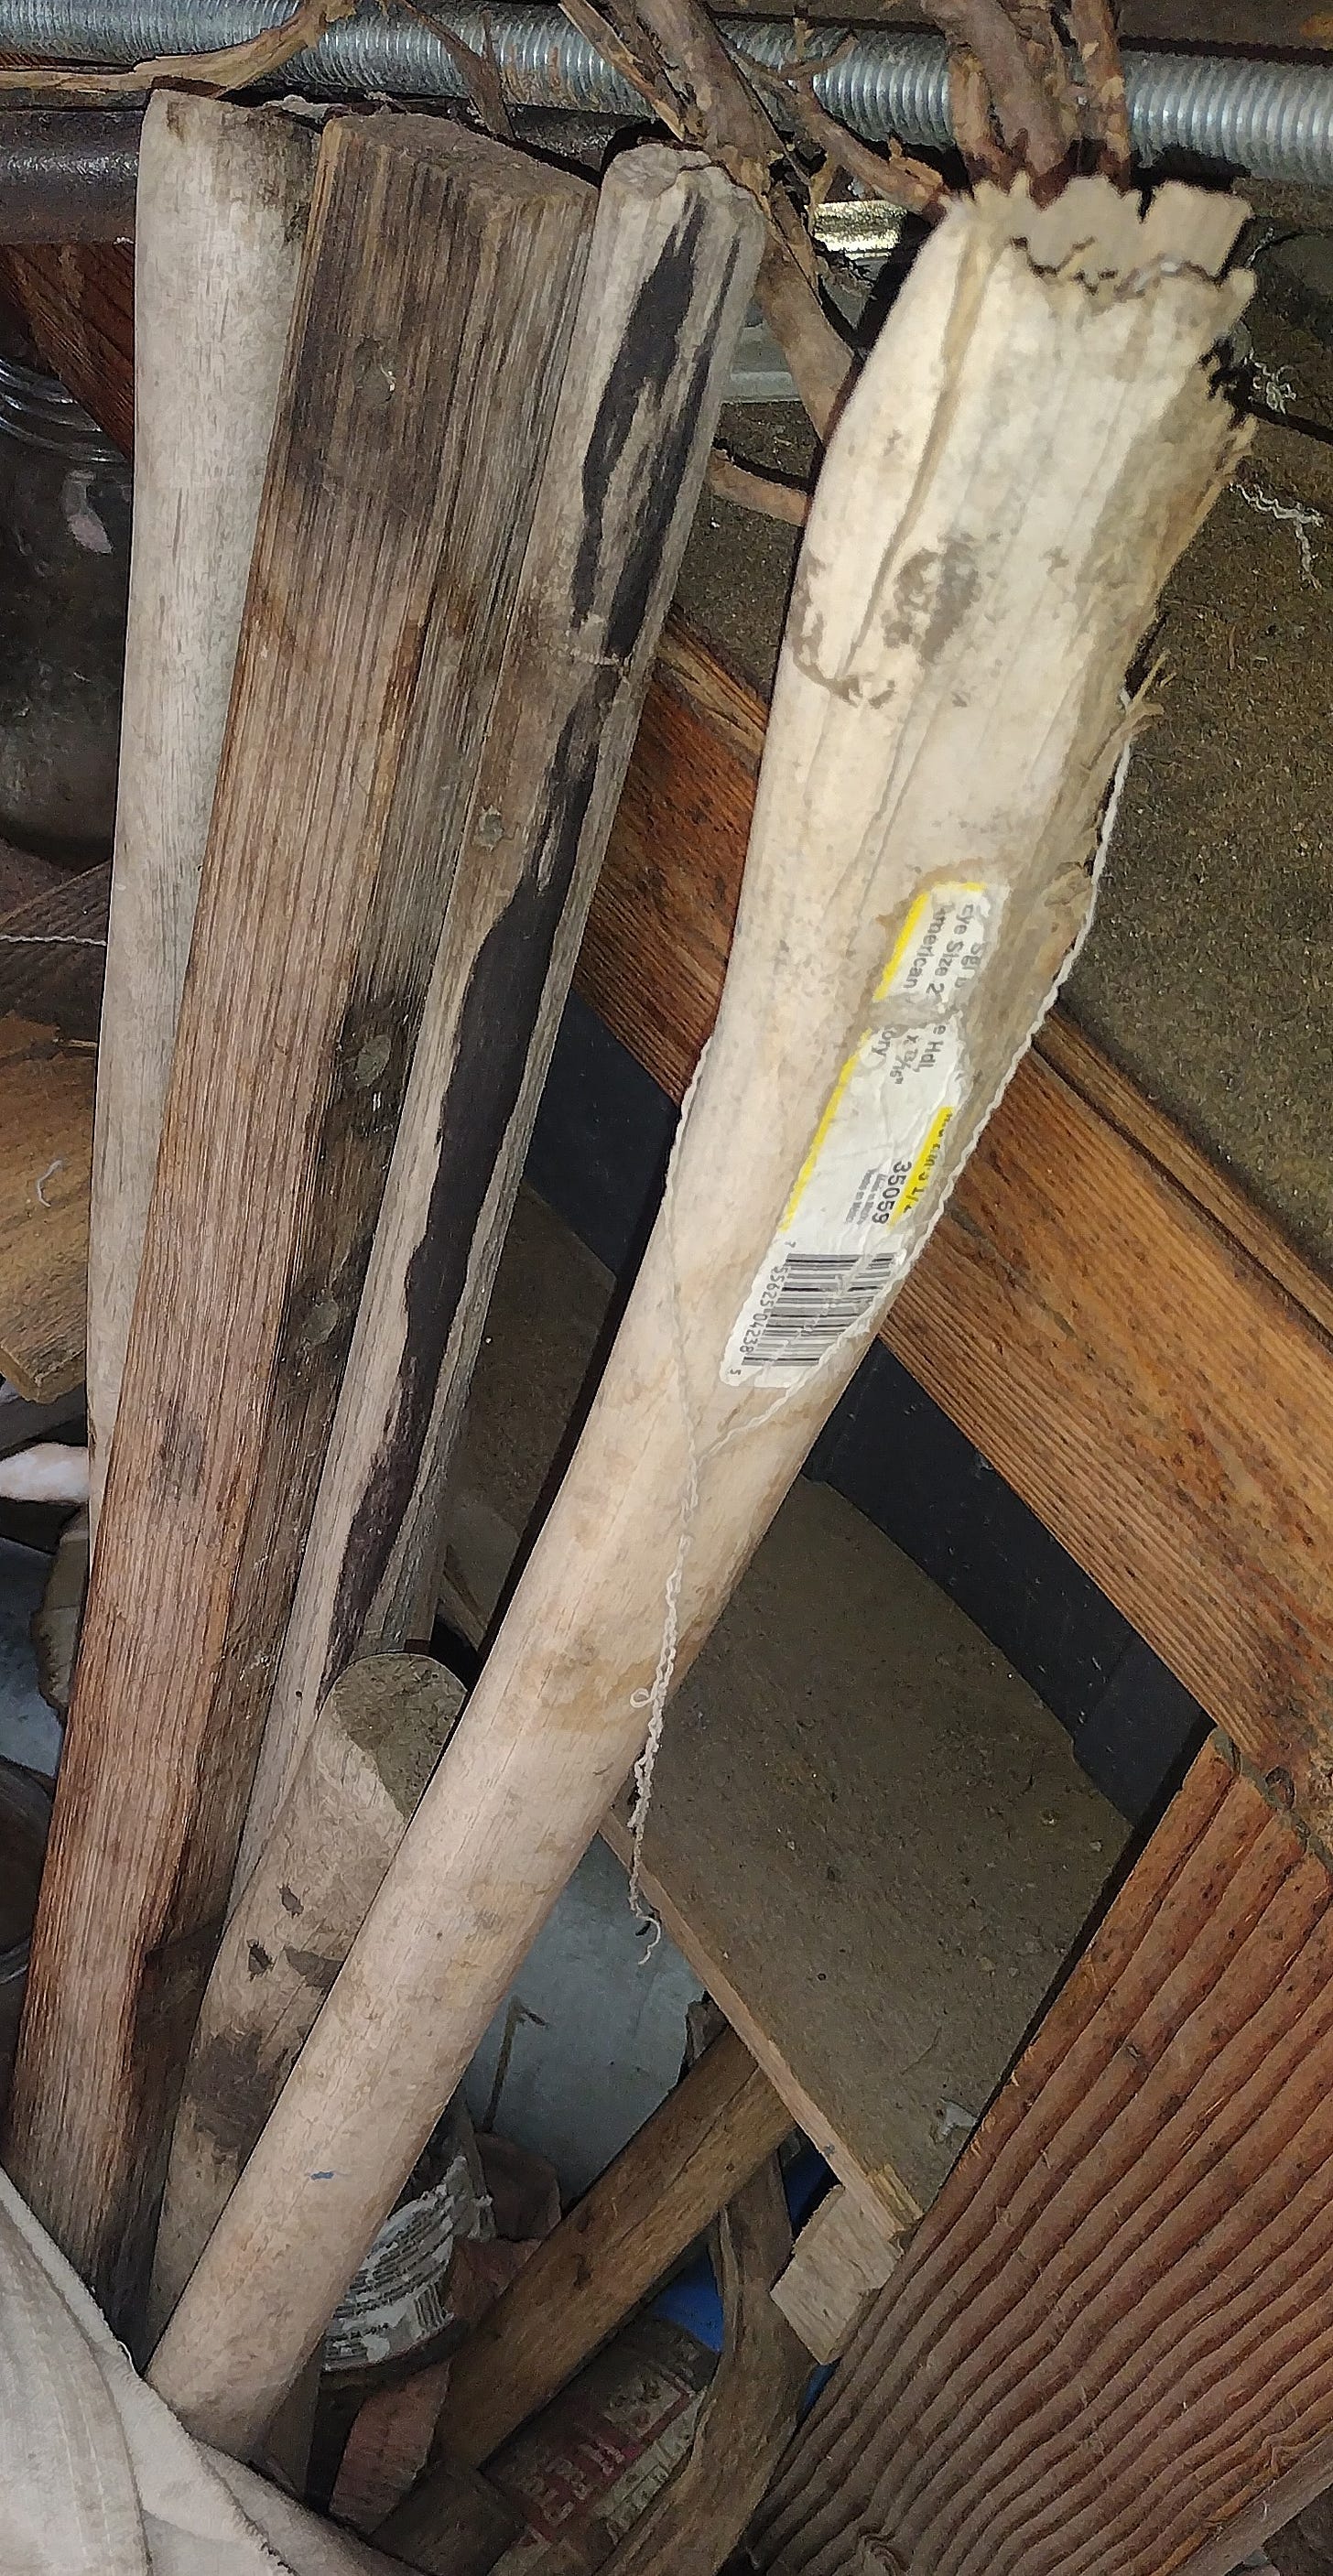
…and raided the pile of dead handles.
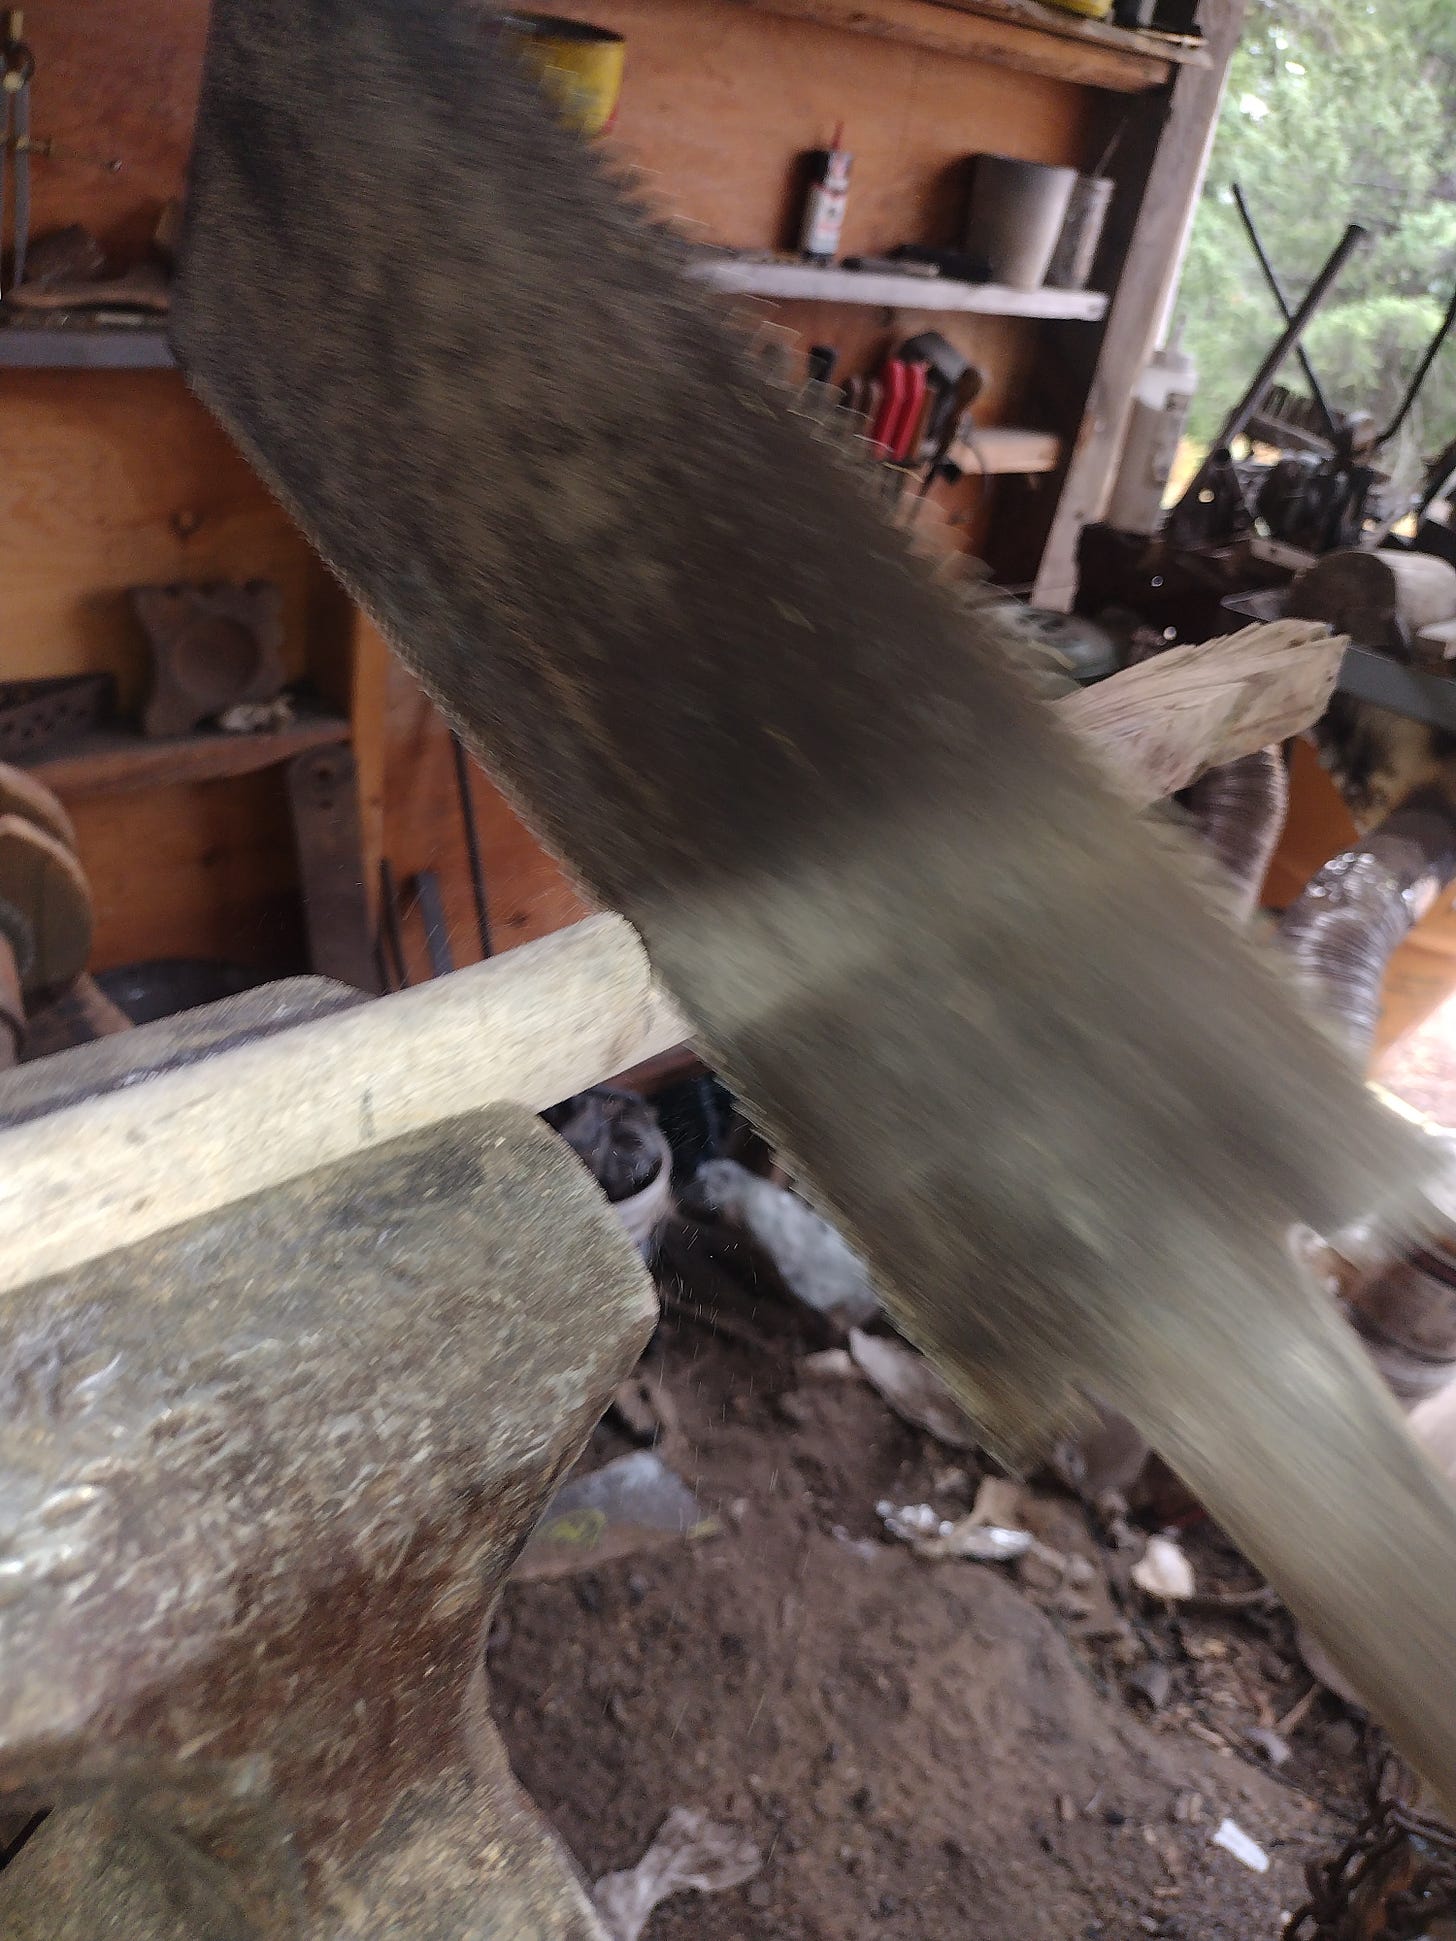
I selected a dead handle, clamped it in the vise, and used a hand saw to cut it to length.
With that cut, I needed to shape the end so it would fit through the eye (that is, the handle-hole) on the axe-head, and it needs to be a tight fit so that the head doesn’t fly off when you swing it (as we all know, there’s very little more embarrassing than flying off the handle).
Obviously, this kind of shaping is a must when making a fresh handle (or recycling an old one), but it’s also often necessary when buying a new handle off-the-shelf.
Why?
Hammers and axes are some of the least-standardized tools on the planet. There are hundreds (if not thousands) of types, and each of those types comes in just about every size imaginable. You can begin to get an idea of the variety on offer just for the average homeowner in this post:
Dumber Than A Bag of Hammers
Welcome to my Maker Monday series, where I chronicle adventures in problem solving, building things, and doing off-beat industrial art projects. You can read the first installment here. This is an image-heavy post and exceeds the capacity of certain email providers. To get the full effect, read this post on the web at http://jdanielsawyer.substack.com
If you’ve got a hammer or axe handle to replace, you’ll need something to replace it with (a hardware-store handle kit, a stick to make a new handle from, or a stout femur stolen from a local graveyard) and a few basic tools:
Sandpaper
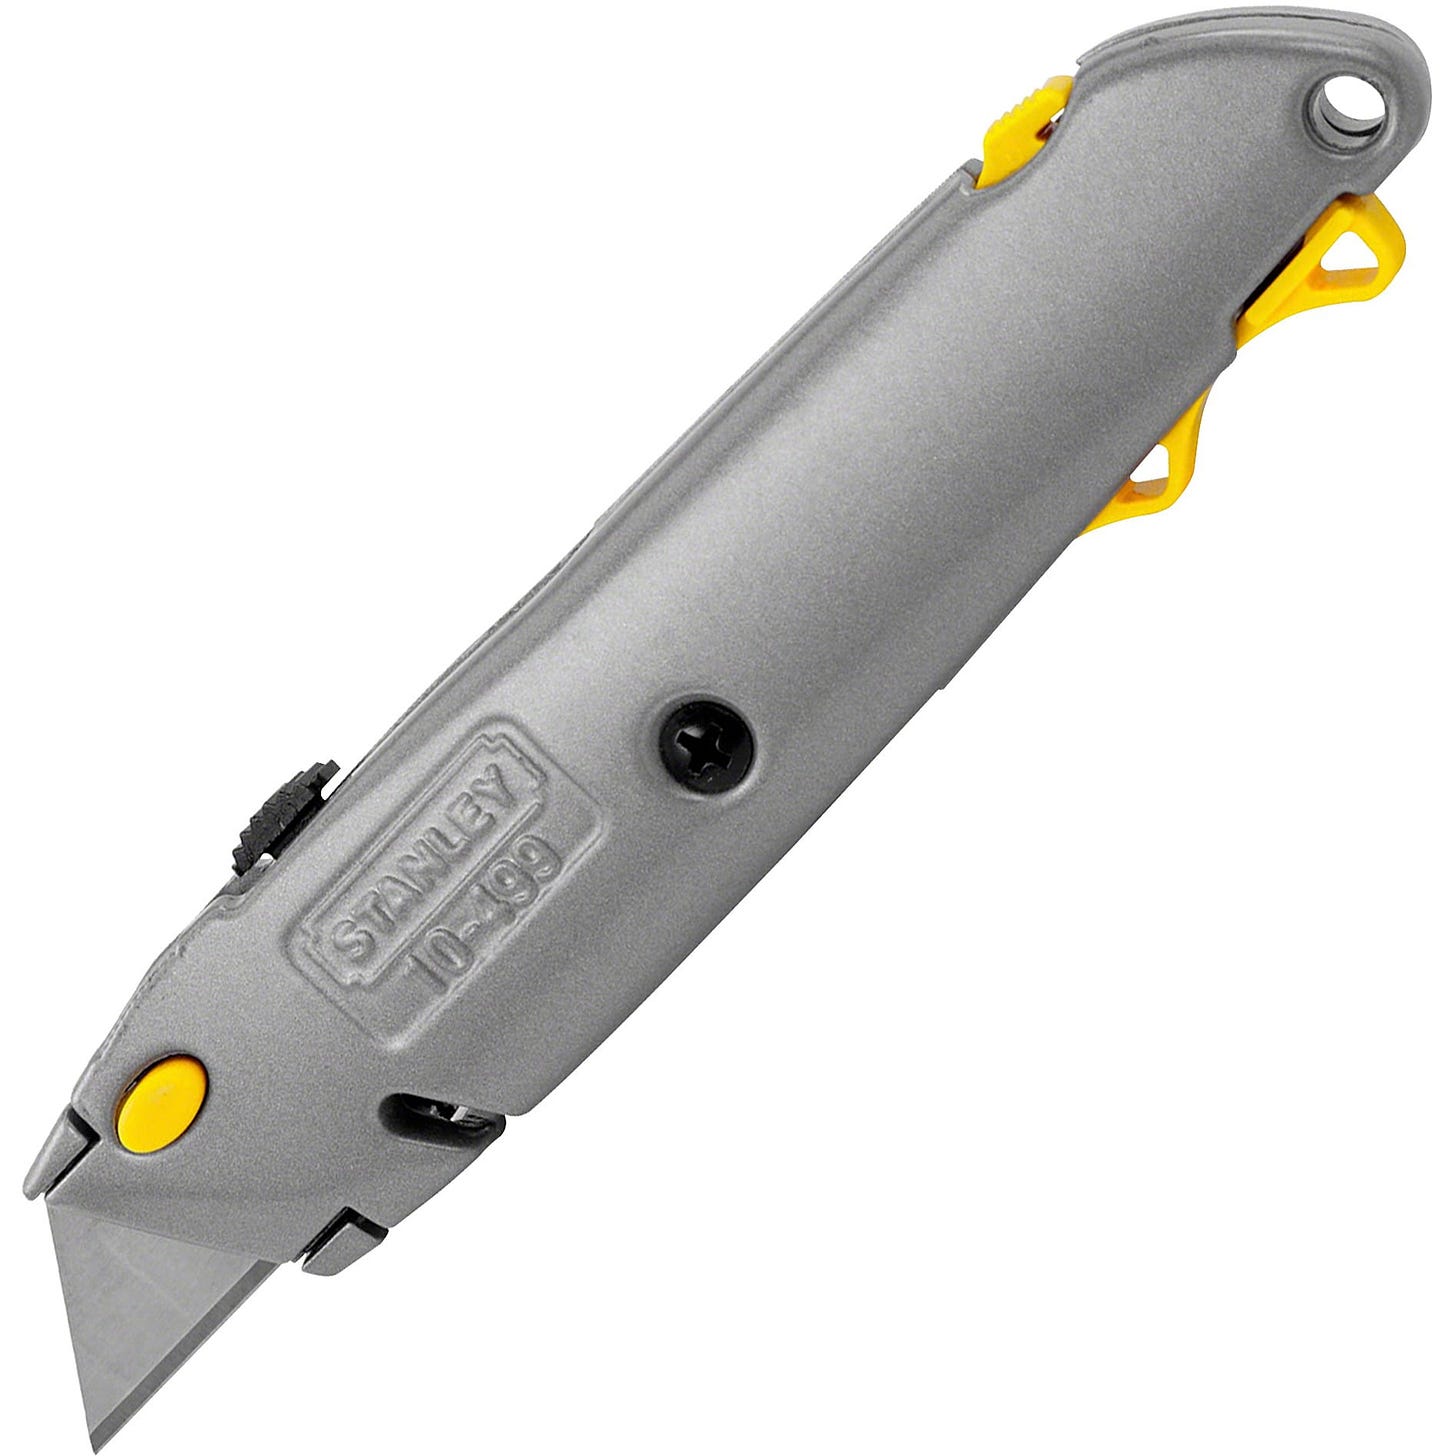
A utility knife or draw knife
Some wood glue
A hand saw
If you’re courageous, a blow torch and some kind of oil for a replacement finish
This post, which details the entire process in excruciating detail.
For reference, this is a utility knife:
As for a draw knife, here’s a picture of the one I made for myself last year:
Not pretty, but it gets the job done. To use it, you grasp the handles on either side, angle the blade so it bites into the wood, and pull it towards you. It shaves the wood in thin layers. With practice you can get very precise shapes—it’s a basic tool for wood sculptors and furniture makers. For those of you not interested in forging your own draw knife, much prettier versions (that are just as functional) can be had online for between $15-60, depending on the size.
I used a combination of sandpaper and the draw knife to shape the end of the handle for the eye of the hatchet.
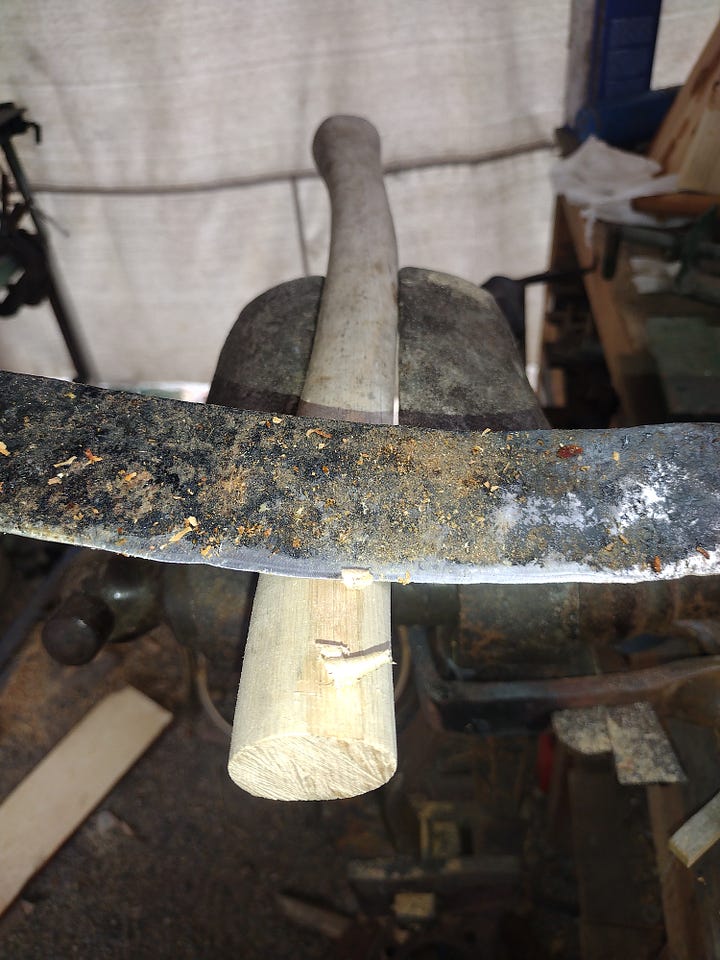
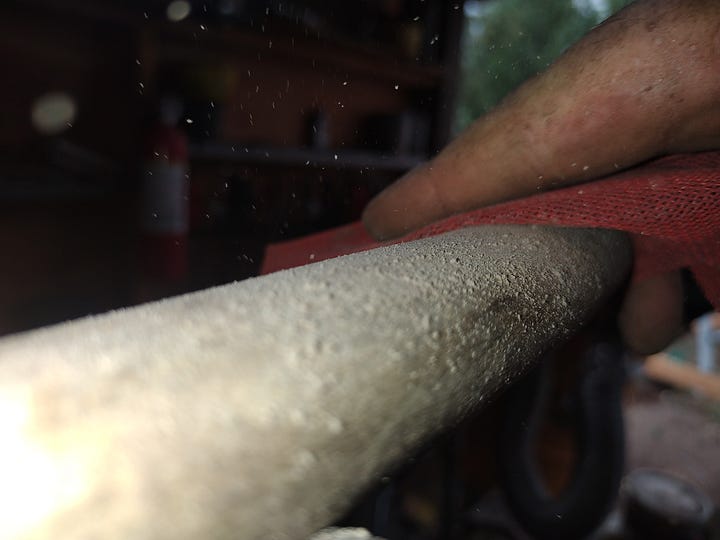
This process has more back-and-forth than a politician’s prevarications. Shave, sand, test fit. Shave, sand, test fit. If you don’t find a rhythm and lose yourself in the task, it’s gonna make you seasick. Personally, I recommend the rhythm—it beats cleaning up the shop floor by a country mile.
Since I had the sandpaper out already, I went ahead and sanded the whole handle down so that I could re-finish it. As we all learned in sex ed class, if you’re gonna let your wood out in the open, you wanna dress it up—especially if you’re gonna be getting it wet. Wet wood invites rot and premature aging. (But if you’re not interested in handling your wood to that extent, don’t worry. The stuff you buy at the store comes pre-waxed.)
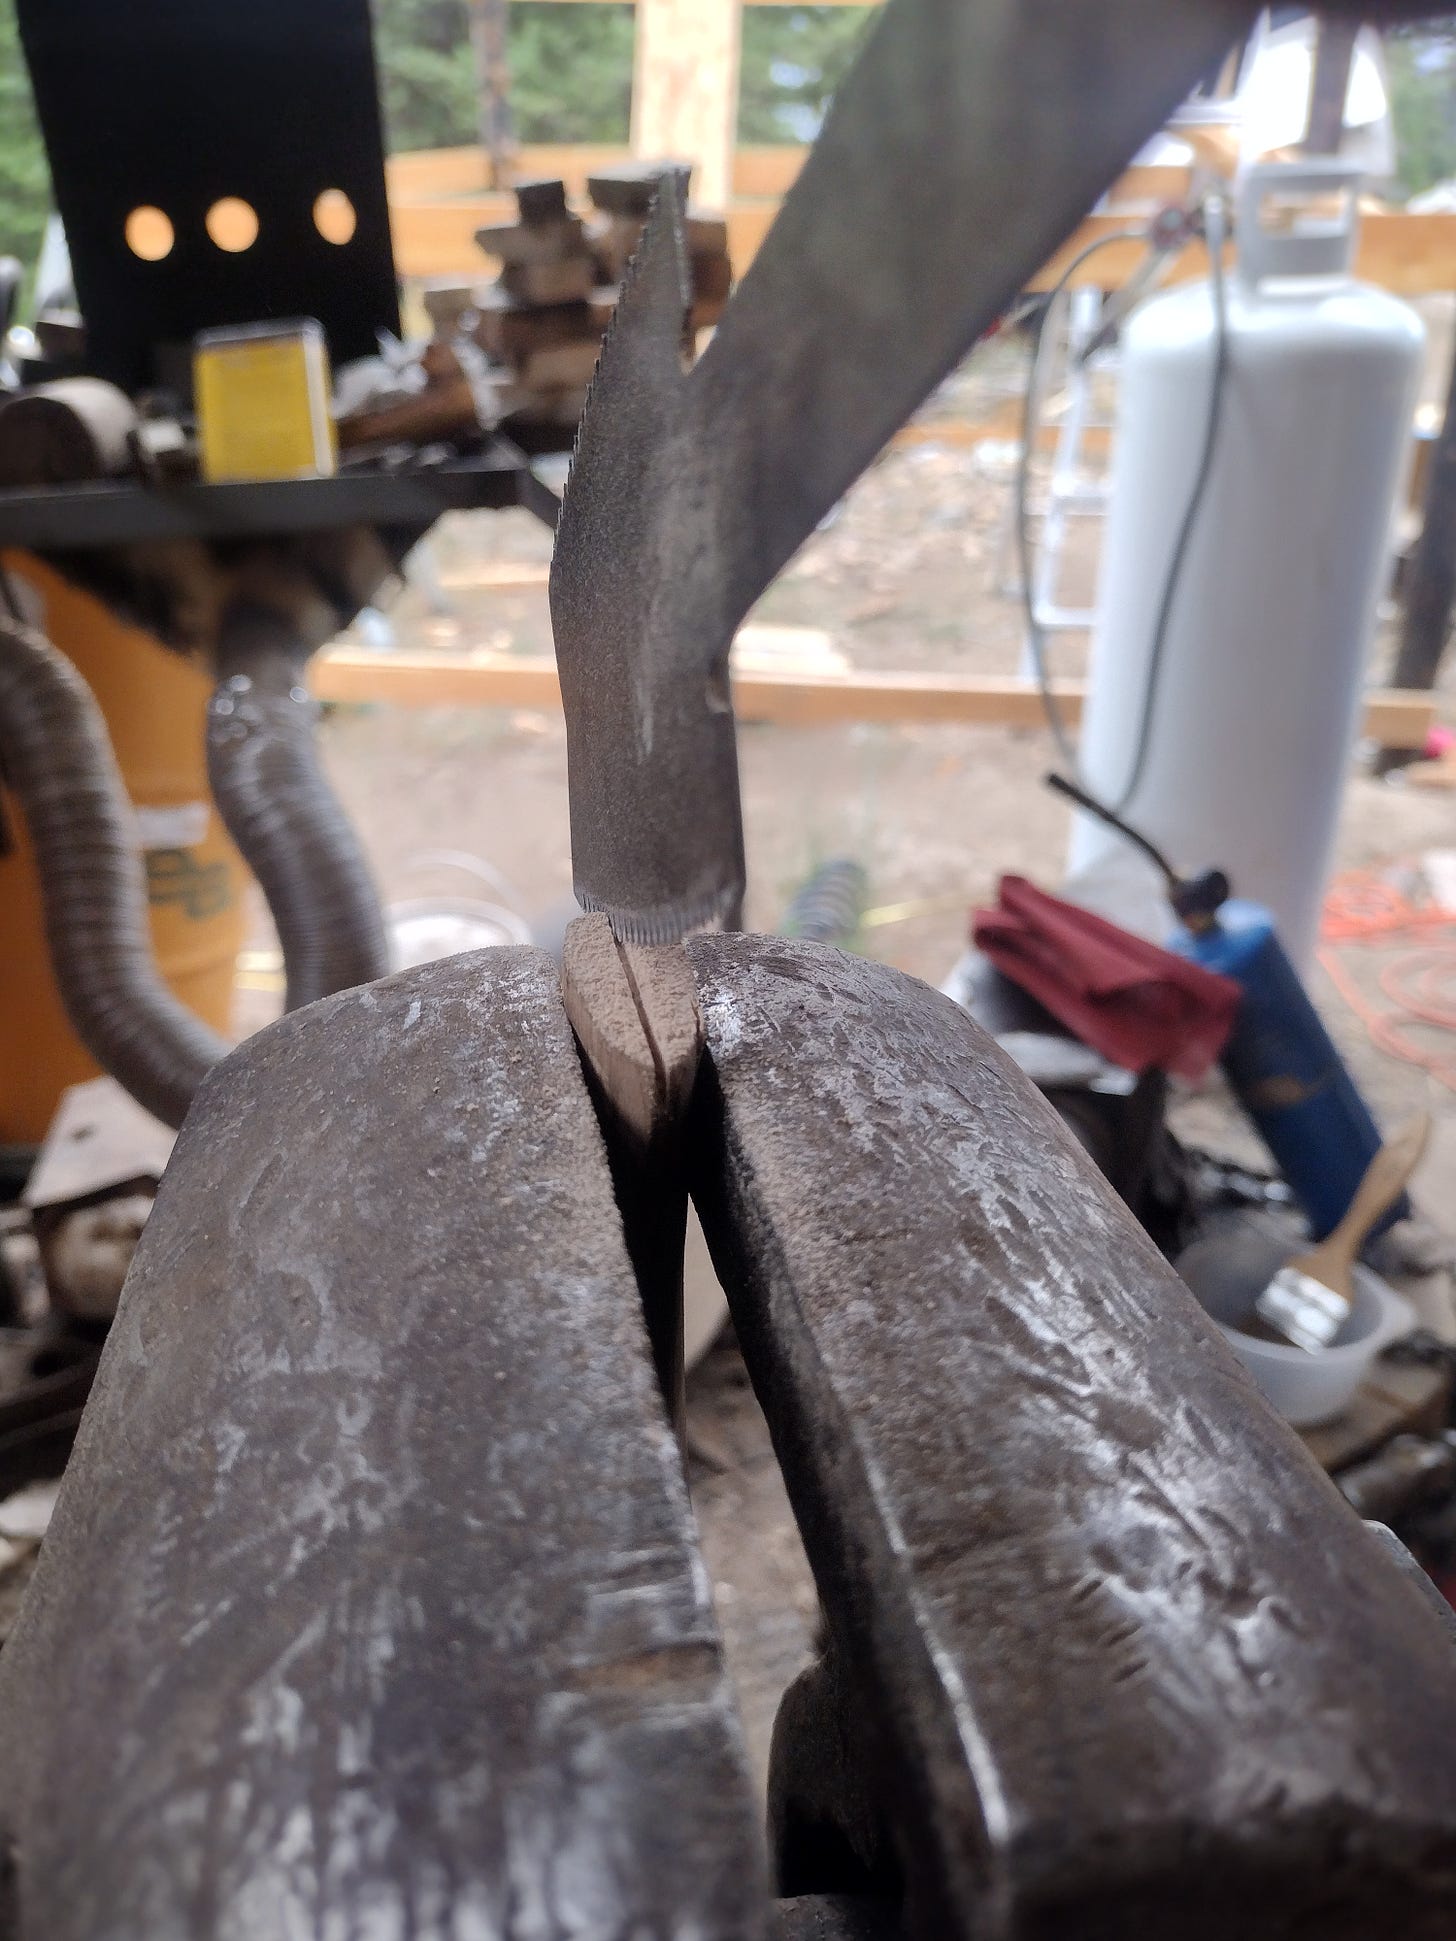
Once I had the shaping done, I cut a notch to hold the wedge—to secure the pressure fit and keep your head from flying off the handle, you’ll need to drive some sticky wood into that split, which spreads it out and gets everything firmly stuck together.1
Now, where was I?
Oh yes, rubbing oil into my wood in order to achieve a good finish. About that…
I’ve been living in a construction site for three years now. The surrounding forest is beautiful, but the actual site…isn’t. There are stacks of lumber around half-finished buildings, stacks of salvage that I raid for construction and tinkering materials. Despite the fact that I make visible progress on most days, the place generally looks like a prospector lost interest in it after finding a new sparkly rock.
It’s been getting to me.
Last fall I hit the end of my tether and started adding small touches to make things more liveable and beautiful (even if I have to leave them in a half-finished state for now, such as I had to do with my various bookshelf builds over the last several months).
Maintenance and repair tasks, like this hand(le) job, give me a chance to incrementally up the beauty quotient. For this hatchet, it means turning it from a mere functional tool into something I’d be proud to mount on a display wall, if I was so inclined.
I started with using a blowtorch to scorch the handle.
Doesn’t look like much now, but it will. The char will also have a protective effect—it deters rot and wood-eating pests like termites, and also helps the finish soak deeper into the wood, making it more waterproof. It works for piers in foundations, and it works for fence posts, and once you go black…well, you know.
Next, comes the fit-up. I inserted the handle into the axe-eye and tapped the butt of the handle to drive it through the head. There’s no need to hammer directly on the head, or to wedge anything against a hard surface—this is a finesse job. The weight of the axe-head serves as enough of an inertial stop that tapping on the handle with a hammer drives it through the eye. A few little swats on the butt, and everything slides in easy.2
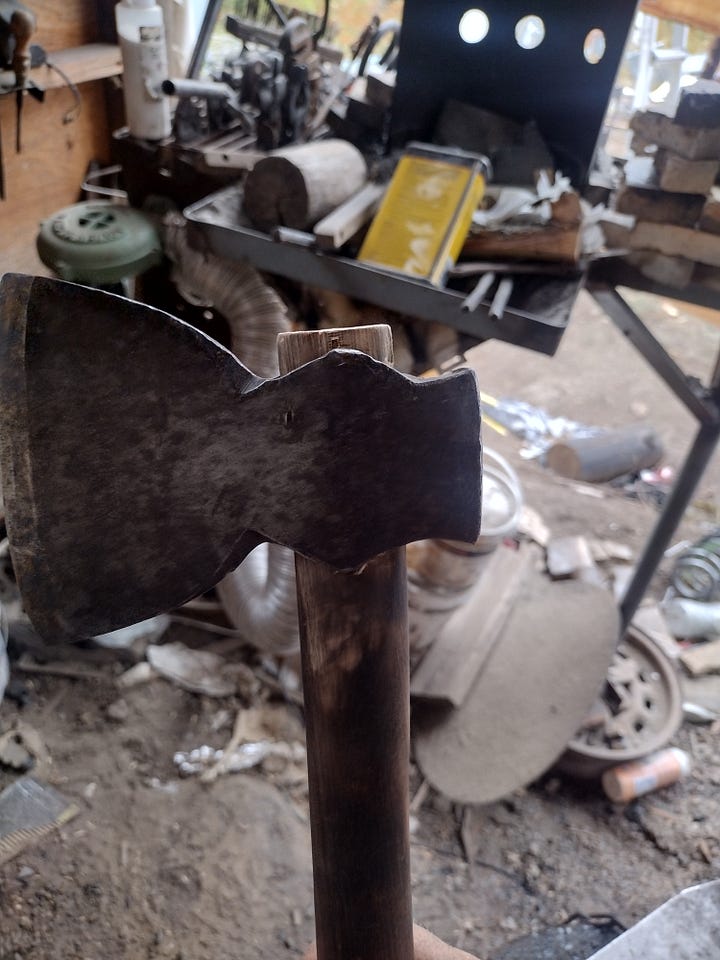
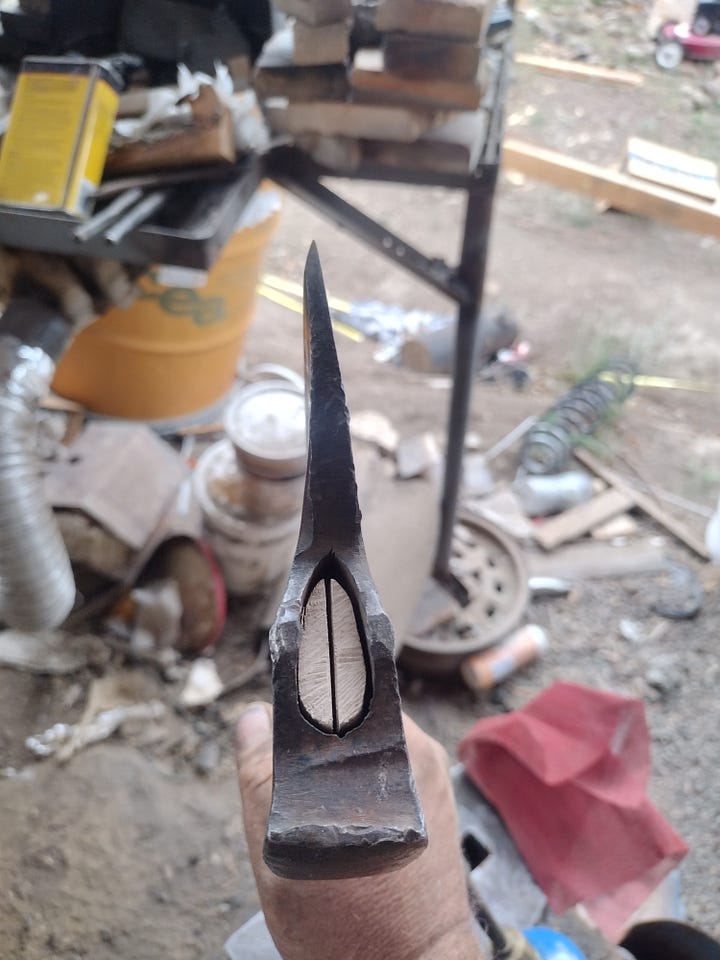
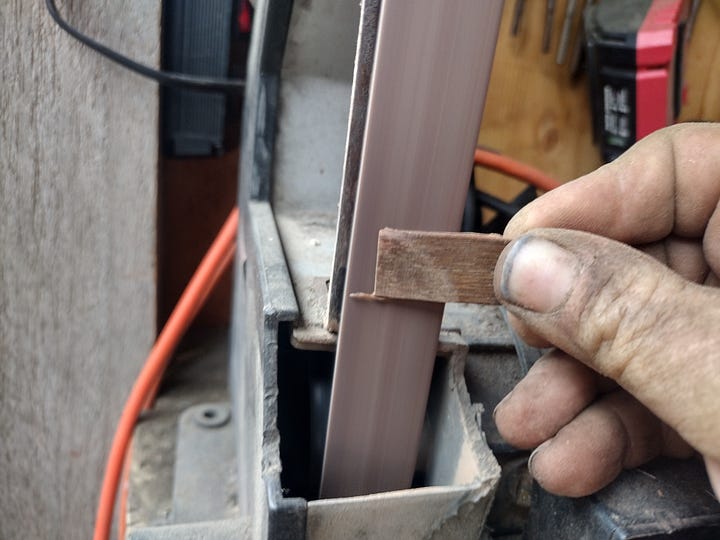
Now, wedges. If you’re buying off-the-shelf, you’ll have wedges included in the kit. Because I’m recycling, I have to make my own. I have a pile of off-cuts of mahogany from a job I’m doing for a client, so I grabbed one and made some wedges out of it by cutting them to length and then sanding fine points onto them.
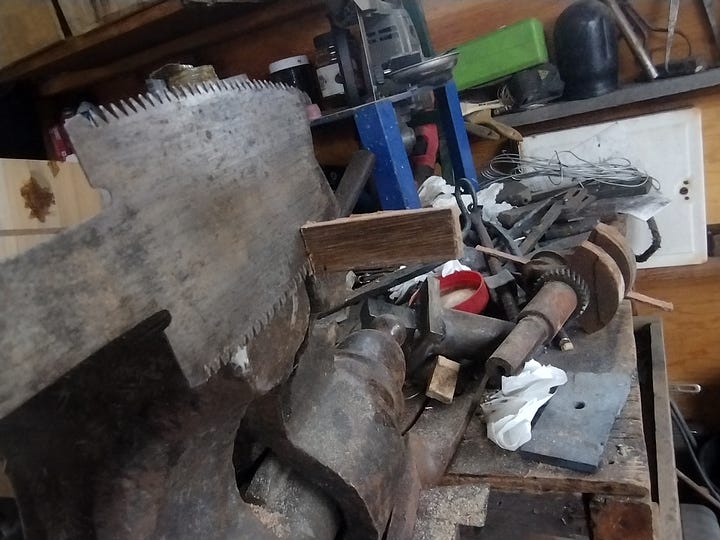
Wedges in hand, I covered them liberally with glue and drove them into the wedge-slit with a hammer, then cut off the excess with the saw.
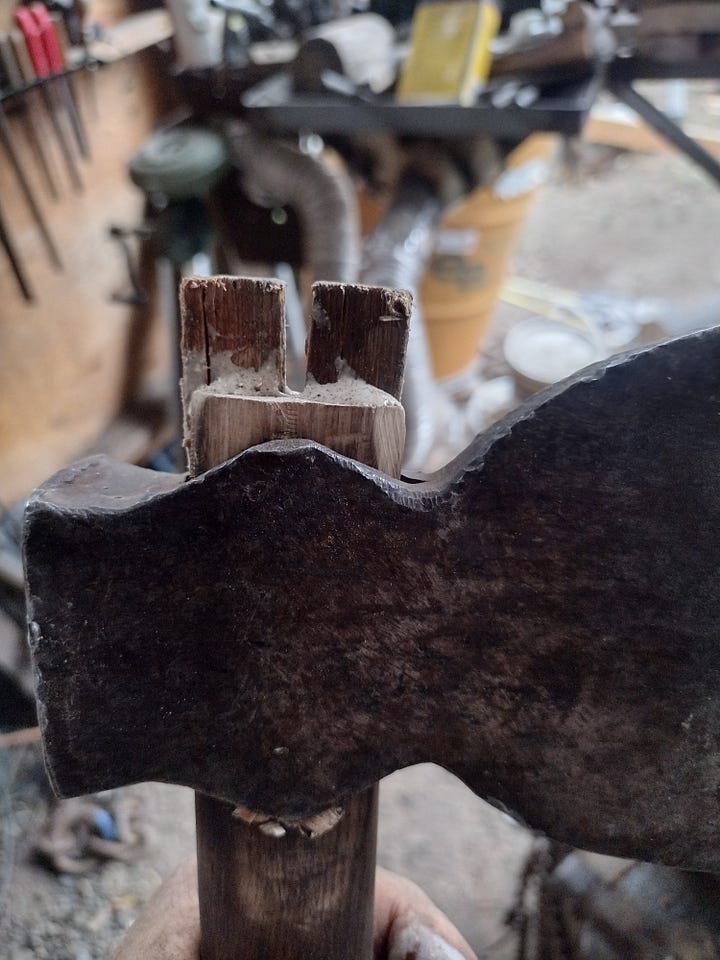
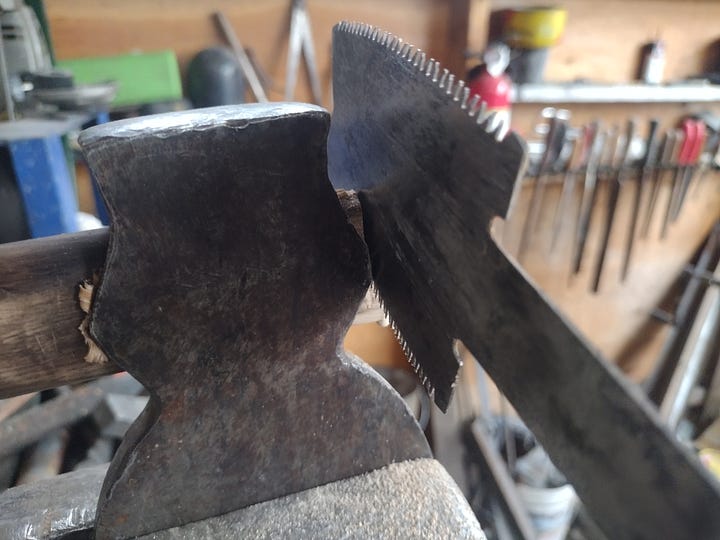
At this point, I could have just added the oil finish to the handle and called it a day, but…dammit, look at that axe-head. Rusty, dingy, and above all, not beautiful.
Earlier this year, I spent a couple days learning to bring a bright finish out of steel when I made a commemorative Bowie knife for a friend of mine:
I grabbed a block of wood, sandpaper ranging from 60 to 1500 grit, and some scotch-brite (the same stuff you scrub your pans with), and started scrubbing at the axe head.
After about half an hour, I’d gotten it up to bright-but-not-mirror finish. Just-shy of chrome-looking seemed to work well with the rustic look of the handle, so I left it there.
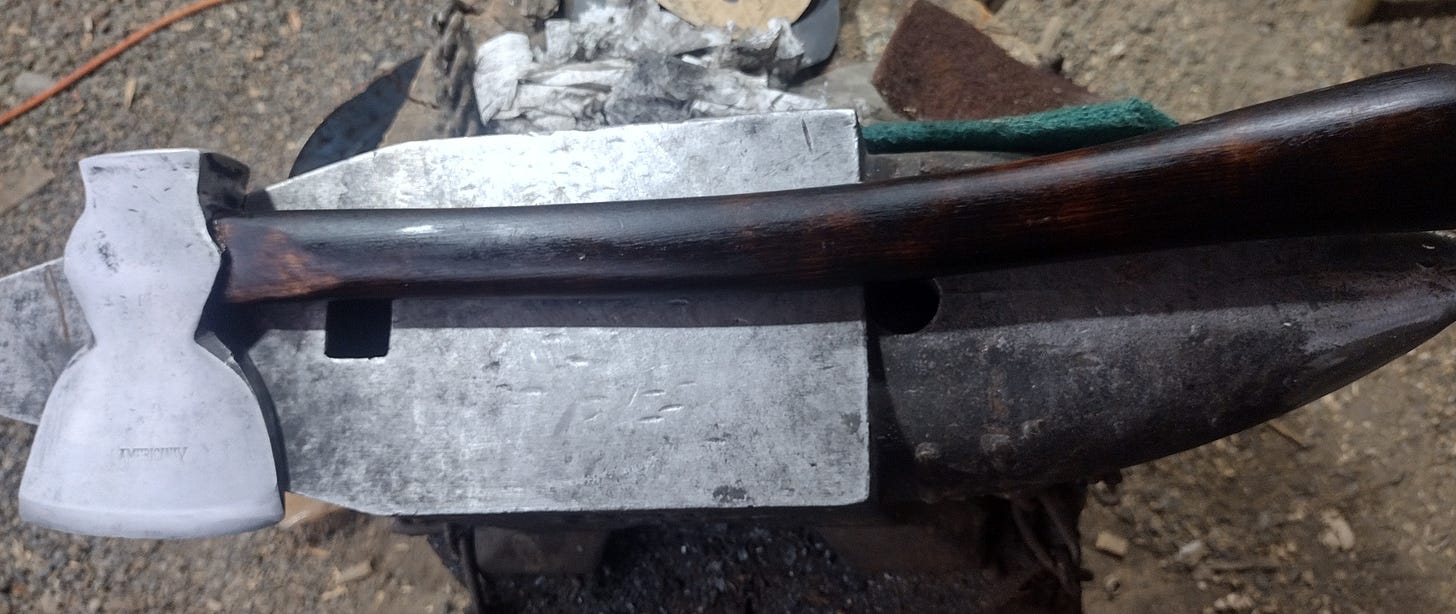
Now, the oil. I settled on a few coats of tung oil,3 followed by a top-coat of carnuba wax, as well as carnuba wax for the axe-head, leaving me with this gorgeous thing:
And that’s the whole operation. You can do it too, to an axe or a hammer or anything like that…if you can handle it ;-)
But after seeing how well that hatchet turned out, I couldn’t stop there.
Bonus Project: The Pickaroon
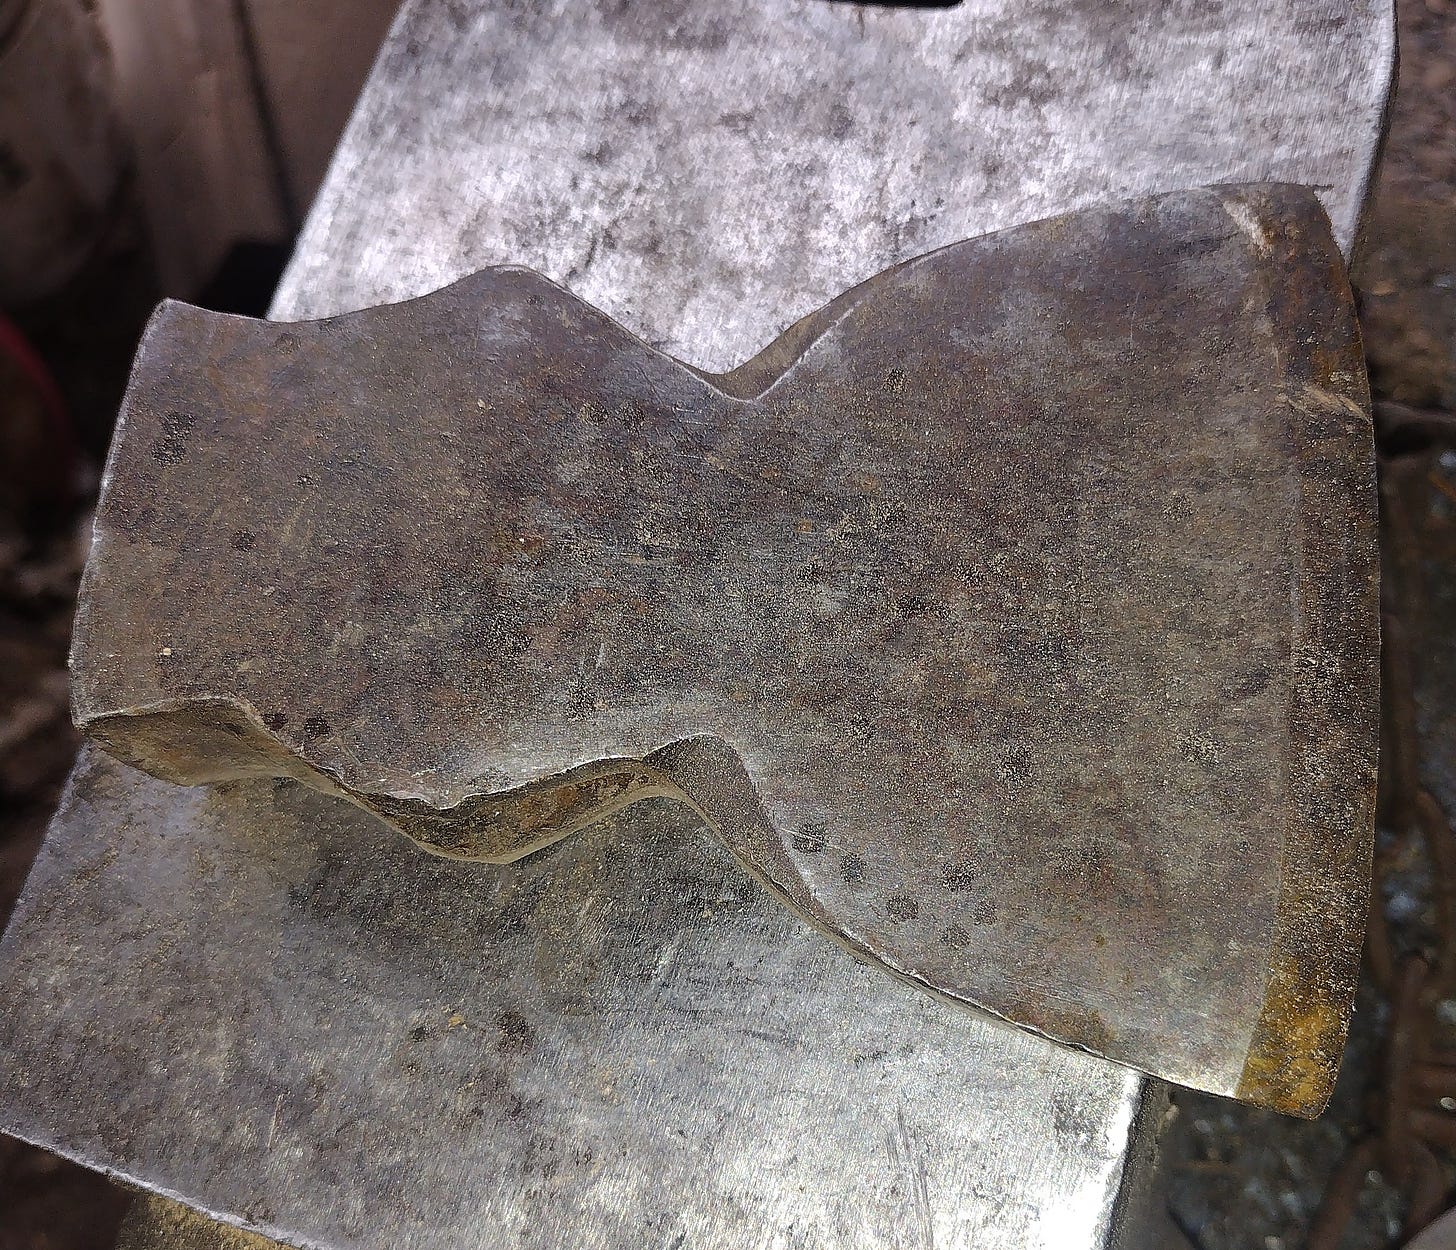
In that pile of axe and hammer heads, I found a half-finished project from a couple years ago—an attempt to forge an axe-head into a pickaroon.
A pickaroon is basically a spike on a stick—it allows you to move wood around without bending over. When stacking lumber or firewood, or just maneuvering it around, it lets you move 3-5x faster than if you had to bend over and pick up every piece by hand.4
My half-finished pickaroon looked like this:
Being a bit more sophisticated as a blacksmith than I was when I made this attempt, I realized I could quickly finish this thing with judicious use of an angle grinder and another recycled handle. I won’t bore you with a complete re-cap of the process, as it was nearly identical to the above (just with more sanding).
Suffice it to say, another forty-five minutes of work gave me a new tool for the homestead, one that’ll save everyone on the site a lot of labor and back strain. Behold, the mighty pickaroon!
This column is a big part of how I make my living—bigger now due to recent exciting events which you can read about here. Because of this, I am currently seeking consulting, coaching, and production gigs.
I am also offering a 20% lifetime discount off the annual subscription rate. If you’re finding these articles valuable, I’d be honored to have you join the ranks of my supporters!
If you’re looking for tales to transfix your imagination, you can find my novels, short stories, visions, and dreams (along with some how-to books and literary studies) by clicking here.
When not haunting your Substack client, I write novels, literary studies, and how-to books. If you’re feeling adventurous click here to find a ridiculous number of fiction and nonfiction podcasts for which I will eventually have to accept responsibility.
And you thought Jr. High locker room humor was just something for teenagers. Oh, sweet summer child, wait until I do a post about plumbing…
I’m not apologizing for that one.
Yes, I’m hearing Beavis and Butthead snickering in my head, too.
You can see one in action in this lovely introduction to the tool by The Essential Craftsman:


